


Choosing the Right ISO: Balancing Noise and Image Quality

Choosing the right ISO setting is crucial for achieving the right balance between noise and image quality in your photographs. ISO is one of the three pillars of exposure, alongside aperture and shutter speed, and it determines how sensitive your camera’s sensor is to light. Understanding how ISO works and its impact on image quality will help you make informed decisions and capture better photos in various shooting conditions.
- What is ISO? ISO stands for the International Organization for Standardization, which sets the standards for sensor sensitivity in digital cameras. In photography, it refers to the sensitivity of the camera’s sensor to light. A lower ISO number (e.g., ISO 100) indicates low sensitivity, while a higher number (e.g., ISO 3200) indicates high sensitivity.
- Impact of ISO on Image Quality: The ISO setting directly affects the amount of noise in your images. Noise is the random grain-like or speckled patterns that appear in photos, especially in low-light situations or when using high ISO values. Generally, lower ISO values result in cleaner, less noisy images, while higher ISO values introduce more noise.
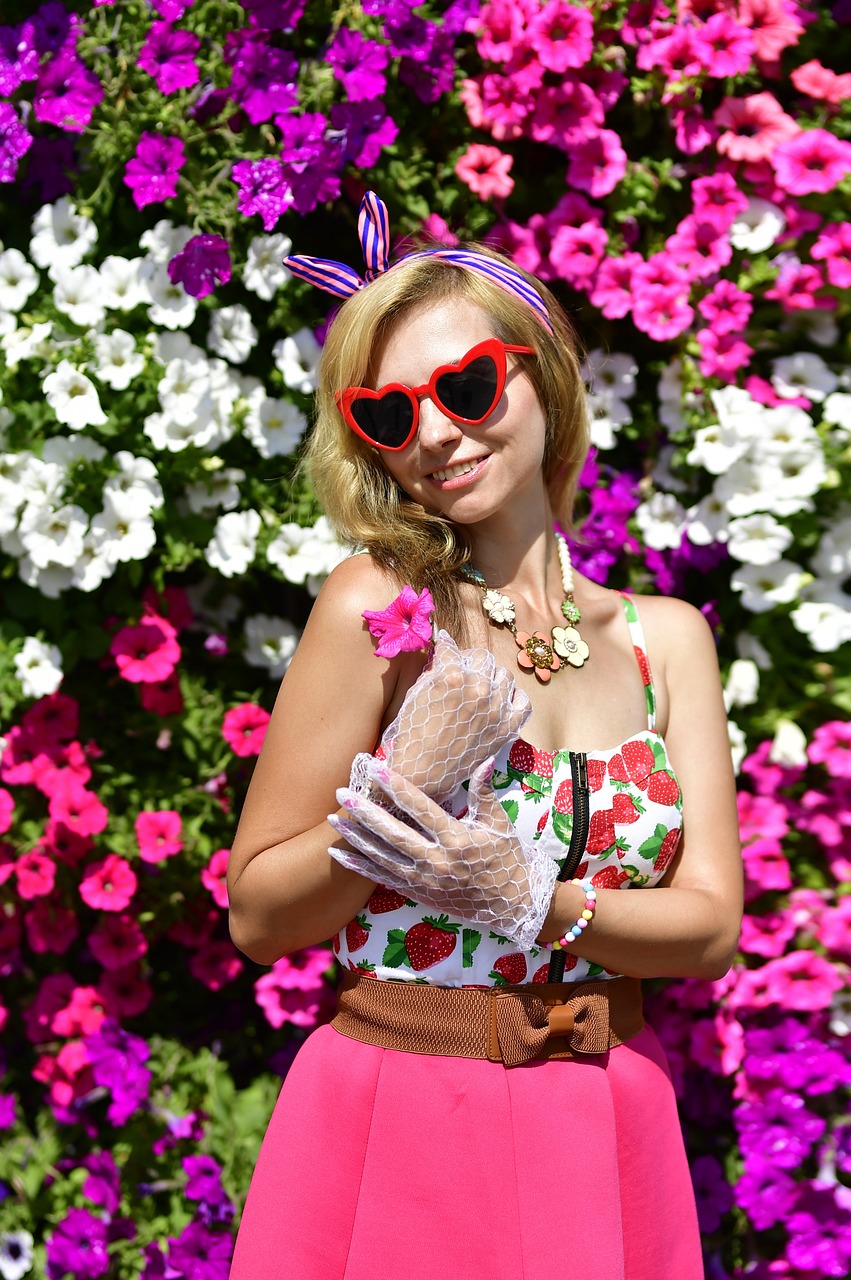
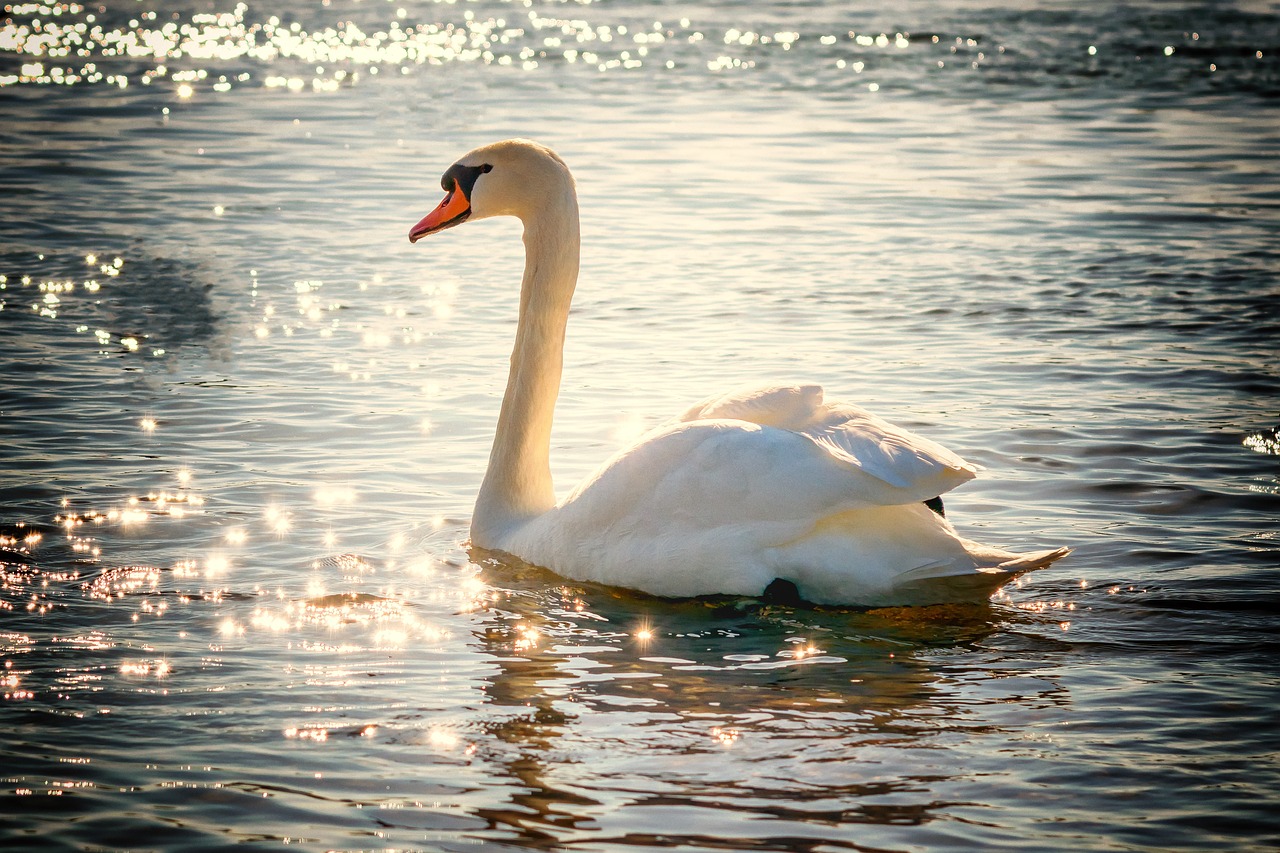
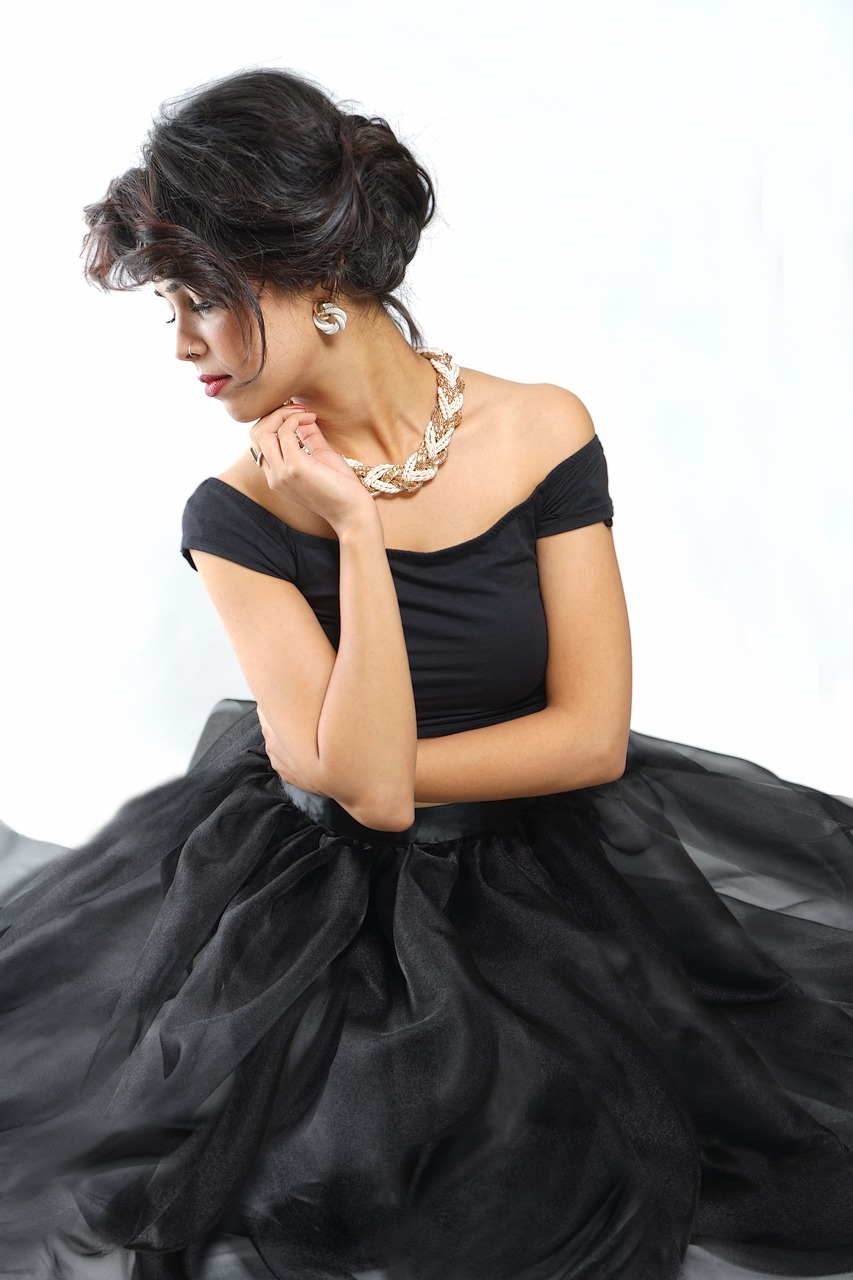
- Low ISO Settings: Using a low ISO setting (e.g., ISO 100 or 200) is ideal when shooting in well-lit environments or during the day. Low ISO produces images with better color accuracy, dynamic range, and sharpness. It is the go-to choice for landscape and portrait photography where noise needs to be minimized.
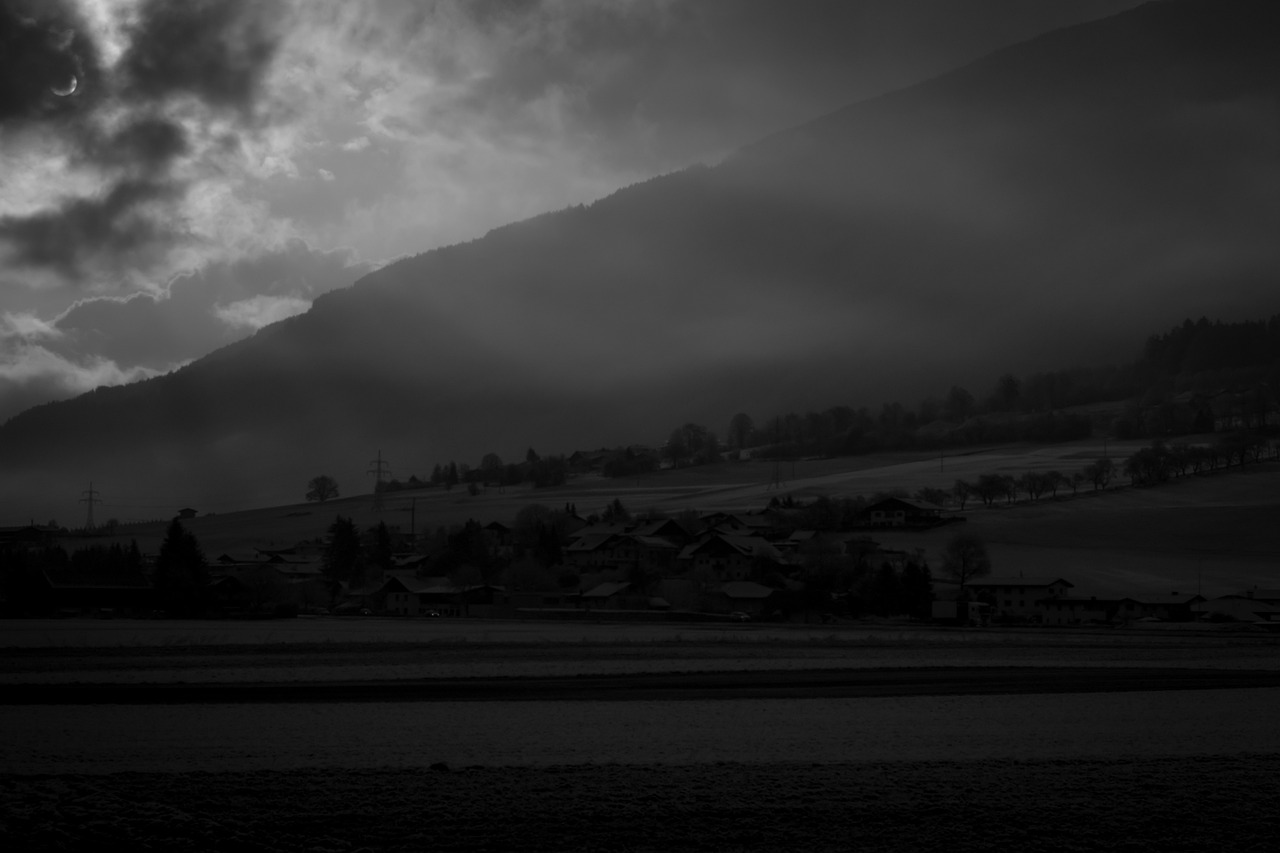
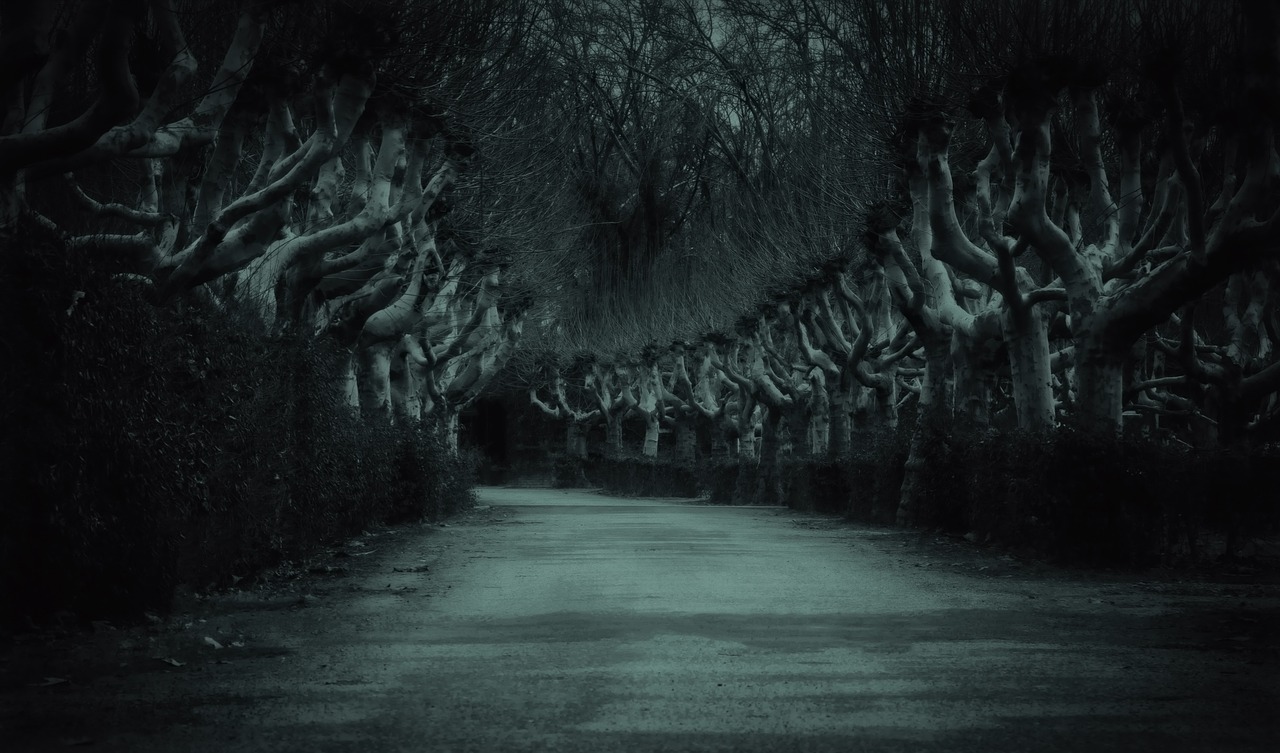
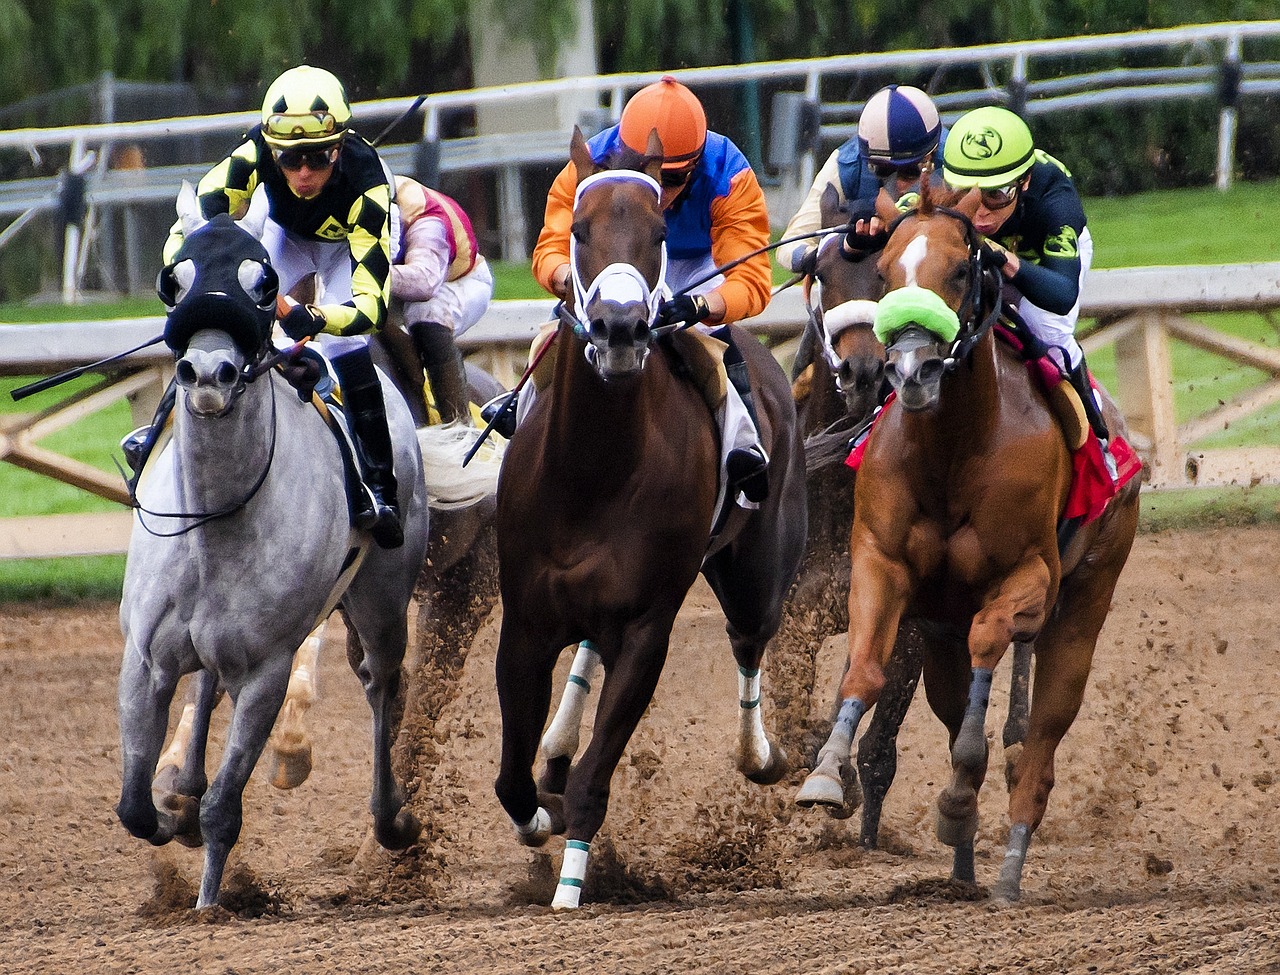
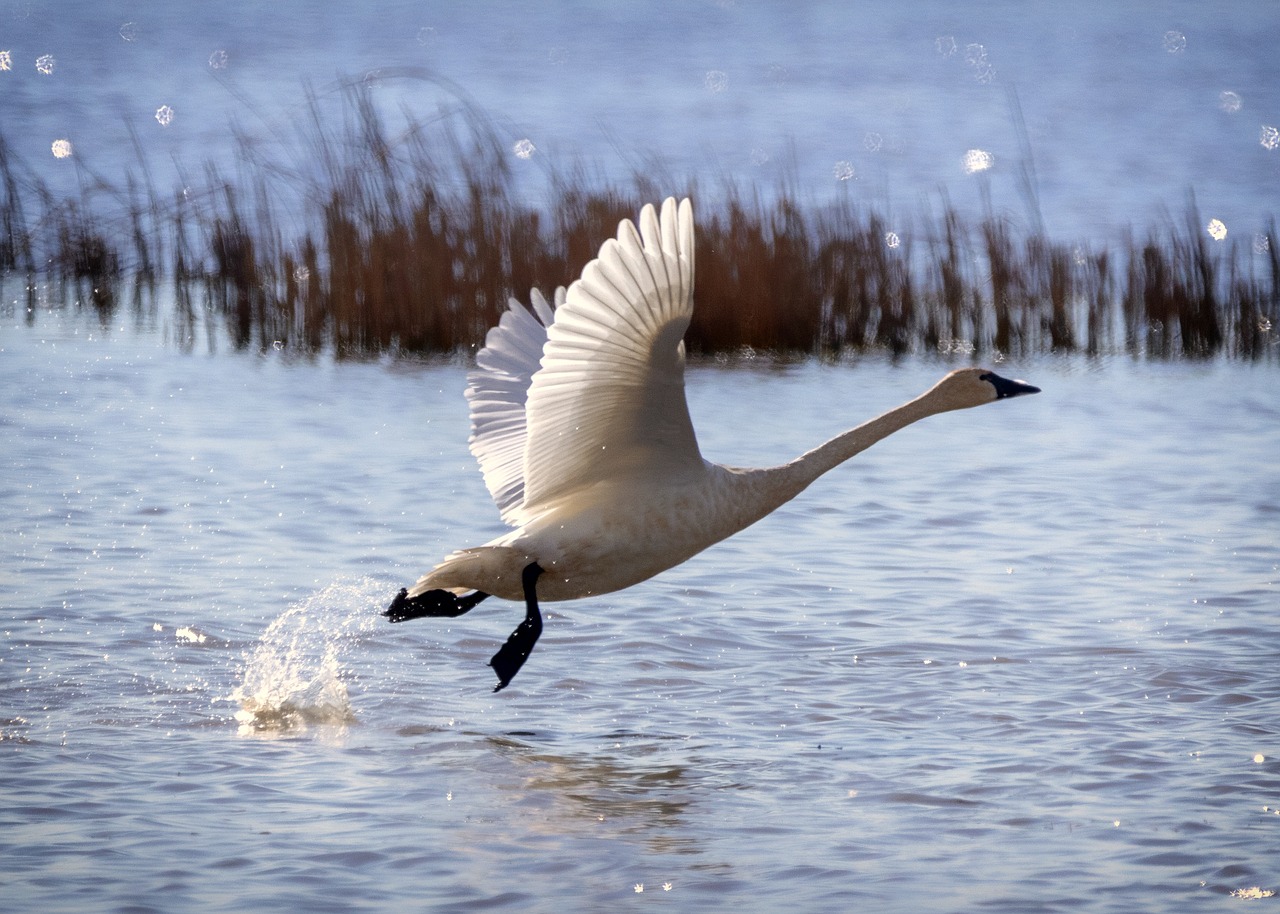
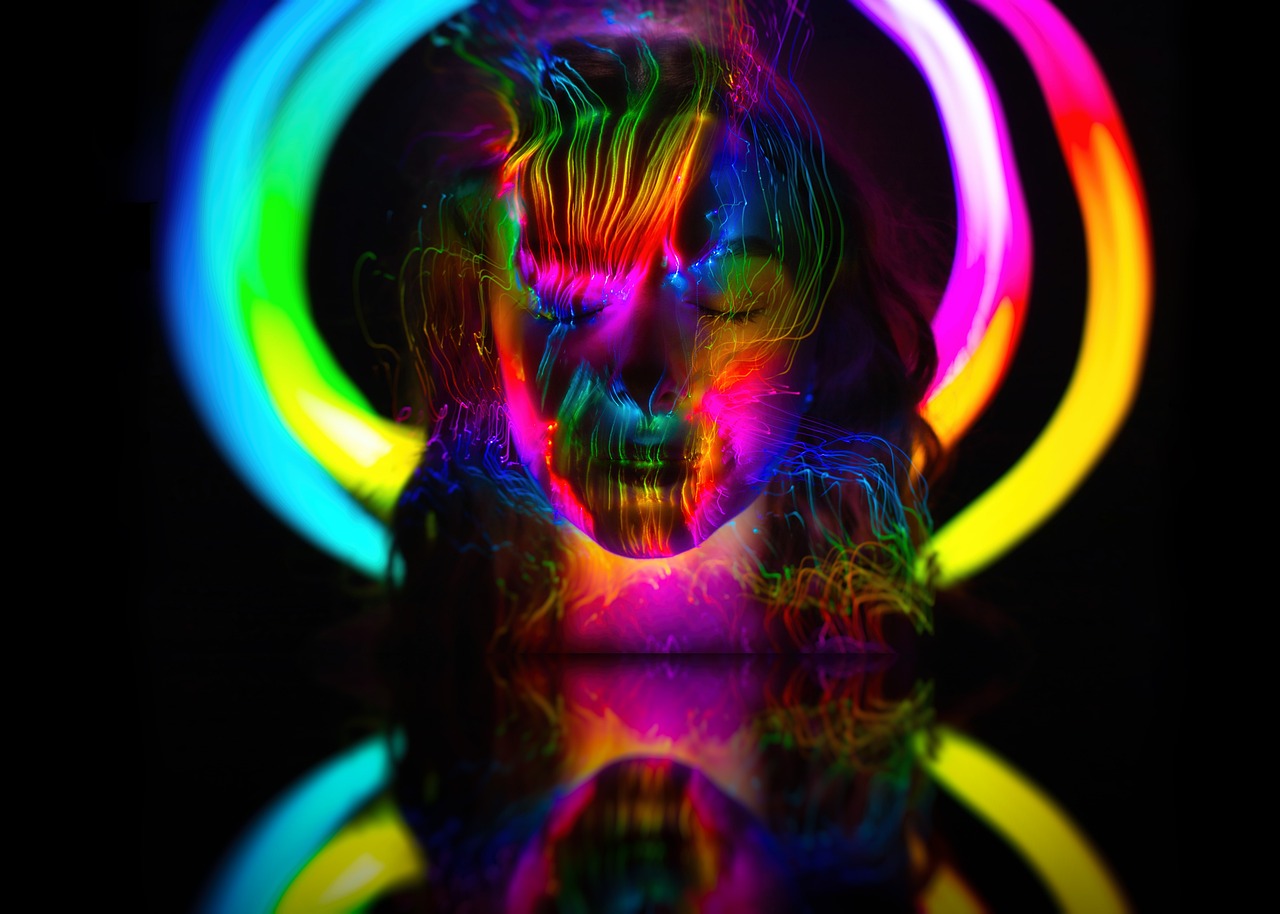
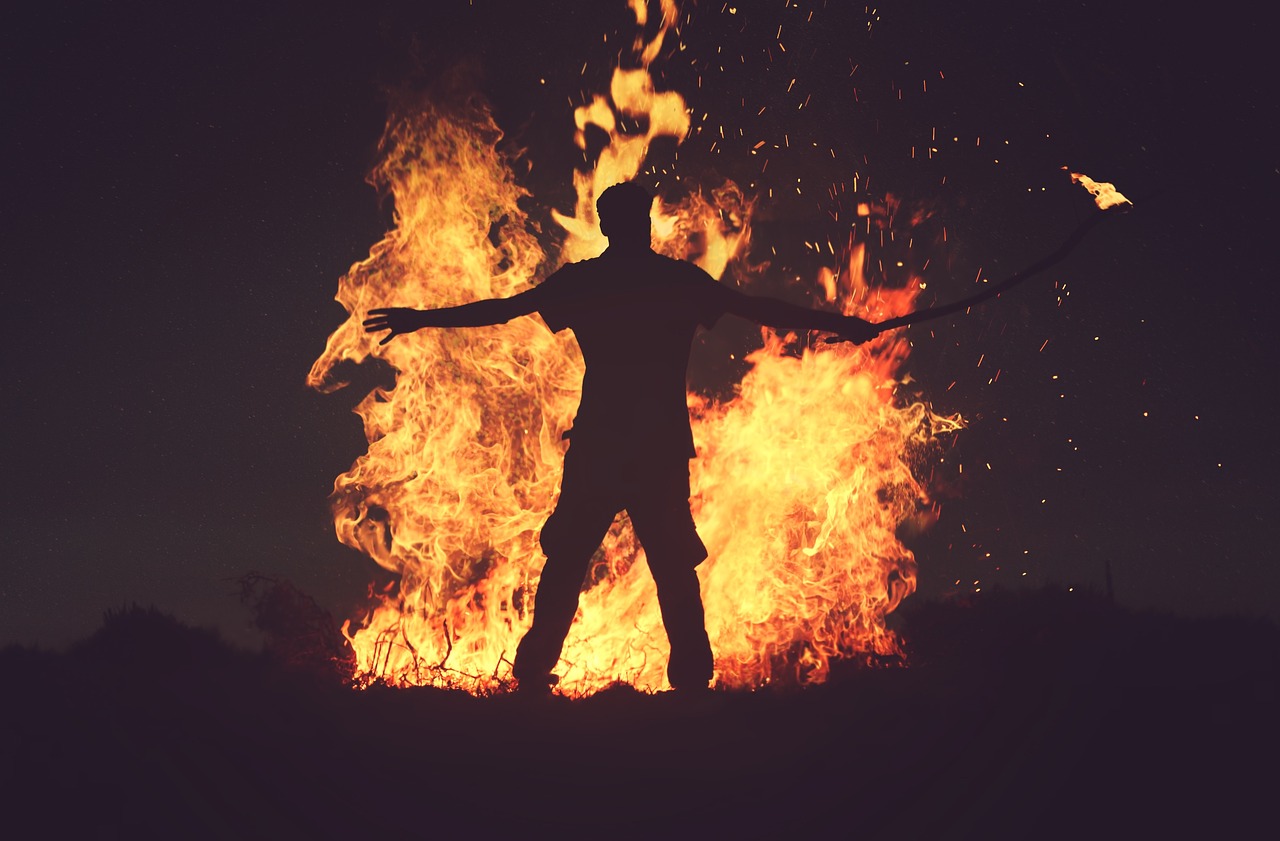
- High ISO Settings: High ISO settings (e.g., ISO 800 and above) are necessary in low-light conditions or when you need a faster shutter speed to freeze motion without introducing motion blur. However, using high ISO values increases the chance of noise in your images, which can result in reduced image quality and loss of details.
- Balancing Noise and Image Quality: The key to balancing noise and image quality is knowing when to increase the ISO and by how much. Here are some tips to help you achieve this balance:
- Use Low ISO in Good Lighting: Whenever possible, shoot with the lowest ISO setting that allows you to maintain the desired exposure. This ensures the best image quality.
- Increase ISO in Low-Light Situations: In dimly lit environments where you cannot achieve the desired exposure with lower ISO values, gradually increase the ISO until you reach the right exposure. Find a compromise between noise and image quality that you find acceptable.
- Consider Aperture and Shutter Speed: If you’re getting noise at high ISOs, consider adjusting other exposure settings. For example, open up your aperture (lower f-stop number) to let in more light, or use a slower shutter speed if your subject isn’t moving quickly.
- Post-Processing Noise Reduction: In post-processing software, you can use noise reduction tools to minimize the noise in your high ISO images. However, be careful not to overdo it, as excessive noise reduction can lead to loss of detail and a “plastic” appearance.
- Newer Camera Technology: It’s worth noting that camera sensor technology has improved over the years, and newer camera models often handle higher ISO settings better, producing less noise compared to older models.
- Native ISO: Every digital camera has a base ISO setting, often referred to as the “native ISO.” This is the ISO value at which the camera’s sensor operates optimally, providing the best image quality with the least amount of noise. For many cameras, the native ISO is typically ISO 100 or 200. When possible, try to use the native ISO setting for the cleanest images.
- ISO Invariance: Some modern cameras exhibit a phenomenon known as “ISO invariance.” This means that the camera’s sensor can handle underexposed images (low ISO) and recover the details in post-processing without significantly increasing noise. In such cases, you can intentionally underexpose a shot to preserve highlight details and then bring up the exposure in post-production without worrying too much about noise. However, this technique may not work as effectively on all cameras, so it’s essential to test your camera’s ISO invariance capabilities.
- Auto ISO: Many cameras offer an “Auto ISO” feature that automatically adjusts the ISO setting based on the lighting conditions and your chosen exposure settings (aperture and shutter speed). This can be helpful in situations where lighting is constantly changing, such as during events or street photography. However, keep in mind that the camera’s auto ISO may choose higher ISO values than you would prefer, resulting in increased noise.
- Bracketing with ISO: Just like exposure bracketing for aperture and shutter speed, you can also bracket your shots with different ISO settings. This technique is particularly useful in challenging lighting situations where you’re uncertain about the best ISO value to use. By taking multiple shots with varying ISO levels, you can later select the one with the optimal balance of noise and image quality.
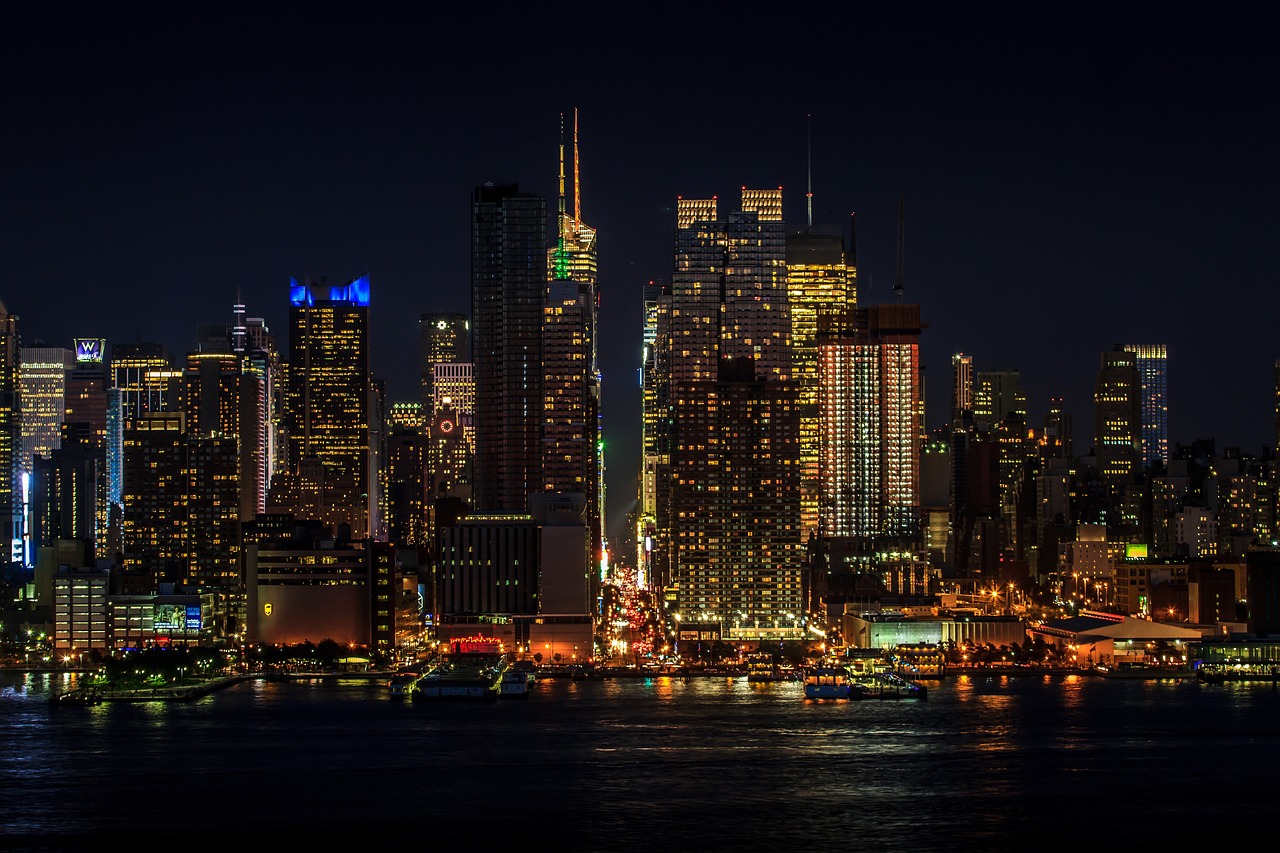
- Long Exposures and Noise: In long exposure photography, especially during nighttime or astrophotography, using a high ISO setting can lead to significant noise. To reduce noise in these scenarios, consider using a lower ISO and compensating with a longer exposure time or using a wider aperture to allow more light into the camera.
- Pushing/Pulling ISO: Pushing or pulling ISO refers to deliberately overexposing (pushing) or underexposing (pulling) an image by adjusting the ISO setting beyond the camera’s native ISO range. While this technique was commonly used with film, modern digital cameras generally handle pushing ISO better than pulling ISO. However, pushing ISO can still introduce additional noise, so it’s essential to use it judiciously.
- Use of Tripods and Image Stabilization: In situations where you need longer exposures or lower ISO settings for better image quality, consider using a tripod to stabilize your camera. Additionally, if your camera or lens has image stabilization technology, it can allow you to shoot at lower ISO values in low-light conditions, as the stabilization compensates for camera shake.
Remember that ISO is just one element of exposure, and the interplay of ISO, aperture, and shutter speed affects the overall look of your photographs. Experimenting with different settings and understanding how they influence each other will help you gain more control over your photography and achieve the desired results in various shooting scenarios.