


How to Photograph Glass and Manage Reflections

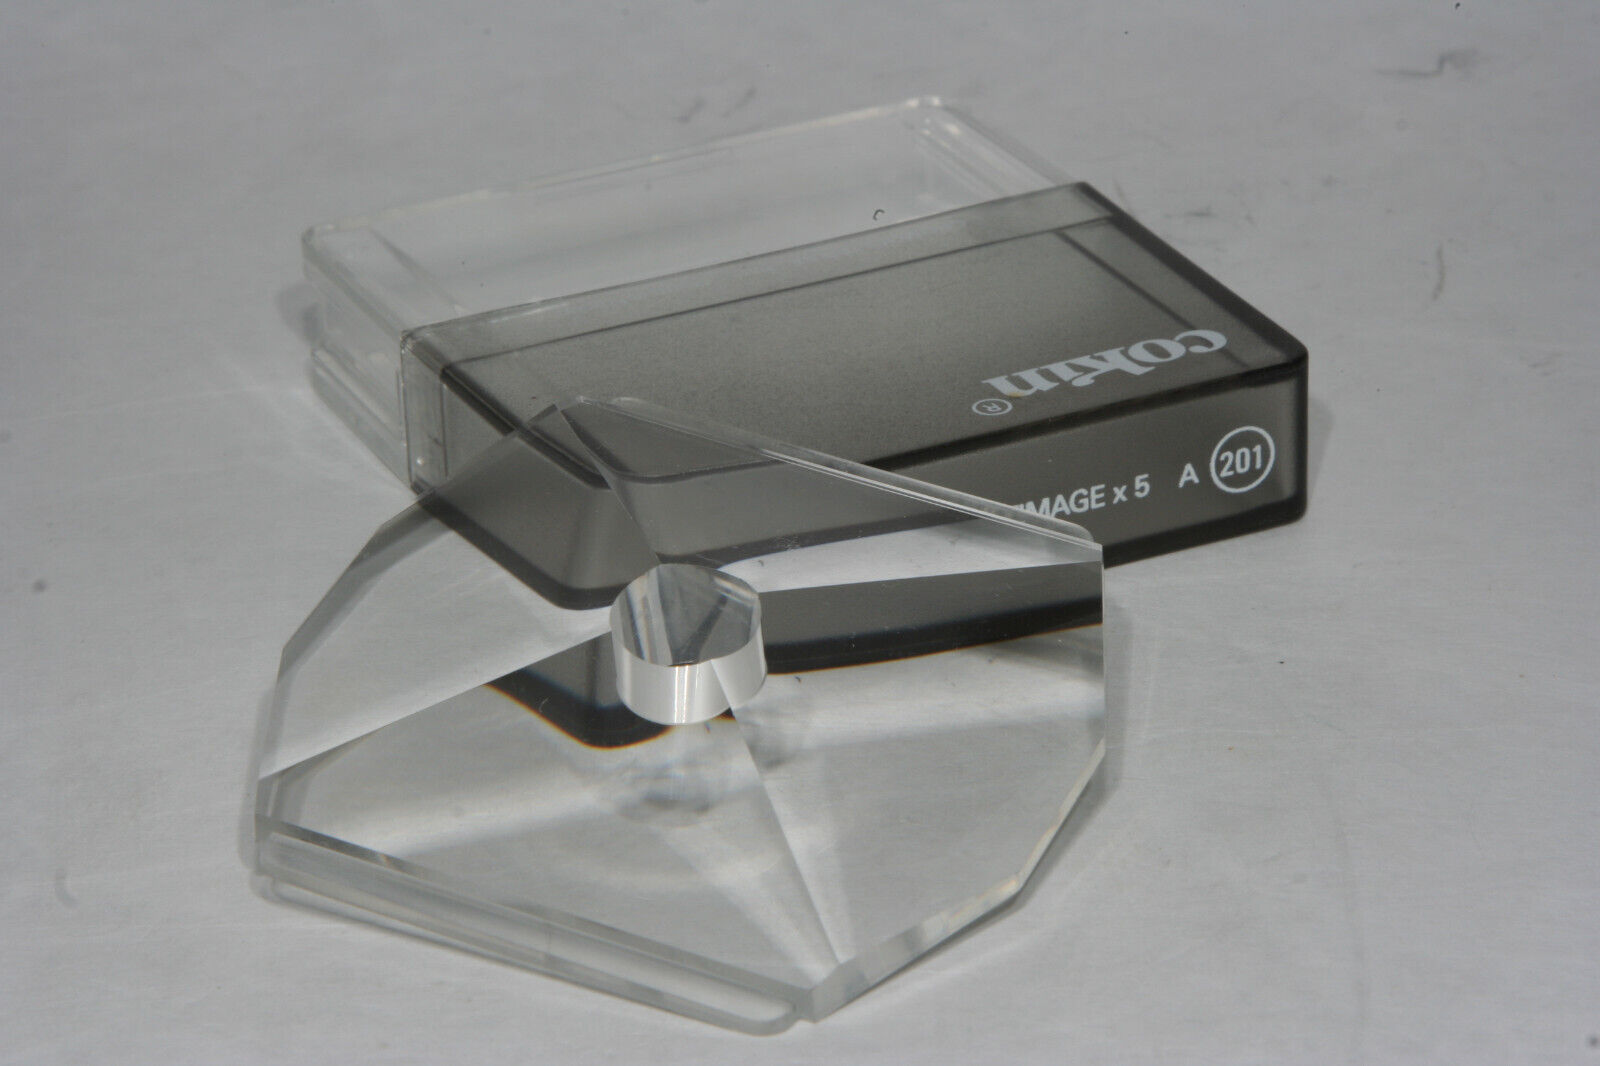
Photographing glass can be a challenging task due to its reflective properties. However, with the right techniques and equipment, you can capture stunning images of glass objects while effectively managing reflections. Here are some tips to help you achieve great results:
Choose the right location and lighting:
Shoot in a controlled environment where you can manage the lighting. Avoid direct sunlight or harsh artificial light, as they can cause strong reflections and glares on the glass surface.
Soft, diffused lighting works best for photographing glass. Use studio lights with softboxes, umbrellas, or light tents to achieve a gentle and even illumination.
Use a polarizing filter:
A polarizing filter can be extremely helpful in reducing reflections and glare on glass surfaces. It helps to cut through the reflections by filtering out polarized light, making the glass appear more transparent in the photo.
Create a background:
Place a neutral-colored backdrop behind the glass object to provide a smooth and non-distracting surface. White, black, or gray backgrounds are often suitable choices.
Mind your surroundings:
Ensure that no bright or distracting elements are present in the frame that could reflect onto the glass surface. Pay attention to your composition and remove any potential reflections.
Adjust your camera settings:
Set a small aperture (high f-number) to increase depth of field and keep more of the glass object in focus.
Use a low ISO setting to minimize noise and maintain image quality.
Experiment with different shutter speeds to find the right balance between exposure and capturing any movement (e.g., in the case of glass with liquid).
Clean the glass:
Fingerprints, dust, and smudges can be more pronounced in photographs of glass. Clean the glass thoroughly before shooting to ensure a polished and clear appearance.
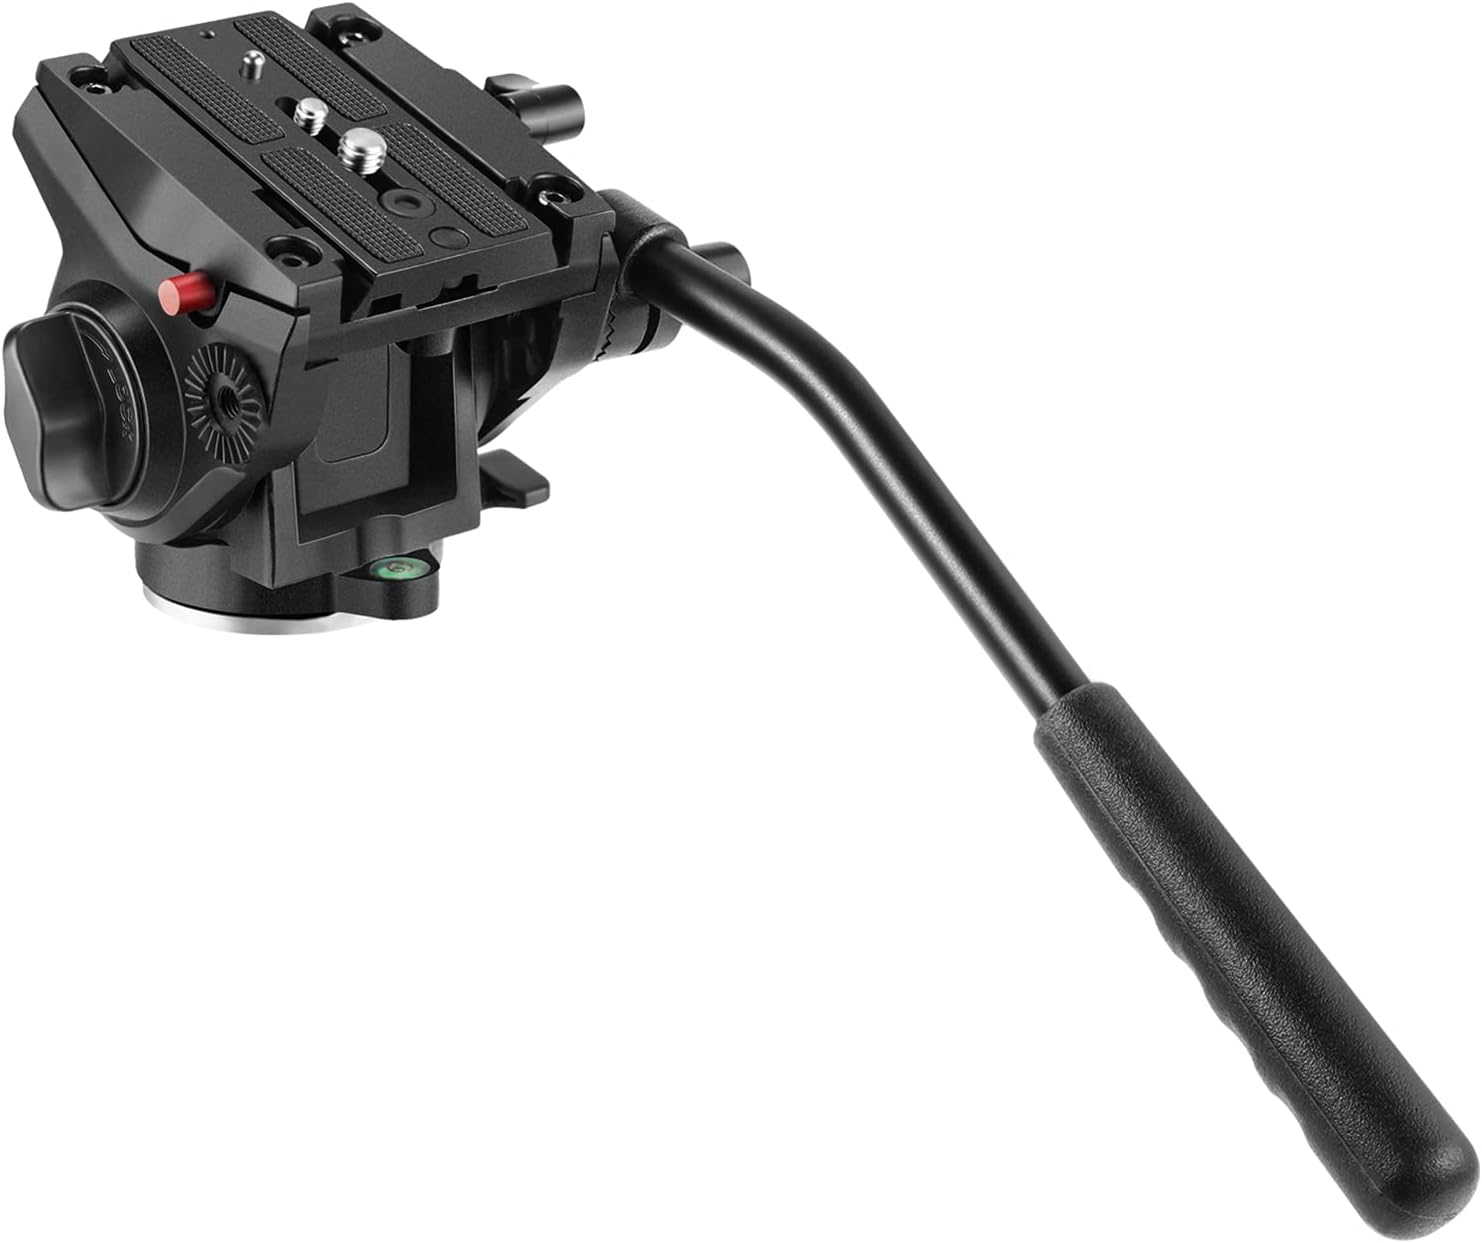
Use a tripod:
A tripod helps maintain stability, especially if you’re using slow shutter speeds or need to make precise adjustments. It also reduces the chances of introducing camera shake, resulting in sharper images.
Shoot at different angles:
Try shooting the glass object from various angles to see how the reflections change. Sometimes, a slight tilt or shift in perspective can significantly improve the final image.
Post-processing:
In post-production, you can further enhance the image by using editing software to adjust contrast, color balance, and reduce any remaining reflections. Be careful not to overdo it, as you want to maintain a natural look.
Practice and experiment:
Photographing glass can require some trial and error to find the best approach for each unique situation. Take your time, review your shots, and adjust your techniques accordingly.
Diffusion and Soft Light:
As mentioned earlier, soft, diffused light is ideal for photographing glass. You can achieve this by using light modifiers such as softboxes, umbrellas, or light tents. These modifiers help spread the light evenly, reducing harsh shadows and reflections.
Backlighting for Transparency:
Backlighting the glass object can create a beautiful effect, especially if the glass is colored or has interesting textures. Place a light source behind the glass to illuminate it from behind, revealing its transparency and unique features. Ensure that the background is dark to accentuate the effect.
Controlling Reflections with Flags and Gobos:
Sometimes, you may want to control the reflections more precisely. You can use flags (opaque objects) and gobos (go-betweens) to block or redirect specific light sources. This technique allows you to shape the light and minimize unwanted reflections on the glass surface.
Using Light Painting:
Light painting involves selectively illuminating parts of the glass object using a handheld light source (e.g., a flashlight). This technique allows you to add highlights to specific areas, emphasizing details and giving the image a more artistic touch.
Shooting with Long Exposure:
In some cases, using long exposure times can produce interesting effects with glass objects. For example, capturing moving lights reflected in glass can create a mesmerizing and abstract look.
White Balance and Color Temperature:
Pay attention to white balance settings when photographing glass, as different lighting conditions can affect the color temperature. Sometimes, slight adjustments in post-processing may be necessary to achieve accurate color representation.
Photographing Glassware with Liquid:
When shooting glassware with liquid inside, be cautious of both the glass and liquid reflections. The positioning of the lights and camera angles becomes crucial to ensure that the glass and liquid remain visible without excessive reflections.
Focus Stacking:
When photographing glass objects with intricate details, consider using focus stacking. This technique involves capturing multiple shots with different focus points and then merging them in post-processing to achieve a fully focused image.
Using a Black Card or Lens Hood:
To reduce lens flare caused by strong light sources, you can hold a black card or lens hood above the camera lens. This will help block any unwanted light that may cause reflections on the glass.
Post-Processing for Reflection Removal:
If you still have unwanted reflections after shooting, you can use photo editing software to remove them selectively. Tools like the clone stamp or healing brush can be used to cover up the reflections.
Experimenting with various techniques and finding what works best for your specific glass subject is essential. Remember that practice and creativity are key to mastering glass photography and managing reflections effectively. Keep challenging yourself to discover new ways to capture the beauty of glass objects in your images.