


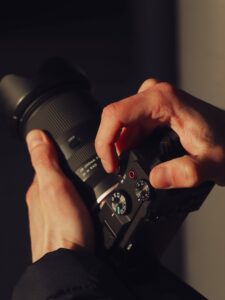
Shooting at ISO 100
Understanding ISO
Explaining ISO in photography
ISO in photography refers to the sensitivity of your camera’s sensor to light. It stands for International Organization for Standardization, which is the governing body that sets standards for various measurements, including film sensitivity.
In digital photography, ISO measures the sensitivity of your camera’s sensor to light. A lower ISO number indicates lower sensitivity, meaning it requires more light to achieve a proper exposure, while a higher ISO number indicates higher sensitivity, allowing you to capture images in lower light conditions.
Here’s a breakdown of how ISO works:
Low ISO (e.g., ISO 100): Ideal for bright conditions such as outdoor scenes with plenty of sunlight. It produces images with minimal noise or grain, resulting in high image quality.
Medium ISO (e.g., ISO 200-800): Suitable for average lighting conditions. It offers a balance between image quality and sensitivity to light.
High ISO (e.g., ISO 1600 and above): Used in low-light situations or when you need to use faster shutter speeds to freeze motion. However, higher ISO settings can introduce noise or grain into your images, reducing overall image quality.
Adjusting the ISO setting allows you to control exposure in conjunction with aperture and shutter speed. For example, if you’re shooting indoors without a flash and want to maintain a fast shutter speed to avoid motion blur, you can increase the ISO to compensate for the lower light levels.
However, it’s essential to strike a balance, as excessively high ISO settings can degrade image quality due to increased noise. Modern cameras have improved ISO performance, but it’s still a trade-off to consider when shooting in challenging lighting conditions.
In summary, ISO in photography affects how sensitive your camera’s sensor is to light, allowing you to adjust exposure in various lighting conditions while balancing image quality and noise.
Relationship between ISO, aperture, and shutter speed
ISO, aperture, and shutter speed are the three fundamental elements of exposure in photography. They work together to control how light is captured by the camera’s sensor and ultimately determine the exposure of the photograph.
ISO: As mentioned earlier, ISO measures the sensitivity of the camera’s sensor to light. A higher ISO allows for faster shutter speeds and/or smaller apertures in low-light conditions, but it also increases the visibility of noise in the image. Conversely, a lower ISO is less sensitive to light, requiring longer exposure times or larger apertures in brighter conditions, resulting in cleaner images with less noise.
Aperture: The aperture is the opening in the lens through which light passes. It is measured in f-stops, with smaller f-stop numbers indicating larger apertures (more light entering the lens) and larger f-stop numbers indicating smaller apertures (less light entering the lens). Aperture not only controls the amount of light entering the camera but also affects depth of field—the range of distance in the scene that appears sharp and in focus. A larger aperture (smaller f-stop number) creates a shallower depth of field, while a smaller aperture (larger f-stop number) creates a deeper depth of field.
Shutter Speed: Shutter speed determines the length of time the camera’s shutter remains open, allowing light to reach the sensor. It is measured in fractions of a second, such as 1/1000s, 1/250s, etc. Faster shutter speeds freeze motion and are useful for capturing fast-moving subjects or reducing camera shake, while slower shutter speeds allow for motion blur and are often used for creative effects or in low-light situations.
Understanding the relationship between these three elements is essential for achieving proper exposure and controlling the creative aspects of your photographs. They work together in what’s known as the exposure triangle:
Increasing the ISO allows you to use faster shutter speeds and/or smaller apertures in low-light conditions but may introduce more noise into the image.
Adjusting the aperture affects both the amount of light reaching the sensor and the depth of field.
Changing the shutter speed controls the amount of motion blur in the image and the amount of light reaching the sensor.
Balancing these three factors according to the desired creative effect and the available light is key to achieving well-exposed and visually compelling photographs.
How ISO affects image quality
ISO in digital photography affects image quality primarily in terms of noise. Noise appears as random variations in brightness and color in an image and can degrade overall image quality, especially in areas with low light.
Here’s how ISO impacts image quality:
Low ISO (e.g., ISO 100): Using a low ISO setting produces images with minimal noise, resulting in high image quality, particularly in well-lit conditions. This is because the sensor is less sensitive to light, requiring more light to achieve proper exposure. As a result, there is less amplification of the signal from the sensor, which reduces the likelihood of noise.
Medium ISO (e.g., ISO 200-800): Moderate ISO settings strike a balance between sensitivity to light and image quality. In most situations, images captured with medium ISO settings exhibit acceptable levels of noise while still providing sufficient sensitivity to light for proper exposure.
High ISO (e.g., ISO 1600 and above): Using a high ISO setting increases the sensitivity of the sensor to light, allowing you to capture images in low-light conditions or use faster shutter speeds. However, higher ISO settings also amplify the signal from the sensor, which can lead to an increase in noise, particularly in areas of shadow or darker tones within the image. This noise can appear as graininess or speckles, degrading the overall image quality.
Modern cameras are equipped with advanced noise reduction algorithms to mitigate the effects of noise at higher ISO settings. However, there is always a trade-off between increasing ISO for better exposure and accepting the potential decrease in image quality due to noise.
In summary, while ISO is essential for adjusting exposure in various lighting conditions, photographers must consider its impact on image quality, particularly in terms of noise, and strike a balance between sensitivity to light and noise levels to achieve the desired results.
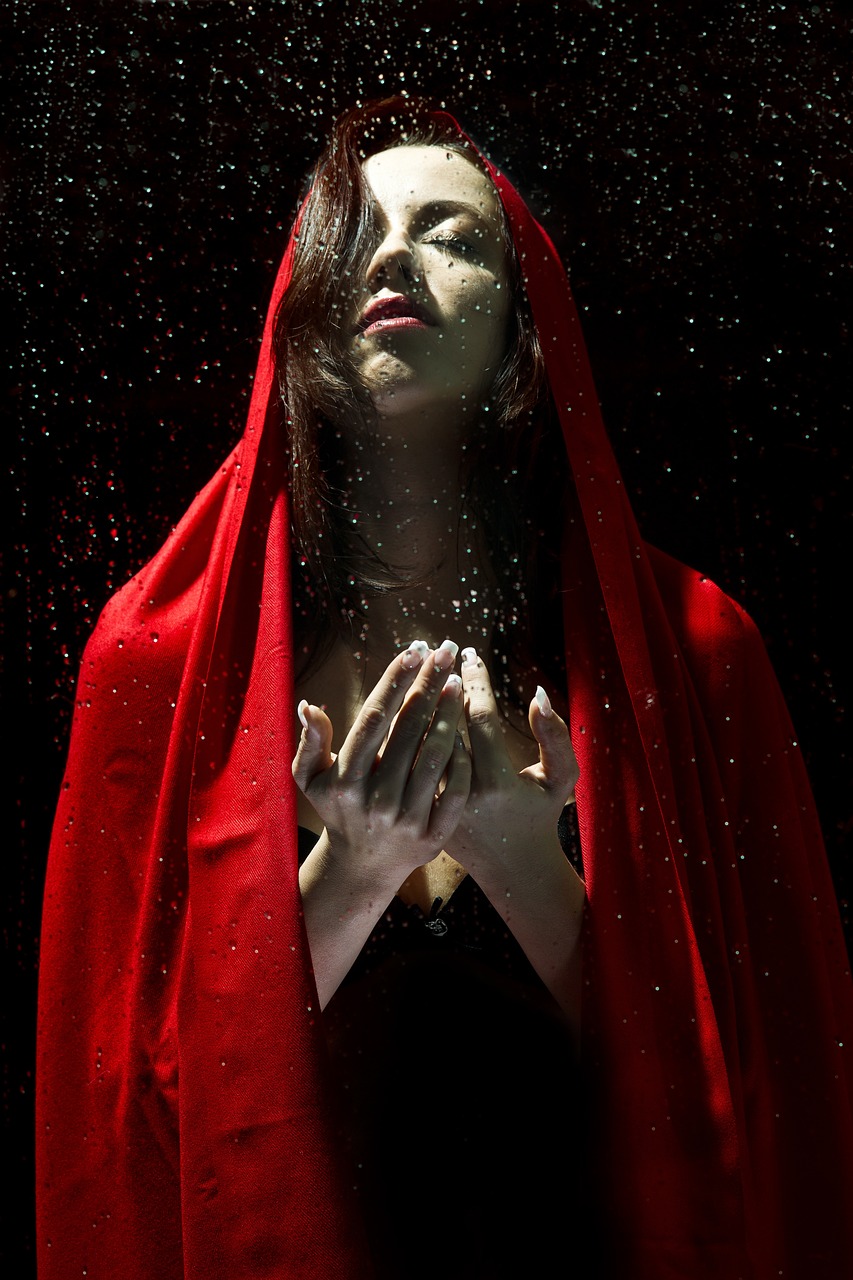
The significance of shooting at ISO 100
Shooting at ISO 100 offers several significant advantages for photographers:
High Image Quality: ISO 100 is the base sensitivity for many digital cameras, meaning it produces images with minimal noise and maximum image quality. Since the sensor is less sensitive to light at ISO 100, there is less amplification of the signal, resulting in cleaner images with finer details, especially in well-lit conditions.
Dynamic Range: Shooting at ISO 100 typically provides a wider dynamic range, which refers to the range of tones captured from shadow to highlight areas in an image. This allows for greater detail retention in both bright highlights and dark shadows, resulting in images with more balanced exposure and better overall tonality.
Creative Control: Using ISO 100 allows photographers to achieve longer exposure times and larger apertures without overexposing the image in bright conditions. This flexibility enables creative control over depth of field and motion blur, allowing for artistic expression and experimentation in various shooting scenarios.
Reduced Noise: Since ISO 100 requires more light to achieve proper exposure, there is less amplification of the sensor’s signal, resulting in minimal noise in the final image. This is particularly advantageous in situations where image quality is critical, such as landscape photography, architectural photography, and studio portraits.
Sharper Images: Lower ISO settings like ISO 100 tend to produce sharper images because they capture finer details with minimal noise interference. This is beneficial for photographers who require maximum sharpness and clarity in their photographs, such as those shooting landscapes, architecture, or high-resolution images for printing.
Overall, shooting at ISO 100 offers photographers the advantages of high image quality, wider dynamic range, creative control, reduced noise, and sharper images, making it an ideal choice for capturing scenes with ample light and achieving outstanding results in various photography genres.
Advantages of Shooting at ISO 100
Introduction to shooting at the base ISO
Shooting at the base ISO, typically ISO 100 or its equivalent depending on the camera model, is the starting point for many photographers when capturing images. Here’s an introduction to shooting at the base ISO:
Image Quality: The base ISO setting offers the highest image quality with minimal noise and maximum dynamic range. Since the sensor is least sensitive to light at this setting, there is minimal amplification of the signal, resulting in clean, detailed images, especially in well-lit conditions.
Optimal Conditions: Base ISO is best suited for shooting in ample natural or artificial light. It’s ideal for situations where you have full control over the lighting environment, such as outdoor photography during the daytime or studio setups with controlled lighting.
Dynamic Range: Shooting at the base ISO provides the widest dynamic range, allowing you to capture a broad range of tones from shadow to highlight areas in your images. This enables you to retain detail in both bright highlights and dark shadows, resulting in images with balanced exposure and excellent tonal rendition.
Creative Control: With the base ISO, you have the flexibility to use longer exposure times and larger apertures without overexposing the image, providing greater creative control over depth of field and motion blur. This allows you to achieve specific artistic effects and control the visual impact of your photographs.
Sharper Images: Lower ISO settings like the base ISO tend to produce sharper images with finer details. Since there is minimal noise interference, you can capture crisp, detailed images with high resolution and clarity, making it suitable for genres that demand maximum sharpness, such as landscape, architecture, and product photography.
Noise Reduction: Shooting at the base ISO minimizes the need for noise reduction in post-processing, as there is already minimal noise present in the images. This simplifies your workflow and ensures that the final results maintain their high quality without sacrificing detail or sharpness.
Benefits of shooting at ISO 100
Shooting at ISO 100 offers several benefits for photographers:
Highest Image Quality: ISO 100 is typically the base sensitivity of most digital cameras, providing the highest image quality with minimal noise. Since ISO 100 requires the most light to achieve proper exposure, there is minimal amplification of the sensor’s signal, resulting in clean, detailed images, especially in well-lit conditions.
Maximum Dynamic Range: Shooting at ISO 100 allows for the widest dynamic range, meaning it captures the broadest range of tones from shadow to highlight areas in an image. This enables photographers to retain detail in both bright highlights and dark shadows, resulting in images with balanced exposure and excellent tonal rendition.
Optimal for Landscapes and Still Life: ISO 100 is well-suited for shooting landscapes, still life, and other static subjects where you have full control over the lighting environment. In these scenarios, you can take advantage of the high image quality and wide dynamic range to capture intricate details and nuanced tonal variations in your subjects.
Sharper Images: Lower ISO settings like ISO 100 tend to produce sharper images with finer details. Since there is minimal noise interference, photographers can capture crisp, detailed images with high resolution and clarity, making ISO 100 ideal for genres that demand maximum sharpness, such as landscape, architectural, and product photography.
Reduced Noise: Shooting at ISO 100 minimizes noise in the final image, as there is less amplification of the sensor’s signal. This results in cleaner images with smoother tonal transitions, particularly in areas of shadow or darker tones where noise is more noticeable.
Flexibility in Post-Processing: Images captured at ISO 100 offer greater flexibility in post-processing, as there is minimal noise to contend with. This allows photographers to make adjustments to exposure, contrast, and color without sacrificing image quality or introducing unwanted artifacts.
Ideal for Long Exposures: ISO 100 is often the preferred choice for long exposure photography, such as capturing silky smooth waterfalls or star trails. With the low sensitivity to light, photographers can use longer shutter speeds without overexposing the image, resulting in stunning long exposure effects.
Enhanced image quality and dynamic range
Reduced Noise: At ISO 100, the sensor’s sensitivity to light is at its lowest, resulting in minimal noise in the final image. Noise, which appears as random variations in brightness and color, is most noticeable in darker areas of the image. By shooting at ISO 100, photographers can capture images with cleaner, smoother tonal transitions, particularly in shadow areas, where noise is more apparent.
Finer Details: Lower ISO settings like ISO 100 produce sharper images with finer details. Since there is minimal noise interference, photographers can capture intricate textures, patterns, and fine lines with greater clarity and definition. This is especially beneficial for genres such as landscape, architectural, and macro photography, where detail and sharpness are paramount.
Wide Dynamic Range: Shooting at ISO 100 allows for the widest dynamic range, meaning it captures a broad range of tones from shadow to highlight areas in an image. This enables photographers to retain detail in both bright highlights and dark shadows, resulting in images with balanced exposure and excellent tonal rendition. The extended dynamic range provides more flexibility in post-processing, allowing photographers to recover highlight and shadow detail without compromising image quality.
Smooth Tonality: ISO 100 contributes to smoother tonal transitions and richer tonality in images. With reduced noise and wider dynamic range, photographers can achieve smoother gradients and more nuanced tonal variations, resulting in images with greater depth and dimensionality. This enhances the overall visual impact and perceived quality of the photograph.
Enhanced Color Reproduction: Lower ISO settings like ISO 100 produce images with more accurate color reproduction and saturation. With reduced noise and improved dynamic range, colors appear more vibrant and true-to-life, contributing to a more lifelike and visually appealing representation of the scene. This is particularly important for genres such as landscape, portrait, and product photography, where color fidelity is essential.
Reduced noise and grain
Reduced Noise and Grain: At ISO 100, the camera’s sensor is least sensitive to light, resulting in minimal noise and grain in the final image. Noise, which appears as random variations in brightness and color, is most noticeable in darker areas of the image and can degrade image quality. By shooting at ISO 100, photographers can capture images with cleaner, smoother tonal transitions and finer details, without the interference of noise or grain.
Preserved Details in Highlights: Lower ISO settings like ISO 100 help preserve details in highlights, preventing overexposure and blown-out areas in bright parts of the image. This is particularly important when photographing scenes with high contrast, such as landscapes with bright skies or reflective surfaces. By maintaining detail in highlights, photographers can achieve a more balanced exposure and capture the full range of tones in the scene.
Preserved Details in Shadows: Similarly, shooting at ISO 100 allows photographers to preserve details in shadows, preventing underexposure and loss of detail in darker areas of the image. This is crucial for retaining texture, depth, and dimensionality in shadowed regions, ensuring that no important information is lost. By preserving details in shadows, photographers can achieve images with greater dynamic range and visual impact.
Smooth Tonality: ISO 100 contributes to smoother tonal transitions and richer tonality in images, further enhancing the preservation of details in both highlights and shadows. With reduced noise and wider dynamic range, photographers can achieve smoother gradients and more nuanced tonal variations, resulting in images with greater depth and dimensionality. This enhances the overall visual appeal and perceived quality of the photograph.
Choosing ISO Settings
When selecting the appropriate ISO setting for a given scene, photographers need to consider several factors, with lighting conditions being one of the most critical aspects. Here’s how different factors influence ISO selection and how photographers assess lighting conditions:
Available Light: The primary consideration when choosing ISO is the amount of available light in the scene. In well-lit conditions, such as outdoor scenes on a sunny day or well-lit indoor environments, photographers can typically use lower ISO settings (e.g., ISO 100 or 200) to maintain optimal image quality while achieving proper exposure. In low-light situations, such as indoor settings with dim lighting or outdoor scenes during twilight or at night, photographers may need to increase the ISO (e.g., ISO 800, 1600, or higher) to ensure sufficient sensitivity to light for proper exposure.
Desired Shutter Speed: ISO selection also depends on the desired shutter speed for capturing the scene effectively. If photographers need to freeze motion or avoid camera shake, they may need to use higher ISO settings to allow for faster shutter speeds. Conversely, if motion blur is desired for creative effect or if a slower shutter speed is necessary to capture the scene adequately, photographers may opt for lower ISO settings and compensate with longer exposure times.
Depth of Field: The aperture setting (which controls depth of field) influences ISO selection. If photographers desire a shallow depth of field with a wide aperture (e.g., for portraits or macro photography), they may need to use lower ISO settings to avoid overexposure, especially in bright lighting conditions. Conversely, if a deep depth of field is desired (e.g., for landscape photography), photographers may opt for higher ISO settings to maintain proper exposure with smaller apertures.
Noise Tolerance: Another factor influencing ISO selection is the photographer’s tolerance for noise and grain in the final image. Higher ISO settings increase the sensitivity of the camera’s sensor to light but also amplify noise, resulting in grainier images. Photographers must balance the need for higher ISO settings to achieve proper exposure with their tolerance for noise, especially in genres where image quality is paramount, such as commercial photography or fine art photography.
Dynamic Range Requirements: ISO selection also depends on the scene’s dynamic range—the range of tones from shadow to highlight areas. Scenes with high contrast or extreme lighting conditions may require careful consideration of ISO settings to ensure proper exposure while preserving detail in both highlights and shadows. Lower ISO settings (e.g., ISO 100) typically offer wider dynamic range and better highlight detail, while higher ISO settings may sacrifice some highlight and shadow detail.
Available Equipment: Finally, photographers must consider the capabilities of their camera equipment when selecting ISO. Some cameras perform better at higher ISO settings, with improved noise reduction algorithms and cleaner image output. Conversely, older or lower-end cameras may produce more noticeable noise at higher ISO settings, requiring photographers to be more conservative with their ISO selection or to use noise reduction techniques in post-processing.
Balancing ISO with aperture and shutter speed is essential for achieving proper exposure while maintaining image quality and creative control. Here’s how photographers can creatively use ISO in different scenarios:
Low Light Photography:
Scenario: Shooting in low-light conditions, such as indoor events or night photography.
Technique: Increase ISO to maintain proper exposure without sacrificing shutter speed or depth of field.
Creative Use: Experiment with higher ISO settings to capture ambient light and preserve details in low-light scenes. Embrace the graininess or texture introduced by higher ISO settings for artistic effect.
Action Photography:
Scenario: Capturing fast-moving subjects, such as sports or wildlife photography.
Technique: Increase ISO to enable faster shutter speeds, freezing motion and reducing motion blur.
Creative Use: Use higher ISO settings to freeze action in challenging lighting conditions, allowing for sharp and dynamic images of moving subjects.
Landscape Photography:
Scenario: Capturing expansive landscapes with intricate details and a wide depth of field.
Technique: Use lower ISO settings to maintain optimal image quality and dynamic range.
Creative Use: Experiment with long exposure techniques and lower ISO settings to capture smooth water surfaces or dramatic cloud movements, creating ethereal and surreal landscape images.
Portrait Photography:
Scenario: Shooting portraits with controlled lighting in studio or outdoor settings.
Technique: Use a combination of aperture and ISO to achieve desired depth of field and exposure.
Creative Use: Employ higher ISO settings to allow for faster shutter speeds, capturing candid or spontaneous moments with natural light. Embrace the softness or texture introduced by higher ISO settings for unique and characterful portraits.
Night Photography:
Scenario: Photographing urban landscapes, cityscapes, or astrophotography at night.
Technique: Increase ISO to capture faint light sources or celestial objects while maintaining reasonable exposure times.
Creative Use: Experiment with very high ISO settings to capture the intricate details of city lights or stars, embracing the inherent graininess or noise for a gritty or atmospheric look.
Macro Photography:
Scenario: Shooting close-up images of small subjects, such as insects, flowers, or textures.
Technique: Adjust ISO to achieve sufficient depth of field and shutter speed for sharp focus and minimal motion blur.
Creative Use: Use higher ISO settings to compensate for limited available light when shooting handheld or in challenging environmental conditions. Embrace the fine details and textures revealed by higher ISO settings for visually compelling macro images.
Maintaining optimal image quality is crucial for producing professional-looking photographs. Here are some tips to help photographers preserve image quality:
Use the Lowest ISO Possible: Start with the lowest ISO setting (usually ISO 100 or the base ISO of your camera) to minimize noise and maximize dynamic range. Only increase ISO when necessary to maintain proper exposure in low-light conditions.
Select the Right Aperture: Choose the appropriate aperture based on your depth of field requirements and lens characteristics. Avoid using extreme apertures (e.g., very wide or very narrow) unless creatively necessary, as they may compromise image sharpness.
Optimize Shutter Speed: Use a shutter speed that prevents motion blur while maintaining proper exposure. For handheld shooting, ensure the shutter speed is fast enough to avoid camera shake, especially when using longer focal lengths.
Stabilize Your Camera: Use a tripod or other stabilizing equipment to minimize camera shake, particularly in low-light conditions or when using slow shutter speeds. This helps maintain image sharpness and clarity, especially for long exposures.
Use High-Quality Lenses: Invest in high-quality lenses with good optical performance, as they play a significant role in image quality. Choose lenses with sharpness across the frame, minimal distortion, and effective control of aberrations.
Avoid Digital Zoom: Refrain from using digital zoom, as it degrades image quality by interpolating pixels, resulting in loss of detail and resolution. Instead, use optical zoom or physically move closer to your subject for better composition.
Shoot in RAW Format: Capture images in RAW format rather than JPEG to retain maximum image data and flexibility in post-processing. RAW files contain more information and offer greater latitude for adjusting exposure, white balance, and other parameters without loss of quality.
Mind Your Composition: Pay attention to composition and framing to ensure clean, clutter-free images. Avoid distractions in the frame that could detract from image quality or draw attention away from the main subject.
Handle Post-Processing Carefully: When editing images, apply adjustments judiciously to avoid introducing artifacts or degrading image quality. Use non-destructive editing techniques and work with high-resolution files to preserve detail and clarity.
Regularly Maintain Your Gear: Keep your camera and lenses clean and in good condition to ensure optimal performance. Regularly clean your lens elements, sensor, and camera body to minimize dust, dirt, and other contaminants that can affect image quality.
Overcoming Challenges
Dealing with low-light situations can be challenging, but with the right techniques, photographers can still capture compelling images. Here’s how to handle low-light scenarios effectively and use artificial lighting techniques when necessary:
Increase ISO: In low-light situations, increase the ISO setting on your camera to make the sensor more sensitive to light. However, be mindful of the trade-off between higher ISO and increased noise. Modern cameras handle higher ISO settings better, but try to strike a balance between noise and exposure.
Use a Wide Aperture: Open up your lens to its widest aperture (lowest f-stop number) to allow more light to reach the camera sensor. This helps maintain faster shutter speeds and reduces the need for excessively high ISO settings. Keep in mind the shallow depth of field that comes with wider apertures and adjust your focus accordingly.
Slow Down Your Shutter Speed: If you’re shooting static subjects or using a tripod, consider slowing down your shutter speed to let in more light. Be cautious of motion blur, though, especially if you’re shooting handheld or capturing moving subjects.
Image Stabilization: Use lenses or camera bodies with built-in image stabilization to reduce the effects of camera shake when shooting at slower shutter speeds. This helps maintain sharpness and clarity in low-light conditions, especially when shooting handheld.
Add Artificial Lighting: When natural light is insufficient, supplement it with artificial lighting sources such as speedlights, strobes, continuous lights, or LED panels. Experiment with different lighting setups to achieve the desired mood and illumination for your scene.
Diffuse and Reflect Light: Use modifiers such as softboxes, umbrellas, or reflectors to diffuse harsh artificial light sources and create softer, more flattering illumination. Reflectors can bounce light onto your subject, filling in shadows and adding dimension to your images.
White Balance Adjustments: Pay attention to white balance settings to ensure accurate color representation, especially when mixing different light sources. Adjust the white balance manually or use custom white balance presets to achieve the desired color temperature.
Use a Tripod: In situations where longer exposure times are necessary, such as astrophotography or capturing light trails, use a sturdy tripod to stabilize your camera and prevent camera shake. This allows for sharper images and greater creative control over exposure.
Noise Reduction Techniques: After capturing images in low light, use noise reduction software or techniques in post-processing to minimize noise while preserving image detail. Experiment with different noise reduction settings to find a balance between noise reduction and retaining image sharpness.
Practice and Experiment: Low-light photography often requires practice and experimentation to master. Familiarize yourself with your camera’s settings, understand the behavior of different light sources, and don’t be afraid to experiment with different techniques to achieve the desired results.
Creative Applications
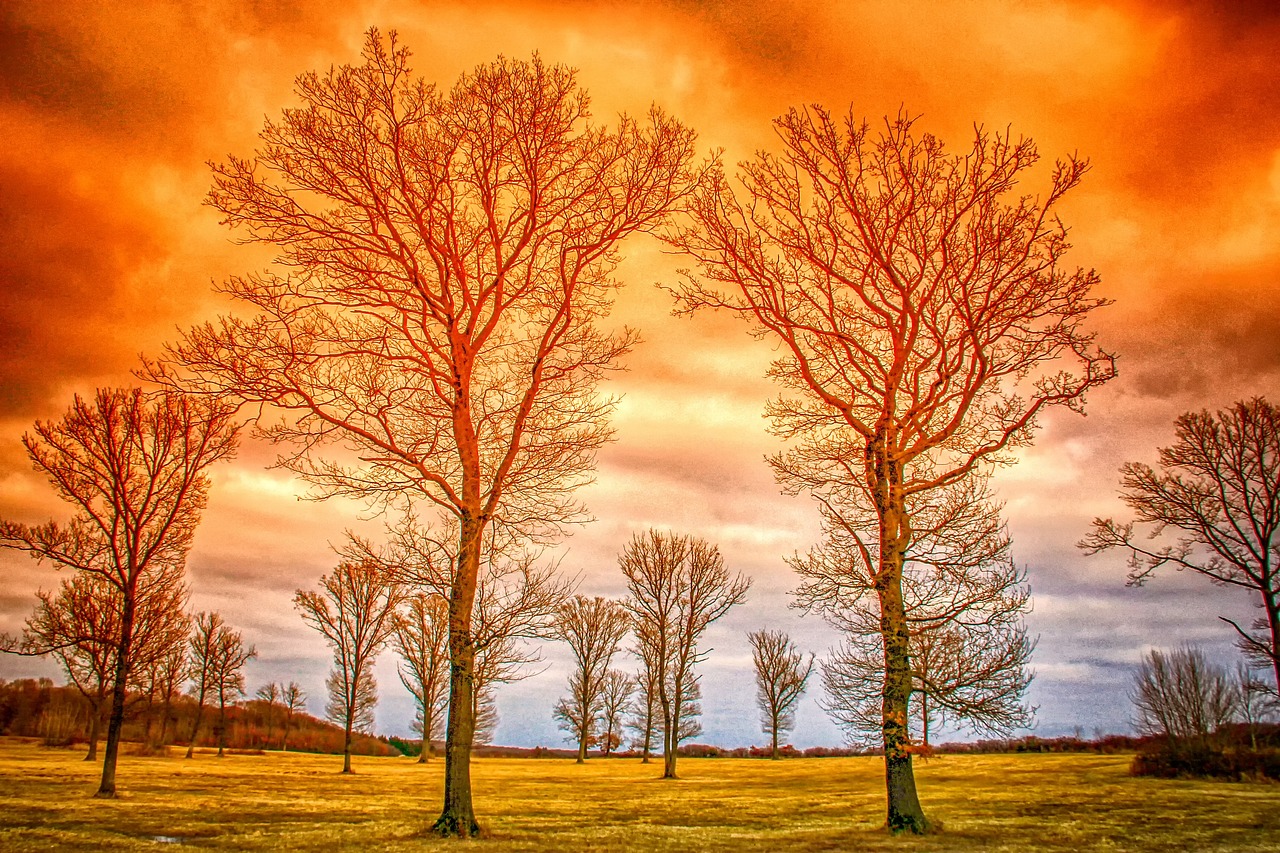
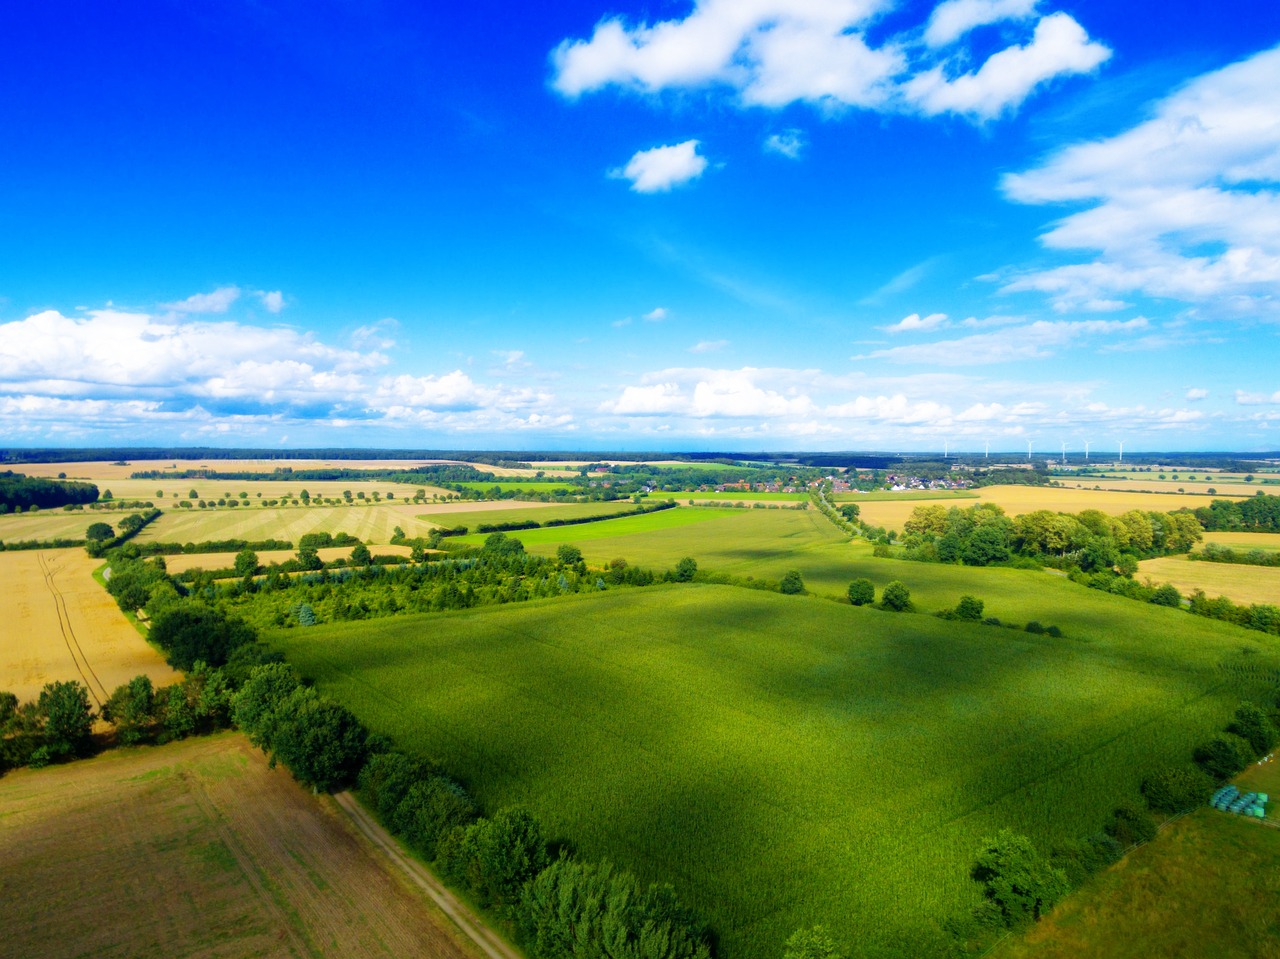
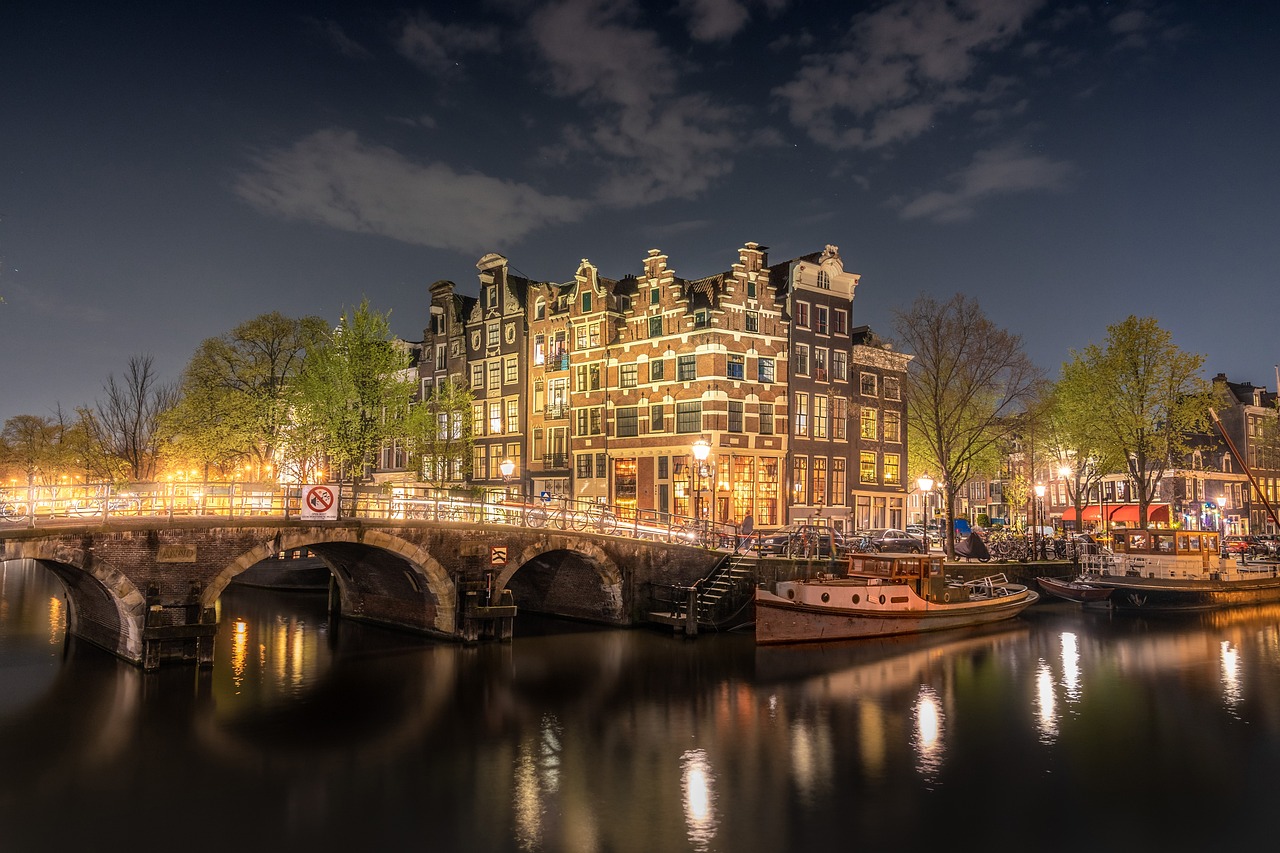
Landscape photography at ISO 100
Shooting landscapes typically involves using smaller apertures (higher f-stop numbers) to achieve maximum depth of field and sharpness from foreground to background. This often requires slower shutter speeds, which can introduce camera shake if shooting handheld. Using a tripod ensures stability and sharpness, even with longer exposures.
Long Exposure Techniques: Landscape photographers often utilize long exposure techniques to capture movement in elements such as clouds, waterfalls, or flowing rivers. Shooting at ISO 100 allows for longer exposure times without overexposing the image, resulting in silky-smooth water surfaces and dramatic cloud movements.
Focus Stacking: To maximize depth of field and ensure sharpness throughout the entire scene, consider using focus stacking techniques. This involves capturing multiple images at different focus points and blending them together in post-processing. Shooting at ISO 100 helps maintain image quality and minimizes noise in each individual frame.
Bracketing for HDR: In high-contrast scenes with extreme lighting conditions, consider using exposure bracketing to capture a series of images at different exposure levels. This allows you to blend multiple exposures in post-processing to create a high dynamic range (HDR) image with optimal detail in both shadows and highlights.
Watch for Movement: While ISO 100 is ideal for minimizing noise, it also means that longer exposures may be required, especially in low-light conditions. Be mindful of any movement in the scene, such as swaying tree branches or shifting clouds, which may result in motion blur during long exposures.
Composition and Lighting: Pay close attention to composition and lighting when shooting landscapes. Consider the direction of light, the placement of key elements within the frame, and the overall mood and atmosphere of the scene. Shooting during the golden hours of sunrise and sunset can enhance the colors and textures in your landscape images.
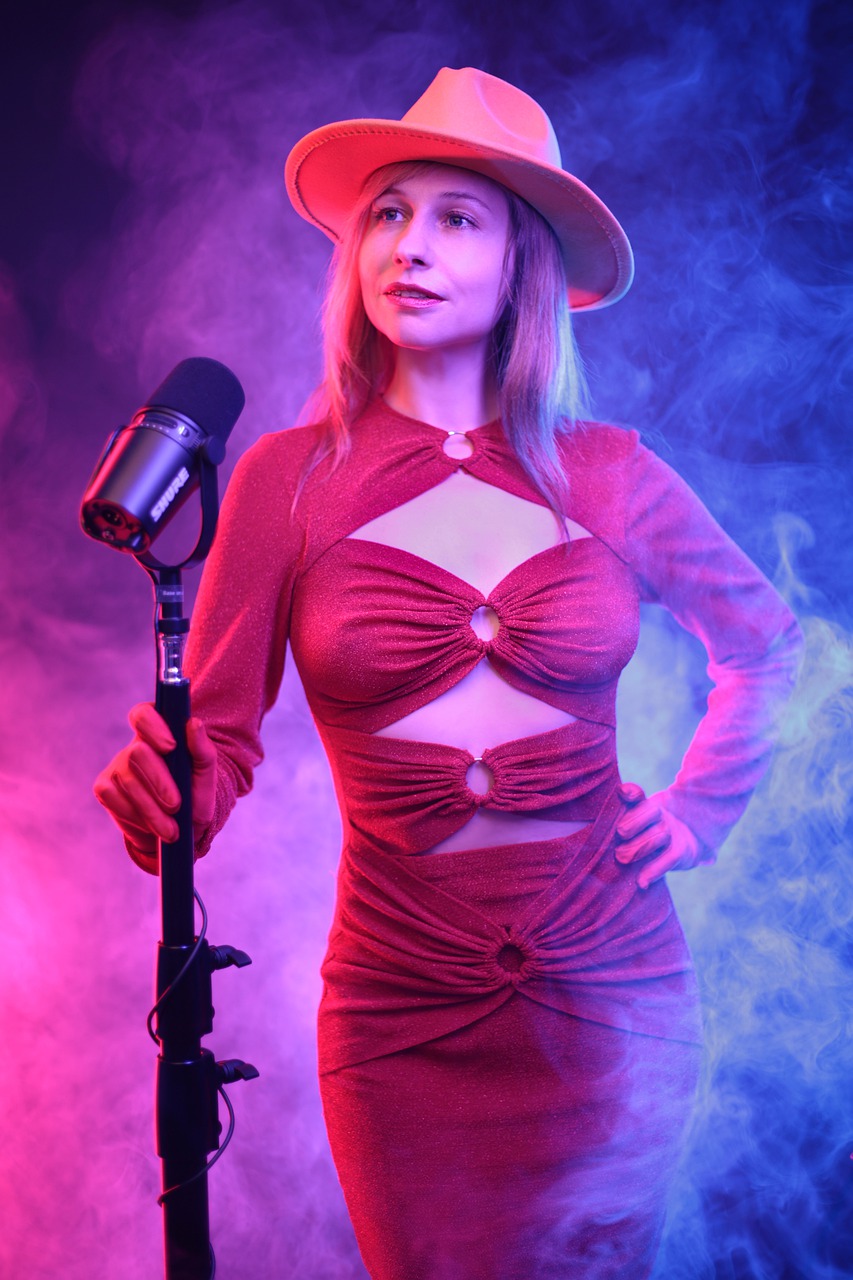
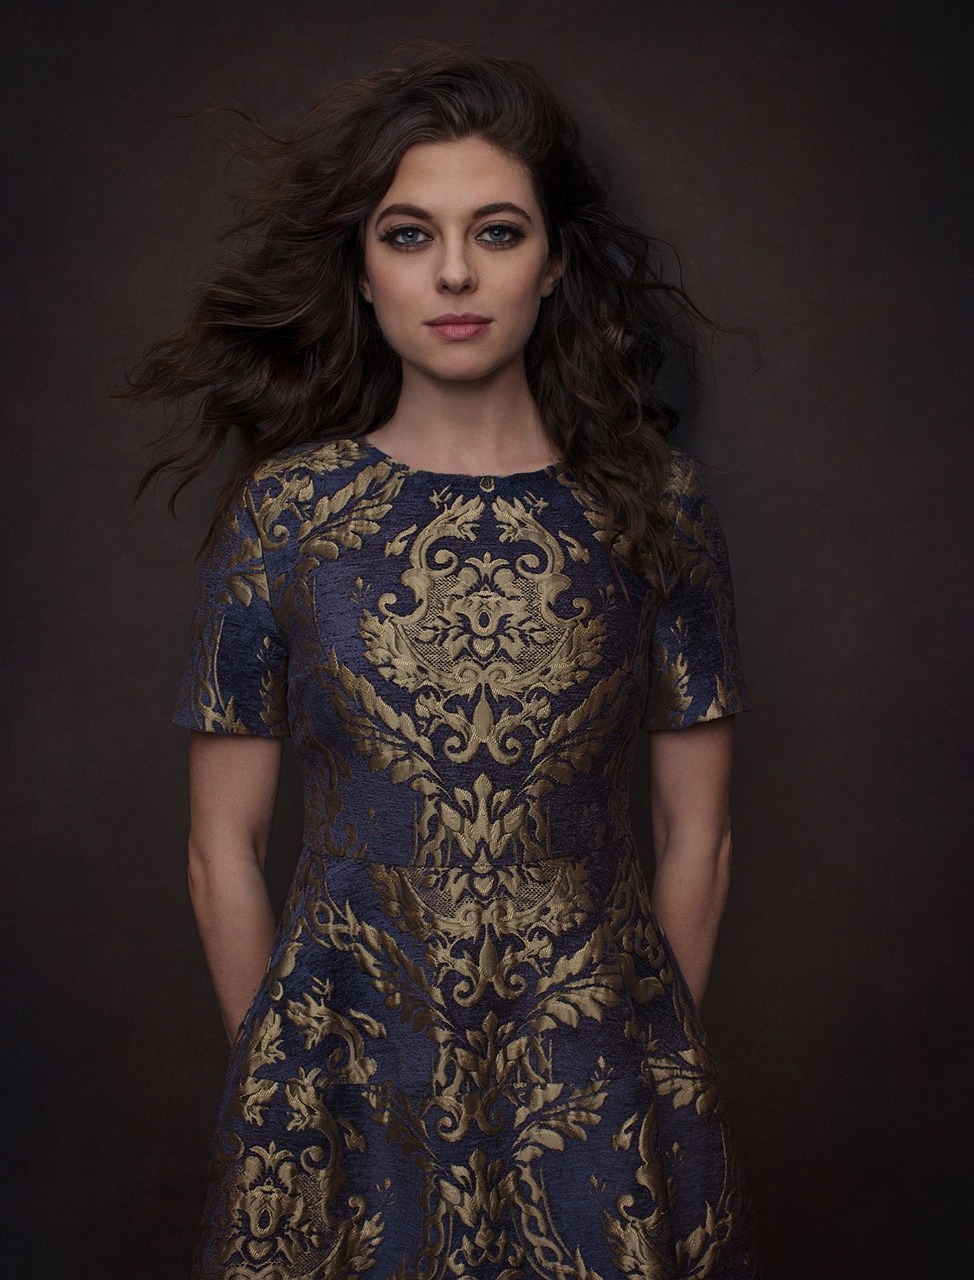
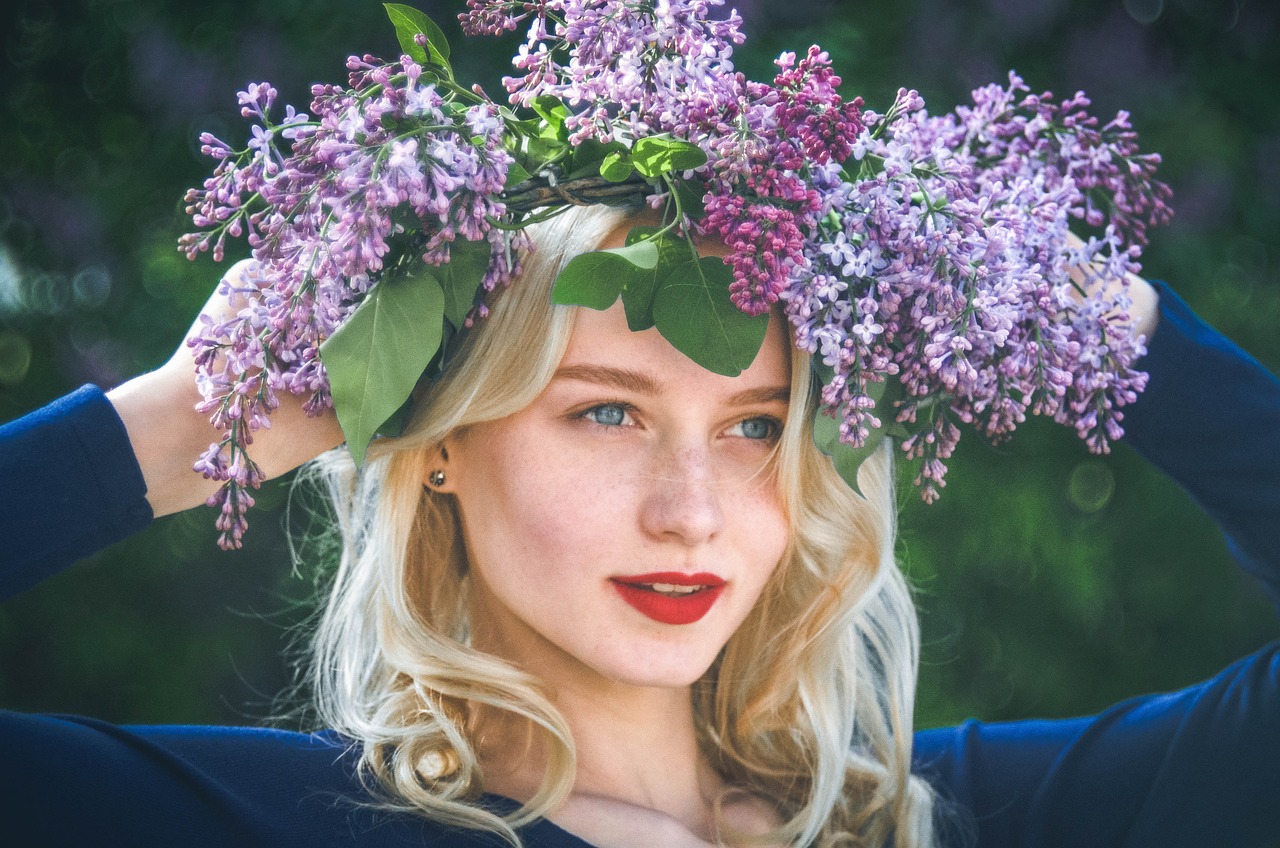
Portrait photography techniques
Selecting the Right Lens: Choose a lens with a focal length that complements your vision for the portrait. A short to moderate telephoto lens (e.g., 85mm or 50mm on a full-frame camera) is commonly used for portraits as it provides a flattering perspective and allows you to blur the background (bokeh) while maintaining subject sharpness.
Consider the Background: Pay attention to the background when composing your portraits. A clean, uncluttered background or one with soft, complementary colors can help draw attention to the subject. Look for backgrounds that provide context or enhance the mood of the portrait without distracting from the main subject.
Controlled Lighting: Experiment with different lighting setups to achieve the desired mood and emphasis on your subject. Studio lighting setups, such as using key, fill, and accent lights, allow for precise control over the light’s direction, intensity, and quality. Alternatively, use natural light creatively by positioning your subject near windows or shooting outdoors during the golden hour for soft, flattering light.
Posing and Expression: Guide your subject through posing and expression to capture their personality and convey the desired mood in the portrait. Encourage natural, relaxed poses and genuine expressions by engaging with your subject and providing direction as needed. Experiment with different angles, body positions, and facial expressions to find the most flattering and expressive poses.
Focus on the Eyes: The eyes are often considered the focal point of a portrait and can convey emotion and connection with the viewer. Ensure the eyes are sharp and in focus, as this draws attention to the subject’s gaze and enhances engagement with the viewer. Use a wide aperture to create a shallow depth of field and emphasize the eyes while blurring the background.
Composition and Framing: Pay attention to composition and framing to create visually appealing portraits. Consider the rule of thirds, leading lines, and other compositional techniques to create balance and interest in your images. Experiment with different framing options, such as close-up shots, environmental portraits, or candid moments, to tell a compelling story and capture the subject’s personality.
Macro photography considerations
Use a Macro Lens or Extension Tubes: Invest in a macro lens or extension tubes to achieve high magnification and close focusing capabilities. Macro lenses are specifically designed for close-up photography and offer sharpness and clarity at close distances.
Focus on Depth of Field: Depth of field (DOF) is shallow in macro photography due to the close proximity to the subject. Use a narrow aperture (higher f-stop number) to increase DOF and ensure that more of the subject is in focus. However, be mindful of diffraction, which can reduce overall image sharpness at very small apertures.
Stabilize Your Camera: Even slight movements can result in blurry images in macro photography. Use a sturdy tripod to stabilize your camera and reduce camera shake. Consider using a remote shutter release or the camera’s self-timer to minimize vibrations when capturing the shot.
Consider Lighting: Lighting plays a crucial role in macro photography. Natural light can produce beautiful results, especially during the golden hour when the light is soft and diffused. Alternatively, use artificial lighting such as a macro ring flash or LED light panel to provide consistent and controllable illumination.
Composition: Pay attention to composition when shooting macro subjects. Experiment with different angles, perspectives, and framing to highlight the subject’s unique features and create visually engaging images. Look for interesting textures, patterns, and shapes to capture the viewer’s attention.
Manual Focus: In macro photography, autofocus may struggle to lock onto the desired focal point due to the shallow depth of field and small subject size. Consider using manual focus to precisely control the focus point and ensure sharpness where it matters most.
Patience and Practice: Macro photography requires patience and practice to master. Take your time to explore different subjects, experiment with lighting and composition, and refine your techniques. Don’t be afraid to experiment and try new approaches to achieve unique and compelling macro images.
Mind Your Background: Pay attention to the background when shooting macro subjects. Choose a background that complements the subject and enhances its visual impact. Consider using a shallow depth of field to blur the background and create separation between the subject and its surroundings.
Be Mindful of Wind and Weather: Macro photography often involves shooting outdoors, where factors like wind and weather can affect the stability of your subject and the quality of your images. Choose calm, still days or consider using a diffuser to soften harsh sunlight and minimize shadows.
Long exposure photography at low ISO
Long exposure photography at low ISO settings can produce stunning images with smooth motion blur, rich colors, and minimal noise. Here are some considerations and tips for successful long exposure photography at low ISO:
Choose the Right Scene: Long exposure photography is particularly effective for capturing scenes with flowing water, moving clouds, light trails, or other elements that exhibit motion. Look for subjects and compositions that lend themselves well to the ethereal and surreal effects of long exposures.
Use a Tripod: Stability is crucial for sharp long exposure images. Use a sturdy tripod to keep your camera steady throughout the exposure, minimizing the risk of camera shake. Consider using a remote shutter release or the camera’s self-timer to further reduce vibrations when triggering the shutter.
Compose Carefully: Pay attention to composition when setting up your shot. Consider the placement of key elements within the frame, leading lines, and the overall balance of the composition. Experiment with different angles and perspectives to create dynamic and visually compelling images.
Focus Manually: In long exposure photography, autofocus may struggle to lock onto the desired focal point, especially in low light conditions. Consider focusing manually to ensure precise focus where it matters most. Use live view mode and magnification to confirm critical focus before capturing the shot.
Use a Neutral Density (ND) Filter: ND filters reduce the amount of light entering the camera, allowing for longer exposure times even in bright conditions. Choose an appropriate strength ND filter based on the desired exposure length and ambient light levels. ND filters are especially useful for achieving longer exposures during the day.
Adjust Aperture and Shutter Speed: Use a narrow aperture (higher f-stop number) to maximize depth of field and ensure that the entire scene is in focus. Adjust the shutter speed to achieve the desired amount of motion blur. Longer shutter speeds result in more pronounced motion blur, while shorter shutter speeds may freeze motion more effectively.
Use Low ISO: Set your camera to its lowest ISO setting (usually ISO 100 or the base ISO) to minimize noise and maintain optimal image quality. Long exposure photography already gathers light over an extended period, so higher ISO settings are generally unnecessary and may introduce unwanted noise into the image.
Experiment and Be Patient: Long exposure photography requires experimentation and patience to achieve the desired results. Take the time to refine your composition, adjust exposure settings, and anticipate changes in light and motion. Be prepared to take multiple exposures to capture the perfect shot.
Review and Adjust: Review your images periodically during the shoot to assess exposure, composition, and focus. Make adjustments as needed to fine-tune your settings and achieve the best possible results.
Experimenting with ISO in unconventional ways
Experiment with Extreme Lighting Conditions: Challenge yourself to shoot in extreme lighting conditions where the use of ISO 100 might seem unconventional. Explore shooting in harsh midday sunlight or in dimly lit environments where you’ll need to maximize your camera’s dynamic range and exposure control to achieve stunning results.
Master Exposure Control: Use ISO 100 as an opportunity to master exposure control and refine your understanding of aperture, shutter speed, and ISO sensitivity. Experiment with different exposure settings to achieve precise control over the exposure triangle and create images with optimal brightness and tonal range.
Explore Minimalist Photography: Embrace the simplicity of minimalist photography and use ISO 100 to capture clean, uncluttered compositions with striking visual impact. Focus on creating images that rely on subtle details, negative space, and precise composition to convey a powerful message or evoke an emotional response.
Capture Subtle Textures and Tonal Gradations: Take advantage of ISO 100’s ability to capture fine details and subtle tonal gradations in your subjects. Explore shooting textures, patterns, and intricate details with macro or close-up photography to reveal the beauty of the world at a microscopic level.
Push the Boundaries of Long Exposure Photography: Experiment with long exposure photography at ISO 100 to capture ethereal landscapes, mesmerizing light trails, or dreamy water effects. Use neutral density filters and creative composition techniques to push the boundaries of what’s possible with long exposures and create images that evoke a sense of timelessness and serenity.
Express Emotion and Narrative: Use ISO 100 as a tool for expressing emotion and storytelling in your photography. Explore capturing candid moments, expressive portraits, or evocative scenes that convey a deeper narrative or evoke a strong emotional response from viewers.
Embrace High-Key and Low-Key Photography: Explore the creative possibilities of high-key and low-key photography at ISO 100. Experiment with creating images that are predominantly bright and airy or dark and moody, using controlled lighting, exposure adjustments, and post-processing techniques to achieve the desired effect.
Share Your Journey and Inspire Others: Document your creative journey with ISO 100 shooting and share your experiences, insights, and breakthroughs with fellow photographers. Inspire others to push their own boundaries, experiment with new techniques, and discover the unique creative possibilities that await when shooting at low ISO settings.