
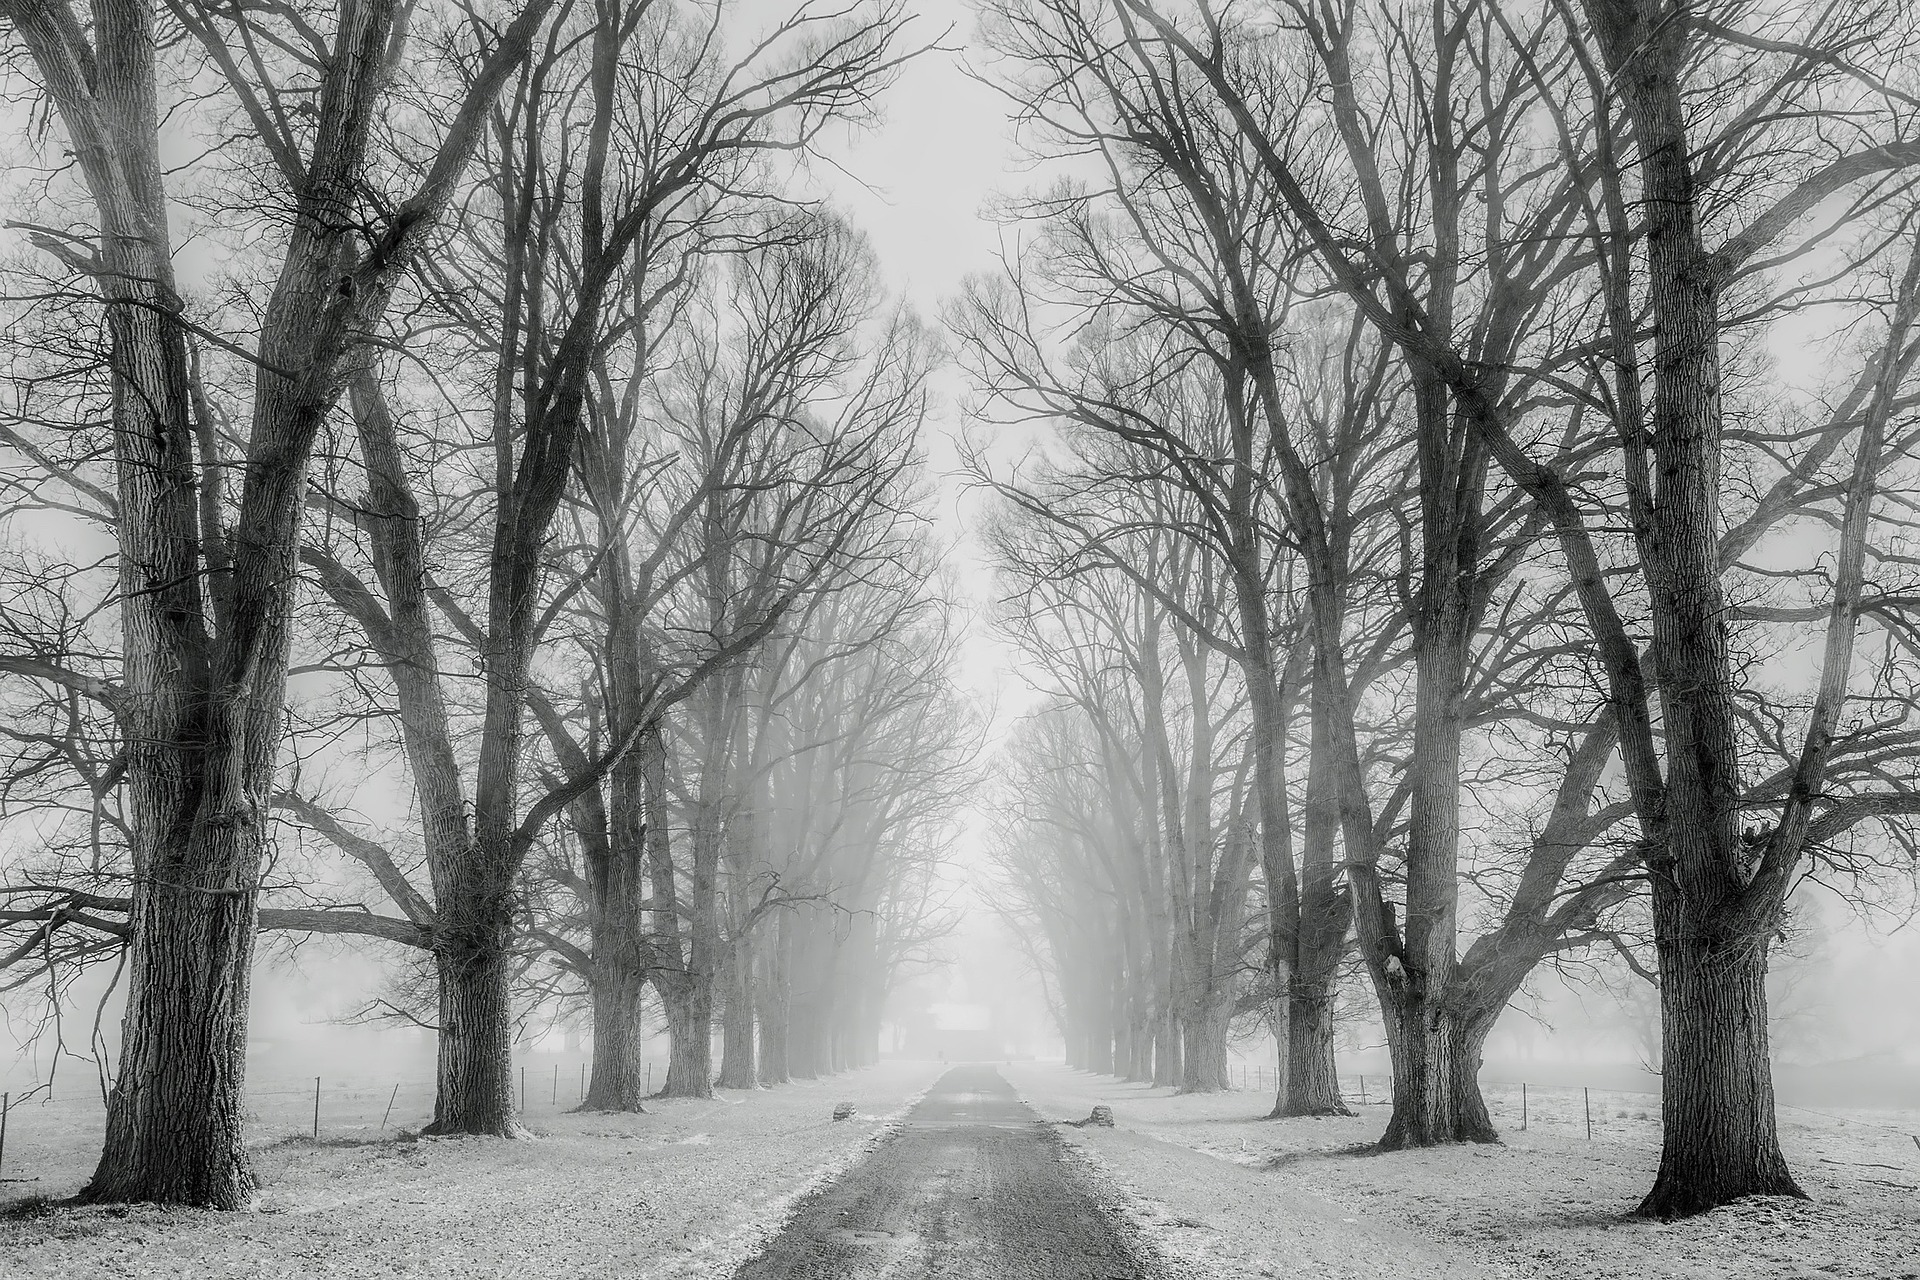
Long Exposures for Dramatic Black and White Photography
Long exposure photography is a captivating technique that allows photographers to capture the passage of time in a single frame. Unlike traditional photography, where the shutter opens and closes in a fraction of a second, long exposure photography involves leaving the shutter open for an extended period, often several seconds or even minutes. This extended exposure time enables the camera to record movement and changes in the scene, resulting in images that convey a sense of motion and dynamism.
Understanding the Concept of Time in Photography
In photography, time is a fundamental element that influences the visual narrative of an image. By manipulating exposure time, photographers can alter the way time is perceived within a photograph. Short exposures freeze a moment in time, capturing action with crisp detail, while long exposures blur motion, creating a sense of fluidity and movement.
Long exposures offer a unique way to depict the passage of time, whether it’s the graceful movement of clouds across the sky, the gentle flow of water in a stream, or the bustling activity of a cityscape at night. By extending the exposure time, photographers can reveal hidden patterns, rhythms, and interactions that are invisible to the naked eye, transforming ordinary scenes into extraordinary visual experiences.
Exploring the Impact of Long Exposures on Images
The use of long exposures can dramatically alter the mood and atmosphere of a photograph. In landscapes, long exposures can smooth out rough textures, creating a sense of serenity and tranquility. In urban settings, long exposures can emphasize the bustling energy of a city, with streaks of light tracing the paths of vehicles and pedestrians.
Long exposures also have the power to simplify complex scenes, stripping away distracting elements and focusing attention on key elements of the composition. By blurring motion, long exposures can convey a sense of timelessness, inviting viewers to contemplate the passage of time and the transient nature of existence.
Equipment Needed for Long Exposure Photography
While long exposure photography can be accomplished with virtually any camera, there are several pieces of equipment that are essential for achieving the best results:
Camera: A digital or film camera capable of manual exposure control is necessary for long exposure photography. DSLR and mirrorless cameras are popular choices due to their versatility and control options.
Tripod: A sturdy tripod is essential for stabilizing the camera during long exposures. It helps prevent camera shake and ensures sharp images, especially in low light conditions.
Remote Shutter Release: A remote shutter release allows photographers to trigger the camera without physically touching it, minimizing the risk of introducing camera shake during long exposures.
Neutral Density Filters: Neutral density (ND) filters reduce the amount of light entering the camera, allowing for longer exposure times in bright conditions. They are particularly useful for daytime long exposure photography, such as capturing smooth waterfalls or softening the motion of clouds.
Lens Hood: A lens hood helps block stray light from entering the lens, reducing the risk of lens flare and improving image contrast, especially when shooting towards bright light sources.
By investing in the right equipment and mastering the techniques of long exposure photography, photographers can unlock a world of creative possibilities and capture images that transcend the ordinary, conveying the beauty and dynamism of the world around us.
Planning Your Shots
Long exposure photography requires careful planning and consideration to achieve compelling results. In this chapter, we’ll explore the key aspects of planning your shots, from selecting the right location to composing your image for maximum impact.
Choosing the Right Location for Long Exposure Photography
The choice of location plays a crucial role in the success of your long exposure images. Look for scenes with elements that lend themselves well to the long exposure effect, such as moving water, clouds, traffic, or people. Coastal areas with crashing waves, rivers with flowing waterfalls, and urban environments with bustling streets are popular choices for long exposure photography.
When scouting locations, consider factors such as accessibility, safety, and composition opportunities. Look for vantage points that offer interesting perspectives and foreground elements that can add depth and context to your images.
Understanding Light Conditions and Their Effect on Long Exposures
Lighting conditions have a significant impact on long exposure photography. In bright daylight, achieving long exposures can be challenging due to the abundance of light, which can result in overexposed images. To overcome this, use neutral density (ND) filters to reduce the amount of light entering the camera, allowing for longer exposure times without overexposure.
In low light conditions, such as during sunrise, sunset, or at night, long exposures can yield stunning results with rich colors and dramatic contrasts. Experiment with different shutter speeds to capture the changing light and mood of the scene.
Composing Your Shot for Maximum Impact
Composition is key to creating visually compelling long exposure images. Pay attention to the arrangement of elements within the frame, keeping in mind principles such as the rule of thirds, leading lines, and symmetry. Use foreground elements to anchor the composition and lead the viewer’s eye into the scene.
Experiment with different perspectives and angles to find the most dynamic composition. Consider the movement of elements within the frame and how they interact with each other over the course of a long exposure. Look for patterns, textures, and shapes that can enhance the visual impact of your images.
Tips for Scouting Locations and Planning Your Shoots
Research potential shooting locations in advance using online resources, photography forums, and social media platforms. Look for images taken by other photographers to get inspiration and ideas for compositions.
Visit potential locations during different times of the day to assess the quality of light and the potential for interesting long exposure effects.
Check weather forecasts and plan your shoots accordingly. Cloudy or overcast conditions can create soft, diffused light that is ideal for long exposure photography, while clear skies can result in harsh, contrasty light.
Be patient and persistent when scouting locations. The perfect shot may require multiple visits and careful planning to achieve.
By carefully selecting locations, understanding light conditions, composing your shots effectively, and planning your shoots in advance, you’ll be well-equipped to create stunning long exposure images that captivate viewers and evoke a sense of wonder and awe.
Mastering Camera Settings
To master long exposure photography, it’s essential to understand and manipulate your camera settings effectively. In this chapter, we’ll delve into the key camera settings and techniques that are crucial for capturing stunning long exposure images.
Understanding Exposure Settings: Aperture, Shutter Speed, and ISO
Exposure settings—aperture, shutter speed, and ISO—play a critical role in determining the overall exposure and look of your long exposure images.
Aperture: The aperture controls the amount of light that passes through the lens to the camera sensor. A wide aperture (low f-number) lets in more light and creates a shallower depth of field, while a narrow aperture (high f-number) lets in less light and increases the depth of field. When shooting long exposures, consider using a mid-range aperture (e.g., f/8 to f/16) to achieve sharpness throughout the frame while avoiding diffraction effects.
Shutter Speed: Shutter speed determines the duration for which the camera’s shutter remains open, allowing light to reach the sensor. In long exposure photography, shutter speed is particularly crucial, as it dictates the amount of motion blur in the final image. Experiment with different shutter speeds to achieve the desired effect—slower shutter speeds (e.g., several seconds to minutes) result in more pronounced motion blur, while faster shutter speeds freeze motion.
ISO: ISO refers to the sensitivity of the camera sensor to light. Higher ISO settings make the sensor more sensitive to light, allowing for faster shutter speeds in low-light conditions. However, increasing the ISO also introduces digital noise and reduces image quality. For long exposure photography, it’s generally recommended to use the lowest ISO setting (e.g., ISO 100 or the camera’s base ISO) to minimize noise and preserve image detail.
Selecting the Appropriate Shutter Speed for Different Effects
The choice of shutter speed is critical in long exposure photography, as it determines the degree of motion blur and the overall mood of the image.
Slow Shutter Speeds: Slower shutter speeds (e.g., several seconds to minutes) are ideal for capturing smooth, flowing motion in subjects such as waterfalls, rivers, clouds, and traffic. Experiment with different shutter speeds to achieve the desired amount of motion blur and visual impact.
Fast Shutter Speeds: In some cases, you may want to use faster shutter speeds to freeze motion and capture crisp, detailed images. For example, when photographing moving subjects in low-light conditions or when incorporating long exposures into portrait or street photography.
Utilizing Neutral Density Filters to Control Exposure
Neutral density (ND) filters are essential tools for long exposure photography, allowing you to control exposure and achieve longer shutter speeds even in bright conditions. ND filters come in various strengths, measured in stops, which indicate the amount of light they block.
ND filters are particularly useful for daytime long exposure photography, where the abundance of light can make it challenging to achieve slow shutter speeds without overexposing the image. By using ND filters, you can extend the exposure time and create stunning long exposure effects in harsh lighting conditions.
Experimenting with Bracketing and Exposure Blending Techniques
Bracketing and exposure blending techniques can help you achieve optimal exposure and dynamic range in your long exposure images, especially in high-contrast scenes.
Bracketing: Bracketing involves taking multiple exposures of the same scene at different exposure settings, typically varying the shutter speed. By bracketing your shots, you can ensure that you capture detail in both the highlights and shadows of the scene. Bracketed exposures can then be blended together in post-processing to create a final image with balanced exposure.
Exposure Blending: Exposure blending involves blending multiple exposures of the same scene to achieve the desired level of detail and tonal range. This technique is particularly useful when shooting high-contrast scenes, where a single exposure may not capture the full dynamic range of the scene. By blending multiple exposures with different shutter speeds or exposure settings, you can retain detail in both the highlights and shadows, resulting in a more balanced and visually appealing final image.
By mastering exposure settings, selecting the appropriate shutter speed for different effects, utilizing neutral density filters, and experimenting with bracketing and exposure blending techniques, you’ll be well-equipped to create stunning long exposure images that showcase the beauty and dynamism of the world around you.
Techniques for Black and White Conversion
Black and white photography offers a timeless and evocative aesthetic that can elevate your images to new heights. In this chapter, we’ll explore the techniques and methods for converting color images to black and white, enhancing contrast and tonality, and utilizing dodging and burning techniques to add depth and drama to your black and white photographs.
The Art of Seeing in Black and White
Seeing in black and white requires a shift in perspective, as you need to visualize how different colors will translate into shades of gray. When composing your shot, pay attention to contrast, texture, and shape, as these elements can have a significant impact on the final black and white image. Look for scenes with strong lines, patterns, and tonal variations that will translate well into black and white.
Converting Color Images to Black and White Using Software
While some cameras offer a black and white shooting mode, the most common method for creating black and white images is to convert color images using post-processing software. Most photo editing software, such as Adobe Lightroom, Photoshop, and various mobile apps, provide tools and filters specifically designed for black and white conversion.
When converting color images to black and white, experiment with different conversion methods, such as desaturation, channel mixing, and black and white presets. Each method offers unique results and allows you to control the tonal range and contrast of the final image.
Enhancing Contrast and Tonality for Dramatic Effect
Contrast and tonality are essential elements in black and white photography, as they help define the mood and atmosphere of the image. To enhance contrast and tonality in your black and white images, consider the following techniques:
Adjusting Contrast: Use contrast adjustments to increase the difference between light and dark areas in the image. This can be done using contrast sliders in editing software or by applying local adjustments to specific areas of the image.
Fine-tuning Tonality: Pay attention to the distribution of tones in your black and white images, ensuring a balance between highlights, midtones, and shadows. Adjust tonal sliders, such as exposure, brightness, and shadows, to fine-tune the overall tonality of the image.
Adding Texture: Enhance the texture and detail in your black and white images by applying sharpening or clarity adjustments. This can help bring out subtle details and textures in the subject, adding depth and dimension to the image.
Utilizing Dodging and Burning Techniques in Post-Processing
Dodging and burning are traditional darkroom techniques used to selectively lighten (dodge) or darken (burn) areas of a photograph. In digital post-processing, dodging and burning can be applied using adjustment brushes or layers masks in editing software.
Dodging: Use dodging to selectively lighten areas of the image that you want to emphasize or bring attention to. This can include highlights, faces, or other important elements of the composition. Dodging can help create a sense of depth and dimension in the image, drawing the viewer’s eye to specific areas of interest.
Burning: Use burning to selectively darken areas of the image that you want to de-emphasize or add drama to. This can include shadows, distracting elements, or areas of low contrast. Burning can help enhance the overall mood and atmosphere of the image, creating a more dynamic and visually compelling composition.
By mastering the art of seeing in black and white, converting color images to black and white using software, enhancing contrast and tonality, and utilizing dodging and burning techniques in post-processing, you’ll be able to create stunning black and white images that evoke emotion, capture the essence of a scene, and stand the test of time.
Creative Long Exposure Ideas
Long exposure photography offers endless creative possibilities, allowing you to capture motion, create surreal effects, and add drama to your images. In this chapter, we’ll explore a variety of creative long exposure ideas across different genres of photography.
Capturing Motion in Landscapes and Seascapes
Long exposure techniques are particularly well-suited for capturing the dynamic movement of landscapes and seascapes. Here are some ideas to inspire your landscape and seascape photography:
Waterfalls and Rivers: Use long exposures to capture the silky-smooth flow of waterfalls and rivers. Experiment with different shutter speeds to achieve the desired level of motion blur and enhance the sense of movement in the water.
Waves and Tides: Capture the ebb and flow of waves and tides along the coastline. Long exposures can transform crashing waves into ethereal mist and create a sense of serenity and tranquility in your seascape images.
Clouds and Sky: Use long exposures to capture the movement of clouds across the sky. Cloud streaks can add drama and dynamism to your landscape compositions, especially during sunrise or sunset when the sky is painted with vibrant colors.
Creating Surreal Effects with Moving Subjects
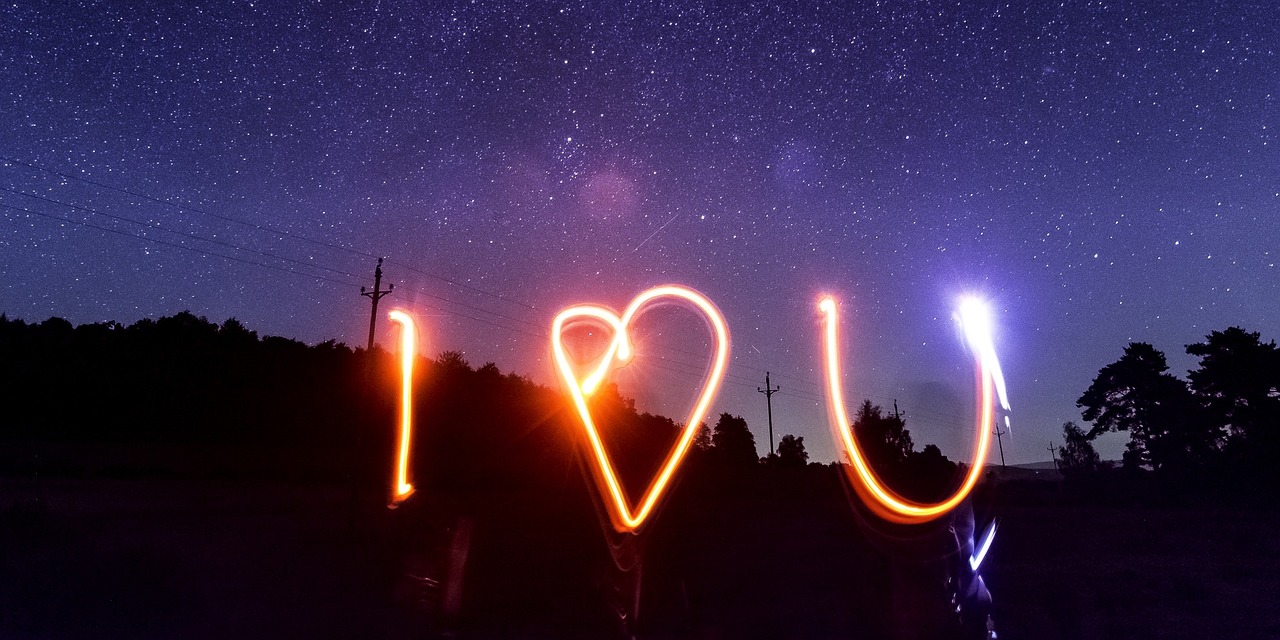
Long exposures can also be used to create surreal and otherworldly effects with moving subjects. Here are some creative ideas to experiment with:
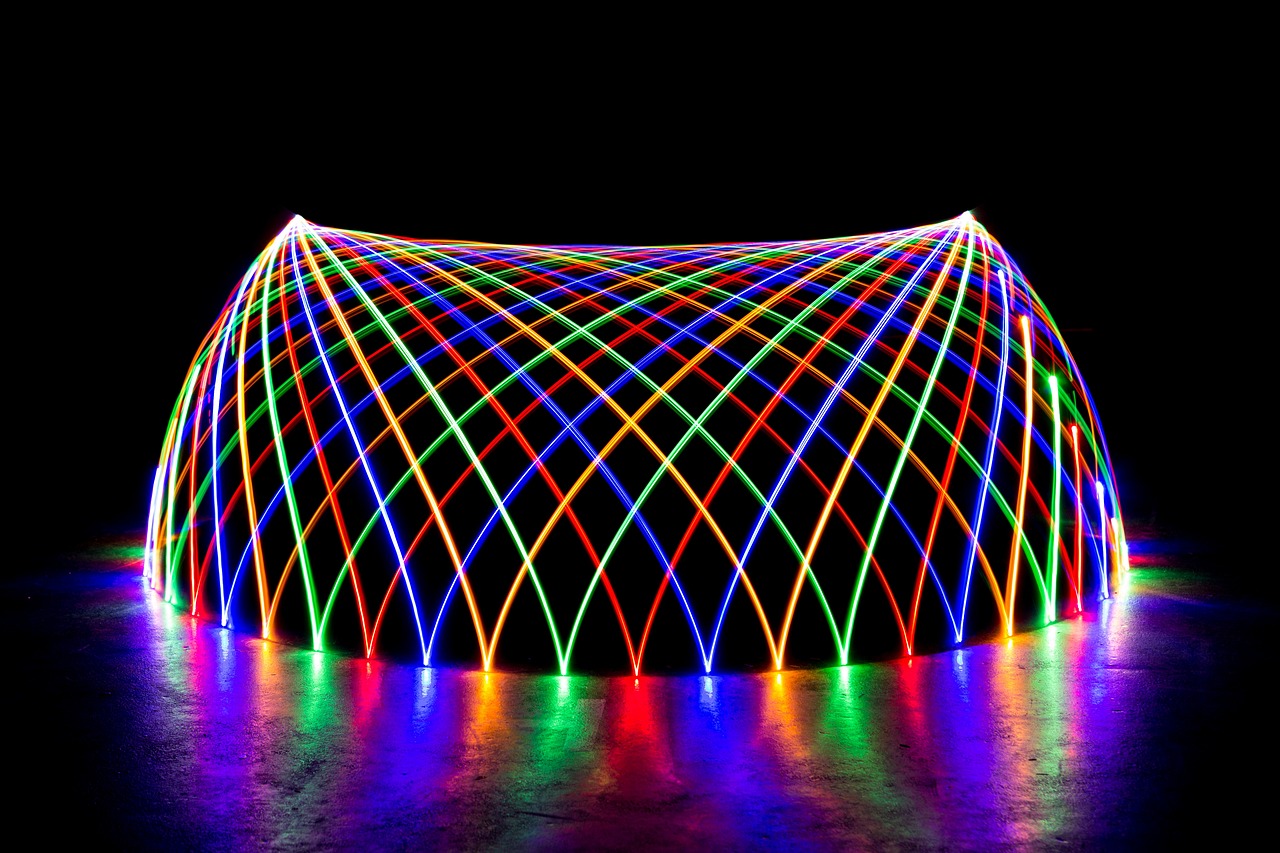
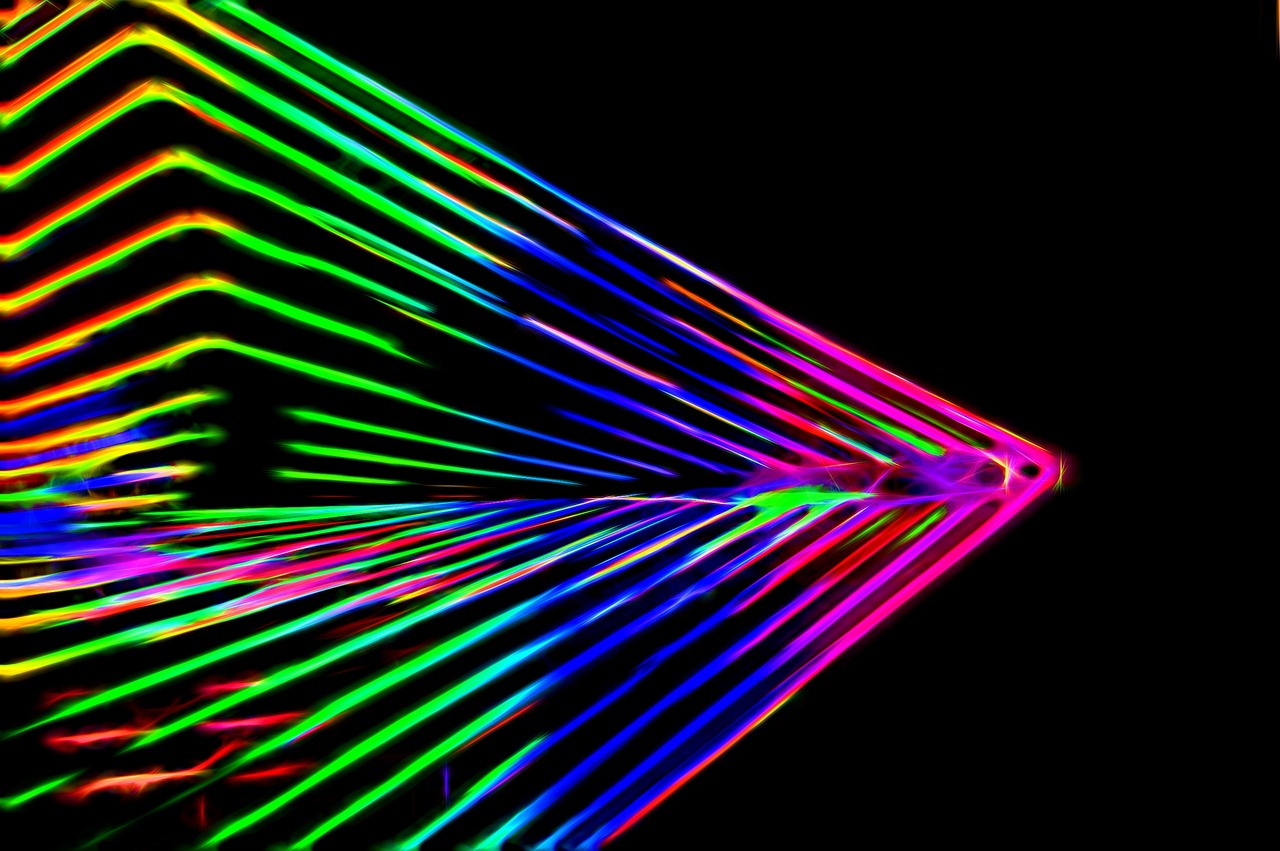
Light Painting: Use handheld light sources, such as flashlights or LED wands, to paint light trails and patterns in the air during long exposures. Light painting allows you to add unique and colorful accents to your images, creating a sense of magic and wonder.
Traffic Trails: Capture the hustle and bustle of city life by photographing traffic trails at night. Position yourself overlooking busy streets or intersections and use long exposures to capture the streaks of light created by passing vehicles. Experiment with different compositions and perspectives to create visually dynamic images.
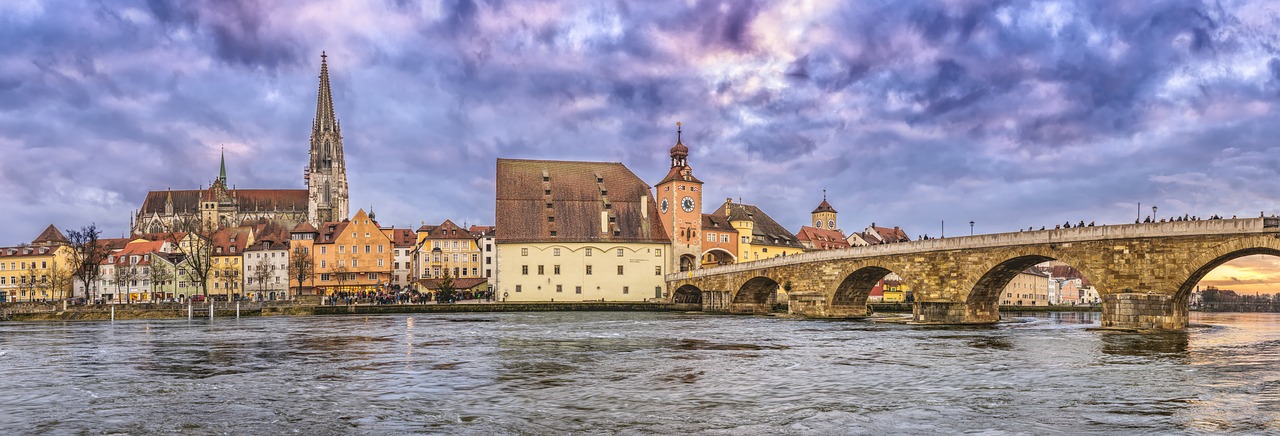
Using Long Exposures for Architectural Photography
Long exposures can add drama and atmosphere to architectural photography, highlighting the beauty of buildings and structures. Here are some ideas to explore:
Light Trails: Incorporate light trails from passing cars or trains to add movement and energy to architectural compositions. Position yourself near busy roads or railways and use long exposures to capture the trails of light created by moving vehicles.
Reflections: Use long exposures to capture reflections of buildings and structures in bodies of water, such as rivers, lakes, or ponds. Reflections can add symmetry and depth to architectural compositions, creating visually compelling images.
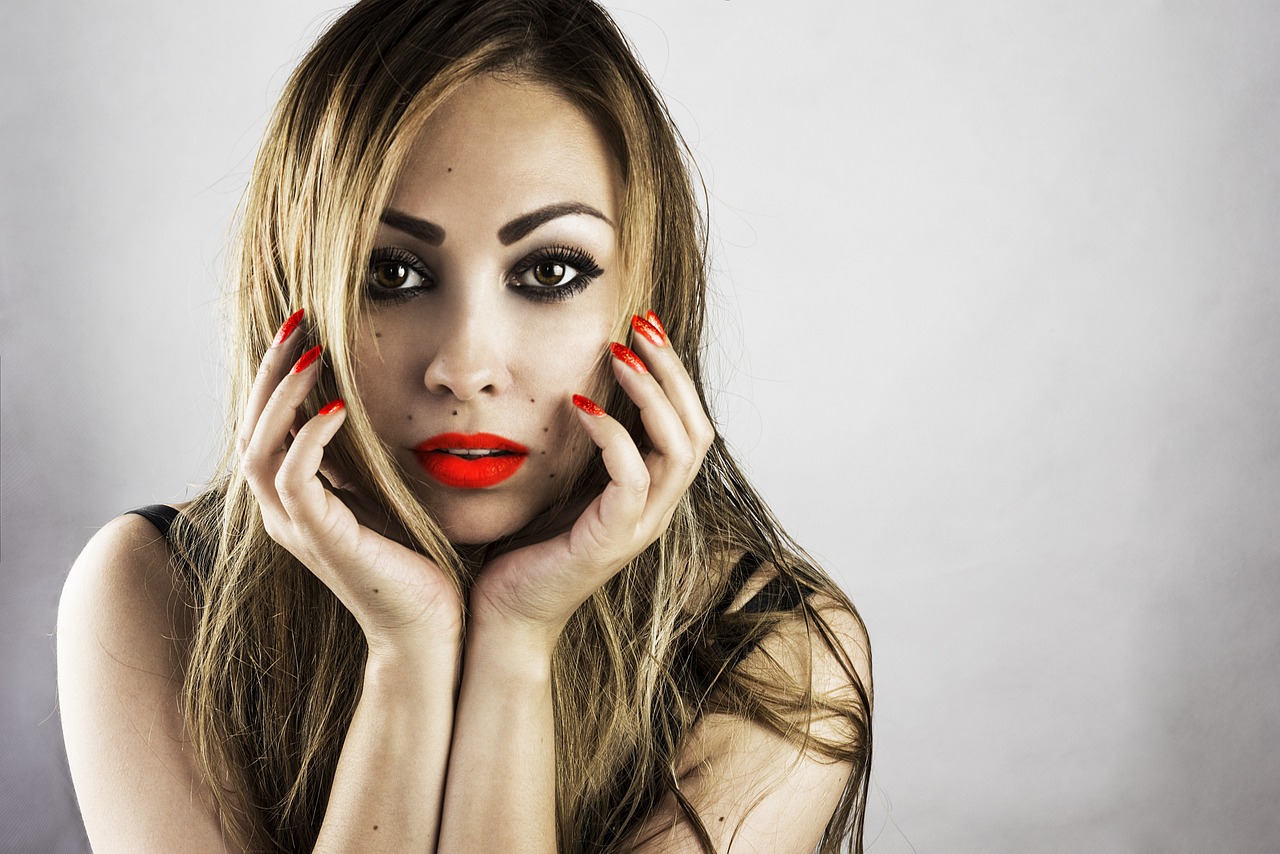
Incorporating Long Exposures into Portrait and Street Photography
Long exposures can also be used creatively in portrait and street photography to capture unique and atmospheric images. Here are some ideas to consider:
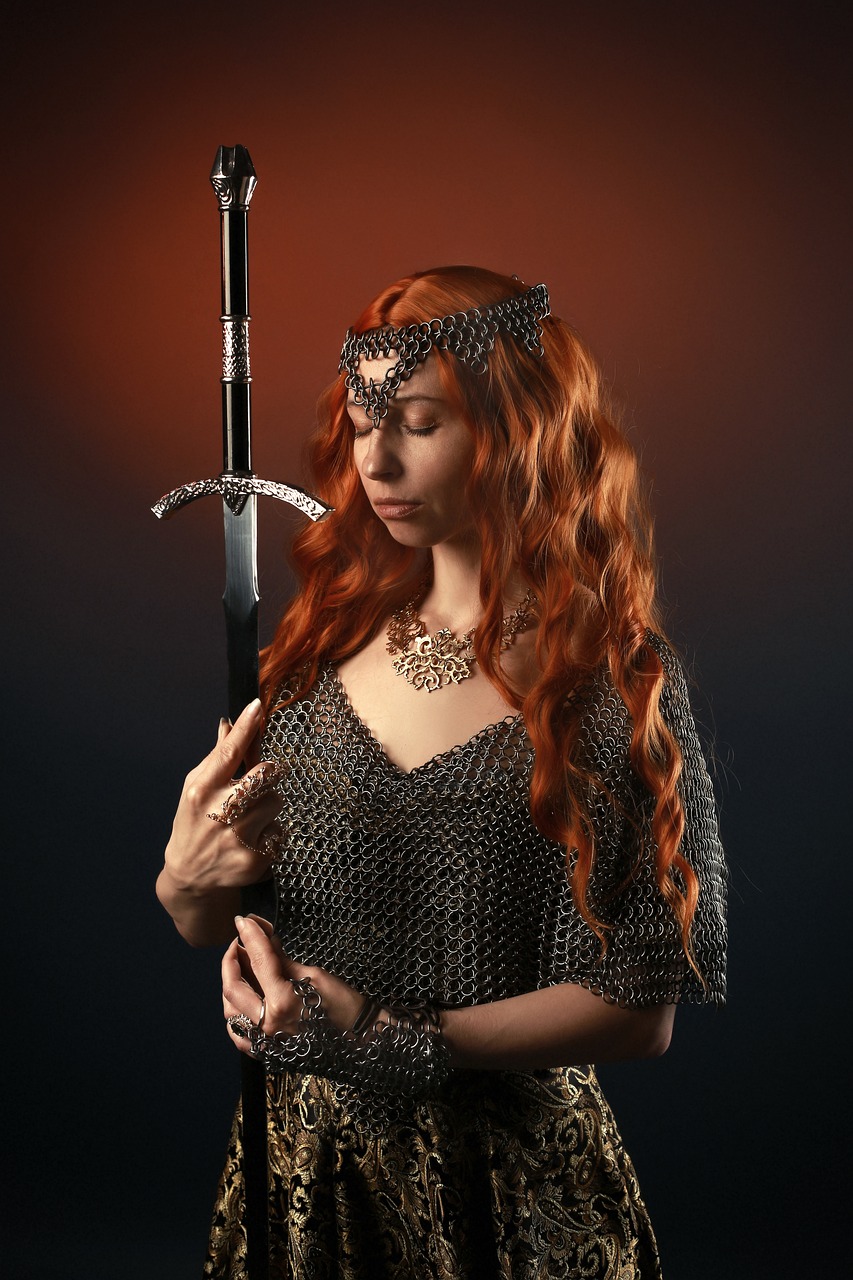
Motion Blur: Experiment with intentional motion blur to add a sense of movement and spontaneity to portrait and street photography. Encourage your subjects to move or walk slowly during the exposure, creating dynamic and candid images.
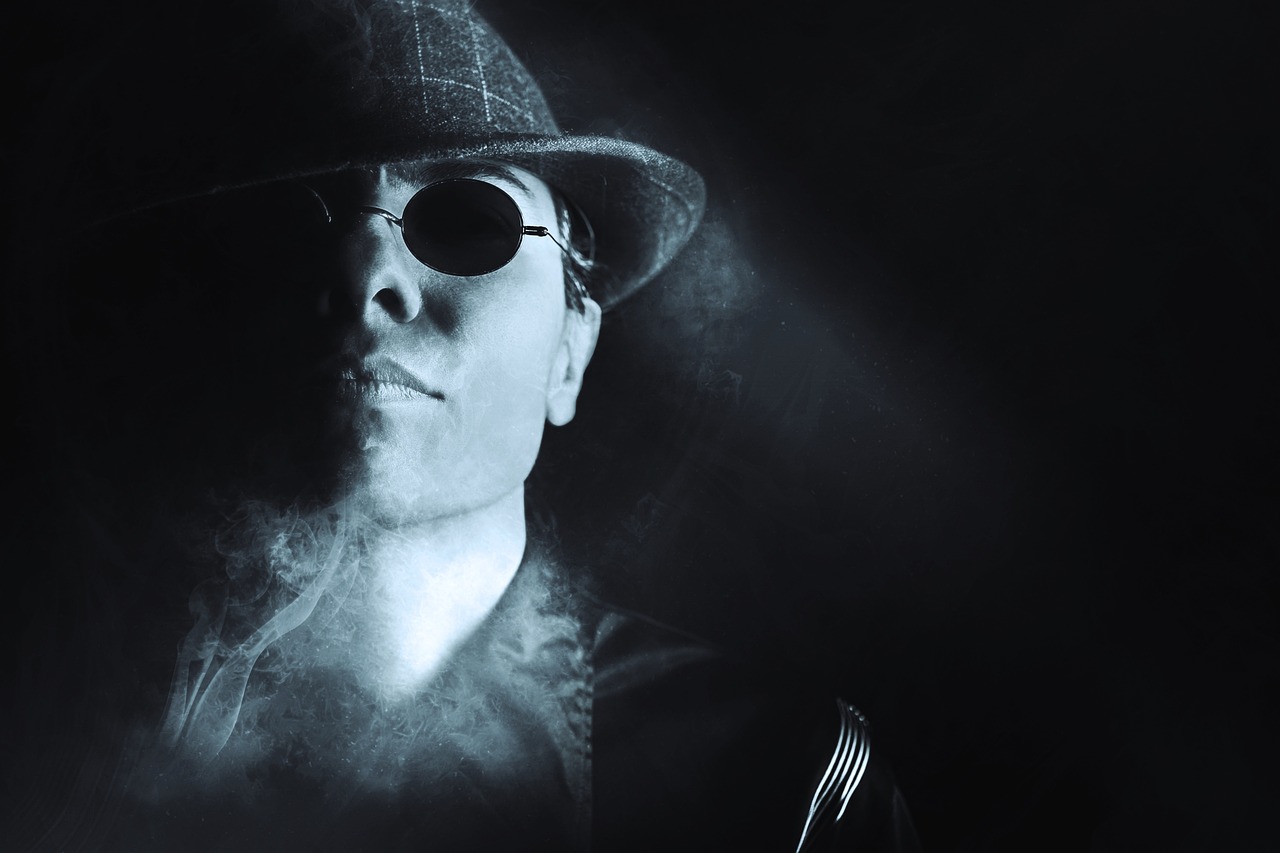
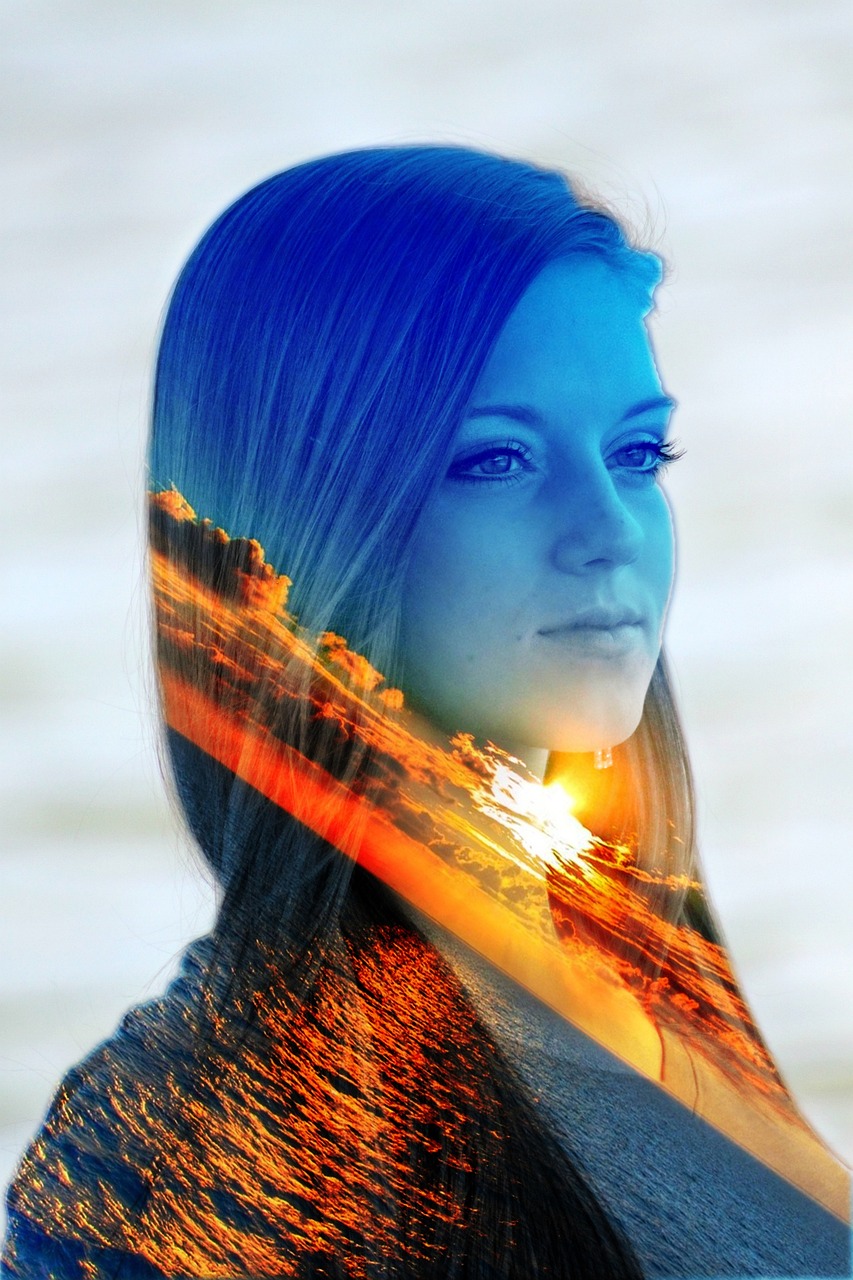
Night Portraits: Use long exposures to capture portraits illuminated by artificial light sources, such as streetlights or neon signs. Experiment with different light sources and compositions to create visually striking night portraits with a cinematic quality.
By exploring these creative long exposure ideas and techniques, you’ll be able to push the boundaries of your photography and create captivating images that inspire and evoke emotion. Don’t be afraid to experiment and embrace the unexpected—some of the most memorable photographs are born out of experimentation and creative exploration.
Advanced Tips and Tricks
Long exposure photography offers endless opportunities for creativity and experimentation. In this chapter, we’ll explore advanced tips and techniques to help you take your long exposure images to the next level.
Creating Light Trails and Star Trails
Light trails and star trails are popular subjects in long exposure photography, offering stunning visual effects that capture the passage of time. Here’s how to create these captivating images:
Light Trails: To capture light trails, position yourself near a busy road or intersection during the evening or night. Use a tripod to keep your camera steady and choose a slow shutter speed to allow passing vehicles to create streaks of light. Experiment with different compositions and perspectives to capture dynamic and visually striking light trails.
Star Trails: To capture star trails, choose a clear night with minimal light pollution and set up your camera on a sturdy tripod. Use a wide-angle lens and select a long exposure time (several minutes to hours) to capture the apparent movement of the stars across the night sky. Consider using a remote shutter release or intervalometer to automate the process and avoid camera shake.
Harnessing Multiple Exposures for Creative Composites
Multiple exposures allow you to combine multiple images into a single composite, creating unique and visually stunning effects. Here are some ideas for harnessing multiple exposures in your long exposure photography:
Composite Landscapes: Combine multiple exposures of the same landscape scene, each captured at different times of day or under different lighting conditions, to create a composite image that showcases the changing mood and atmosphere of the landscape.
Light Painting Composites: Create composite images by combining multiple exposures of the same scene, each illuminated with different light sources or light painting techniques. Experiment with different lighting effects and compositions to create surreal and otherworldly images.
Blending Long Exposures with HDR Techniques
High Dynamic Range (HDR) photography involves blending multiple exposures of the same scene, each captured at different exposure levels, to create an image with enhanced dynamic range and detail. Here’s how to blend long exposures with HDR techniques:
Bracketed Exposures: Capture multiple exposures of the same scene, varying the exposure settings to ensure that detail is preserved in both the highlights and shadows of the image.
HDR Blending: Use HDR software or editing tools to blend the bracketed exposures into a single HDR image. Adjust the tone mapping and contrast settings to enhance the dynamic range and detail of the final image while maintaining a natural and realistic look.
Troubleshooting Common Challenges in Long Exposure Photography
Long exposure photography comes with its own set of challenges, from camera shake to overexposure. Here are some common challenges and how to overcome them:
Camera Shake: Use a sturdy tripod and remote shutter release to minimize camera shake during long exposures. Consider using mirror lock-up or electronic first curtain shutter to further reduce vibrations.
Overexposure: In bright daylight, achieving long exposures without overexposing the image can be challenging. Use neutral density filters to reduce the amount of light entering the camera and allow for longer exposure times.
Noise: Long exposures can increase digital noise in the image, especially in low-light conditions. Use the lowest ISO setting possible and consider using noise reduction techniques in post-processing to minimize noise and preserve image detail.
By mastering advanced techniques such as creating light trails and star trails, harnessing multiple exposures for creative composites, blending long exposures with HDR techniques, and troubleshooting common challenges, you’ll be able to push the boundaries of your long exposure photography and create stunning images that captivate viewers and evoke emotion.
Building Your Portfolio and Sharing Your Work
Building a successful career in long exposure photography involves more than just taking great photos—it requires developing your personal style, building a strong portfolio, sharing your work with others, and exploring opportunities for exposure and monetization. In this chapter, we’ll explore strategies for developing your personal style, building a portfolio, sharing your images, and leveraging opportunities to exhibit and sell your work.
Developing Your Personal Style in Long Exposure Photography
Your personal style is what sets your work apart from others and makes it uniquely yours. To develop your personal style in long exposure photography, experiment with different techniques, subjects, and compositional styles until you find what resonates with you. Consider the following tips:
Study the work of other photographers and artists for inspiration, but don’t try to imitate them. Instead, focus on what aspects of their work appeal to you and incorporate those elements into your own style.
Experiment with different subjects and locations to find what interests you most. Whether it’s landscapes, seascapes, urban scenes, or abstract compositions, explore a variety of subjects to discover where your passion lies.
Pay attention to the mood, atmosphere, and emotions conveyed in your images. Your personal style is not just about how your photos look, but also how they make viewers feel.
Don’t be afraid to take risks and push the boundaries of your creativity. Embrace experimentation and be open to trying new techniques and ideas.
Building a Portfolio That Showcases Your Best Work
A strong portfolio is essential for showcasing your talent and attracting clients, collaborators, and opportunities in the photography industry. Here’s how to build a portfolio that highlights your best work:
Select your strongest images: Choose a selection of your best long exposure photographs that demonstrate your technical skill, artistic vision, and personal style. Focus on quality over quantity and only include images that you’re truly proud of.
Organize your portfolio: Arrange your images in a cohesive and visually appealing manner, grouping them by theme, subject, or style. Consider the flow and narrative of your portfolio, and arrange your images in a way that tells a compelling story about your work.
Tailor your portfolio to your audience: Customize your portfolio to suit the preferences and interests of your target audience, whether it’s potential clients, galleries, or photography enthusiasts. Highlight the aspects of your work that are most relevant to your audience’s interests and needs.
Sharing Your Images Online and Participating in Photography Communities
In today’s digital age, sharing your images online is an essential part of building your brand and reaching a wider audience. Here are some tips for sharing your images online and participating in photography communities:
Create a professional website or online portfolio to showcase your work. Invest in a clean and user-friendly design that highlights your images and provides visitors with easy access to your contact information, portfolio, and other relevant content.
Share your images on social media platforms such as Instagram, Facebook, Twitter, and Flickr. Use relevant hashtags and engage with other users in the photography community to increase visibility and attract followers.
Participate in online photography forums, groups, and communities to connect with other photographers, share knowledge and experiences, and seek feedback on your work. Be active and contribute valuable insights and advice to establish yourself as a respected member of the community.
Exploring Opportunities for Exhibiting and Selling Your Work
Exhibiting and selling your work can provide valuable exposure and income opportunities as a long exposure photographer. Here are some avenues to explore:
Participate in art fairs, exhibitions, and gallery shows to showcase your work to a wider audience and connect with potential buyers and collectors.
Collaborate with local businesses, cafes, restaurants, and galleries to display your work in their establishments. Consider offering prints for sale or commissioning custom installations to enhance the ambiance and decor of the space.
Explore online platforms and marketplaces such as Etsy, Fine Art America, and Saatchi Art to sell your prints and artwork to a global audience. Take advantage of print-on-demand services to offer a wide range of products, from prints and canvases to greeting cards and merchandise.