


20 ideas for campfire or bonfire scenes in night photography
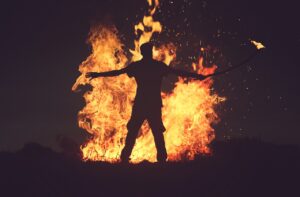
Silhouette Portrait: Capture the silhouettes of people or objects against the bright glow of the fire.
Long Exposure Trails: Use a longer exposure to capture the movement of people or objects around the fire, creating light trails.
Embers in Motion: Focus on the flying embers as they dance and glow in the night sky.
Bokeh Bonfire: Create a dreamy and magical atmosphere by using a wide aperture to capture bokeh lights from the fire.
Starry Night Sky: Include a starry night sky in your frame to juxtapose the warm fire glow with the coolness of the stars.
Light Painting: Experiment with light painting techniques by using flashlights or colored gels to illuminate specific areas around the fire.
Sparkler Trails: Use sparklers or fireworks to add dynamic and vibrant light trails to your composition.
Campfire Cooking: Capture the process of cooking or roasting food over the fire, showcasing the flames and the delicious treats.
Fire Reflections: Look for bodies of water nearby and capture the reflection of the fire in the calm surface.
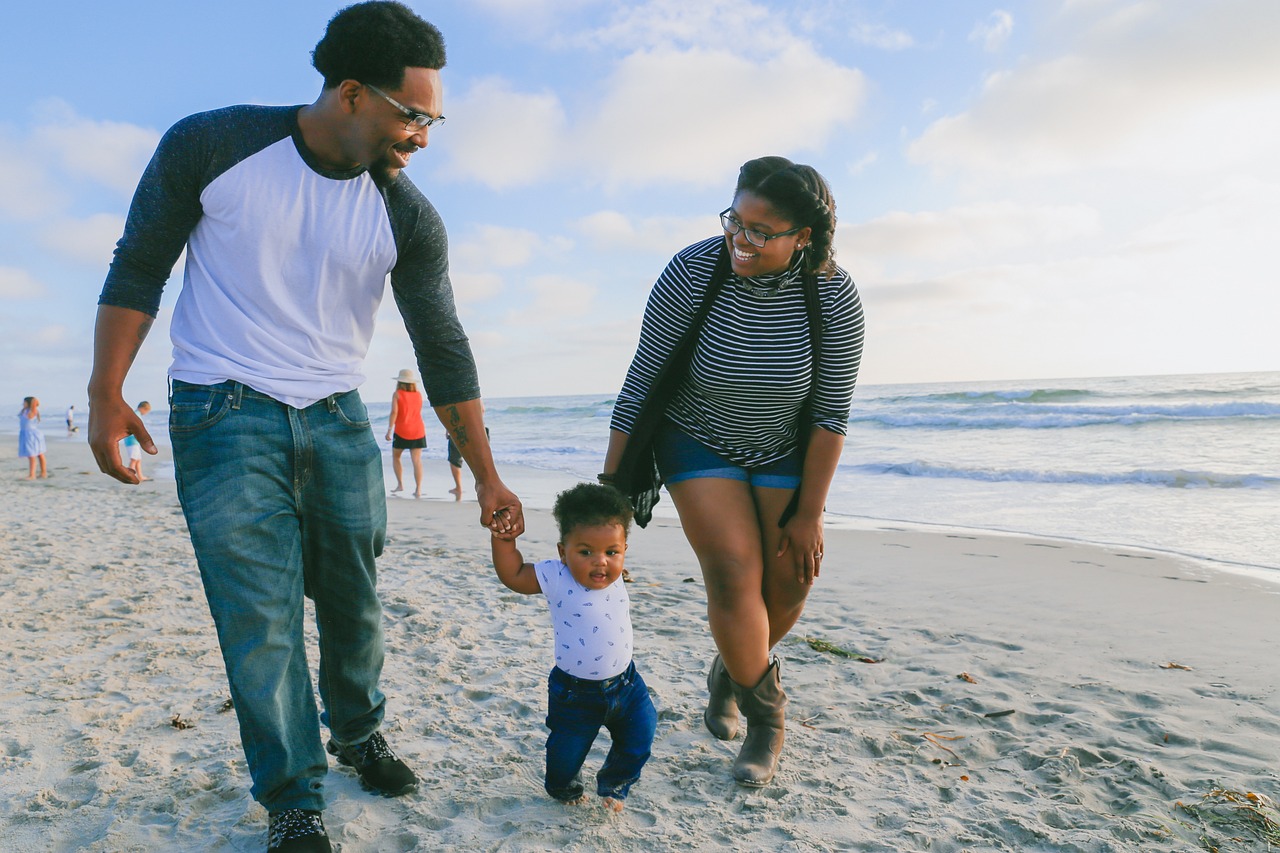
Campfire Circle: Capture the interaction and camaraderie of people gathered around the fire, focusing on their faces and expressions.
Fire’s Glow on Nature: Highlight the contrast between the fire’s warm glow and the surrounding natural elements such as trees, leaves, or flowers.
Storytelling: Use a series of images to tell a visual story, capturing different moments and emotions around the fire.
Close-ups: Focus on the intricate details of the fire, such as the burning wood, sparks, or the glowing coals.
Fire Trails: Experiment with zooming in or out during a long exposure to create unique fire trails that fill the frame.
Night Camping: Incorporate elements of camping, such as tents or sleeping bags, to showcase the experience of camping under the stars.
Warmth in the Cold: Use the contrast between the cold surroundings and the warm fire to evoke a sense of coziness and comfort.
Fire Dancers: If there are fire performers or dancers present, capture their graceful movements and the trails of fire they create.
Shadows and Light: Play with the interplay of shadows cast by the fire, capturing the contrast between light and dark.
Intimate Moments: Capture candid and intimate moments shared around the fire, such as conversations, laughter, or storytelling.
Experimental Techniques: Try using multiple exposures, double exposures, or light leaks to add a creative and artistic touch to your images.
Remember to prioritize safety when photographing fire scenes and be mindful of your surroundings. Enjoy the process and let your creativity guide you to capture captivating night photographs of campfire or bonfire scenes.
Smoke and Flames: Focus on the patterns and movement of smoke rising from the fire and intertwining with the flames. This can create dramatic and abstract compositions.
Colorful Flames: Experiment with using colorants or chemicals that produce colorful flames. These additives can create vibrant and unique visual effects in your images.
Time-lapse: Set up your camera on a stable tripod and capture a time-lapse sequence of the fire’s evolution over time. This can showcase the dynamic nature of the flames and create visually stunning results.
Foreground Elements: Incorporate interesting foreground elements, such as rocks, logs, or vegetation, to add depth and texture to your composition. These elements can help create a stronger visual narrative and frame the fire within the scene.
Light Trails: If there are any sources of light or movement around the fire, such as people walking or cars passing by, use longer exposures to capture light trails. This can add an additional layer of interest and energy to your images.
Contrast and Shadows: Experiment with the contrast between the bright fire and the surrounding darkness. Utilize the interplay of shadows and highlights to create visually striking compositions.
Bokeh Shapes: Cut out small shapes from black paper and place them over your lens to create bokeh shapes in the out-of-focus areas of your image. This can add a whimsical and creative touch to your campfire photographs.
Low-Level Lighting: Instead of relying solely on the fire for illumination, consider using low-level artificial lighting or flashlights to selectively light up specific areas of the scene. This can help balance the exposure and create a more dynamic composition.
Storytelling Elements: Look for objects or details around the fire that tell a story or evoke a specific emotion. This can include camping gear, instruments, or personal belongings. Incorporating these elements can add depth and narrative to your photographs.
Post-Processing: Once you’ve captured your images, don’t hesitate to experiment with post-processing techniques to enhance the mood, colors, and overall impact of your photographs. Adjusting the contrast, saturation, and exposure levels can help you achieve the desired look and feel.
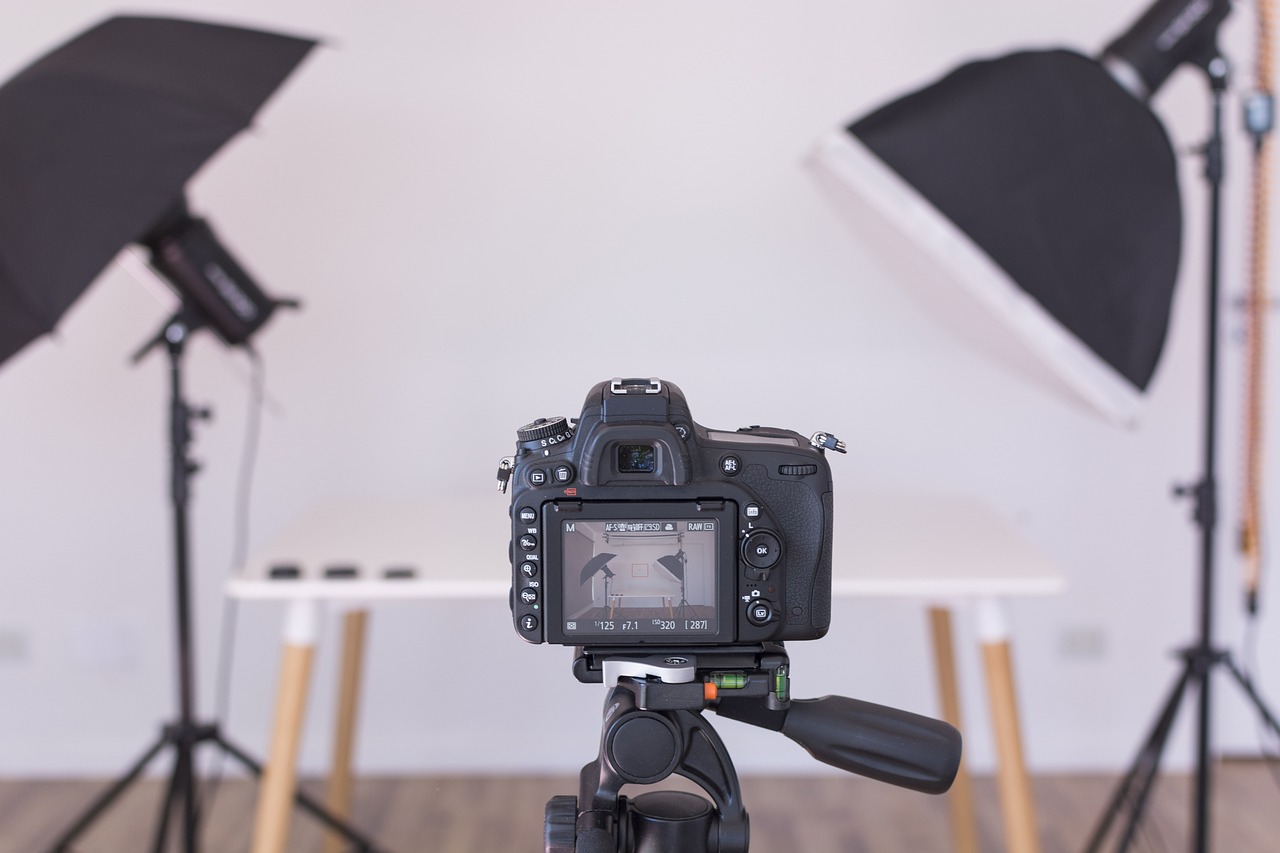
Scout the Location: Visit the location during daylight hours to familiarize yourself with the surroundings. Look for interesting compositions, potential hazards, and any light sources that may affect your images.
Use Manual Focus: In low light conditions, autofocus may struggle to find a clear focus point. Switch to manual focus and use the live view feature or focus peaking to ensure your subject is sharp.
Shoot in RAW: To retain maximum flexibility and quality in post-processing, shoot in RAW format. This allows you to adjust white balance, exposure, and other settings without significant loss of detail.
Experiment with White Balance: The fire’s warm glow can create interesting color temperatures. Try different white balance settings or experiment with custom white balance to achieve the desired color temperature or even introduce creative color shifts.
Bracket Exposures: When dealing with high contrast scenes, such as a bright fire against a dark background, bracket your exposures. Take multiple shots at different exposure levels to capture details in both the highlights and shadows. Later, you can blend these exposures using HDR techniques.
Manage Exposure: Since the fire is a bright light source, it’s easy to overexpose the flames. Pay attention to the histogram and adjust your exposure settings accordingly. You may need to slightly underexpose to retain details in the fire while still capturing the surrounding ambiance.
Avoid Camera Shake: Use a remote shutter release or the camera’s self-timer to prevent camera shake caused by pressing the shutter button. This ensures sharp images during long exposures.
Experiment with Shutter Speed: Vary your shutter speed to capture different effects. Shorter exposures freeze the motion of the flames, while longer exposures create a sense of motion and fluidity. Play around with different shutter speeds to achieve the desired effect.
Take Test Shots: Before settling on your final composition, take test shots to review the exposure, focus, and overall look of your images. Make adjustments as needed to capture the scene as you envision it.
Pay Attention to Composition: Composition is crucial in any form of photography. Look for leading lines, framing elements, or interesting foreground and background elements that can enhance your image. Consider the rule of thirds or other composition techniques to create visually pleasing and balanced compositions.
Experiment with Different Perspectives: Explore different angles and viewpoints to find unique and captivating compositions. Get low to the ground for a more intimate perspective or try shooting from above to capture the entire scene.
Dress Appropriately: Nighttime photography can be chilly, especially when around a campfire. Dress in layers and bring warm clothing to ensure your comfort while you focus on capturing great shots.
Be Mindful of Safety: Safety should always be a top priority when photographing around fire. Maintain a safe distance from the fire, avoid placing flammable objects near the flames, and follow any fire safety guidelines or restrictions in the area.
Patience is Key: Night photography requires patience and persistence. Be prepared to spend time at the location, waiting for the right moment or light conditions. Embrace the process and enjoy the experience.
Learn from Your Results: Review your images after each session and analyze what worked and what didn’t. Learn from your mistakes and successes to improve your skills and develop your unique style.
Remember, practice is essential to master night photography. The more you experiment, learn, and adapt, the better your results will be. Enjoy the process, embrace the challenges, and have fun capturing stunning campfire or bonfire scenes in the night!