


Bokeh Shapes: Creating Custom Bokeh with DIY Filters

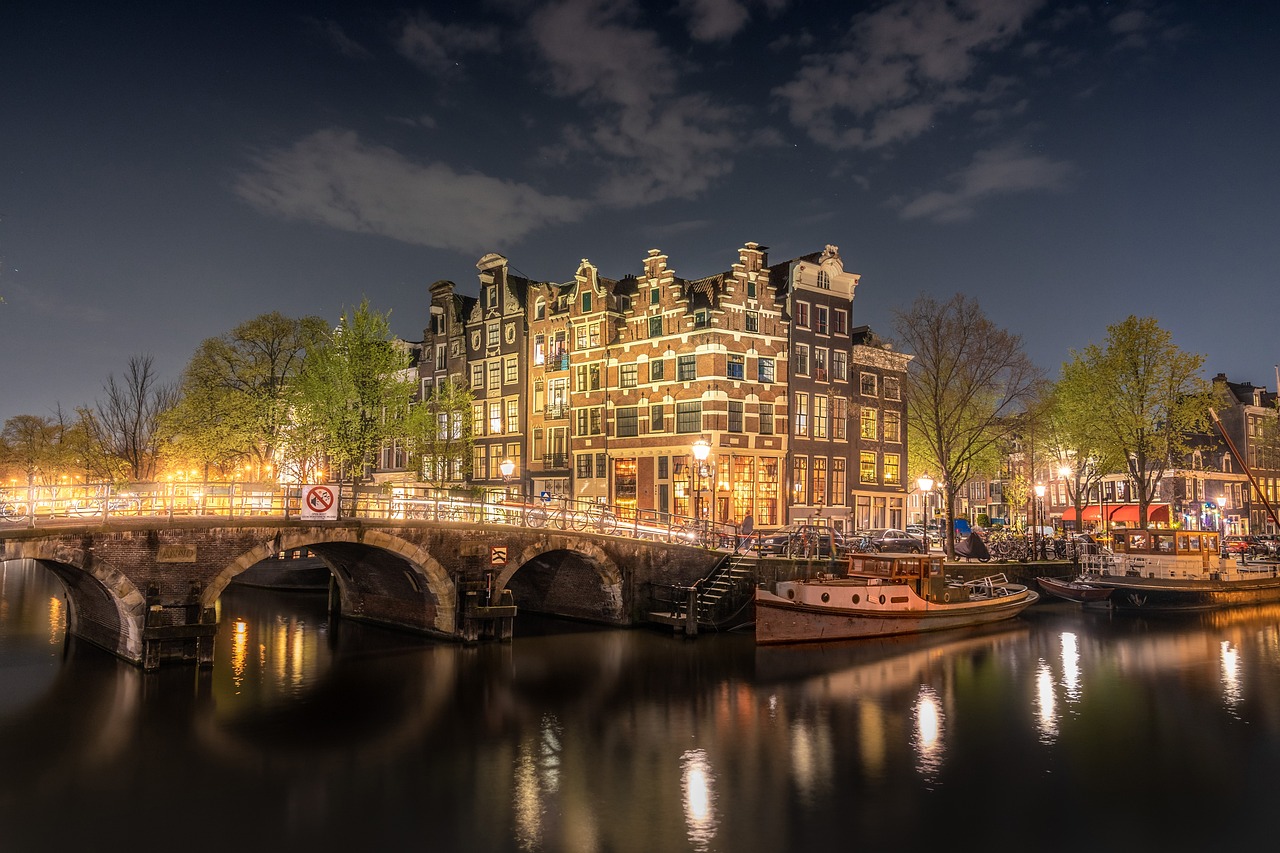
Bokeh shapes refer to the aesthetic quality of the out-of-focus areas in a photograph or image. When you use a wide aperture or a shallow depth of field in photography, certain parts of the image become blurred, creating a pleasing visual effect known as bokeh. Bokeh shapes can be customized and enhanced using DIY (Do-It-Yourself) filters, allowing photographers to add creative and unique elements to their photos.
DIY filters are simple, cost-effective alternatives to traditional lens filters. By creating custom bokeh shapes using DIY filters, photographers can achieve various effects like hearts, stars, circles, or any other shape they desire. These filters are usually made from materials like black paper, cardboard, or foam board.
Here’s a step-by-step guide on how to create custom bokeh shapes using DIY filters:
- Gather materials: You’ll need a few basic supplies to get started. These include black paper or cardboard, scissors, a craft knife, and tape.
- Cut the filter: Cut out a small square or circle from the black paper or cardboard. This will serve as the base for your DIY filter.
- Create the shape: Using the craft knife, carefully cut out the desired shape in the center of the square or circle. Popular shapes include hearts, stars, and simple circles.
- Remember that the shape you cut out will determine the bokeh’s appearance in your photos.
- Attach the filter: Once you have your DIY filter ready, secure it to the front of your camera lens using tape. Make sure it’s centered properly and doesn’t obstruct the lens’s field of view.
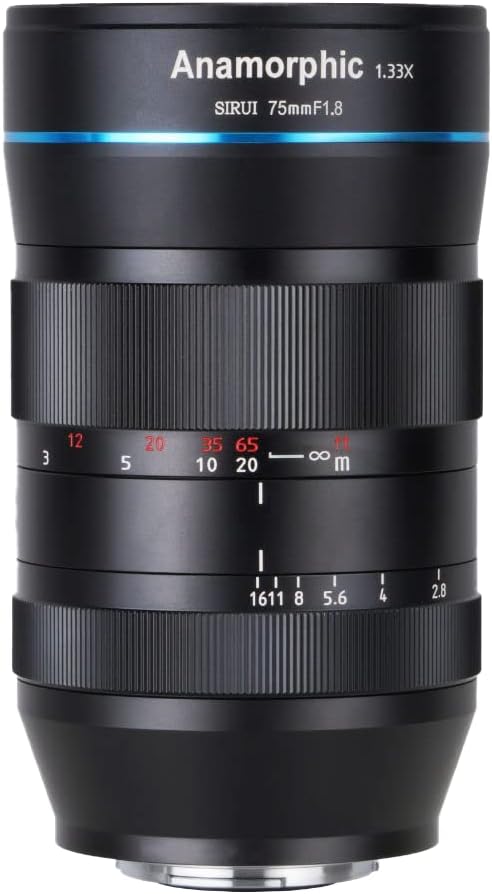
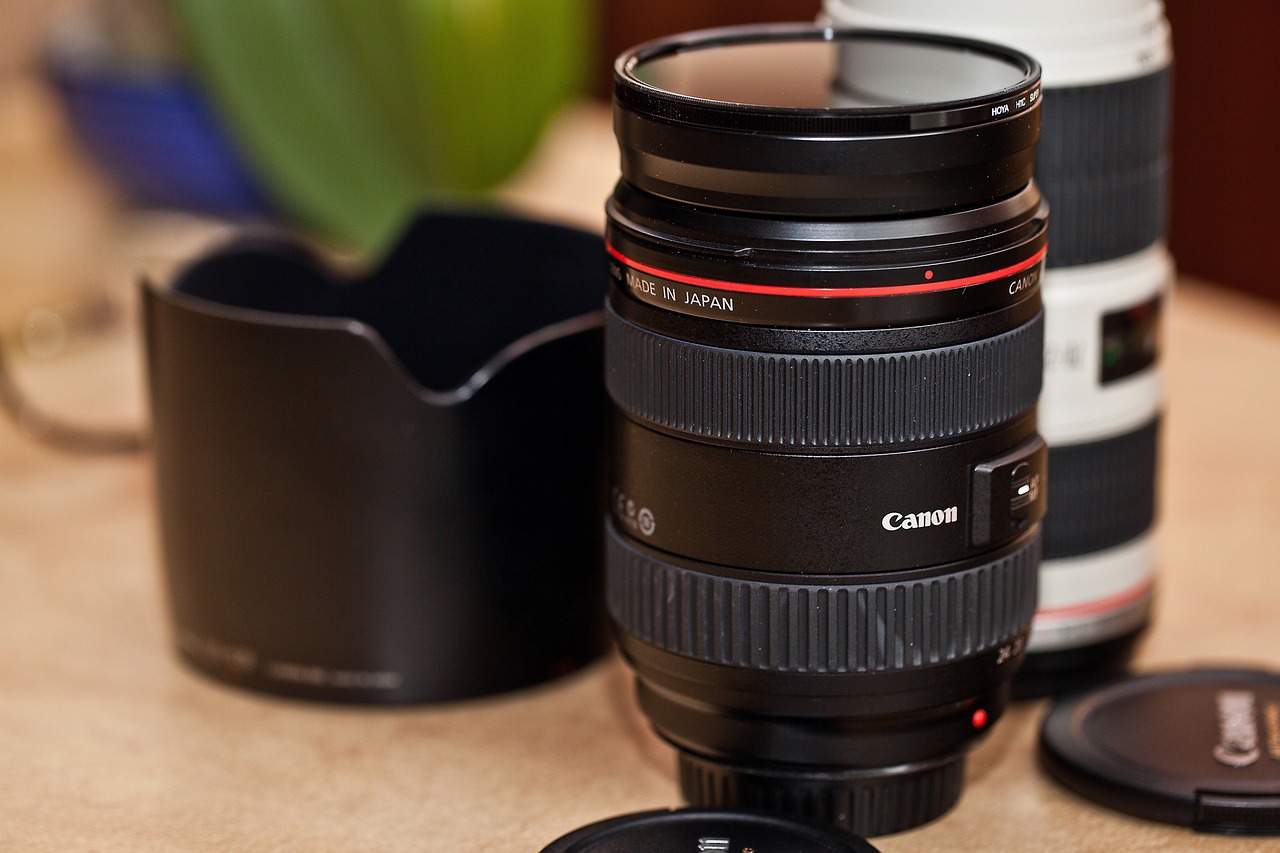
- Set up your shot: To achieve the bokeh effect, use a lens with a wide aperture (e.g., f/1.8, f/2.8) and place your subject at a reasonable distance from the background. The farther the background elements are from your subject, the more pronounced the bokeh effect will be.
- Shoot: Focus on your subject, and the DIY filter will create the custom bokeh shapes in the out-of-focus background. Experiment with different shapes and apertures to achieve varying results.
It’s important to note that the size of the shape you cut out on the DIY filter will affect the bokeh’s size and intensity. Smaller shapes will produce more defined bokeh, while larger shapes may result in softer, less distinct bokeh.
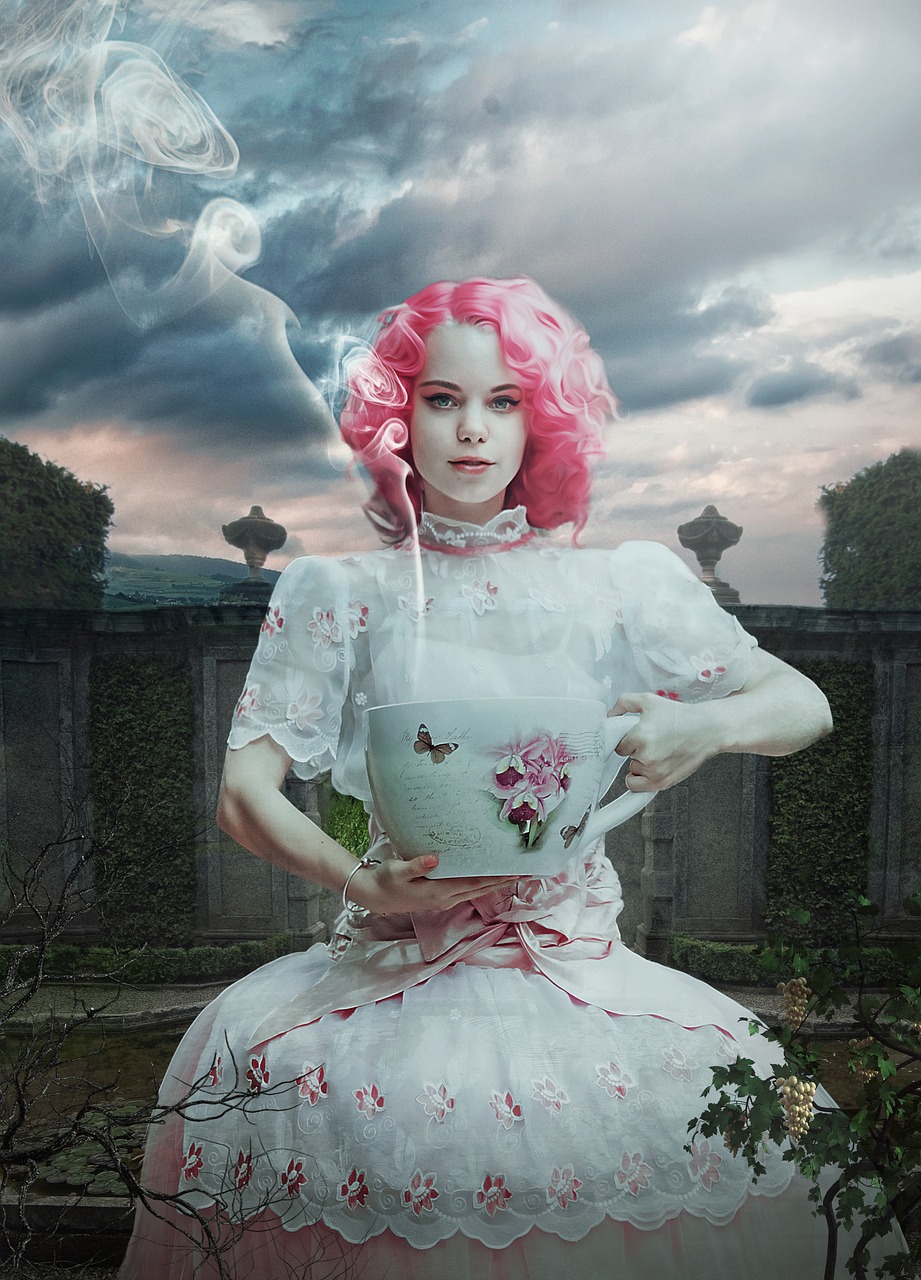
Creating custom bokeh shapes with DIY filters is a fun and creative way to add a personal touch to your photography. It allows you to experiment with different shapes and patterns, giving your images a unique and artistic flair. So, grab some materials, get creative, and start capturing stunning bokeh-filled photographs!
- Experiment with different shapes: While hearts and stars are popular choices, don’t limit yourself to just those. Try out various shapes like triangles, squares, diamonds, or even letters. The possibilities are endless, and you can get really creative with your designs.
- Use colored filters: Instead of using black paper, consider using colored paper for your DIY filters. This can add a unique touch to your bokeh shapes and create colorful backgrounds in your images.
- Combine multiple filters: You can create even more intricate and complex bokeh patterns by layering multiple DIY filters together. Cut out different shapes on separate pieces of paper and stack them one on top of the other before attaching them to your lens.
- Vary the distance and focus: Experiment with different distances between the DIY filter and your camera lens to achieve varying degrees of bokeh intensity. Additionally, try adjusting the focus to see how it affects the appearance of the bokeh shapes.
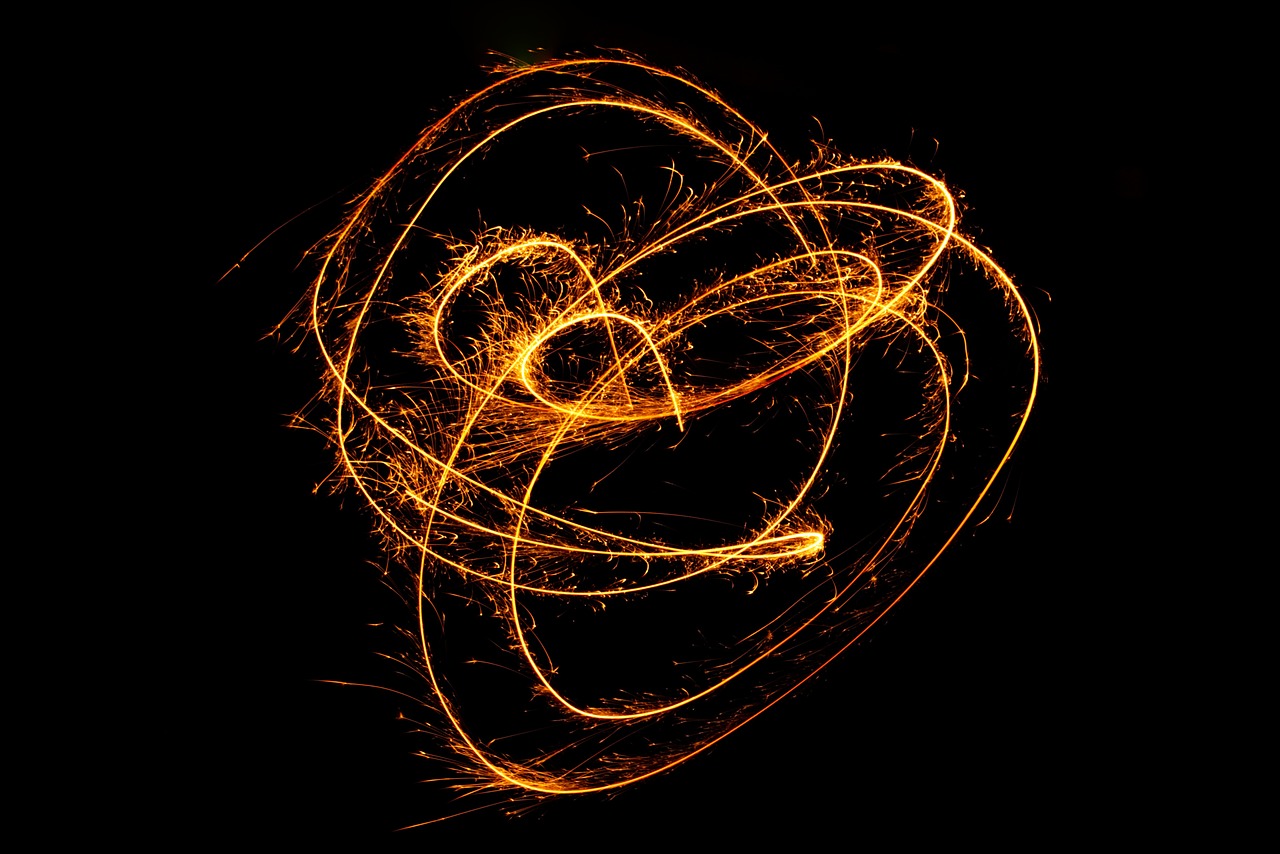
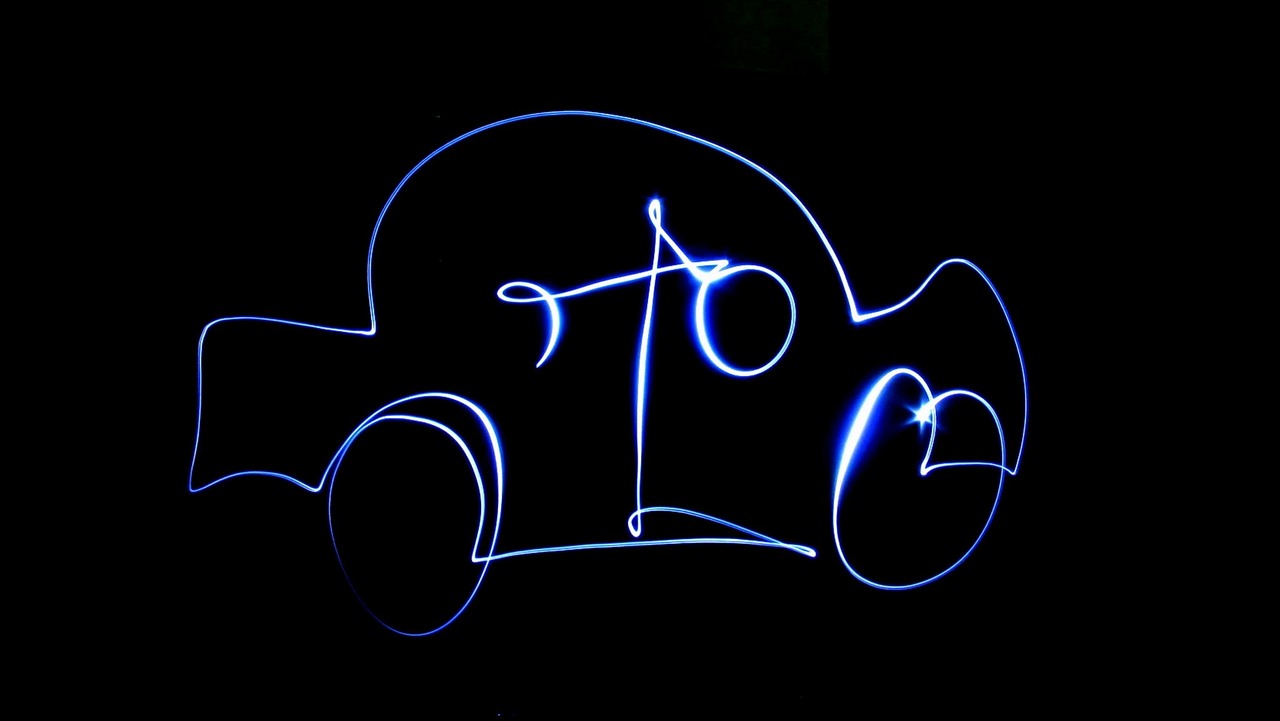
- Use string lights or fairy lights: One excellent way to showcase your custom bokeh shapes is by photographing them against a backdrop of string lights or fairy lights. The out-of-focus lights will adopt the shape of your DIY filter, creating a magical and enchanting effect.
- DIY filter shapes for specific occasions: Tailor your bokeh shapes to suit different events or holidays. For example, during Christmas, you can create bokeh shapes that resemble snowflakes or Christmas trees. During Valentine’s Day, hearts and cupid shapes would be fitting.
- Preserve your DIY filters: Once you’ve created your custom filters, consider laminating them or using transparent adhesive sheets to protect them from wear and tear. This way, they’ll last longer, and you can reuse them for multiple photoshoots.
- Post-processing: If you’re into photo editing, you can enhance the bokeh effect further in post-processing. Play with contrast, saturation, and brightness to make the bokeh shapes stand out even more.
- Share your techniques: If you come up with unique and innovative DIY filter designs, share them with the photography community online. You can create tutorials or join photography forums to exchange ideas and inspire others.
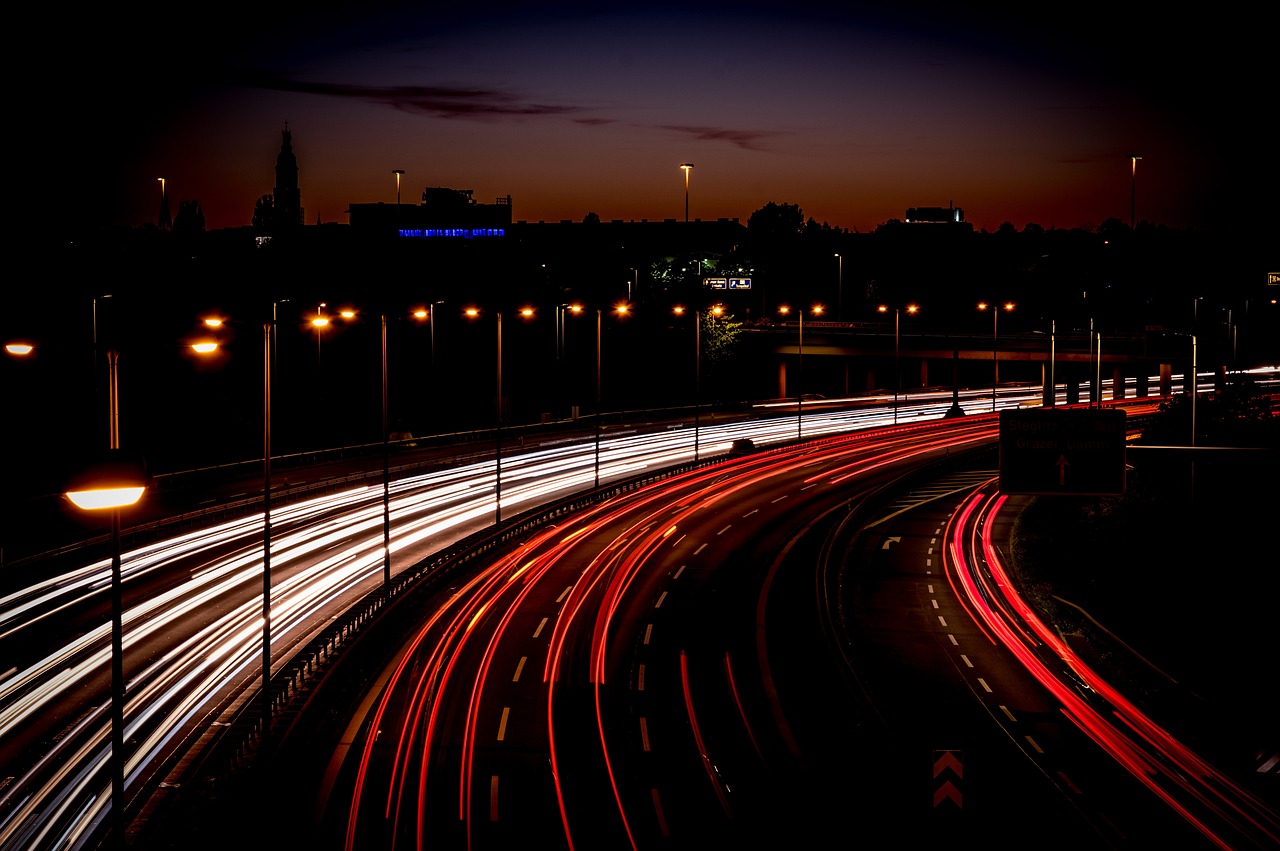
Remember that the bokeh effect is most pronounced when there are bright, out-of-focus points of light in the background. The shape of the bokeh will be determined by the shape you cut out on your DIY filter. The more you experiment and explore, the better you’ll become at creating captivating and eye-catching bokeh shapes to elevate your photography skills