


Silhouette Photography: Using Exposure to Highlight Subjects

Silhouette photography is a popular and artistic technique in which the subject appears as a dark shape against a brighter background. The technique involves intentionally underexposing the subject, causing it to be engulfed in shadow, while allowing the background or surrounding light to be properly exposed. This creates a dramatic and visually striking contrast between the subject and its surroundings.
Here’s how you can achieve silhouette photography using exposure to highlight subjects:
- Select the Right Light Source: Silhouettes are best captured when the light source is behind the subject. This can be the sun during sunrise or sunset, or any other strong light source such as a lamp or a bright background.
- Metering: Most cameras have a built-in light meter that measures the amount of light in a scene to determine the appropriate exposure settings. For silhouette photography, you want to meter for the background, not the subject. Point your camera towards the brighter background and set your exposure settings accordingly.
- Manual Mode: Using your camera in manual mode allows you to have full control over the exposure settings. Set a low ISO, a small aperture (high f-stop number) to increase depth of field, and a fast shutter speed to prevent the background from being overexposed.
- Focus on the Subject: If your camera has autofocus, make sure to focus on the subject before recomposing the shot to include the bright background.
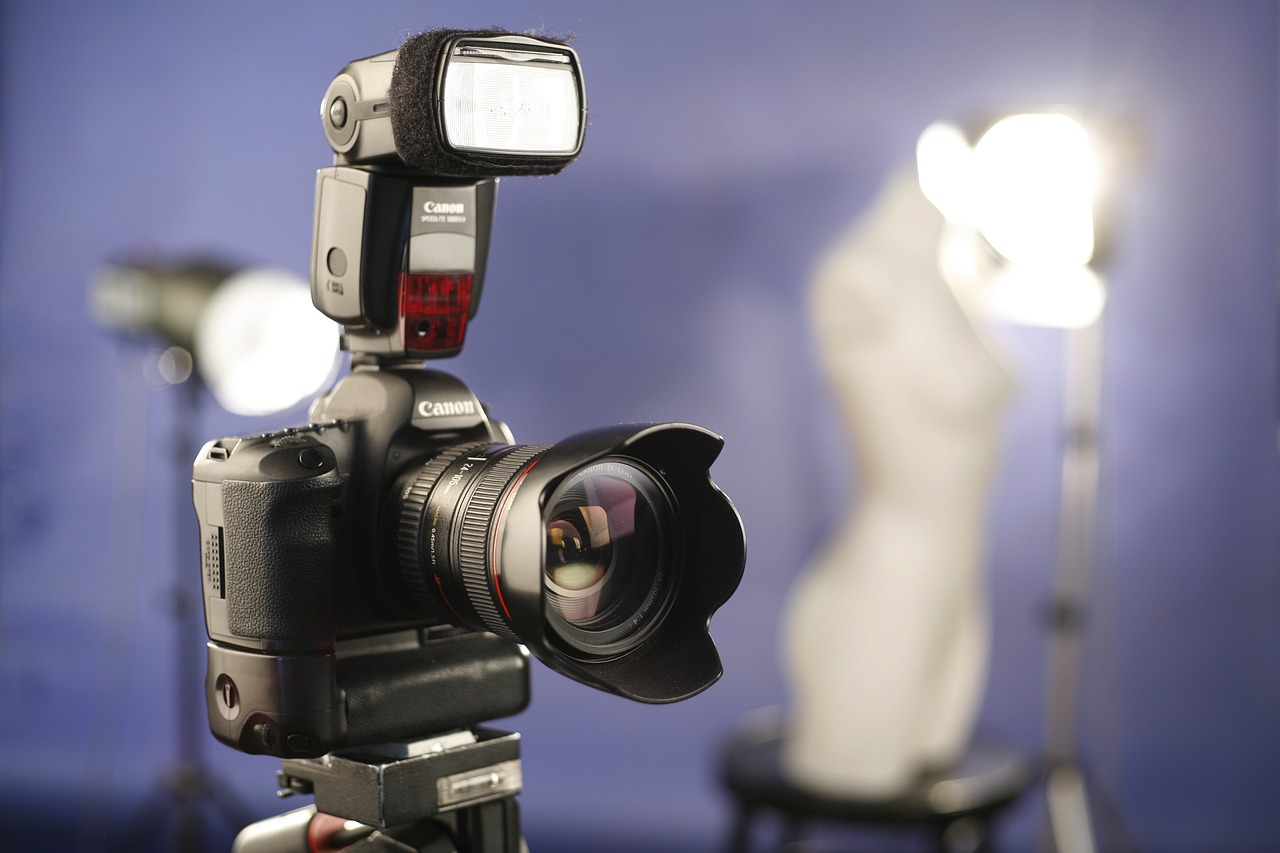
- Avoid Using Flash: Flash will illuminate the subject and defeat the purpose of creating a silhouette. Keep the flash turned off.
- Shoot in RAW: If possible, shoot in RAW format instead of JPEG. RAW files contain more data and allow for better post-processing adjustments, which can be helpful in fine-tuning the silhouette effect.
- Composition: Pay attention to the composition of your shot. Simple and recognizable shapes tend to work best for silhouettes. Experiment with different angles and framing to create interesting and visually appealing images.
- Bracketing: If you’re unsure about the exposure settings, consider using exposure bracketing. Take multiple shots with different exposure settings to ensure you capture the best silhouette possible.
- Post-Processing: Once you’ve captured your silhouette images, you can enhance them further using photo editing software. Adjust the contrast, shadows, and highlights to emphasize the silhouette effect.
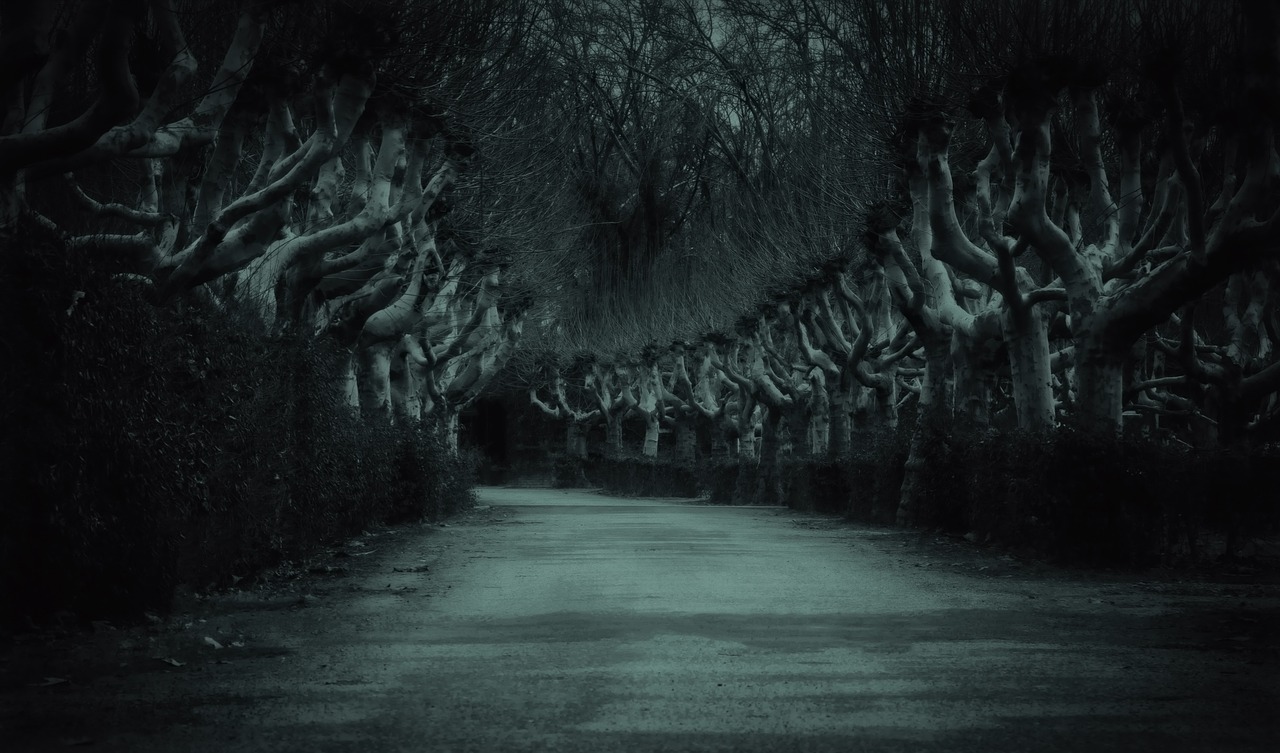
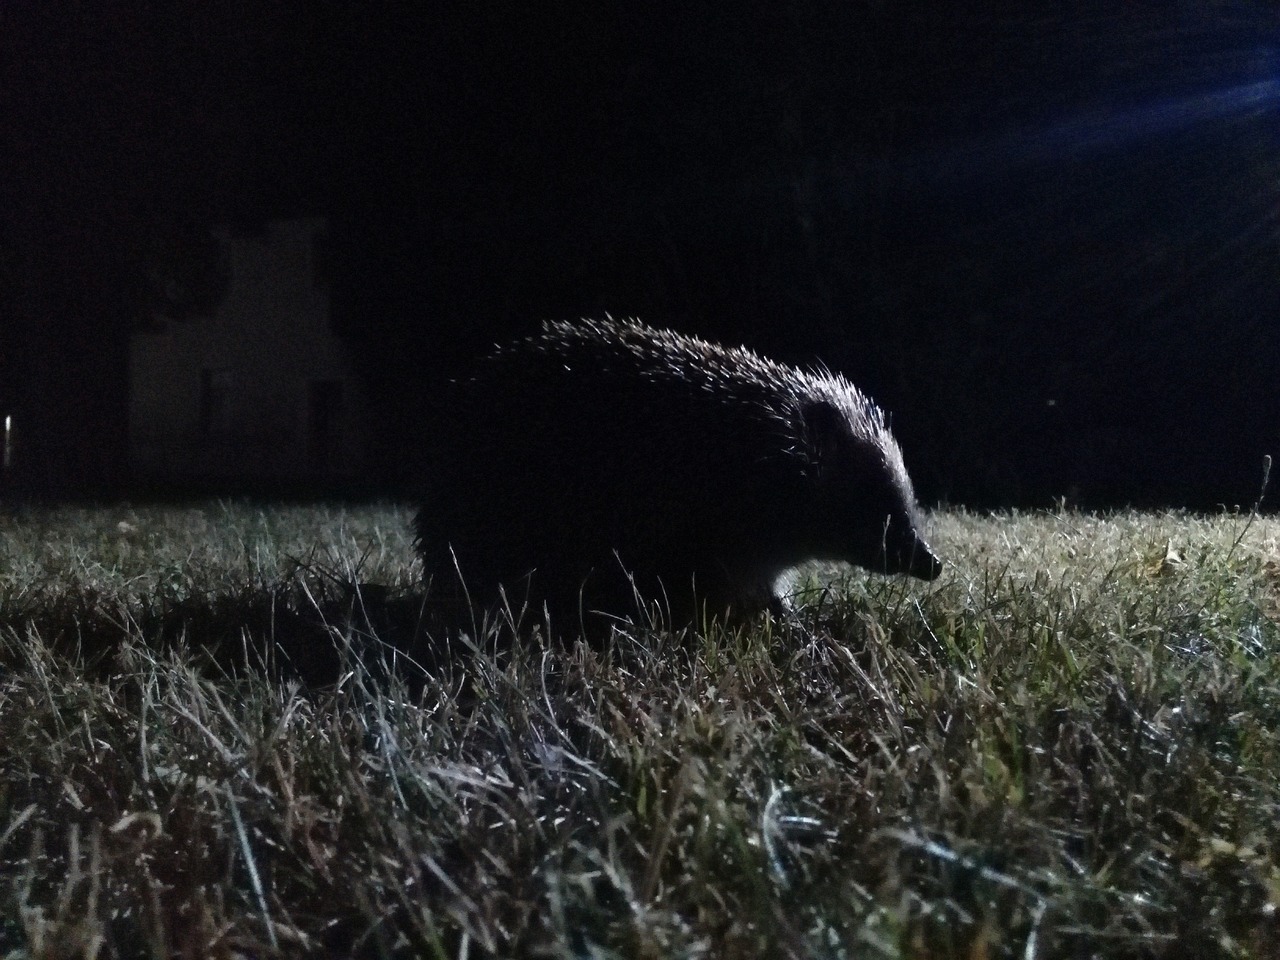
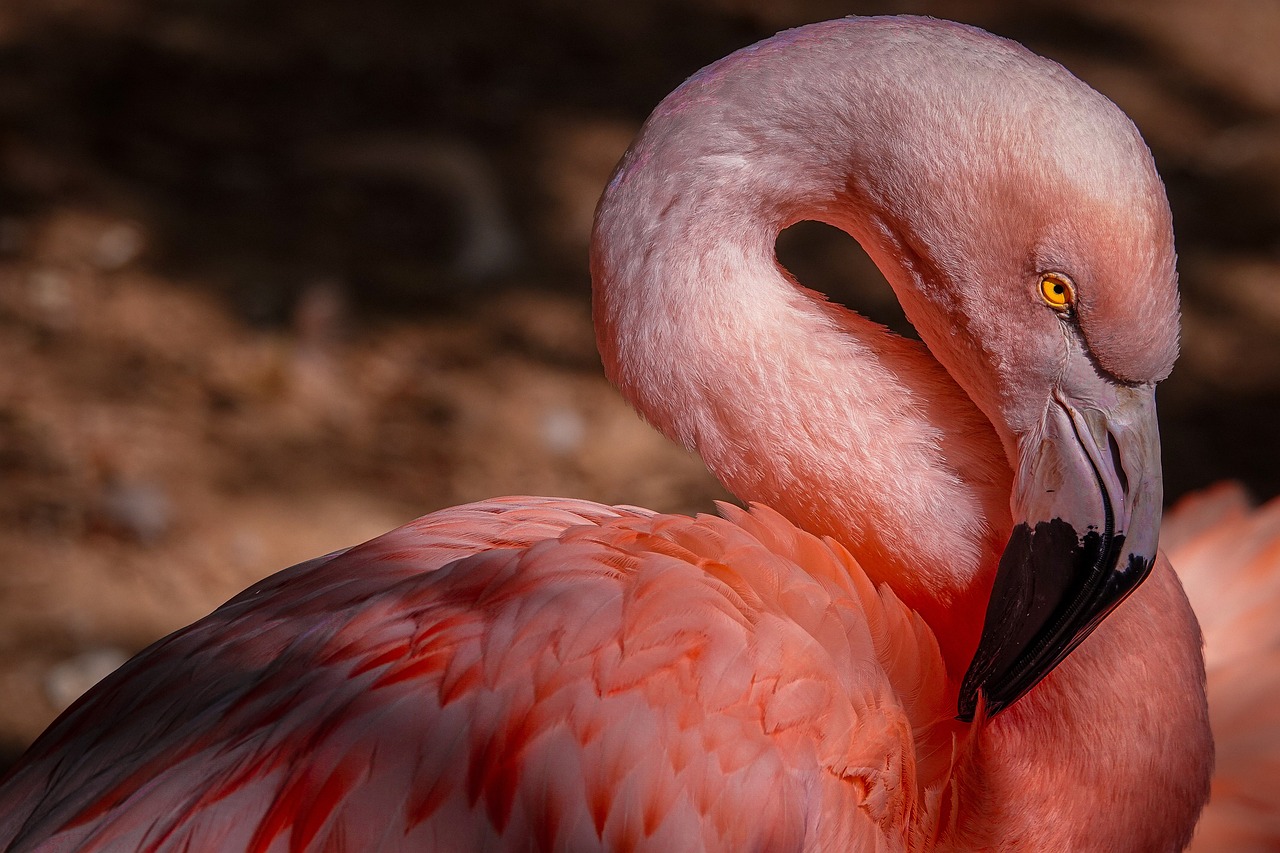
- Silhouette Shapes: As mentioned earlier, simple and recognizable shapes tend to work best for silhouettes. Objects with distinct outlines or subjects with strong silhouettes, such as people, animals, trees, or buildings, can create more impactful images.
- Sunbursts: When the sun is the primary light source, you can enhance the silhouette effect by partially obscuring the sun behind the subject, creating a beautiful sunburst effect. To achieve this, use a small aperture (high f-stop number) like f/16 or f/22, which will cause the sun’s rays to appear as starbursts.
- Silhouetting People: Silhouettes of people can be particularly powerful and emotionally engaging. When photographing people, encourage them to strike distinctive poses to create interesting and recognizable silhouettes. Silhouettes can also work well in group photos, especially during special events like weddings or family gatherings.
- Reflections: Look for opportunities to capture silhouettes with reflections. A subject’s silhouette reflected on a calm body of water, for example, can add an extra layer of interest and depth to the image.
- Backlit Scenes: Silhouette photogra Silhouette Photography: Using Exposure to Highlight Subjectsphy doesn’t necessarily require direct sunlight. Any strong light source, such as a lamp or even car headlights, can be used to backlight the subject and create a silhouette effect.
- Use Silhouettes to Convey Emotions: Silhouettes can be a great storytelling tool in photography. The lack of facial expressions and details in a silhouette allows viewers to focus on the emotions conveyed through the subject’s body language and the overall mood of the image.
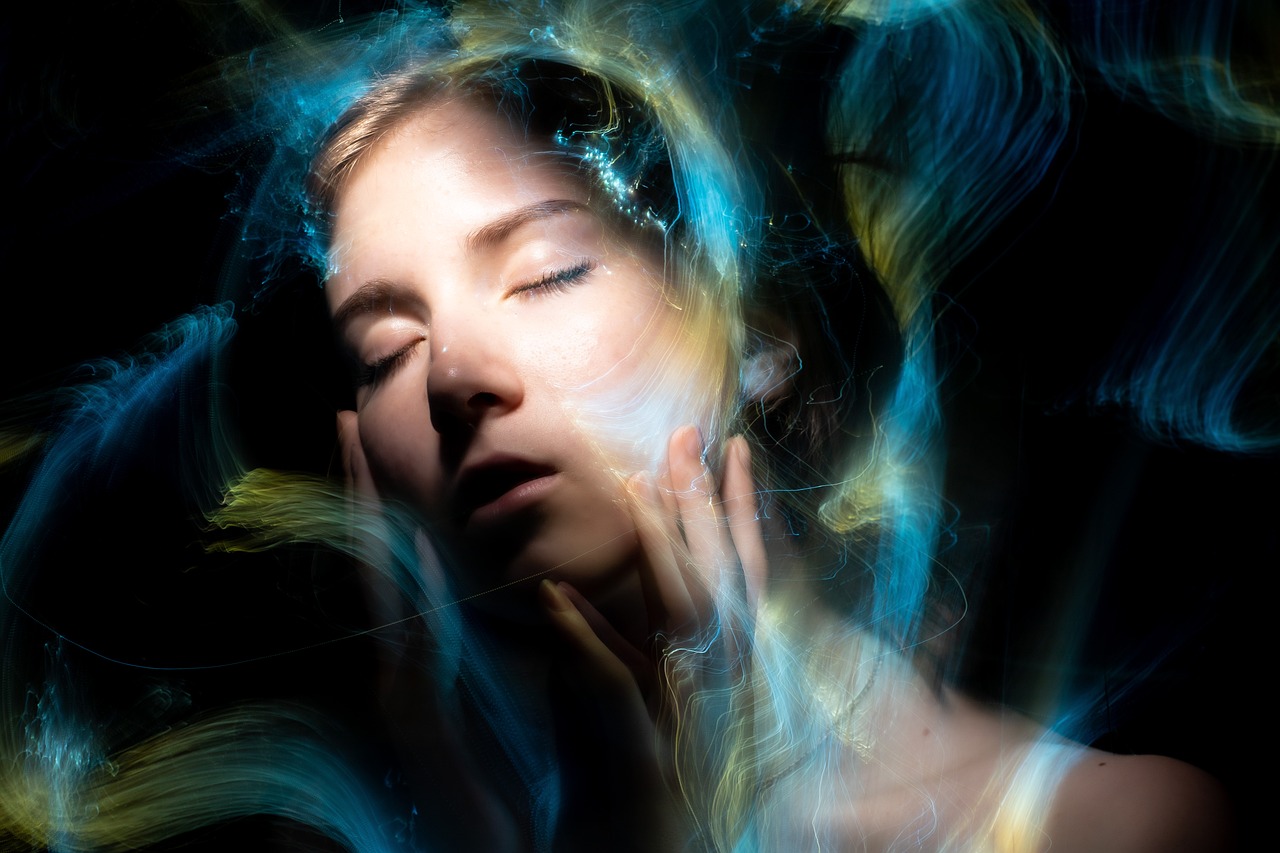
- Experiment with White Balance: Adjusting the white balance in post-processing can significantly impact the overall look and feel of your silhouette photos. Cooler tones can add a sense of calmness and tranquility, while warmer tones can evoke feelings of warmth and intensity.
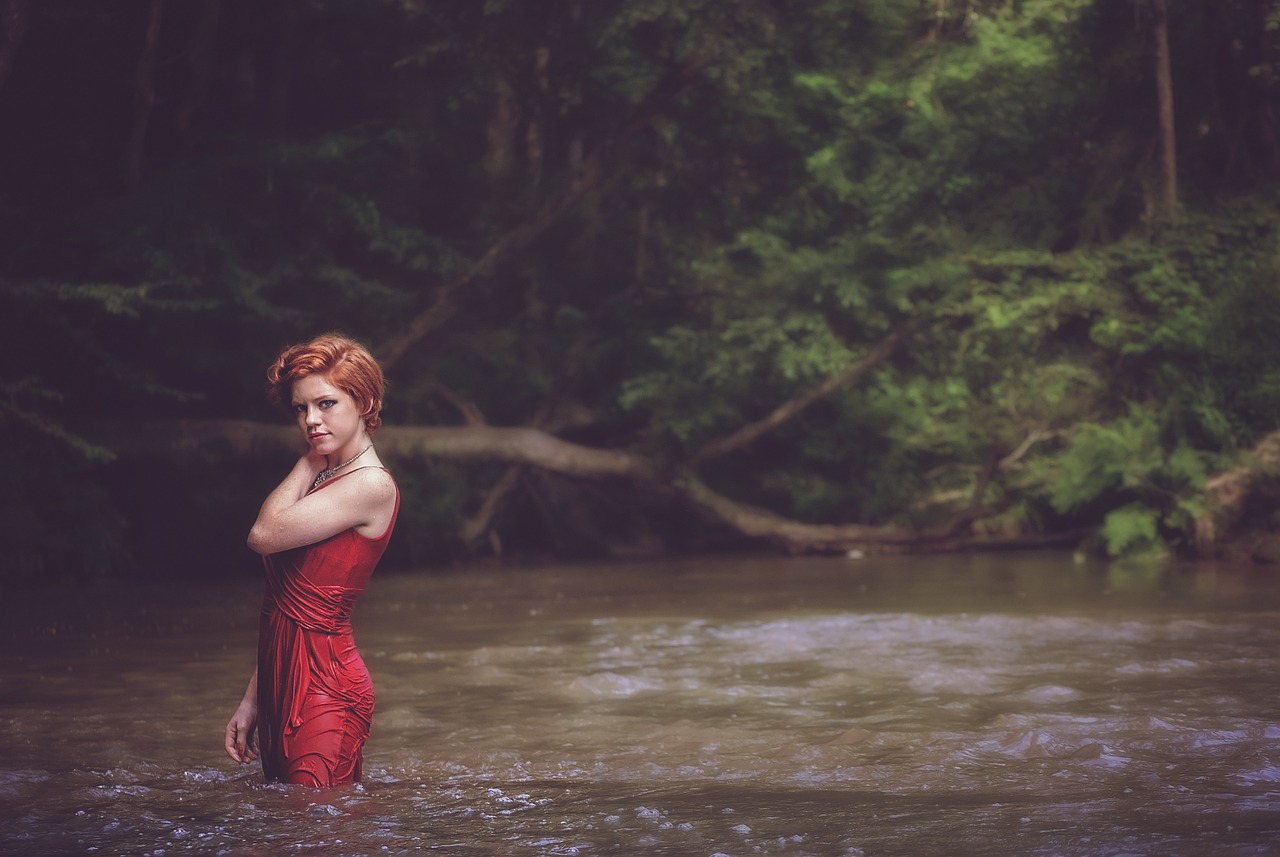
- Include Foreground Elements: Incorporating interesting foreground elements in your silhouette shots can add depth and context to the image. It also helps to give a sense of scale and perspective.
- High Contrast Scenes: Embrace scenes with high contrast between the subject and the background. This will make the silhouette stand out even more and create a more dramatic impact.
- Avoid Noise: Underexposed images may suffer from noise, especially when shooting at higher ISO settings. To minimize noise in your silhouette photos, try to shoot in well-lit conditions or use a tripod to enable lower ISO settings and longer exposure times.