


Macro Photography in Low Light Conditions
When it comes to macro photography in low light conditions, several factors need to be considered in order to achieve successful results. Let’s explore some key considerations and techniques for macro photography in low light.
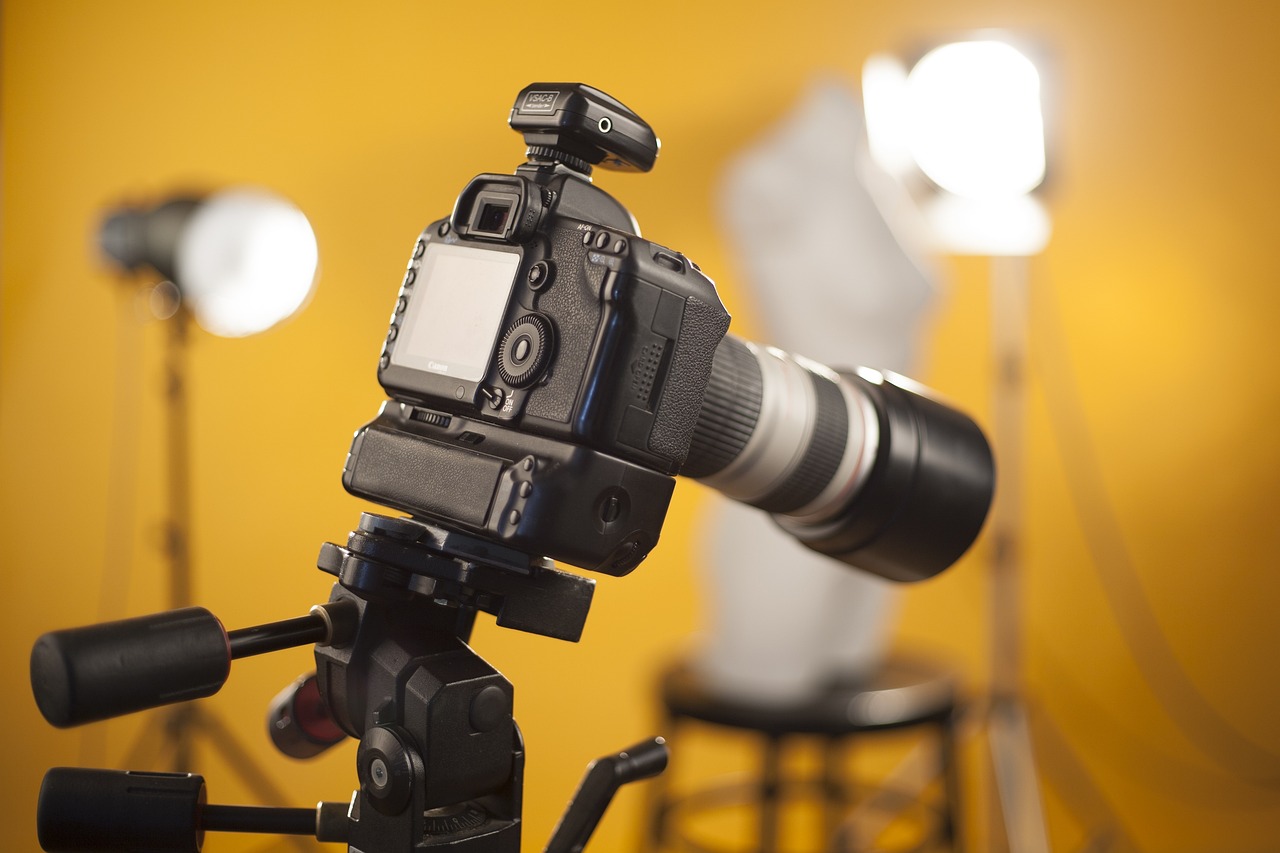
Use a tripod: In low light conditions, camera shake becomes a significant concern due to longer exposure times. To minimize blur, it’s essential to use a sturdy tripod to keep the camera stable. This ensures sharpness and detail in your macro shots.
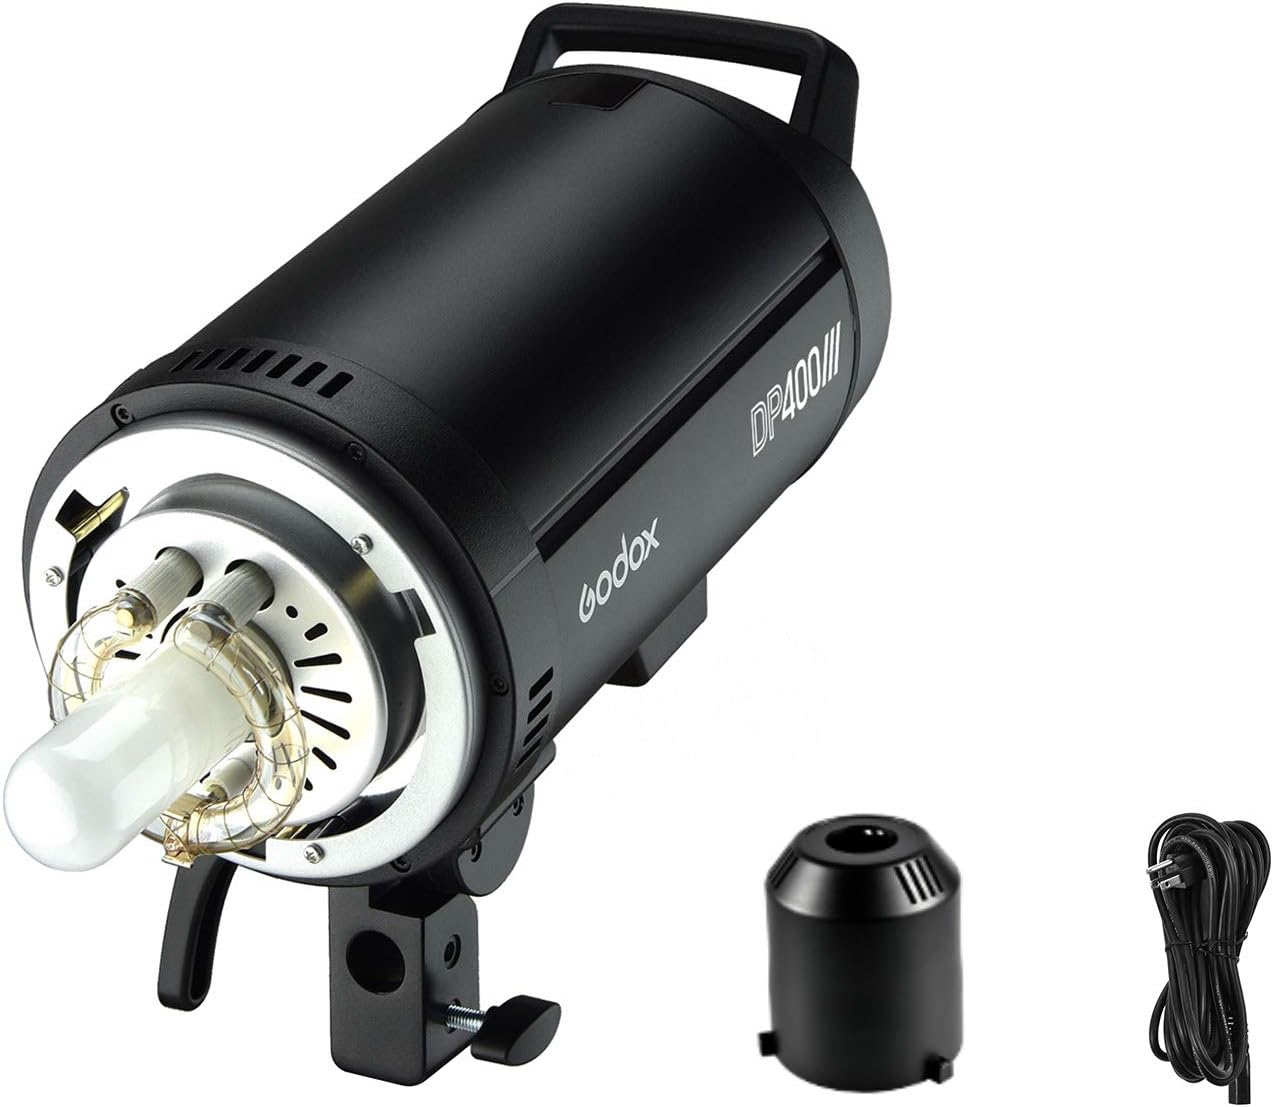
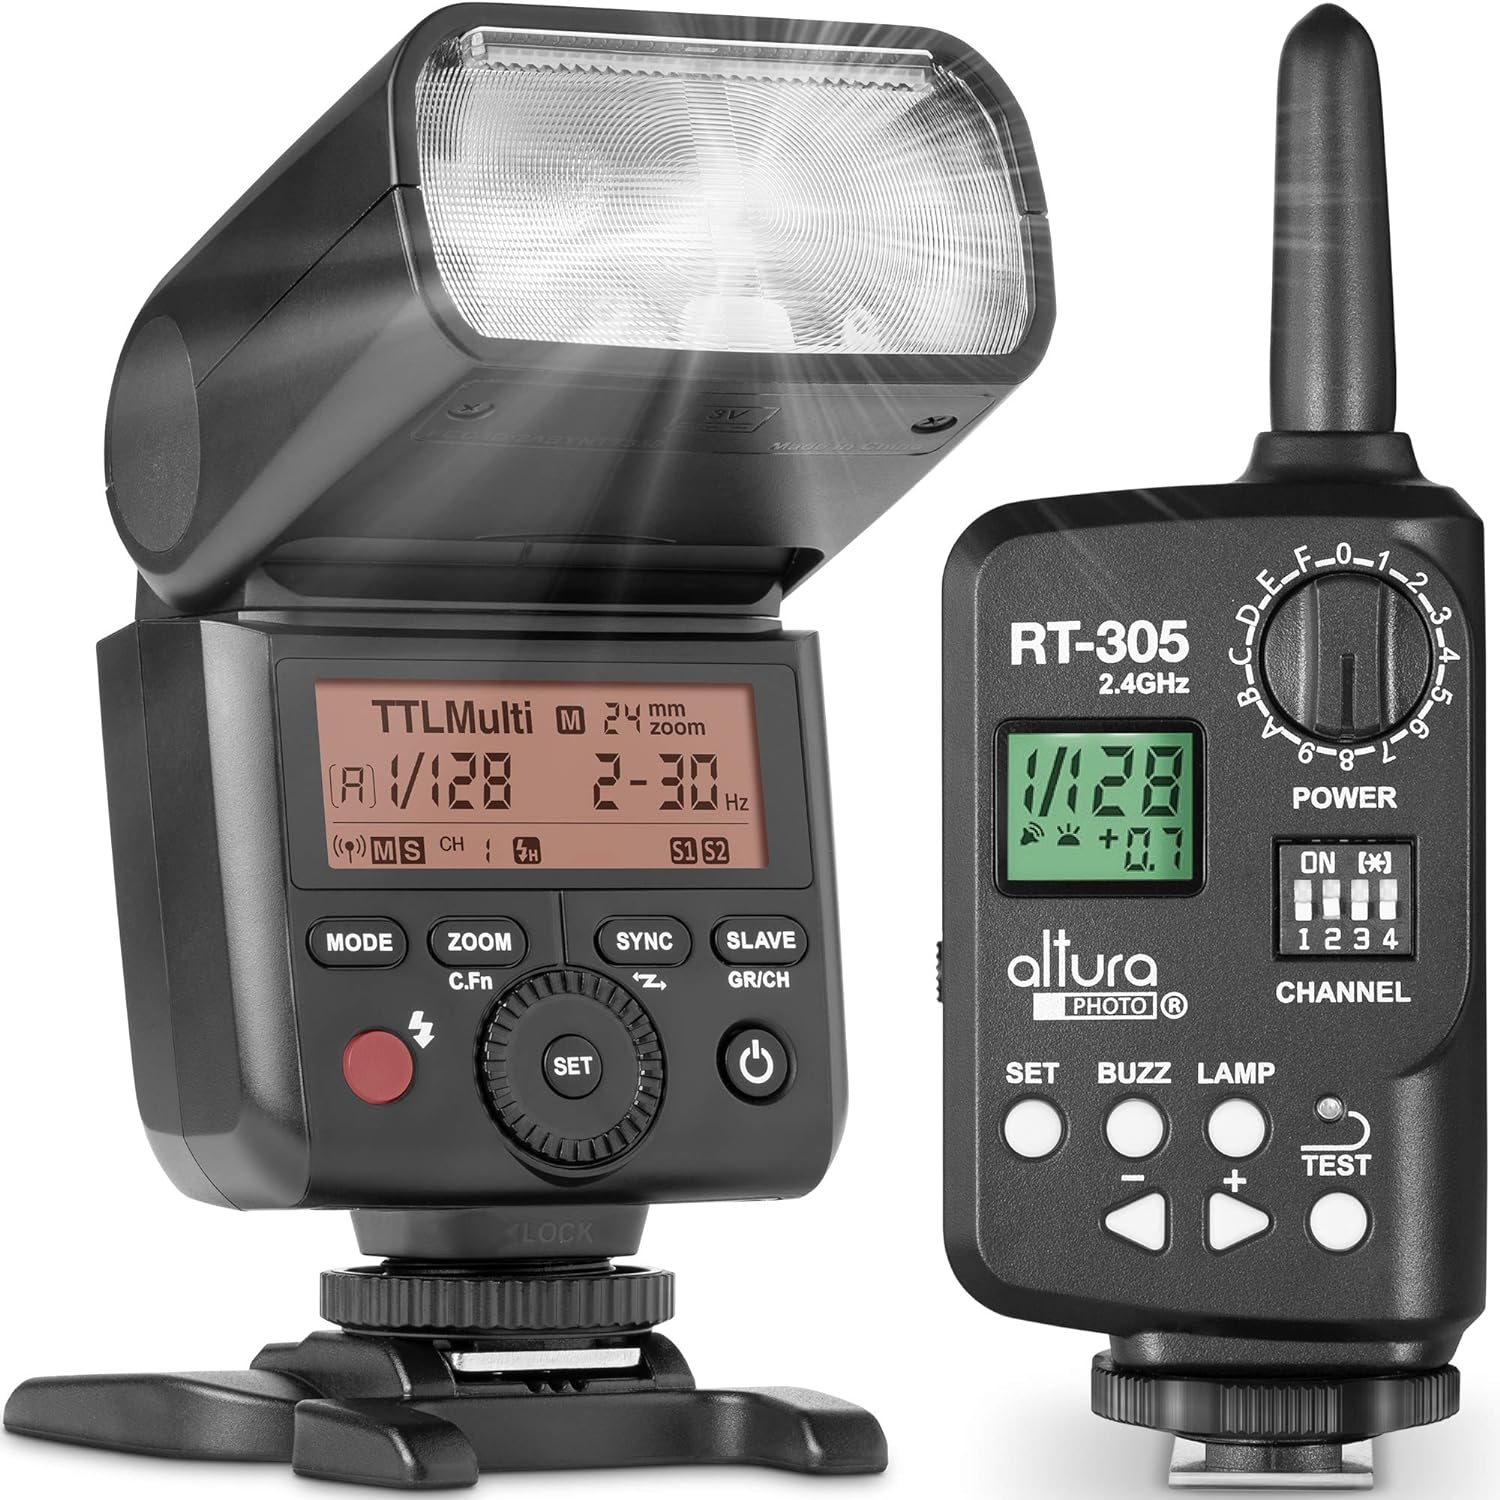
Utilize artificial lighting: Since low light conditions limit the amount of available light, using artificial lighting sources can greatly enhance your macro photography. You can use an external flash, ring light, or LED panel to illuminate the subject. Experiment with different angles and intensities to achieve the desired effect.
Increase ISO: In situations where there’s limited light, increasing the ISO setting on your camera allows for more light sensitivity. However, keep in mind that higher ISO values can introduce digital noise, so find the right balance to maintain image quality. Modern cameras often offer improved ISO performance, allowing you to capture macro shots in low light with minimal noise.
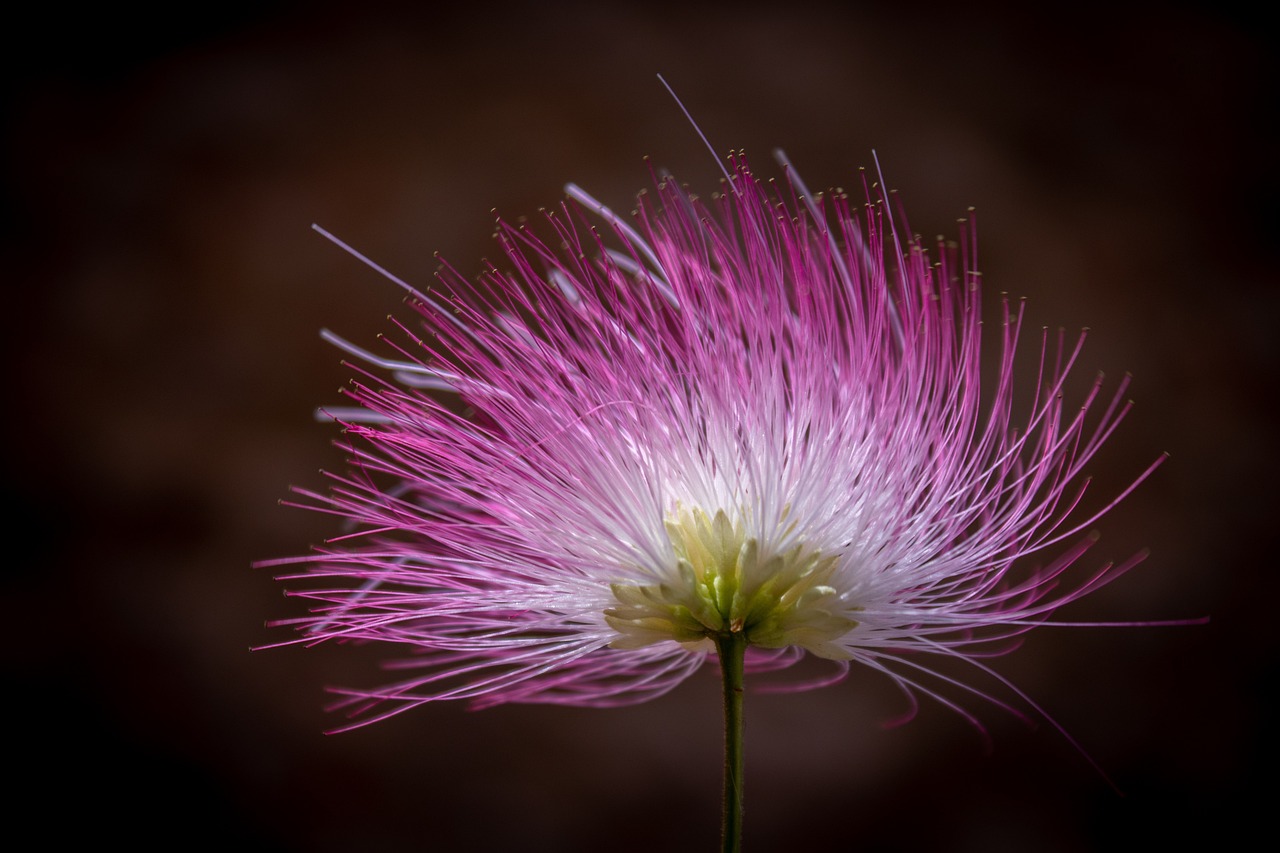
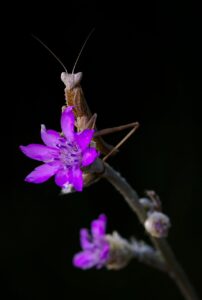
Wide aperture: Selecting a wider aperture (smaller f-number) helps in gathering more light and achieving a shallow depth of field. This can create a pleasing bokeh effect by blurring the background and isolating the subject. Be aware that shooting at wide apertures decreases the depth of field, so precise focusing becomes critical.
Manual focus or focus stacking: In low light, autofocus systems may struggle to lock onto the subject accurately. Switching to manual focus gives you more control over the focusing process. Additionally, if you desire a larger depth of field to ensure the entire subject is in focus, you can try focus stacking. This technique involves capturing multiple images with different focus points and later merging them in post-processing.
Longer exposure times: When light is limited, longer exposure times may be necessary to capture enough light. However, this can increase the chances of camera shake, so using a remote shutter release or the camera’s self-timer function can minimize vibrations caused by pressing the shutter button.
Noise reduction and post-processing: When shooting at higher ISO values in low light, noise can be more prevalent in the images. Utilize noise reduction techniques during post-processing to reduce noise while preserving image details. Various software tools offer noise reduction features to improve the overall quality of your macro photographs.
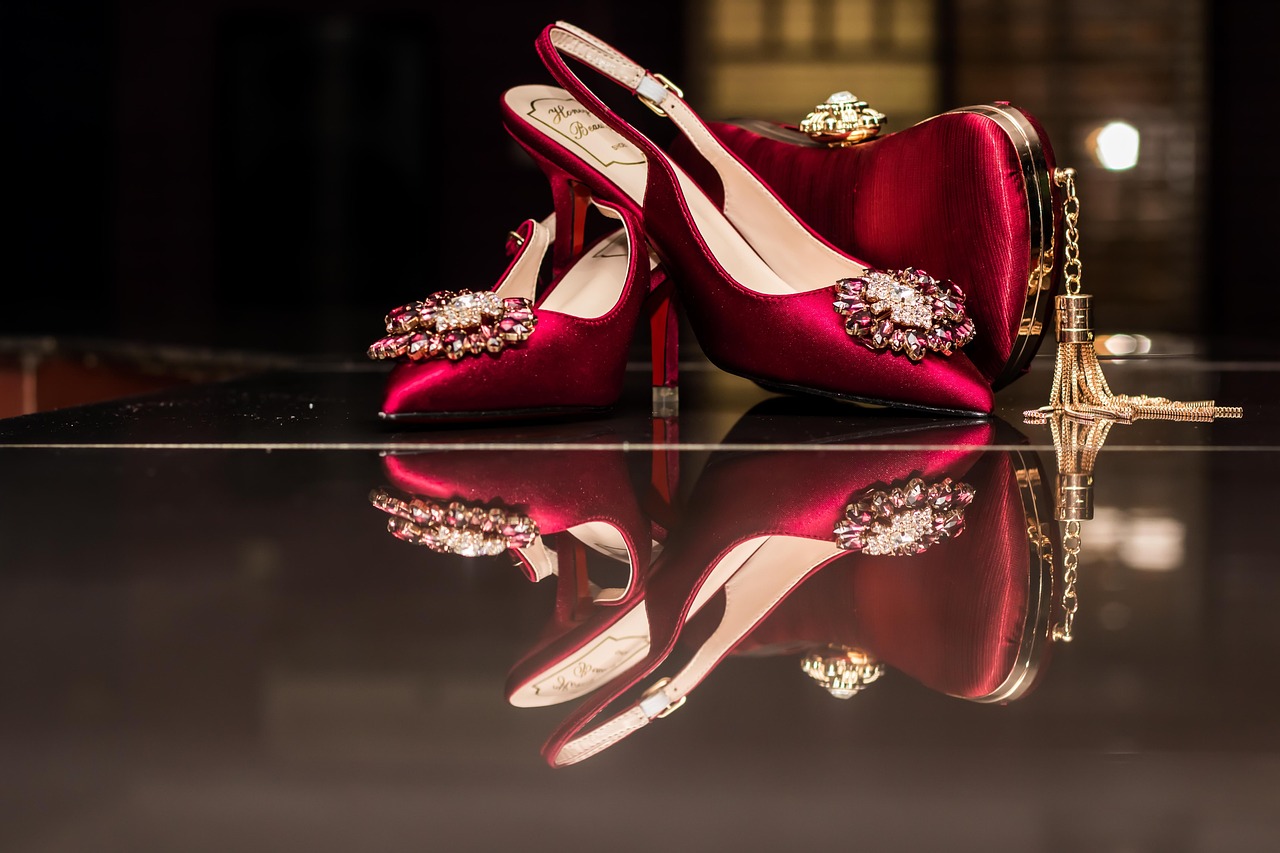
External light sources: Experiment with different types of external lighting to create unique and dramatic effects. For example, using off-camera flashes or continuous LED lights allows you to create directional and controlled lighting setups. You can shape and modify the light using diffusers, reflectors, or snoots to highlight specific details or create interesting shadows.
Light painting: In low light conditions, you can employ the technique of light painting to selectively illuminate parts of your macro subject. Use a small handheld flashlight or a fiber-optic brush to paint light onto specific areas while keeping the rest of the frame dark. This technique adds a creative touch to your macro images and allows you to control the lighting precisely.
Use a magnifying viewfinder or live view: Macro photography often requires precise focus. Using a magnifying viewfinder or utilizing the live view function on your camera can help you achieve accurate focus on the subject, especially in low light conditions. These tools allow you to zoom in and manually adjust the focus until it’s perfectly sharp.
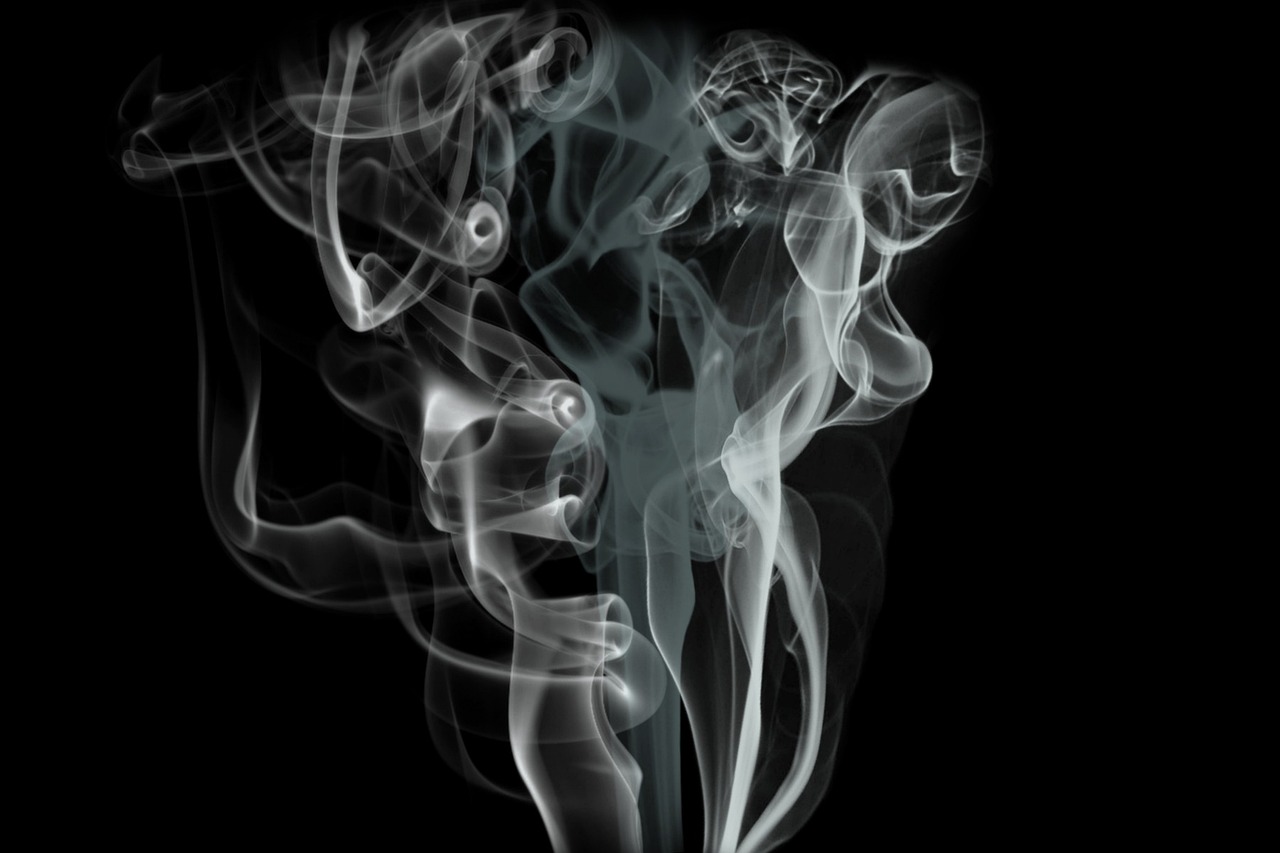
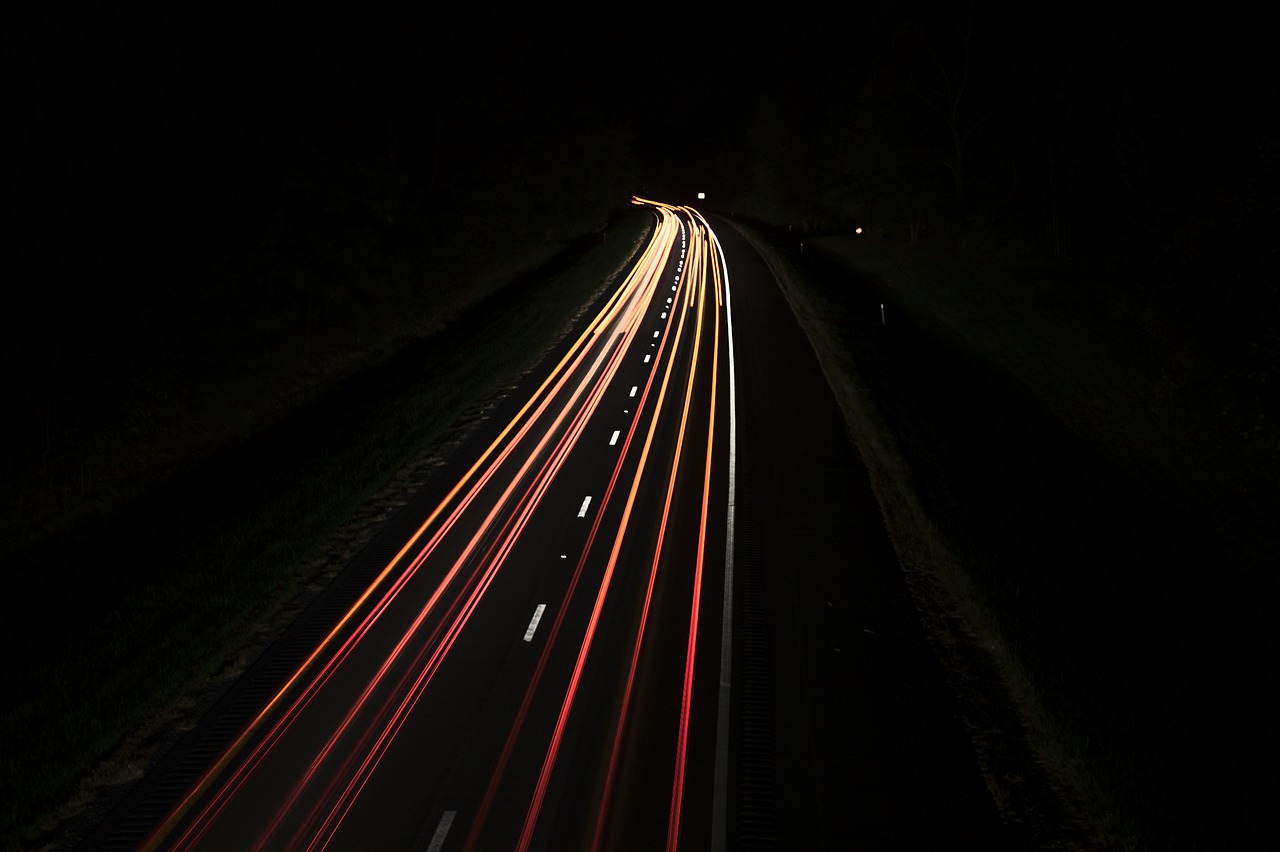
Experiment with long exposures: While longer exposure times can introduce camera shake, they can also create unique effects in macro photography. Try capturing longer exposures with a steady tripod, and introduce intentional movement or light trails to add a sense of motion or artistic flair to your images. This technique works well for capturing subjects like water droplets or moving insects.
Shoot in RAW format: Shooting in RAW format provides more flexibility during post-processing. RAW files contain more image data, allowing you to recover details in shadows, reduce noise effectively, and make precise adjustments to white balance and exposure.