


Seamless white background for product photography

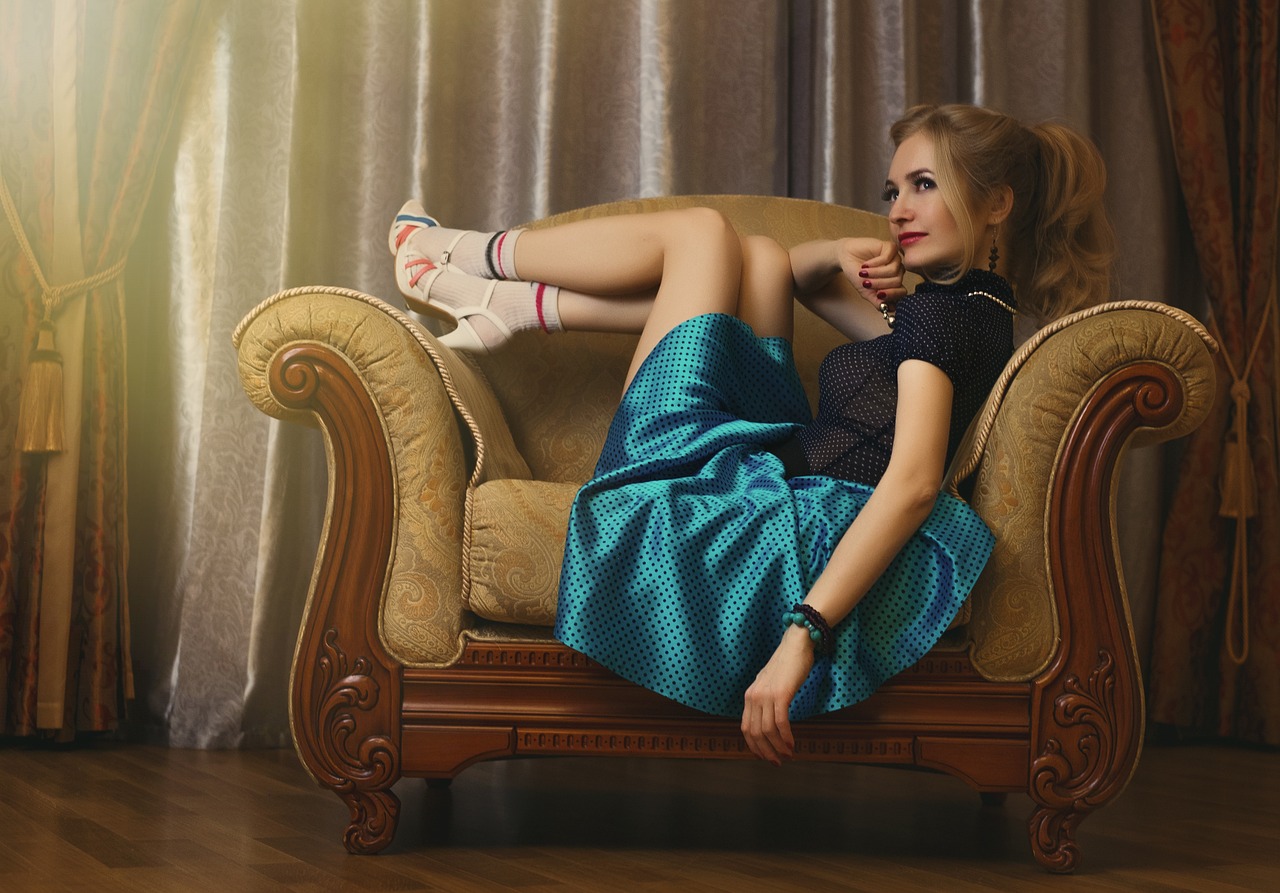
Product photography is an essential aspect of marketing and sales in today’s visually driven market. A well-crafted product image can make all the difference in attracting potential customers and influencing their purchasing decisions. One crucial element that significantly contributes to the overall impact of a product photograph is the background. In this chapter, we will explore the role of a seamless white background in product images and understand why it is a popular choice for many photographers.
Creating Focus and Emphasizing the Product:
A seamless white background serves as a clean and uncluttered canvas, drawing attention to the product itself. By eliminating distracting elements, it allows the viewer’s eyes to focus solely on the item being showcased. Whether it’s a piece of jewelry, a gadget, or a clothing accessory, a seamless white background creates a sense of visual simplicity, making the product the star of the photograph.
Enhancing Product Details and Colors:
The neutral nature of a white background acts as a blank canvas that accentuates the product’s details and colors. It provides a high-contrast backdrop, allowing for clear visibility of intricate features, textures, and fine craftsmanship. Additionally, the white background helps to accurately represent the true colors of the product, ensuring that customers see an accurate depiction before making a purchase.
Promoting Versatility and Consistency:
A seamless white background offers versatility, making it suitable for a wide range of product categories. Whether you’re capturing small items like cosmetics or larger objects like furniture, a white background can adapt to various scales and sizes. Furthermore, using a consistent white background across your product catalog creates a cohesive and professional look, reinforcing your brand’s identity and enhancing the overall visual appeal.
Easy Integration into Marketing Channels:
White backgrounds have become a standard in e-commerce platforms, online marketplaces, and product catalogs. They seamlessly blend into website designs, e-commerce templates, and social media feeds, providing a consistent and uniform appearance. By using a seamless white background, you ensure that your product images are ready for integration across multiple marketing channels, enhancing the overall brand experience.
Amplifying Minimalist and Contemporary Aesthetics:
The clean, minimalist look achieved with a seamless white background aligns with modern design trends. It creates a sense of sophistication, elegance, and professionalism. This aesthetic is particularly popular in industries such as fashion, jewelry, beauty, and technology, where a sleek and high-end presentation is crucial.
A seamless white background is a hallmark of professional product photography. Achieving a pure white background requires careful attention to lighting, exposure, and post-processing techniques. In this chapter, we will explore various techniques that will help you create a flawless and pure white background for your product images.
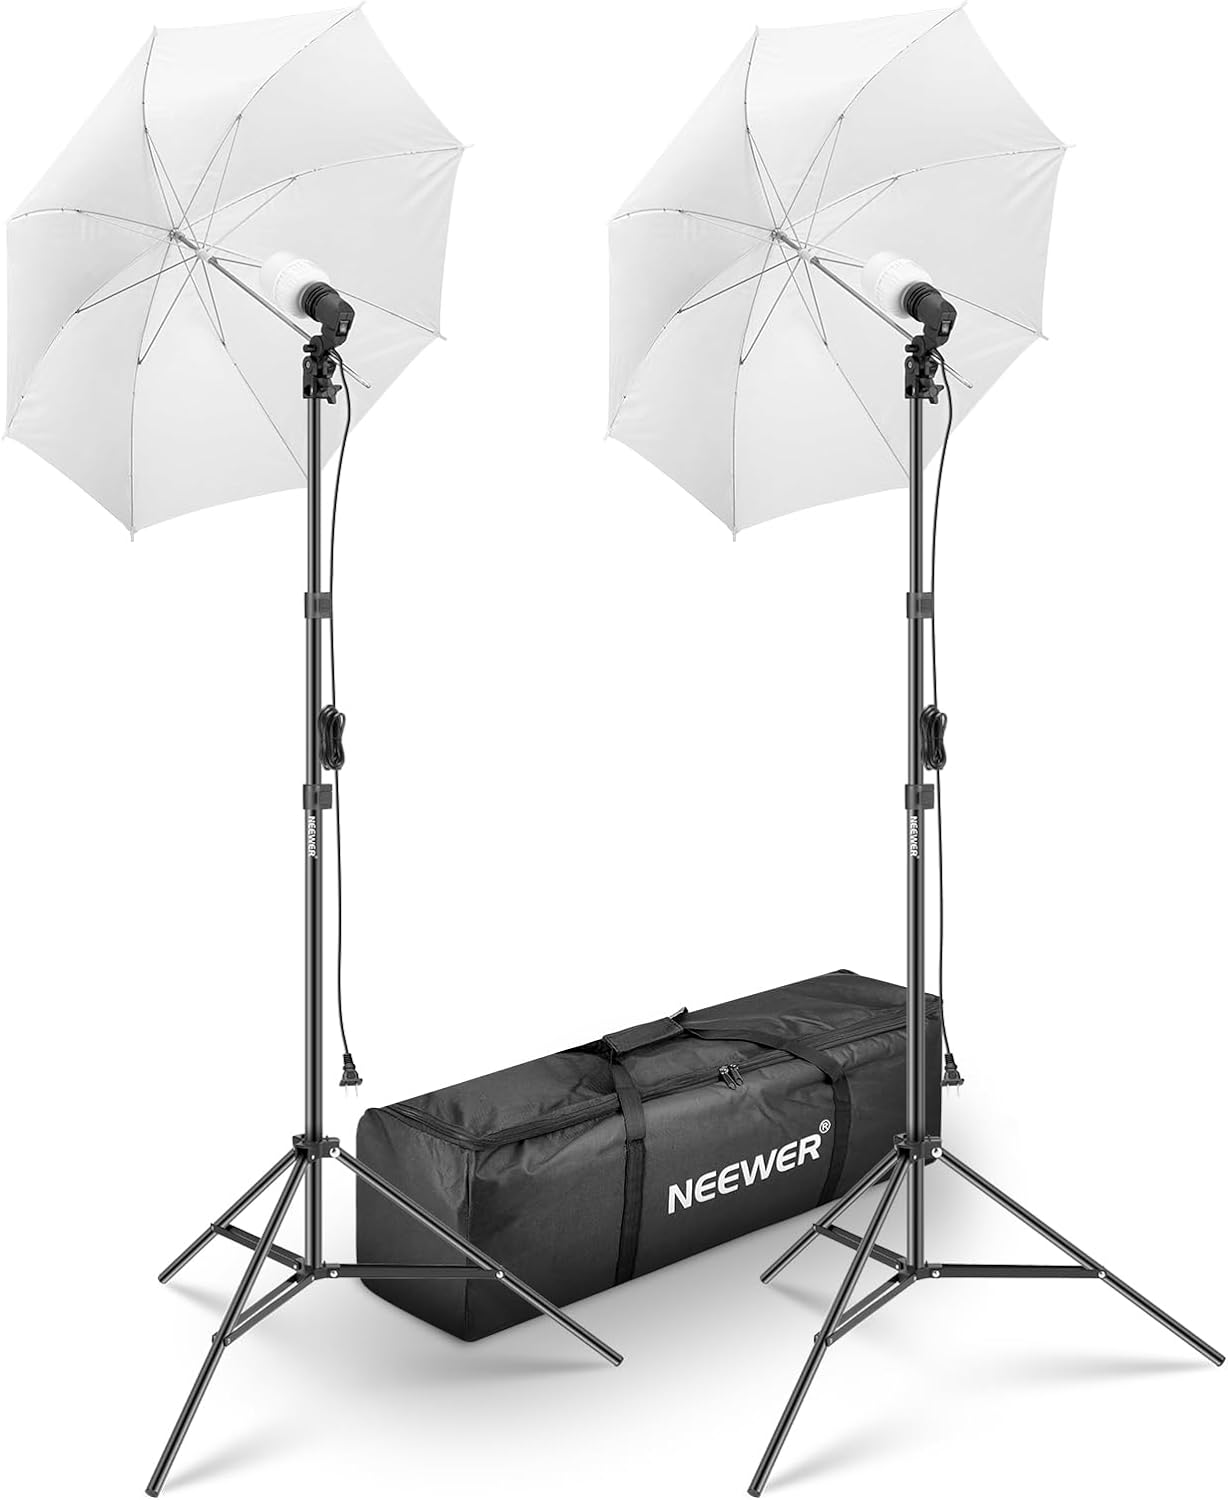
Lighting Setup:
Proper lighting is key to achieving a pure white background. Here are a few lighting techniques to consider:
Overhead Softbox Lighting: Positioning a softbox or diffused light source above and slightly behind the product helps evenly illuminate the background and eliminate shadows.
Backlighting: Place a bright light behind the product, aiming it towards the background. This technique helps to separate the product from the background and create a clean, white backdrop.
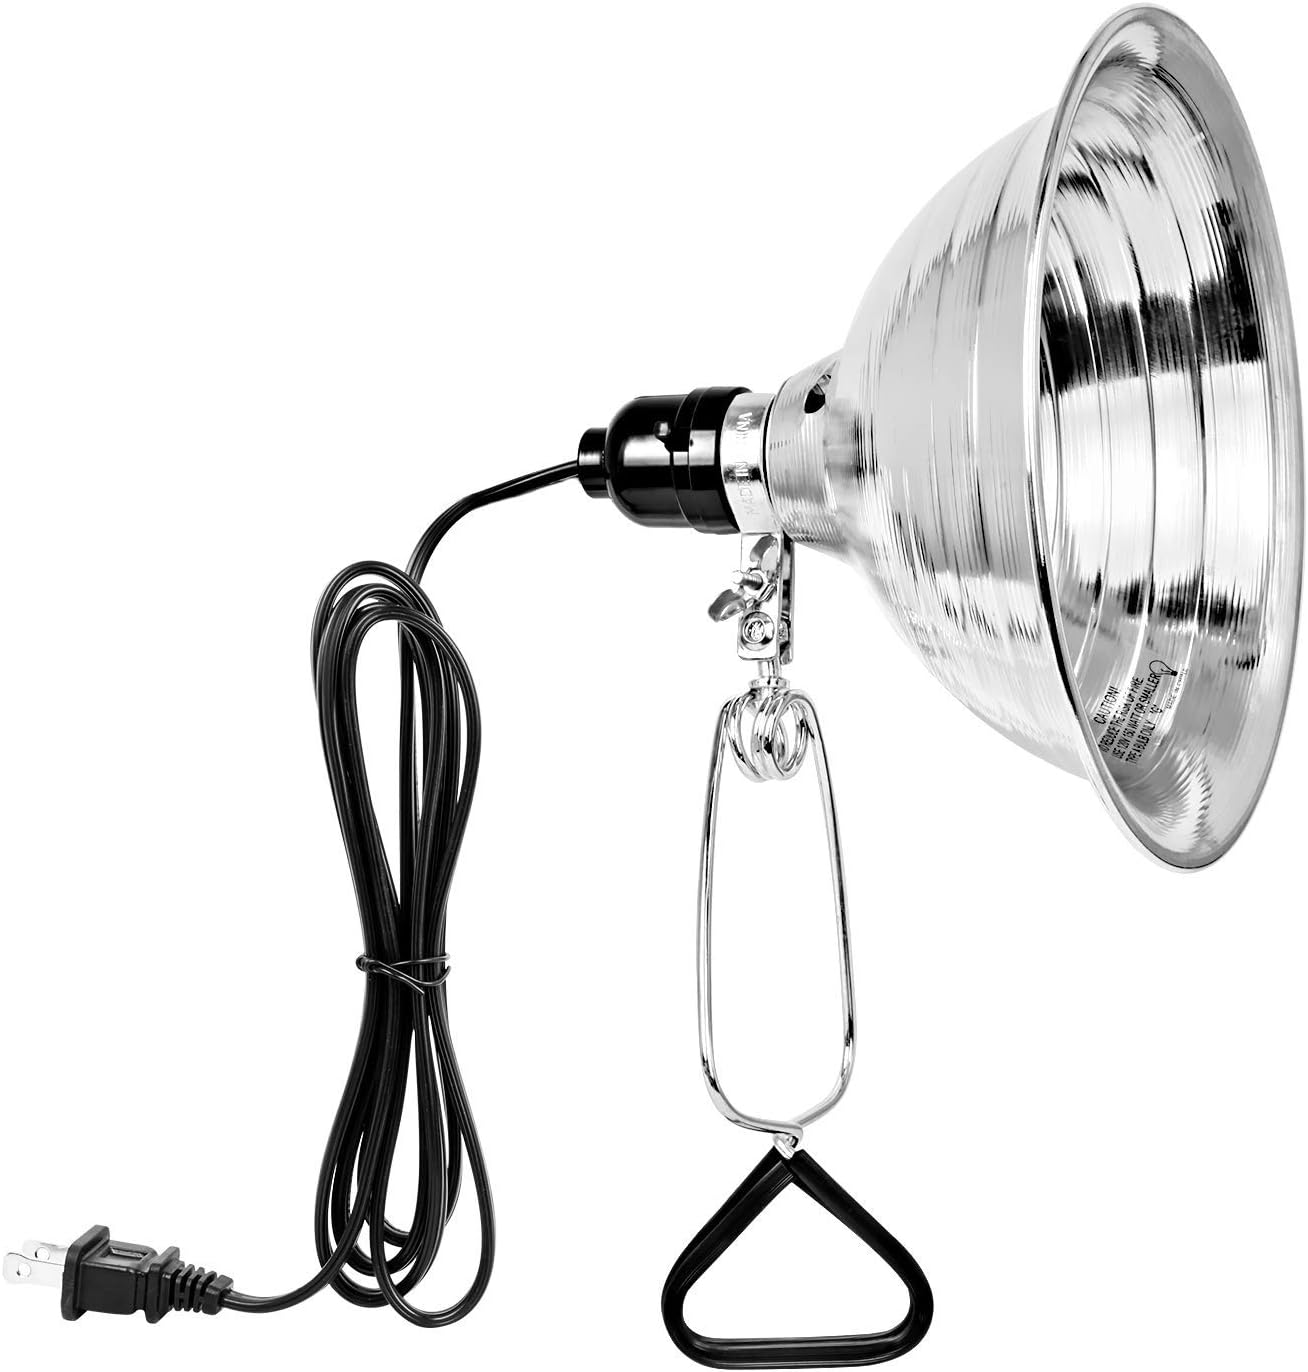
Reflective Panels: Use white reflectors or foam boards to bounce light onto the background. This technique helps to eliminate any shadows or uneven lighting.
Adjusting Exposure:
Proper exposure is crucial for achieving a pure white background. Consider the following exposure techniques:
Manual Mode: Switch to manual mode on your camera to have full control over the exposure settings. Set a low ISO, a narrow aperture (high f-stop number), and adjust the shutter speed accordingly.
Histogram: Utilize the histogram on your camera to evaluate the exposure. Aim for a spike in the rightmost region of the histogram, indicating a properly exposed white background.
Bracketing: Experiment with bracketing by taking multiple shots at different exposure levels. This technique allows you to capture a range of exposures and choose the best result in post-processing.
Post-Processing Techniques:
Even with careful lighting and exposure, some adjustments might be necessary during post-processing. Consider the following techniques:
Adjusting Levels and Curves: In post-processing software, adjust the levels and curves to increase the brightness and contrast of the image. Push the white point towards the right end of the histogram to achieve a pure white background.
Dodge Tool: Use the dodge tool selectively to brighten any remaining gray areas on the background. Be cautious not to overdo it, as it can result in unnatural-looking highlights.
Background Removal: If there are still imperfections or shadows on the background, consider using background removal tools or techniques to replace it entirely with a pure white background.
Product Separation Techniques:
To ensure a seamless transition between the product and the white background, employ these techniques:
Clipping Paths: Use clipping paths or precise selections to isolate the product from the background. This technique allows for easy removal and replacement of the background while maintaining a clean edge around the product.
Feathering and Refining Edges: When selecting the product, use feathering or refining edge tools in your post-processing software to create a natural transition between the product and the background.
Test and Refine:
Product photography is an iterative process. Continuously test different lighting setups, exposure settings, and post-processing techniques to achieve the desired results. Pay attention to details, such as shadows, reflections, and color accuracy, to create a flawless white background.
In product photography, shadows and reflections can present challenges when trying to achieve a seamless white background. However, with the right techniques and approaches, you can overcome these challenges and create professional-looking product images. In this chapter, we will explore strategies for dealing with shadows and reflections to ensure a flawless white background.
Managing Shadows:
Shadows can detract from the clean and seamless look of a white background. Consider the following techniques to minimize or eliminate shadows:
Soft Diffused Lighting: Use softbox or diffused lighting sources to create even, soft illumination. This helps reduce harsh shadows and creates a smooth transition from the product to the background.
Reflectors and Fill Lights: Position white reflectors or fill lights strategically to bounce light back onto the shadowed areas. This technique helps to fill in the shadows and create a more balanced lighting setup.
Light Tent or Lightbox: Utilize a light tent or lightbox to diffuse the light and eliminate harsh shadows. These tools provide a controlled environment for product photography and help achieve a shadow-free result.
Dealing with Reflections:
Reflections can occur when photographing products with glossy or reflective surfaces, making it challenging to achieve a seamless white background. Here are techniques to handle reflections effectively:
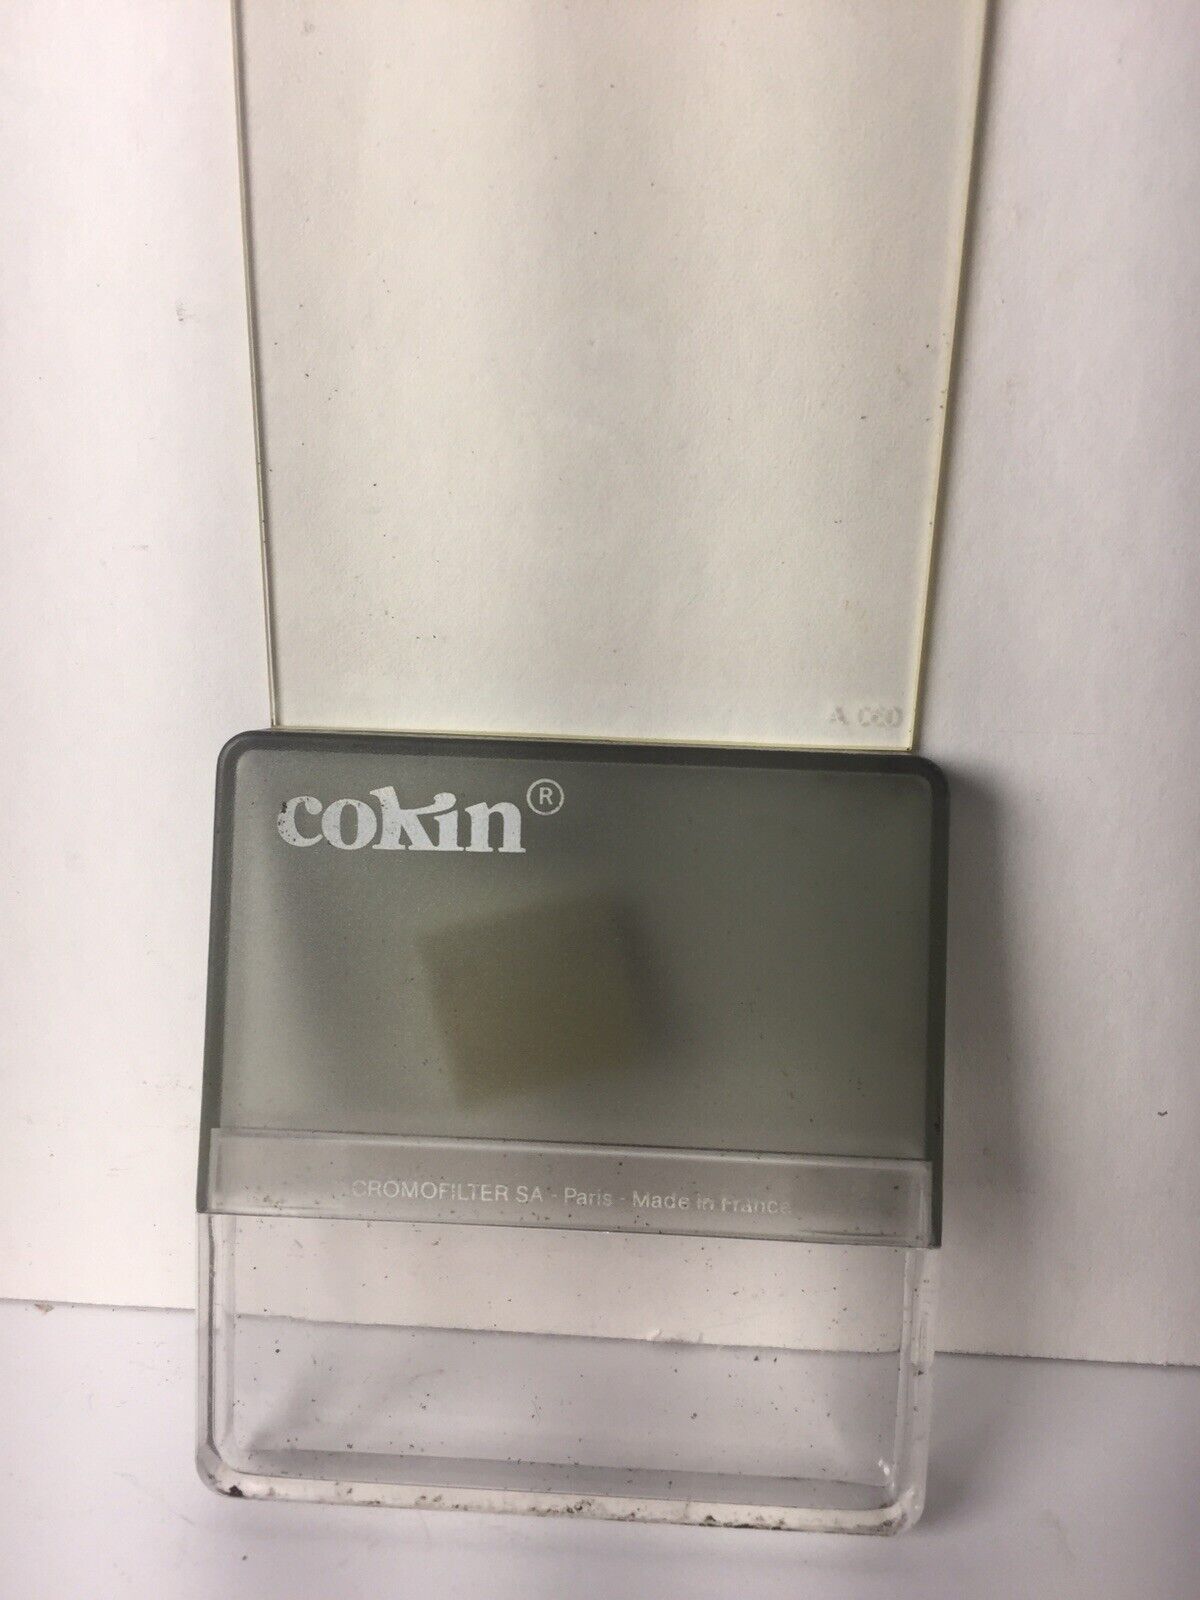
Polarizing Filter: Attach a polarizing filter to your camera lens to reduce or eliminate reflections. Rotate the filter until you achieve the desired effect.
Angle and Positioning: Experiment with different angles and positions to minimize reflections. Adjust the lighting setup or the product’s placement to reduce unwanted reflections on the background.
Reflective Surface Management: Cover reflective surfaces with a non-reflective material, such as matte paper or fabric, to reduce reflections. Be mindful of reflections from the surroundings and make necessary adjustments to the shooting environment.
The choice of backdrop materials and setup plays a crucial role in achieving a seamless white background for product photography. The right selection ensures a clean, consistent, and professional look for your images. In this chapter, we will explore different backdrop materials and provide guidance on setting up your backdrop effectively.
Backdrop Material Options:
There are several options to consider when selecting backdrop materials for a seamless white background. Here are some commonly used materials:
Seamless Paper: Seamless paper rolls are popular among photographers due to their versatility and affordability. They are available in various widths and lengths, allowing you to create a seamless white background with ease. Be mindful of any creases or damage that can affect the overall appearance.
Fabric: Muslin or cotton fabric can be used as a backdrop material. Opt for a high-quality, heavyweight fabric to minimize wrinkles and ensure a smooth surface. White fabric can provide a soft and elegant look, but it may require steaming or ironing to maintain its appearance.
Vinyl or PVC: Vinyl or PVC backdrops are durable and offer a smooth, wrinkle-free surface. They are easy to clean and can withstand frequent use, making them suitable for professional studios. However, they may have a slightly reflective surface, which can create challenges with unwanted reflections.
Light Tent or Lightbox: Light tents or lightboxes are collapsible structures made of translucent material. They are particularly useful for smaller products as they provide a diffused and even lighting environment. Light tents often come with a built-in white backdrop, creating a seamless white background effortlessly.
Considerations for Backdrop Setup:
Once you have chosen the appropriate backdrop material, it’s essential to set it up correctly to achieve a seamless white background. Consider the following factors:
Backdrop Support System: Invest in a reliable backdrop support system to ensure stability and ease of use. A support system typically consists of adjustable stands and crossbars that hold the backdrop material in place. Look for a system that can accommodate the size and weight of your chosen backdrop material.
Distance from the Product: Position the backdrop at a sufficient distance from the product to avoid unwanted shadows and minimize any spill of light onto the backdrop. This distance will vary depending on the size of your product and the lighting setup.
Seamless Setup: When using paper or fabric backdrops, ensure they are wide enough to cover the entire frame of your shot. Avoid any gaps or visible seams that may appear in the final image. Use clamps or tape to secure the backdrop material to the support system and create a smooth, uninterrupted background.
Wrinkle and Crease Removal: Before shooting, take the time to smooth out any wrinkles, folds, or creases in the backdrop material. Use a steamer, iron, or fabric tensioning system to achieve a clean and flat surface. Wrinkles can create unwanted shadows and distractions in your images.
Cleaning and Maintenance: Keep your backdrop material clean and free from dust, dirt, or stains. Regularly inspect and clean it as needed to ensure a pristine white background in your product images.
Experimentation and Adaptation:
The choice of backdrop material and setup may vary depending on your specific needs and the nature of your products. Experiment with different materials, sizes, and support systems to find what works best for you. Consider the size and weight of your products, the shooting space available, and your desired aesthetic to make informed decisions.