


Setting Up a Home Photography Studio on a Budget
Setting up a home photography studio on a budget is entirely feasible and can lead to professional-looking photos. With some creativity and resourcefulness, you can achieve impressive results without breaking the bank. Here are some steps and tips to help you get started:
Choose the Right Space:
Look for a room or area in your home that receives plenty of natural light. A room with large windows can serve as an excellent starting point as natural light is a free and flattering light source for photography. Make sure there’s enough space to set up your equipment and props comfortably.
Backdrop and Background:
You can create a simple backdrop using materials like bedsheets, large pieces of fabric, or even a plain-colored wall. Consider using neutral colors like white, gray, or black, as they work well for most types of photography. Avoid busy patterns that might distract from the main subject.
Lighting:
Natural light is great, but you’ll also need some control over the lighting conditions. A couple of affordable options are:
Reflectors: These can help bounce natural light back onto your subject, reducing shadows and providing more even lighting. You can even make your reflector using a large white foam board.
DIY Lighting Setup: Look up tutorials on creating softbox alternatives using household items like lamps with white bedsheets as diffusers.
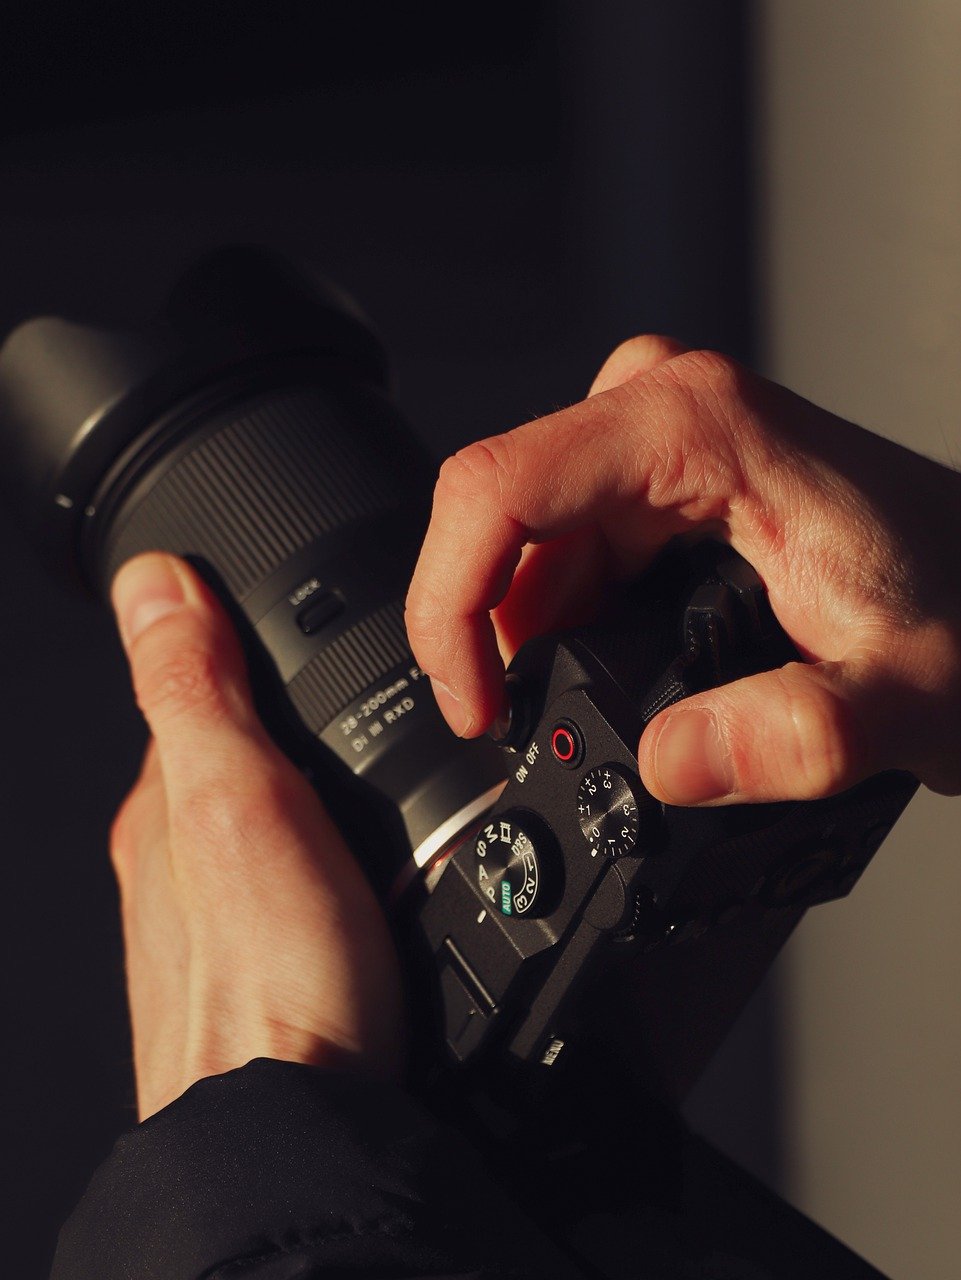
Camera and Tripod:
Nowadays, even smartphones have excellent cameras for photography. If you have a dedicated camera (DSLR or mirrorless), great! If not, start with your smartphone. You can invest in a tripod to keep the camera steady and help you take sharper photos, especially in low light situations.
Props and Accessories:
Get creative with props and accessories that match the type of photography you want to pursue. You can find affordable props at thrift stores, dollar stores, or even use items you already have at home.
DIY Light Modifier:
Instead of buying expensive light modifiers like softboxes, you can create your own using materials like shower curtains, white bedsheets, or shower caps over the light source. These materials can act as diffusers, softening the light and reducing harsh shadows.
Editing Software:
Post-processing can enhance your images significantly. Consider using free editing software like GIMP or Lightroom’s free version to adjust brightness, contrast, color balance, and more.
Learn and Experiment:
There are plenty of online resources, tutorials, and courses available to improve your photography skills. Experiment with different lighting setups, angles, and compositions to discover what works best for you.
Storage and Organization:
Keep your equipment and props organized to make the most of your space. Use storage solutions like shelves, bins, or drawers to keep everything easily accessible and clutter-free.
Invest Gradually:
While the focus is on setting up a budget-friendly home studio, as you progress and become more invested in photography, you can gradually invest in better equipment and accessories.
Lighting:
Good lighting is crucial in photography. In addition to natural light and DIY lighting options, you can also consider affordable LED panel lights or continuous lighting kits. These can be found online or at photography equipment stores. LED lights are energy-efficient, provide consistent lighting, and are relatively inexpensive.
Backdrop Alternatives:
In addition to using bedsheets or fabric as backdrops, consider other budget-friendly alternatives. You can use large rolls of craft paper, colored butcher paper, or even patterned wrapping paper for creative and inexpensive backdrops. Another option is to paint a wall with chalkboard or whiteboard paint, giving you a versatile backdrop that can be changed with different drawings or writings.
DIY Light Stand:
Instead of investing in expensive light stands, you can create your own using PVC pipes or even sturdy tripods with some modifications. There are many online tutorials on building DIY light stands that are both practical and cost-effective.
Reflectors and Diffusers:
While commercial reflectors and diffusers are available, you can make your own using materials like aluminum foil for a reflector or shower curtains for a diffuser. These DIY options can be just as effective and save you money.
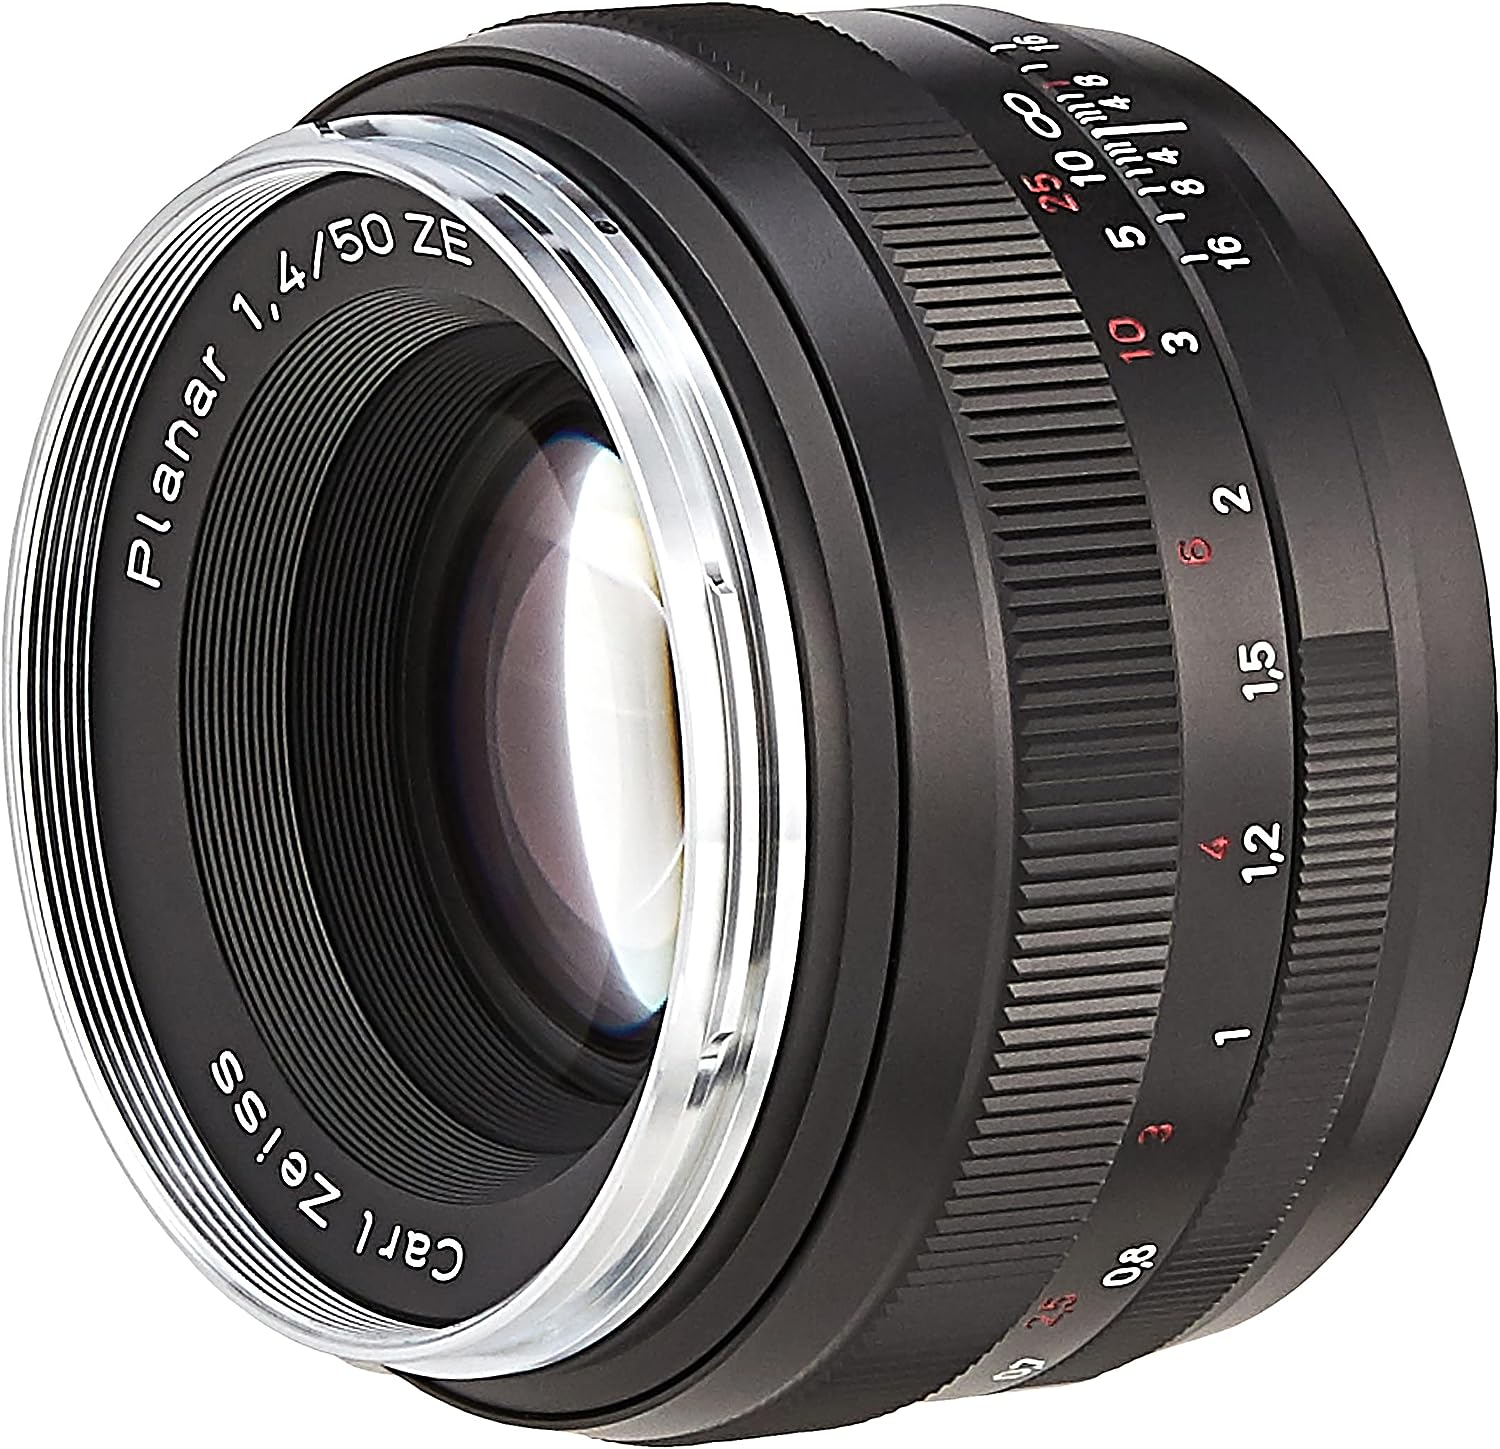
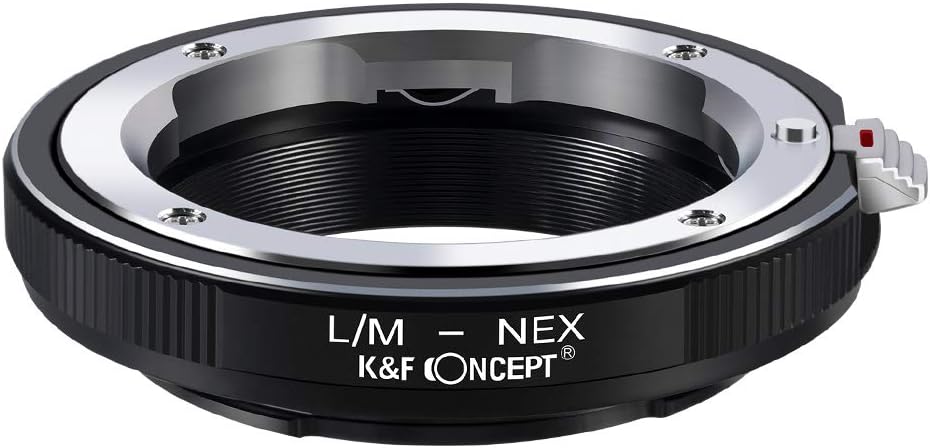
Macro Photography on a Budget:
For close-up photography or macro shots, you can try using inexpensive alternatives for specialized equipment. One example is using a cheap reverse ring adapter for your camera, which allows you to use a regular lens backward for macro photography.
DIY Photography Table:
For product photography or small object photography, create a simple DIY photography table using a piece of white or translucent acrylic or plexiglass. This material can be found at home improvement stores and works well as a clean, seamless surface for your subjects.
DIY Light Tent:
Light tents, also known as lightboxes, are used to diffuse light and create a soft and even illumination on small subjects. You can make a DIY light tent using a cardboard box and white bedsheets or tissue paper as diffusers.
Print Your Own Backdrops:
If you want specific backgrounds for your shoots, you can search for high-resolution images online and print them as posters or use them as digital backdrops in post-processing.
Free Editing Software:
In addition to GIMP and Lightroom’s free version, there are other free photo editing software options available, like Pixlr and Paint.NET. These tools can help you enhance your images and make them look more professional.
Learn from Online Communities:
Engage with photography forums, social media photography groups, and YouTube channels focused on photography. These communities often share budget-friendly tips and tricks to improve your skills and find affordable gear.
Remember, the key to setting up a budget home photography studio is resourcefulness and creativity. Look for alternatives, experiment, and enjoy the process of learning and honing your photography skills without breaking the bank. With time and dedication, you can achieve impressive results and produce stunning images that you’ll be proud to showcase.