


Capture product details with macro photography

Whether you’re an aspiring product photographer or a seasoned professional looking to expand your skills, this comprehensive guide will provide you with the knowledge and inspiration needed to elevate your product photography to the next level.
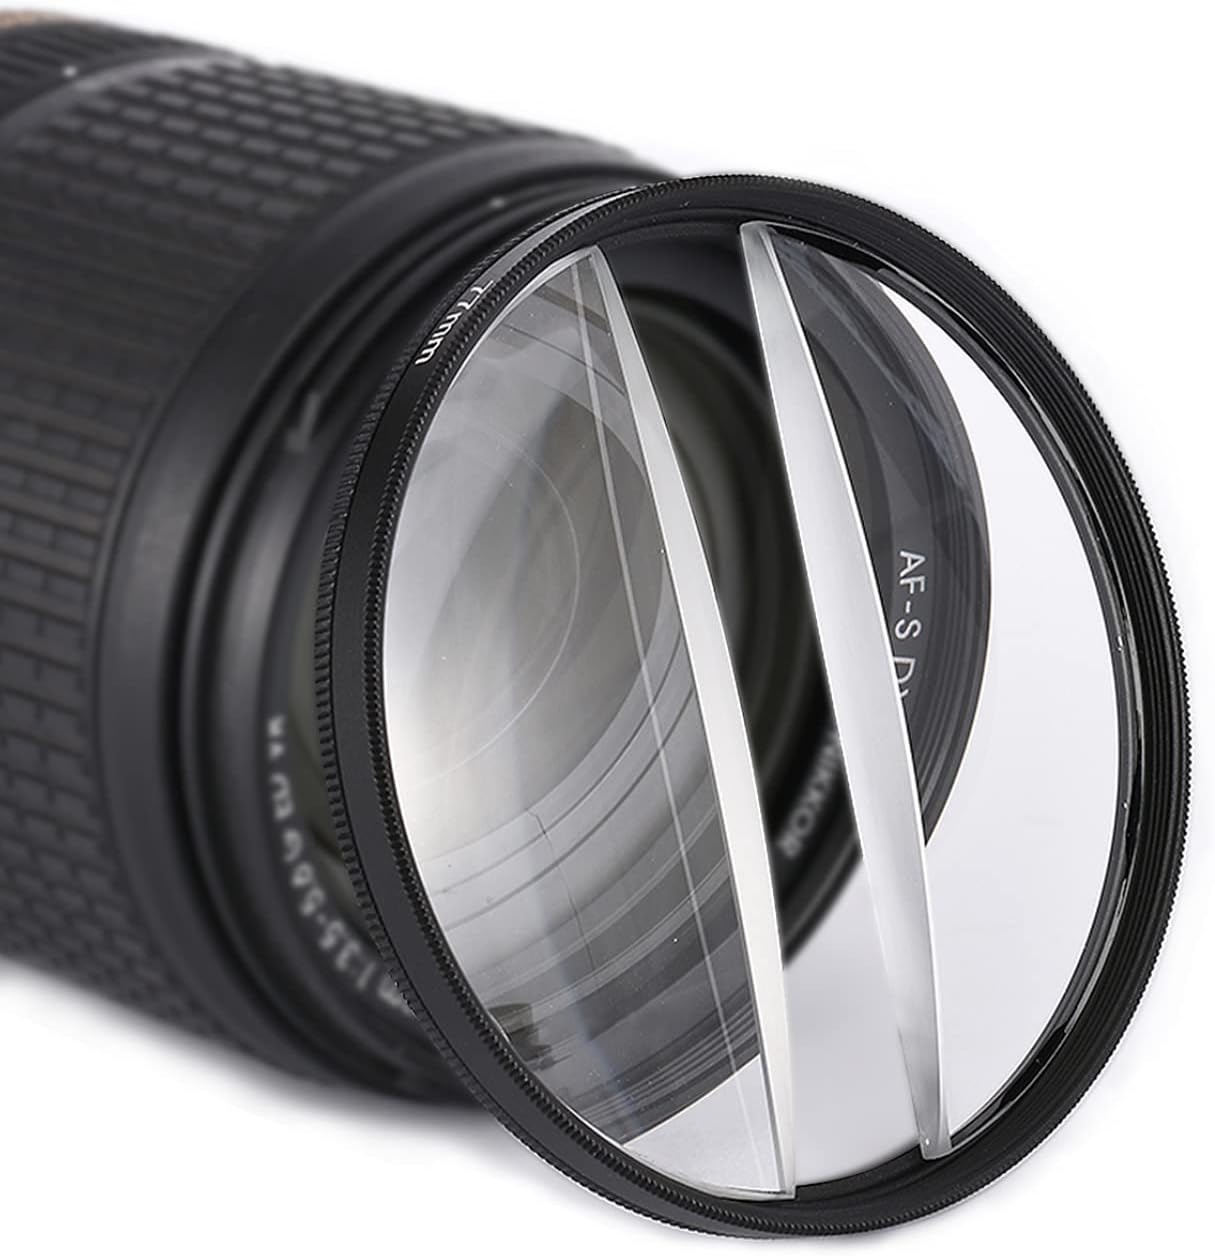
Macro photography is essential for product details because it allows you to capture intricate and intimate aspects of the subject that are often overlooked by the naked eye. When it comes to product photography, the devil is in the details, and macro photography excels at revealing those details in a visually appealing and engaging manner. Here are some reasons why macro photography is essential for capturing product details:
Highlighting Texture and Surface Details: Macro photography enables you to showcase the texture, patterns, and surface details of a product. Whether it’s the fine stitching on a leather handbag, the intricate patterns on a piece of jewelry, or the texture of fabric, macro photography brings out these details, adding depth and realism to the image.
Emphasizing Small Features: Products often have small features or elements that contribute to their uniqueness or functionality. Macro photography allows you to emphasize these small details, such as buttons, zippers, engravings, or the intricate mechanisms of a watch. By showcasing these features, you can effectively communicate the product’s quality and craftsmanship.
Conveying Scale and Size: Macro photography can play a vital role in illustrating the size and scale of a product. By capturing close-up shots with a macro lens, you can provide viewers with a sense of proportion, enabling them to better understand the dimensions and physical characteristics of the product.
Revealing Quality and Finishing: Macro photography can unveil the quality and finishing of a product. Every imperfection, flaw, or meticulous detail becomes apparent, allowing potential customers to make informed decisions. By presenting a product in its finest detail, macro photography instills confidence in buyers and enhances the perception of craftsmanship and attention to detail.
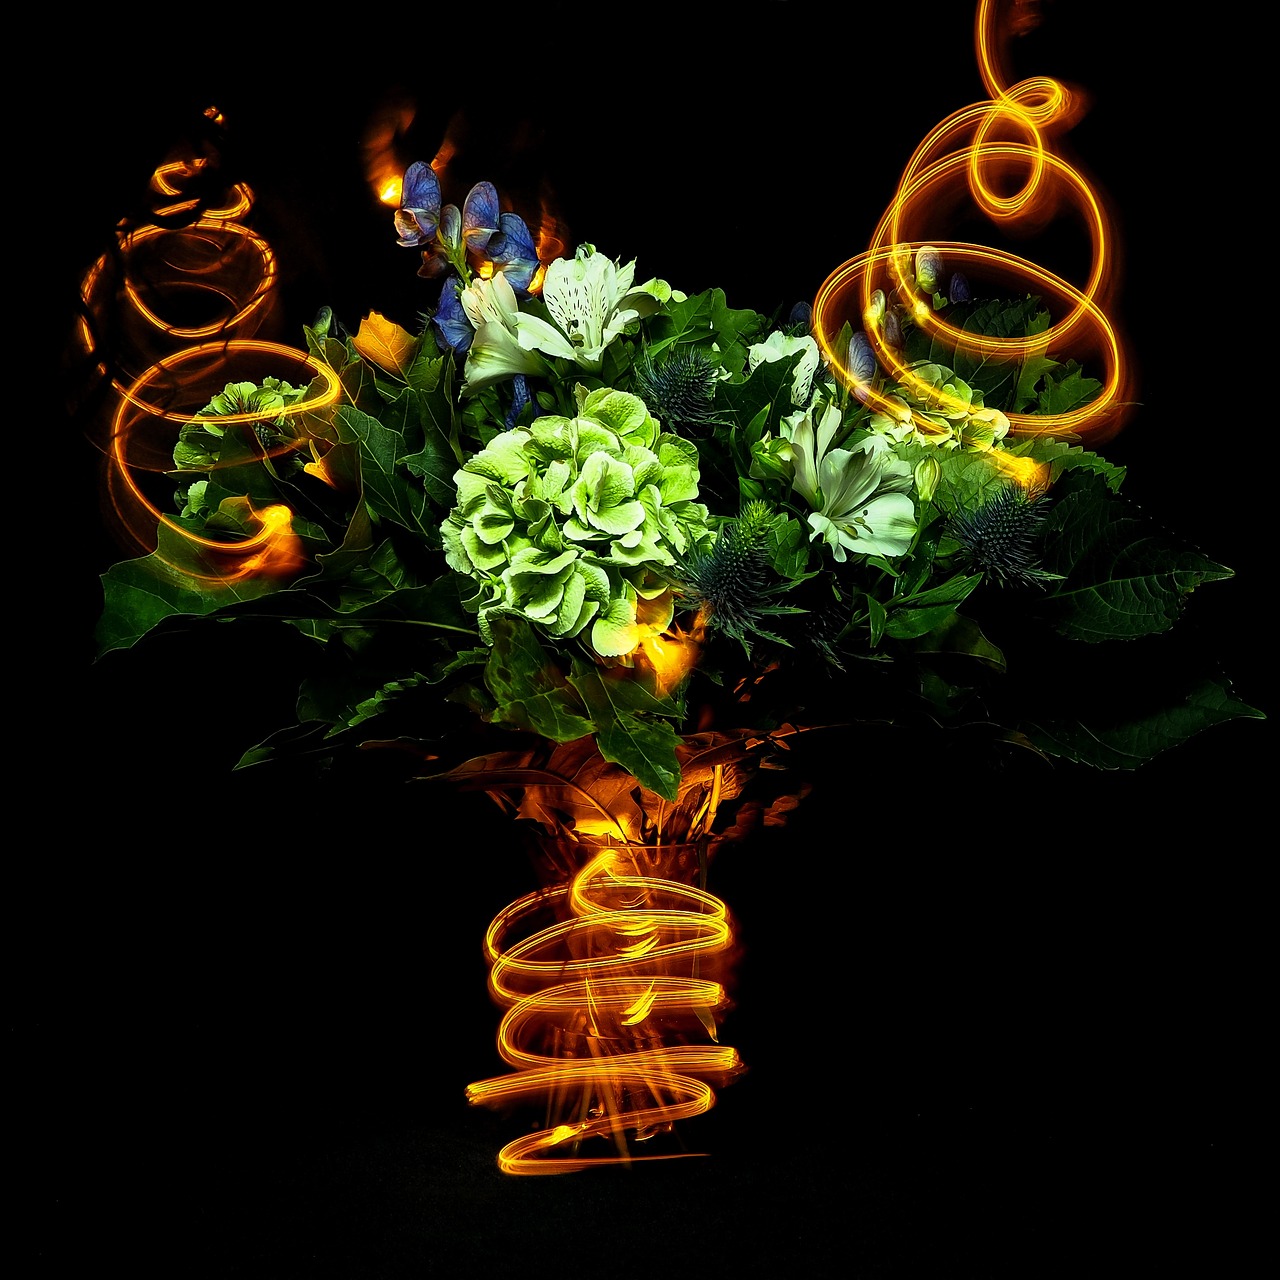
Engaging and Captivating Viewers: Macro photography has a unique ability to captivate viewers and evoke emotional responses. When viewers can see the minute details and intricacies of a product, it creates a sense of fascination and connection. By drawing viewers into the image, macro photography can generate interest, curiosity, and desire, increasing the likelihood of engagement and potential sales.
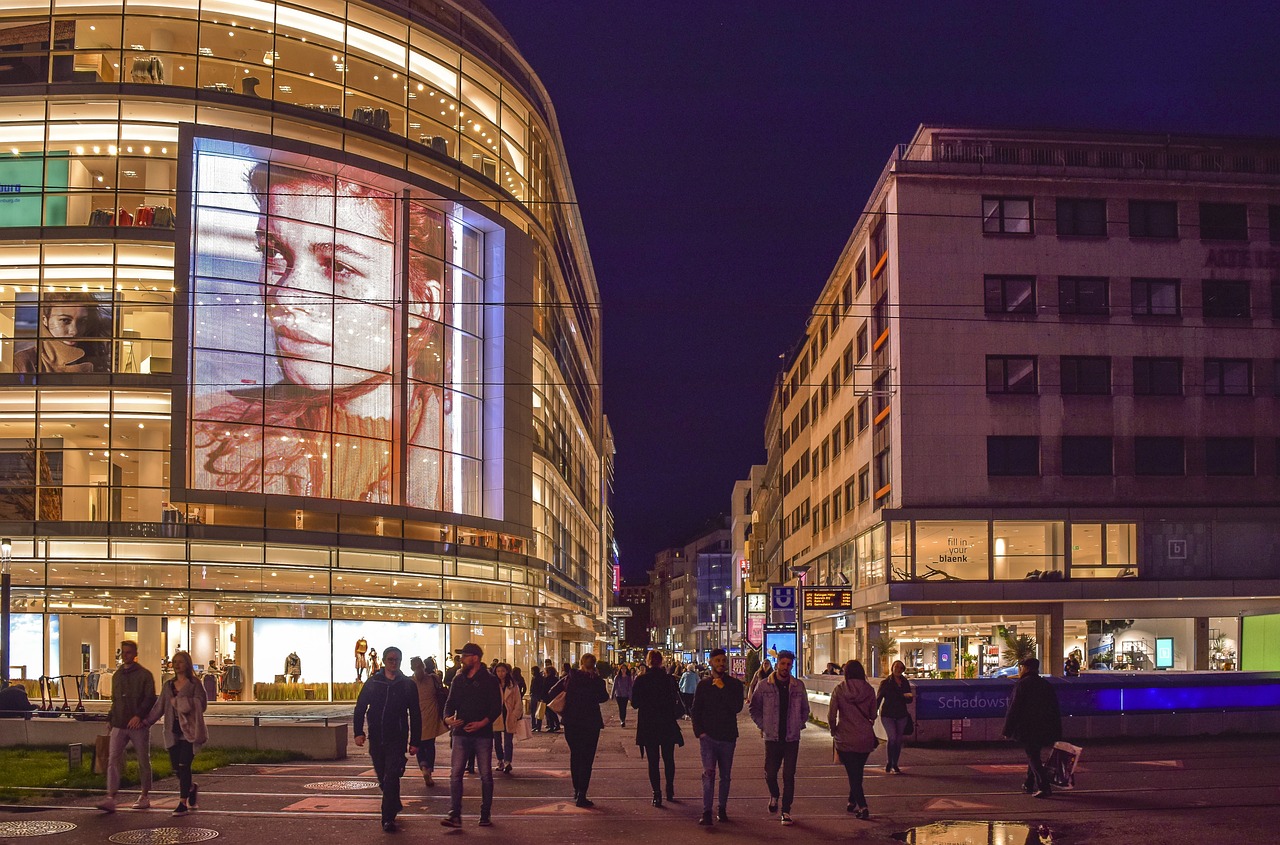
Enhancing Marketing and Advertising Efforts: In today’s visually-driven world, effective product marketing relies heavily on compelling imagery. Macro photography provides a powerful tool for creating impactful visuals that stand out in crowded marketplaces. By capturing product details in a captivating way, macro photography helps to differentiate brands, attract attention, and communicate value.
Differentiating between true macro photography and close-up photography is often a subject of confusion. While both involve photographing subjects at a close range, there are technical differences that set them apart. Let’s explore these differences:
Magnification Ratio: The key distinction between true macro and close-up photography lies in the magnification ratio. In true macro photography, the magnification ratio is typically 1:1 or higher. This means that the subject on the camera’s image sensor is captured at life-size or larger. Close-up photography, on the other hand, may not achieve a magnification ratio of 1:1 or greater, though it still involves capturing subjects in close proximity.
Reproduction of Small Details: True macro photography excels at reproducing small details with high precision and clarity. It allows you to capture intricate textures, fine lines, and minute details that may not be visible to the naked eye. Close-up photography, while also capturing subjects at a close range, may not provide the same level of detail and magnification as true macro photography.
Minimum Focusing Distance: Macro lenses are specifically designed to have a very short minimum focusing distance. This allows photographers to get extremely close to the subject while maintaining focus. Close-up photography can be achieved with standard lenses by getting close to the subject, but they may not have the same minimum focusing distance as dedicated macro lenses.
Depth of Field: Achieving a shallow depth of field is often desired in both macro and close-up photography to isolate the subject and create a pleasing background blur. However, due to the proximity to the subject, depth of field in macro photography can be extremely shallow. This requires careful consideration of focus stacking techniques or aperture settings to maintain sharpness throughout the image. Close-up photography may have a slightly greater depth of field due to the difference in magnification ratios.
Lens Design and Purpose: Macro lenses are specifically designed for capturing small subjects at high magnification ratios. They often incorporate features like internal focusing, flat field correction, and optical quality optimized for close-up work. Close-up photography, on the other hand, can be achieved with various lenses, including standard lenses, zoom lenses, or even lens attachments like extension tubes or close-up filters.
Controlling reflections, shadows, and highlights is crucial in product photography to ensure that the subject is well-lit, free from distracting reflections, and properly showcases its details. Here are some techniques and tips for managing these elements:
Lighting Techniques:
Diffuse the light: Use diffusers or softboxes to soften harsh light sources. This helps reduce sharp reflections and creates a more even illumination on the product.
Use reflectors: Reflectors bounce light onto the subject to fill in shadows or add highlights. They can be white, silver, or gold, depending on the desired effect.
Light from different angles: Experiment with different lighting angles to control shadows and highlights. Side lighting can create dramatic shadows, while front or overhead lighting can minimize shadows and bring out more details.
Light modifiers: Consider using flags, grids, or barn doors to control light spill and prevent unwanted reflections or shadows in specific areas.
Background and Props:
Choose the right background: Opt for a neutral or complementary background that doesn’t cause reflections or distractions. Matte surfaces or paper backdrops are often preferred to minimize reflections.
Positioning and angling: Adjust the angle of the product and camera to minimize unwanted reflections or shadows. Move the subject, lights, or props accordingly to achieve the desired effect.
Add fill cards or bounce cards: These cards, typically white or silver, can be placed strategically to fill in shadows or redirect light onto the subject. They help balance the exposure and reduce contrast.
Use Polarizing Filters:
Polarizing filters can reduce reflections from non-metallic surfaces such as glass or glossy objects. They work by blocking specific light angles, resulting in clearer images with reduced glare.
Rotate the polarizing filter while observing the reflections in the viewfinder or LCD screen until the desired effect is achieved.
Post-Processing:
Retouching software: Utilize post-processing software like Adobe Photoshop or Lightroom to further control reflections, shadows, and highlights.
Dodging and burning: Adjust specific areas of the image to reduce or increase the exposure selectively. This technique helps balance the overall lighting and control highlights and shadows.
Tone curves and levels: Use these tools to fine-tune the overall brightness and contrast of the image, ensuring that shadows and highlights are properly balanced.
Test and Iterate:
Product photography often requires experimentation and adjustment to achieve the desired results. Continually review your images during the shoot and make necessary changes to lighting setup, props, or positioning to control reflections, shadows, and highlights effectively.
Focus stacking is a powerful technique in macro photography that allows you to capture sharpness throughout the image, even when using a shallow depth of field. It involves taking multiple images of the subject, each with a different focus point, and then combining them in post-processing to create a final image with extended depth of field. Here’s how you can use focus stacking to capture maximum sharpness in your macro product photography:
Set up your camera and subject:
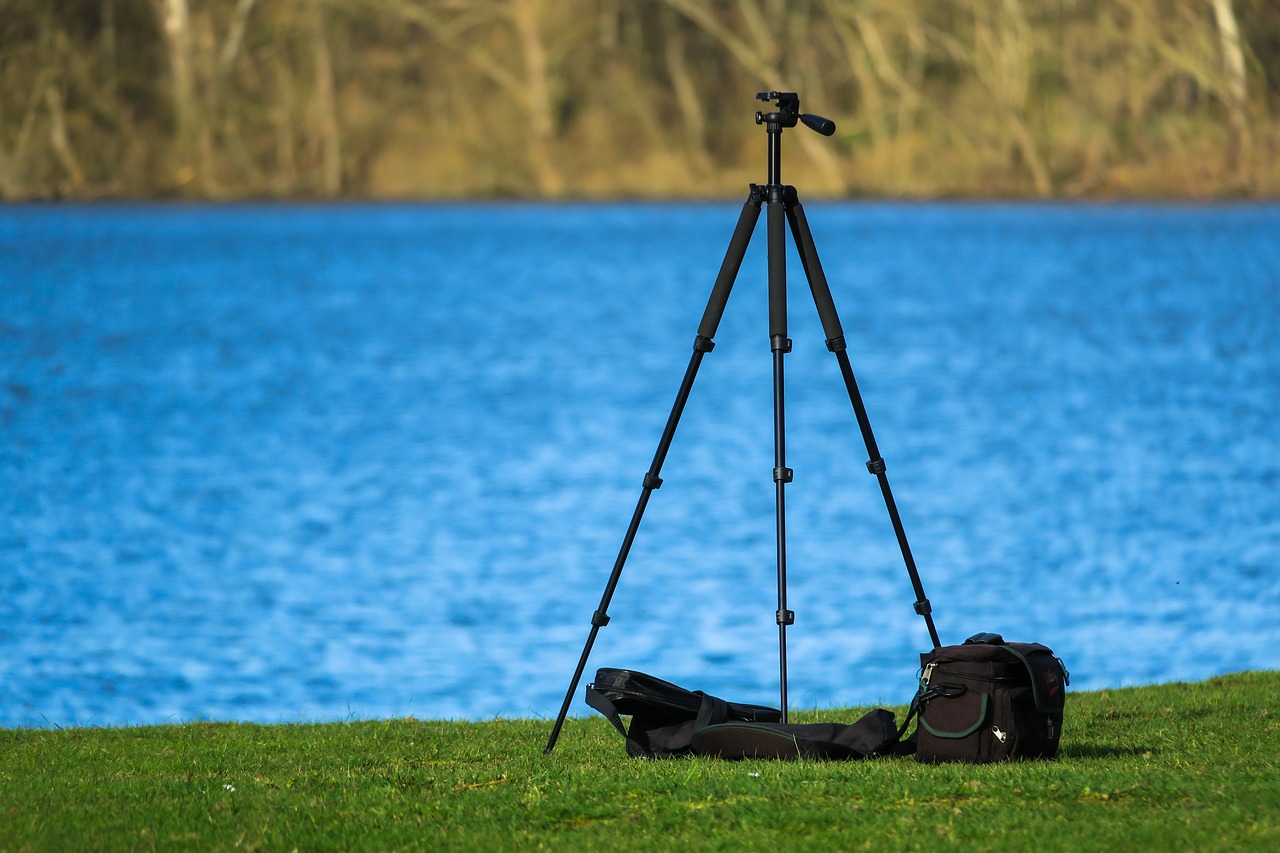
Mount your camera on a sturdy tripod to ensure stability.
Arrange your subject and compose the shot as desired.
Use manual focus to ensure consistent focus points throughout the stacking process.
Determine the number of shots:
Assess the depth of the subject and the desired level of sharpness.
Decide on the number of images needed to cover the entire depth, typically 5-10 shots.
Keep in mind that the more shots you take, the smoother the transition between focus points will be.
Adjust aperture and exposure settings:
Use a small aperture (high f-number) to maximize depth of field.
Be mindful of diffraction effects that may occur at very small apertures, which can slightly reduce overall sharpness.
Adjust the exposure settings to maintain a consistent exposure across all images.
Capture the images:
Start by focusing on the nearest point of the subject, then gradually adjust the focus to cover the entire depth of the subject.
Take a series of shots, incrementally changing the focus point for each shot.
Use a remote shutter release or the camera’s self-timer to minimize camera shake.
Post-processing and focus stacking:
Transfer the images to your computer and import them into focus stacking software. There are dedicated programs available, such as Adobe Photoshop, Helicon Focus, or Zerene Stacker.
Align the images if necessary, using the software’s alignment feature to correct any minor shifts between shots.
Use the focus stacking tool to combine the images and generate a final composite image that exhibits sharpness throughout the subject.
Fine-tuning and editing:
After the focus stacking process, you may need to make some adjustments to the final composite image.
Check for any artifacts or blending issues and use cloning or healing tools to address them.
Perform additional post-processing adjustments like contrast, color correction, and sharpening to enhance the overall image quality.
Capturing reflective and transparent products can be challenging in product photography, but with the right techniques, you can achieve stunning results. Here are some tips for photographing reflective and transparent products:
Use a Light Tent or Softbox:
A light tent or softbox helps create soft, diffused lighting that minimizes reflections and hotspots on reflective surfaces.
Position the product inside the tent or in front of the softbox to achieve even lighting without harsh reflections.
Control the Lighting:
Position the lights at angles that minimize direct reflections on the product’s surface.
Use flags or reflectors to block or redirect light as needed to avoid unwanted reflections.
Consider using polarizing filters to reduce glare and reflections on shiny surfaces.
Utilize a White or Graduated Background:
A white background helps minimize distractions and reflections, particularly for transparent products.
Graduated backgrounds can create a seamless transition from light to dark, enhancing the perception of transparency.
Create a Controlled Environment:
If possible, shoot in a controlled environment where you can control the reflections and minimize external light sources.
Use a backdrop or surrounding surfaces that are non-reflective and won’t introduce unwanted reflections onto the product.
Experiment with Angles and Perspectives:
Try shooting from different angles to find the best perspective that minimizes reflections and highlights the product’s features.
Sometimes, shooting from above or at a slight angle can reduce reflections by avoiding direct light sources.
Use Props and Diffusers:
Props can be used strategically to block reflections or create interesting reflections that enhance the overall composition.
Diffusers can be placed between the light source and the product to scatter light and minimize reflections.
Post-Processing Techniques:
Use post-processing software to further enhance the image and address any remaining reflections or imperfections.
Selectively dodge and burn areas to balance exposure and reduce distracting highlights.
Use the healing brush or clone stamp tool to remove any unwanted reflections or blemishes.
Minimizing reflections and glare on shiny surfaces is essential in product photography to ensure that the product’s details are clearly visible and distractions are reduced. Here are some effective techniques to minimize reflections and glare on shiny surfaces:
Lighting Setup:
Use diffused lighting: Soft, diffused lighting helps reduce harsh reflections and glare. Employ softboxes, umbrellas, or diffusers to create a more even and indirect light source.
Position the lights strategically: Adjust the angle and placement of the lights to minimize direct reflections on the shiny surface. Experiment with different angles to find the most flattering lighting setup.
Light Modifiers:
Use flags or barn doors: These can be placed near the light source to block or shape the light, preventing it from directly hitting the shiny surface and causing reflections.
Reflectors and bounce cards: Position reflectors or bounce cards to redirect light onto the product from a different angle, filling in shadows and minimizing direct reflections.
Polarizing Filters:
Polarizing filters can be attached to the camera lens to reduce reflections and glare on shiny surfaces. Rotate the filter to achieve the desired effect. This technique is particularly effective for glossy or reflective materials.
Diffuse Reflective Surfaces:
If possible, cover nearby reflective surfaces with non-reflective materials, such as fabric or foam boards, to prevent reflections from bouncing back onto the product.
Shooting Angle and Composition:
Adjust the shooting angle and composition to minimize reflections. Experiment with different angles to find the best perspective that reduces glare and maximizes the visibility of the product’s details.
Avoid shooting directly in line with bright light sources, as this can cause more prominent reflections and glare.
Post-Processing:
Use post-processing software to further minimize reflections and glare. Techniques like cloning, healing, or spot removal can be used to remove distracting reflections or blemishes in the final image.
Clean the Surface:
Ensure that the shiny surface is clean and free from dust, fingerprints, or smudges, as these can contribute to unwanted reflections. Use a soft cloth and appropriate cleaning solutions to gently clean the surface before photographing.