


Darkroom Equipment: A Comprehensive Guide

The art of photography has undergone significant transformations over the years, with the advent of digital technology and the widespread use of smartphones. However, there remains a dedicated community of photographers who appreciate the timeless charm and authenticity of traditional darkroom techniques. In the darkroom, photographers can craft their images using an array of specialized equipment that contributes to the magic of analog photography. In this comprehensive guide, we will delve into the fascinating realm of darkroom equipment, exploring its history, essential components, and the unique processes that bring photographs to life.
The Evolution of Darkroom Photography
Darkroom photography has a rich history dating back to the 19th century. The term “darkroom” itself alludes to the light-sensitive environment required for developing photographic prints. In the early days, darkrooms were often improvised in closets or basements, with photographers working under the dim glow of a red safelight to avoid exposing light-sensitive materials prematurely.
As the popularity of photography grew, purpose-built darkrooms became more common. These darkrooms were equipped with specialized tools and devices designed to facilitate the various stages of film development and printmaking. Despite the rise of digital photography, darkroom enthusiasts continue to thrive, preserving the craftsmanship of traditional image creation.
Essential Darkroom Equipment
Enlarger:
The enlarger is a fundamental tool in the darkroom, used to project an image from a film negative onto photosensitive paper. Enlargers come in various types, including condenser and diffusion enlargers, each with its unique characteristics. They allow photographers to control the size and focus of the projected image, shaping the final print’s composition.
Safelight:
Safelights emit light in a spectrum that does not affect photosensitive materials. The most common safelight emits a red or orange glow, enabling photographers to work in the darkroom without prematurely exposing the film or photo paper. It is crucial for maintaining the integrity of the light-sensitive materials during the printing process.
Developing Trays:
Developing trays come in different sizes and are used for processing film and prints with various chemical solutions. Typically made of plastic or metal, these trays are designed to withstand the corrosive nature of photographic chemicals.
Chemical Mixing Equipment:
Darkroom photography relies on a series of chemical processes, including developing, stopping, and fixing. Precise mixing of these chemicals is essential for achieving desired results. Graduated cylinders, measuring cups, and stirring rods are common tools for preparing the necessary solutions.
Timer:
Accurate timing is crucial in the darkroom to control the duration of chemical processes. Timers help photographers manage exposure times during printing and monitor development stages precisely.
Film Developing Tanks:
These light-tight containers are used to process film rolls in complete darkness. Film developing tanks allow photographers to control the temperature and agitation of the developer, ensuring consistent and high-quality results.
Print Washer:
After prints are developed and fixed, they need to be thoroughly washed to remove residual chemicals. A print washer is a device that facilitates this process by continuously circulating water over the prints.
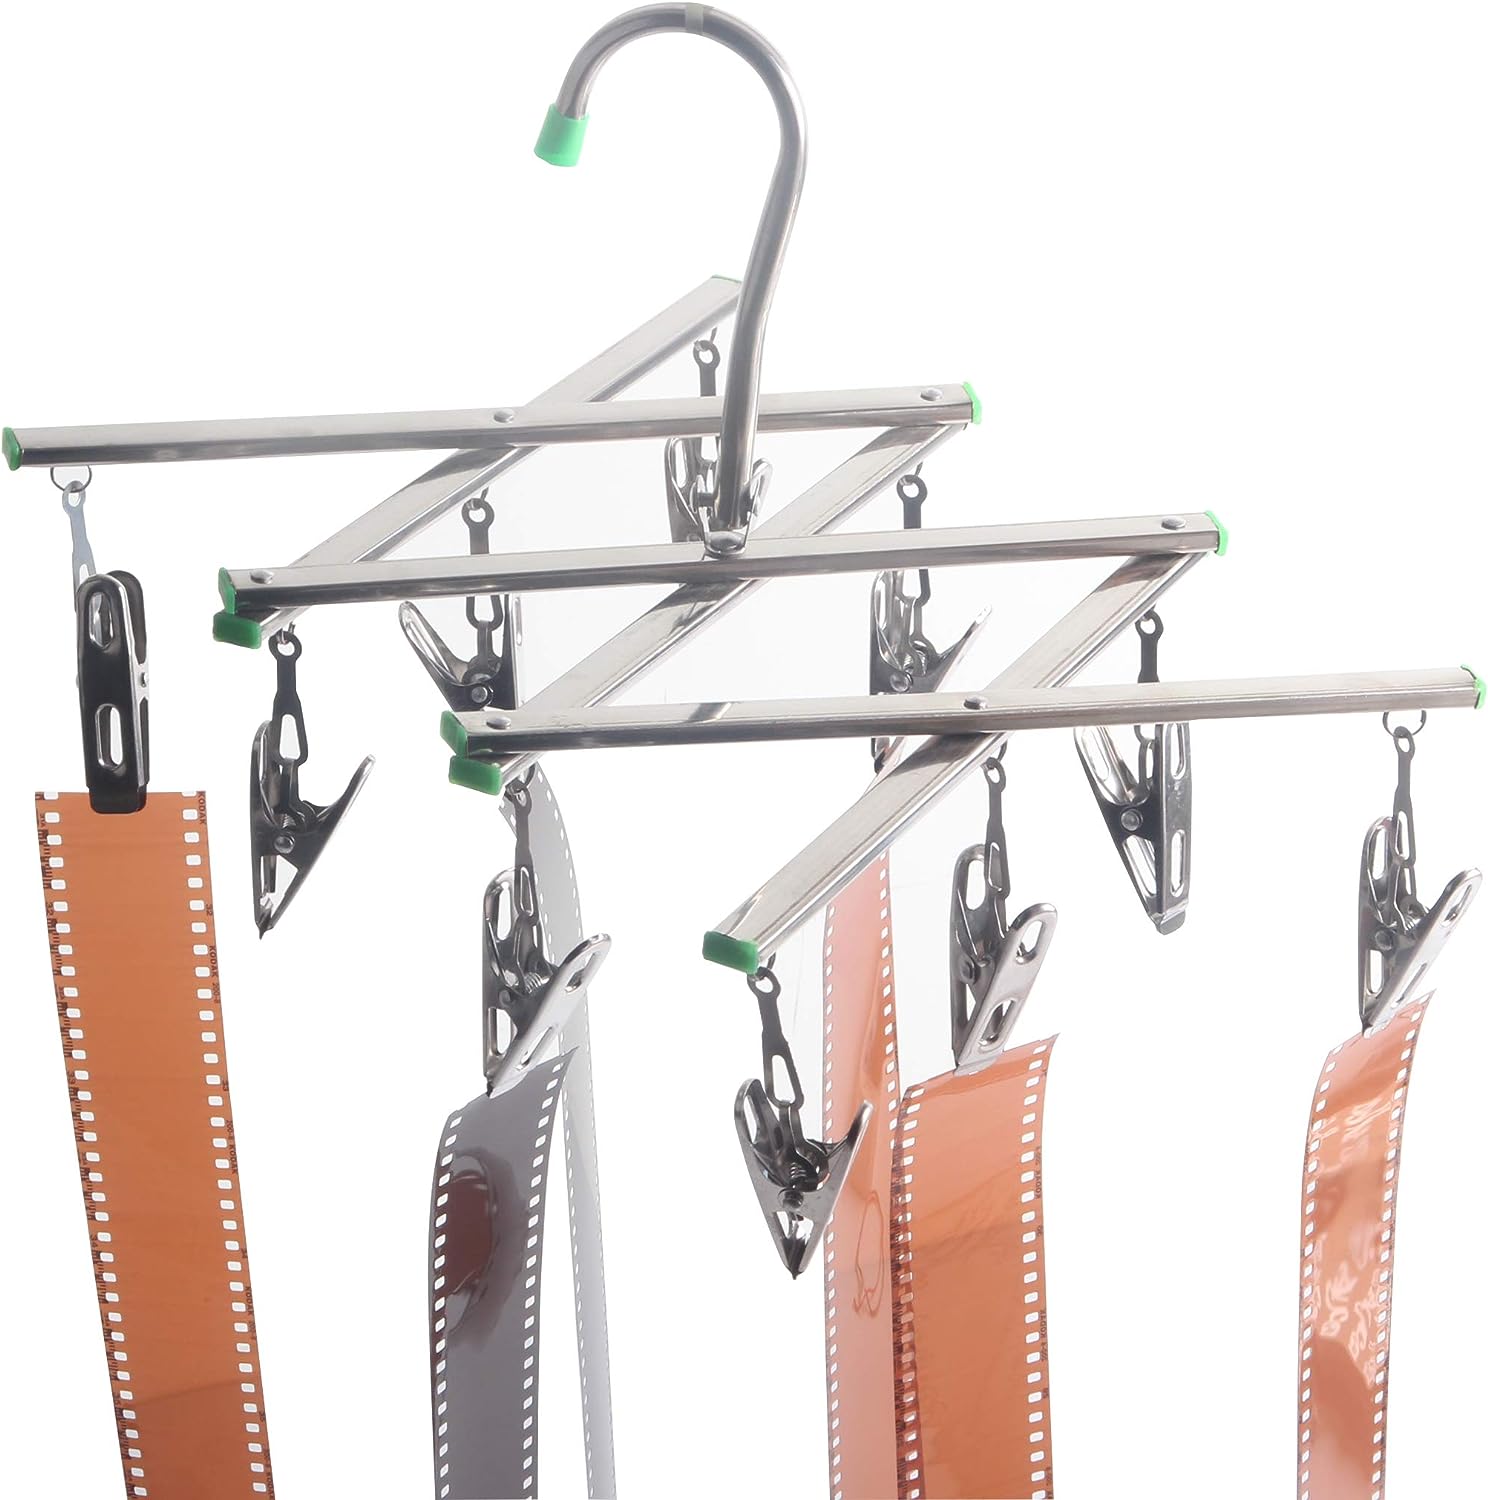
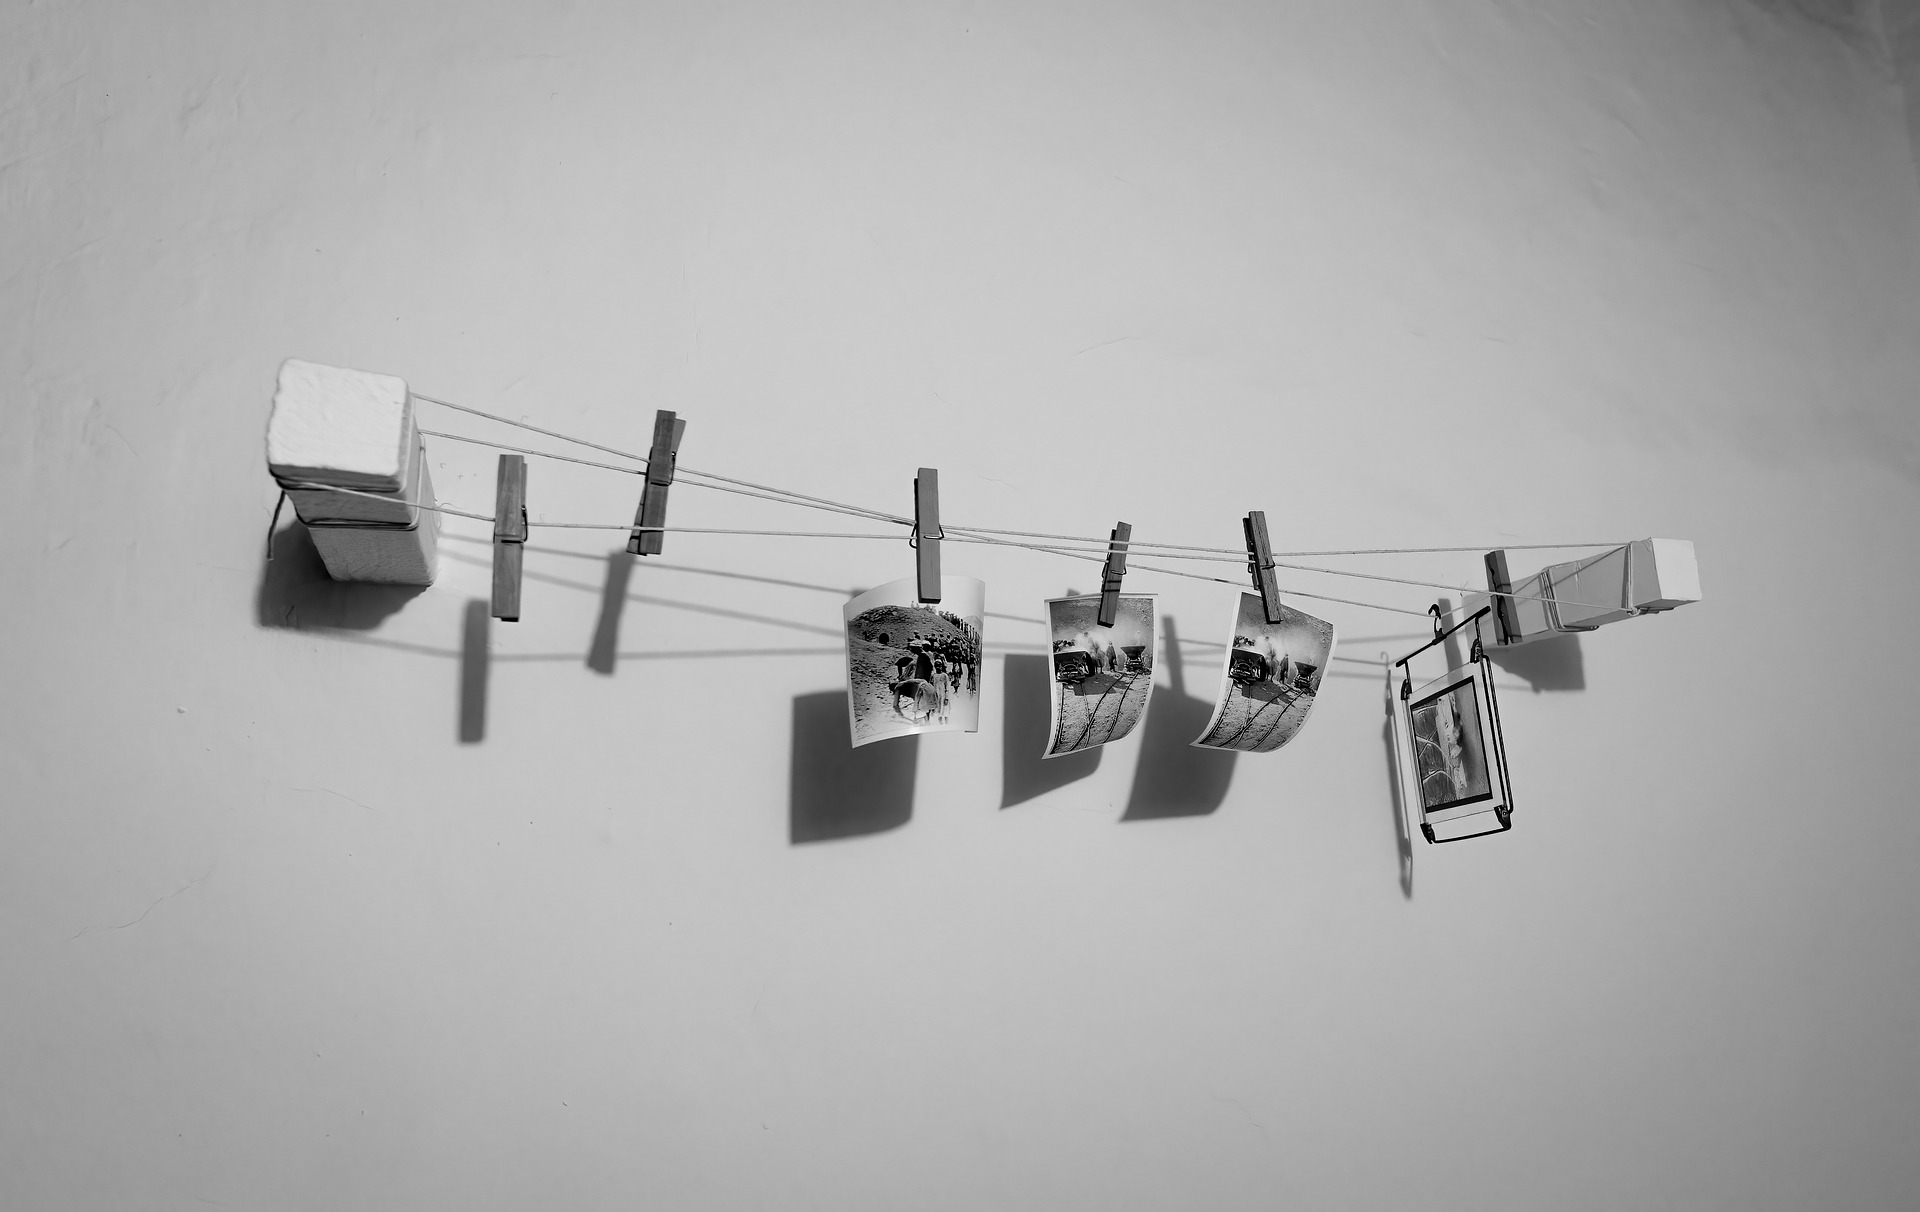
Drying Racks:
Once the prints are washed, they need to be dried in a dust-free environment. Drying racks provide a designated space for hanging prints to air dry, preventing physical damage and ensuring a smooth, blemish-free finish.
The Darkroom Process
Film Development:
The darkroom process typically begins with developing film. In a light-tight environment, photographers load exposed film into developing tanks and immerse them in a series of chemical solutions—developer, stop bath, and fixer—to bring out the latent image on the film.
Print Enlargement:
Using an enlarger, photographers project the desired image onto photosensitive paper. The projected image size is adjusted using the enlarger’s controls. Once the desired composition is achieved, a light-sensitive sheet of photographic paper is exposed to the projected image.
Chemical Processing of Prints:
The exposed paper is then processed in a series of chemical baths, including developer, stop bath, and fixer, similar to the film development process. This sequence of chemical treatments transforms the latent image into a visible photograph.
Washing and Drying:
After the prints are fixed, they are washed thoroughly to remove any residual chemicals. The prints are then hung on drying racks to air dry, producing a final product ready for display or further manipulation.
Advantages of Darkroom Photography
Despite the widespread adoption of digital photography, darkroom enthusiasts continue to find value and satisfaction in traditional methods. Some advantages of darkroom photography include:
Tactile and Hands-On Experience:
Darkroom photography offers a tangible and hands-on experience that many find rewarding. The process of physically handling film and prints, as well as controlling various parameters, provides a deeper connection to the art of photography.
Unique Aesthetic:
Analog photography produces a distinct aesthetic that is characterized by grain, tonal range, and other unique qualities. Darkroom prints often carry a timeless and authentic feel that digital processes may not fully replicate.
Creative Control:
Darkroom photographers have precise control over every step of the process, allowing for creative experimentation and customization. Techniques such as dodging, burning, and selective development enable photographers to fine-tune the final result.
Start with Basic Equipment:
If you’re new to darkroom photography, start with the basics. Invest in essential equipment like an enlarger, safelight, developing trays, and a film developing tank. You can gradually add more specialized tools as you gain experience.
Master Film Development:
Film development is a critical step in darkroom photography. Pay attention to the developing process, including proper agitation and maintaining consistent temperatures. Experiment with different developers to achieve the desired contrast and grain in your negatives.
Understand Exposure:
Mastering exposure is crucial in the darkroom. Learn to use your enlarger’s controls effectively to adjust the size and intensity of the projected image. Experiment with exposure times to achieve the desired print density.
Experiment with Paper Types:
Darkroom prints are influenced by the type of photographic paper used. Experiment with different paper brands, surfaces (glossy, matte), and grades (contrast levels) to discover the characteristics that suit your artistic vision.
Keep Your Darkroom Clean:
Dust and contaminants can mar your prints, so it’s essential to keep your darkroom clean. Regularly clean equipment, trays, and surfaces to ensure the best possible results. Use dust-free air blowers to remove any particles on negatives or prints.
Maintain Consistent Chemicals:
Consistency in chemical mixing and usage is vital for predictable results. Keep accurate records of chemical dilutions and usage, and replace or replenish solutions according to the manufacturer’s recommendations.
Experiment with Dodging and Burning:
Dodging (blocking light to lighten areas) and burning (increasing light exposure to darken areas) are powerful darkroom techniques. Experiment with these methods to selectively enhance or diminish specific areas in your prints, adding a personal touch to your work.
Learn from Mistakes:
Darkroom photography involves a learning curve, and mistakes are inevitable. Embrace them as opportunities for growth and improvement. Analyze what went wrong, adjust your techniques, and use each experience to refine your skills.
Take Notes:
Keeping a darkroom journal is a great practice. Document your exposure times, paper types, chemical processes, and any adjustments you make. This information becomes invaluable as you develop your own unique approach to darkroom photography.
Join a Darkroom Community:
Connect with fellow darkroom enthusiasts by joining local photography clubs or online communities. Sharing experiences, tips, and troubleshooting with others can provide valuable insights and inspiration for your own work.
Experiment with Toning:
Toning is a post-processing technique that can add unique color tones to your prints. Experiment with various toners like sepia or selenium to achieve different aesthetic effects.
Embrace the Artistic Process:
Darkroom photography is an art form, and the process itself is as important as the final result. Enjoy the hands-on, tactile nature of working in the darkroom, and don’t be afraid to experiment and push boundaries to express your creativity.
The world of darkroom photography is a realm where art, science, and craftsmanship converge. The essential equipment and processes involved in analog photography have a storied history, and despite the digital era’s dominance, darkroom enthusiasts continue to uphold and celebrate these traditional techniques. Whether you are a seasoned photographer or a newcomer intrigued by the magic of analog processes, exploring the world of darkroom equipment opens up a unique and fulfilling journey in the art of photography.