
Advanced Macro Photography in the Studio
Macro photography is a captivating genre that allows photographers to explore the intricate details of small subjects, unveiling a world often unseen by the naked eye. In a studio setting, you have even more control over your environment, making it ideal for advanced macro photography. This article will guide you through the essential equipment and setup required to take your studio macro photography to the next level.
Camera and Lens Selection
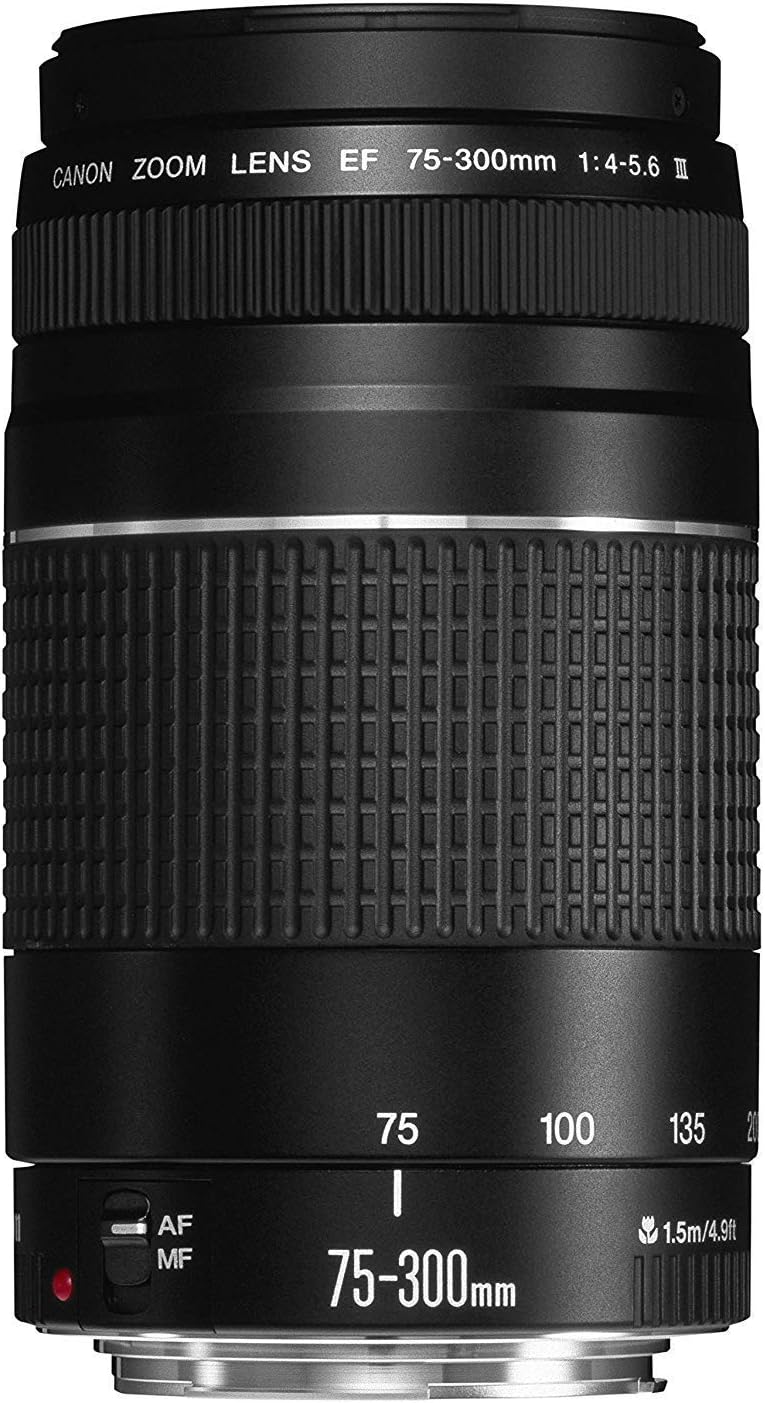
Selecting the right camera and lens combination is crucial for macro photography in the studio. A DSLR or mirrorless camera with manual controls and a sturdy tripod is essential. Additionally, you’ll need a macro lens or extension tubes to get up close and capture fine details. Macro lenses come in various focal lengths, such as 60mm, 90mm, and 100mm, each with its own advantages. Choose the one that best suits your subject and working distance preferences.
Tripod and Remote Shutter Release
Stability is paramount in macro photography, where even the slightest camera shake can ruin a shot. Invest in a robust tripod to ensure your camera remains steady throughout the shoot. A remote shutter release or cable release will help eliminate any vibrations when taking photos, further enhancing image sharpness.
Lighting Setup
Proper lighting is a critical factor in macro photography, as it allows you to control shadows, highlights, and the overall mood of your images. Consider the following lighting options:
Continuous Lighting: Continuous LED or fluorescent lights provide a constant and adjustable light source, making them suitable for studio macro work. You can easily see the effects of the light before taking the shot.
Ring Light: A ring light provides even illumination around the subject, reducing harsh shadows and highlighting intricate details.
External Flashes: External flashes, combined with softboxes or diffusers, offer precise control over lighting direction and intensity. They are a versatile choice for creative macro photography.
Reflectors and Diffusers: Use reflectors to bounce light onto the subject and diffusers to soften harsh light. These tools help control contrast and create a more appealing look.
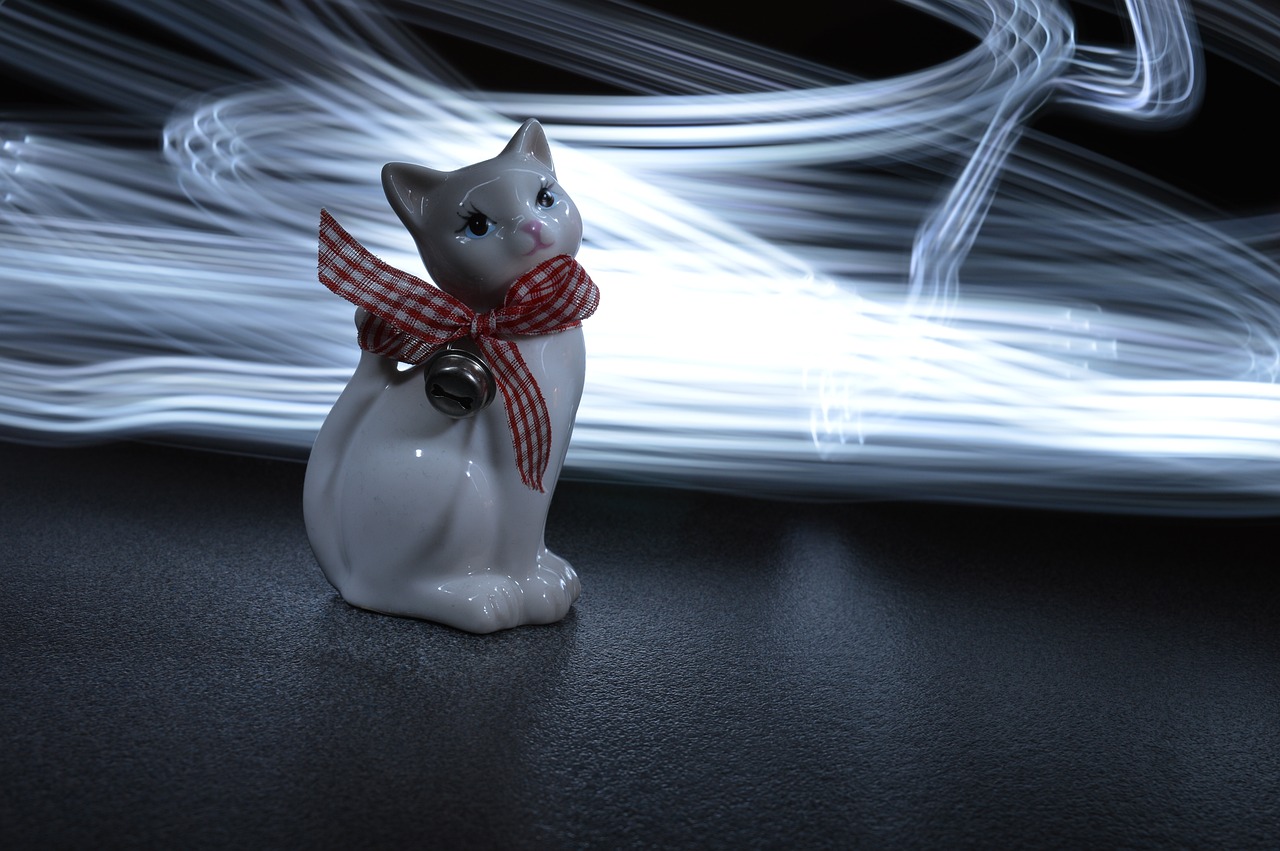
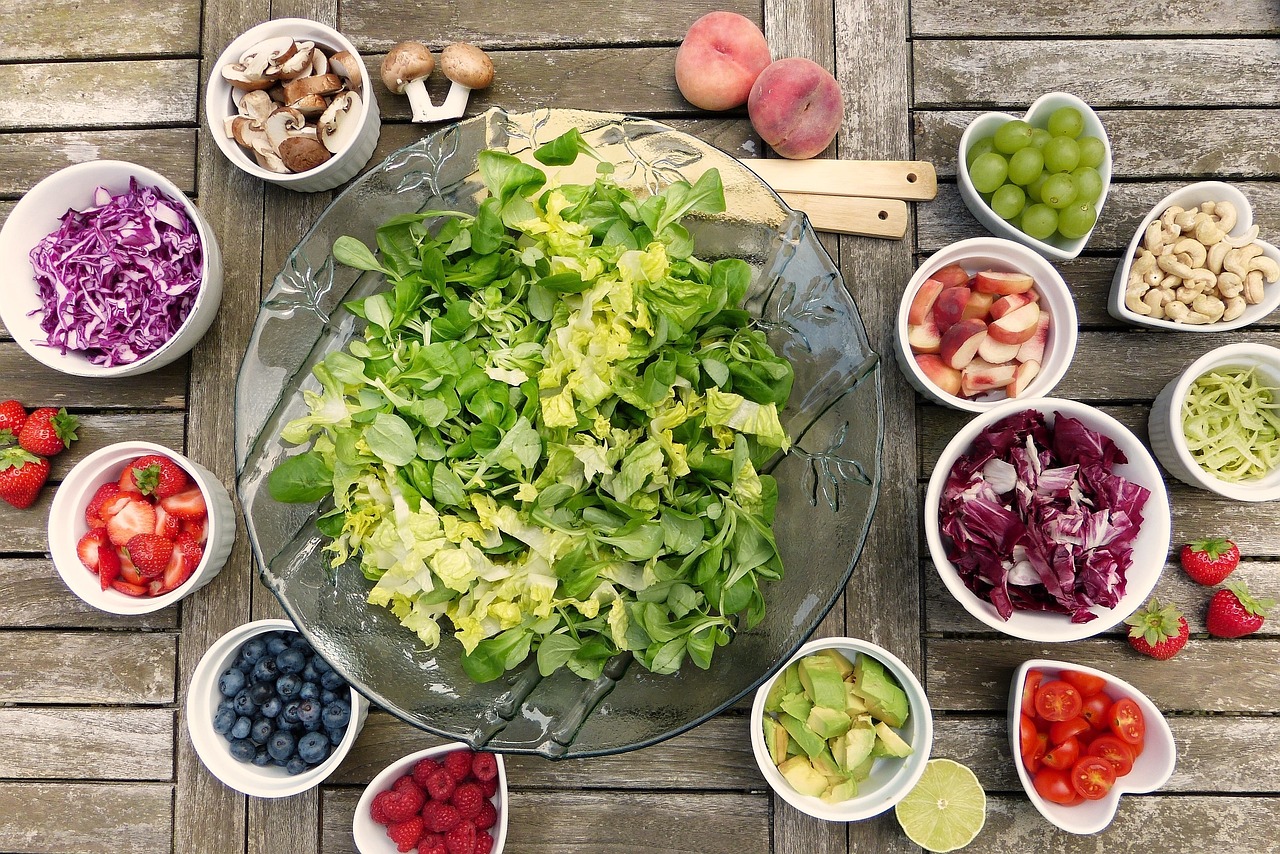
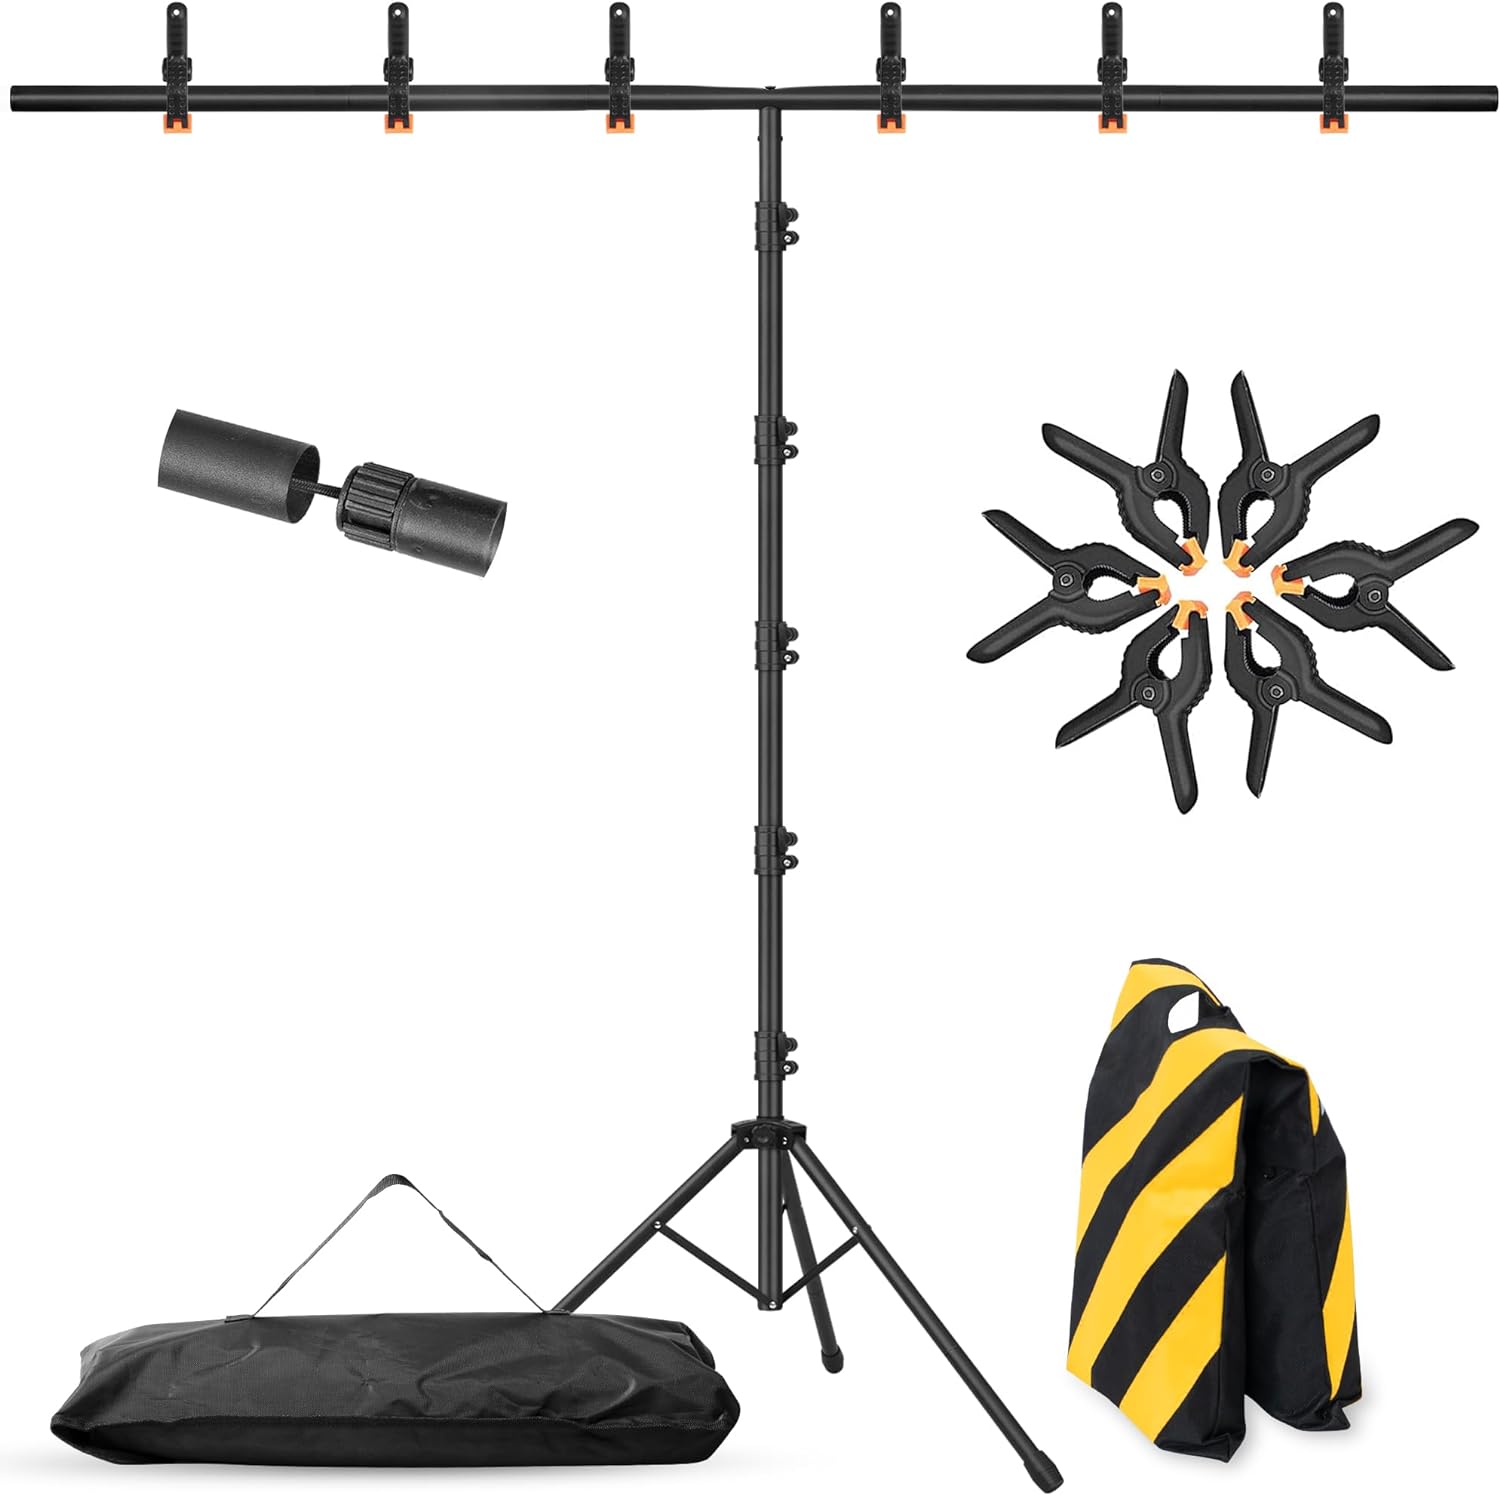
Background and Props
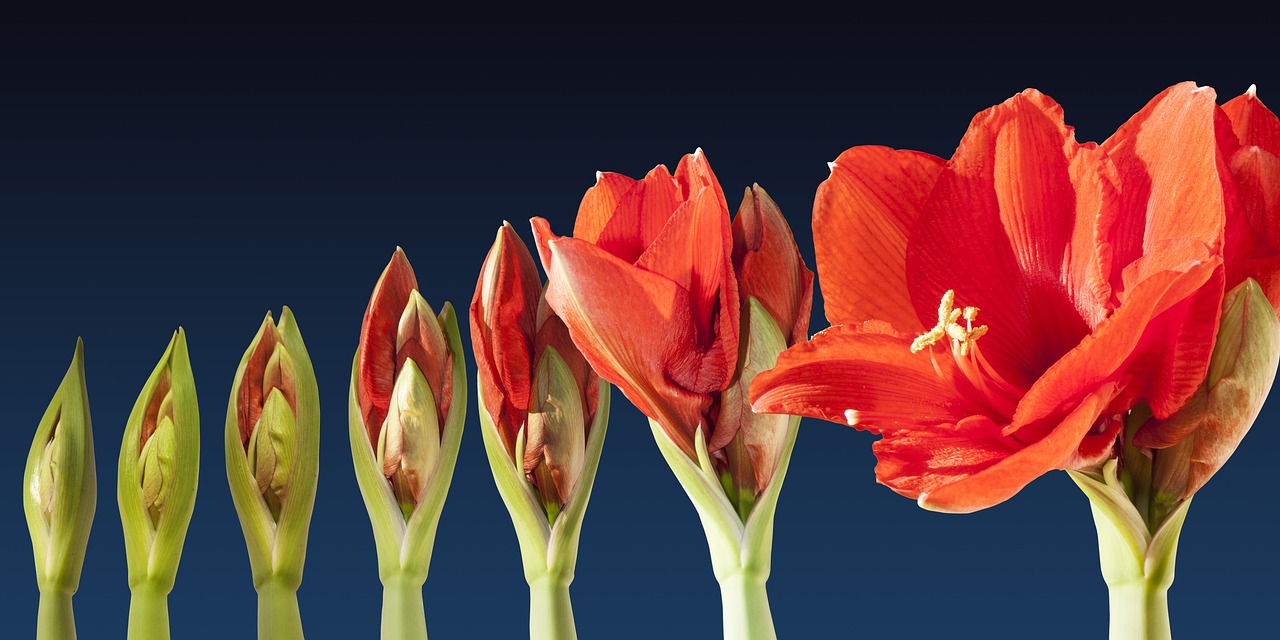
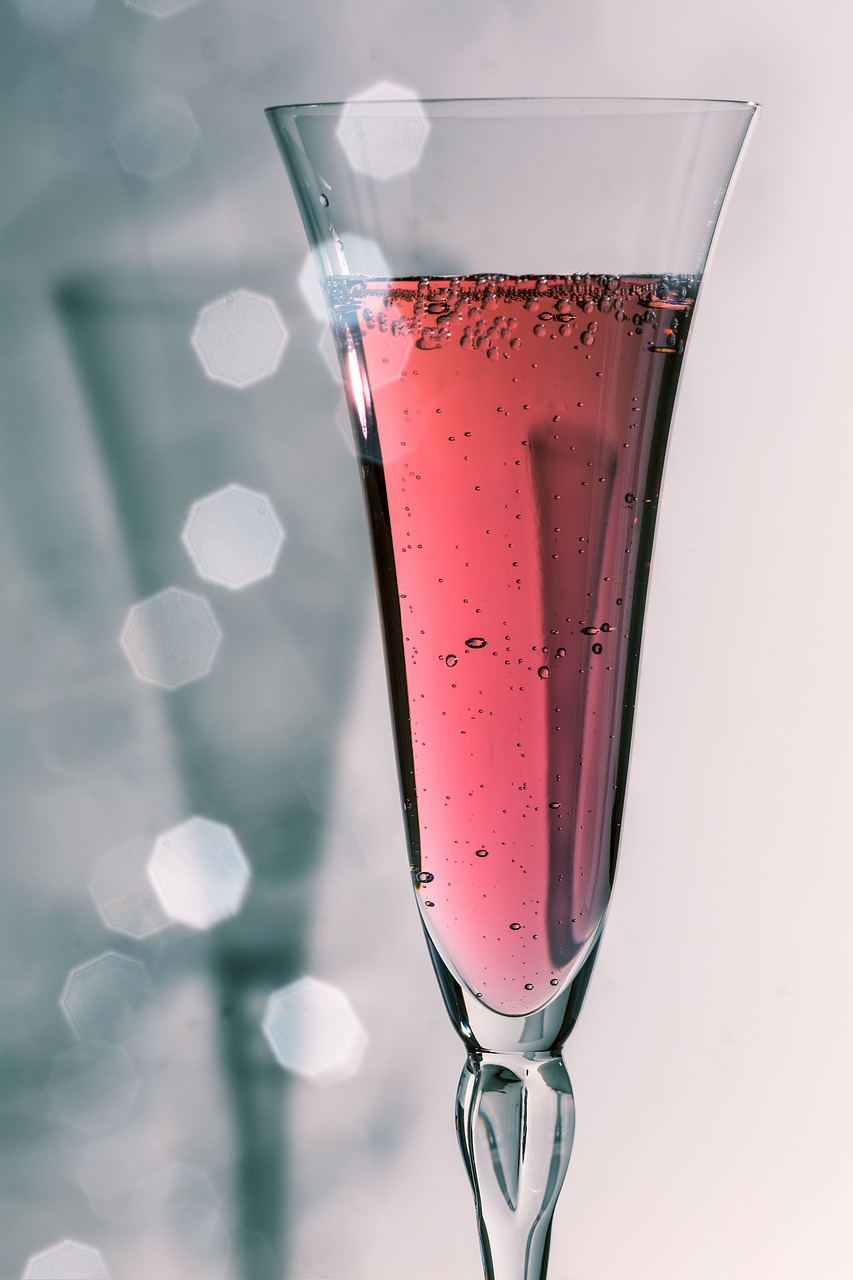
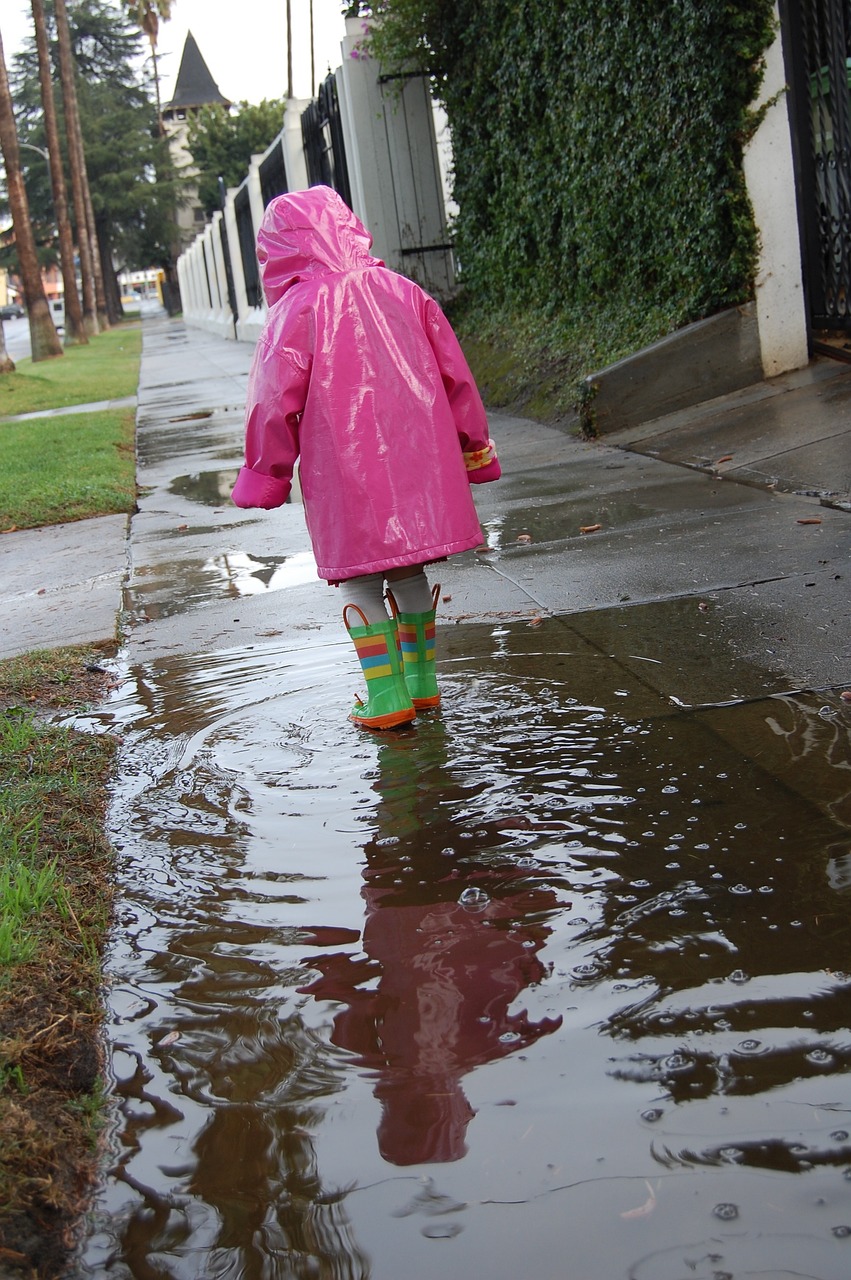
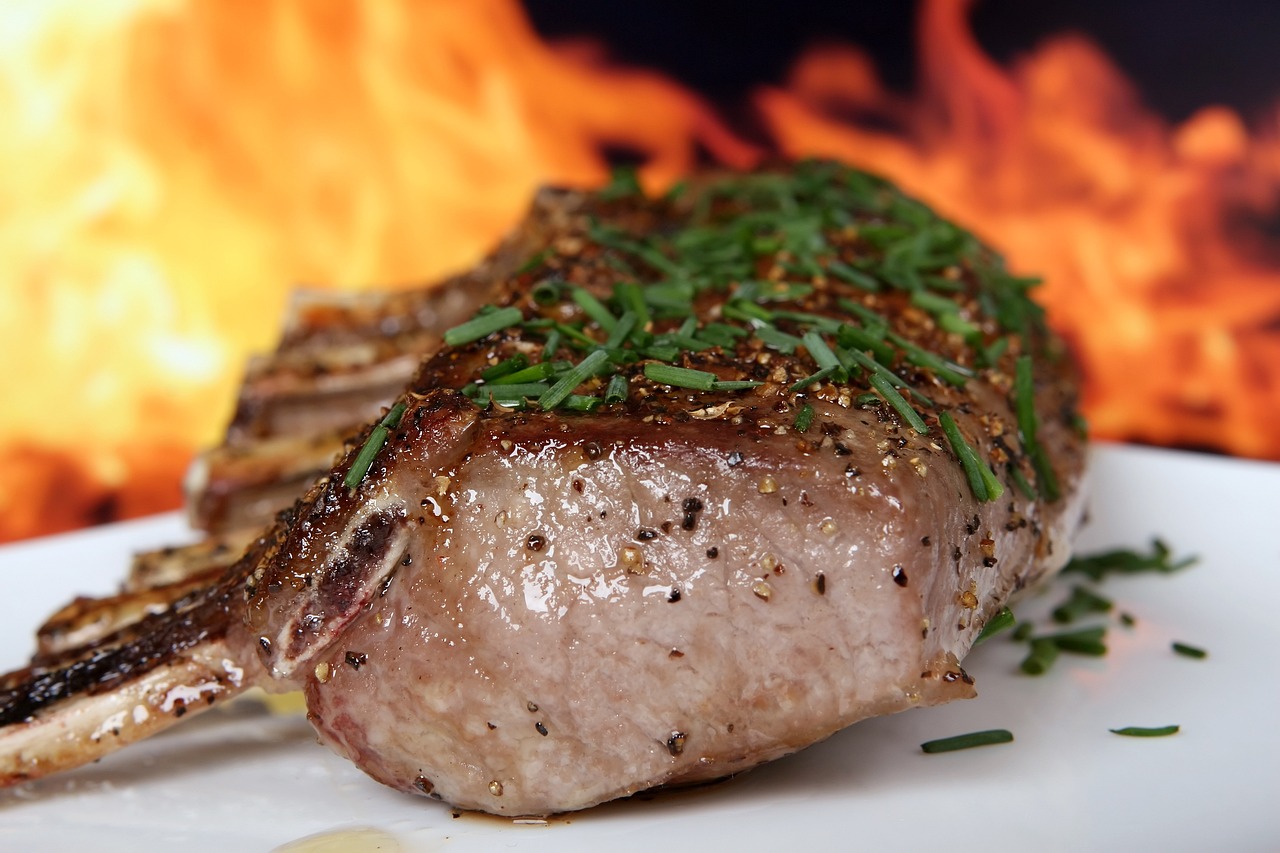
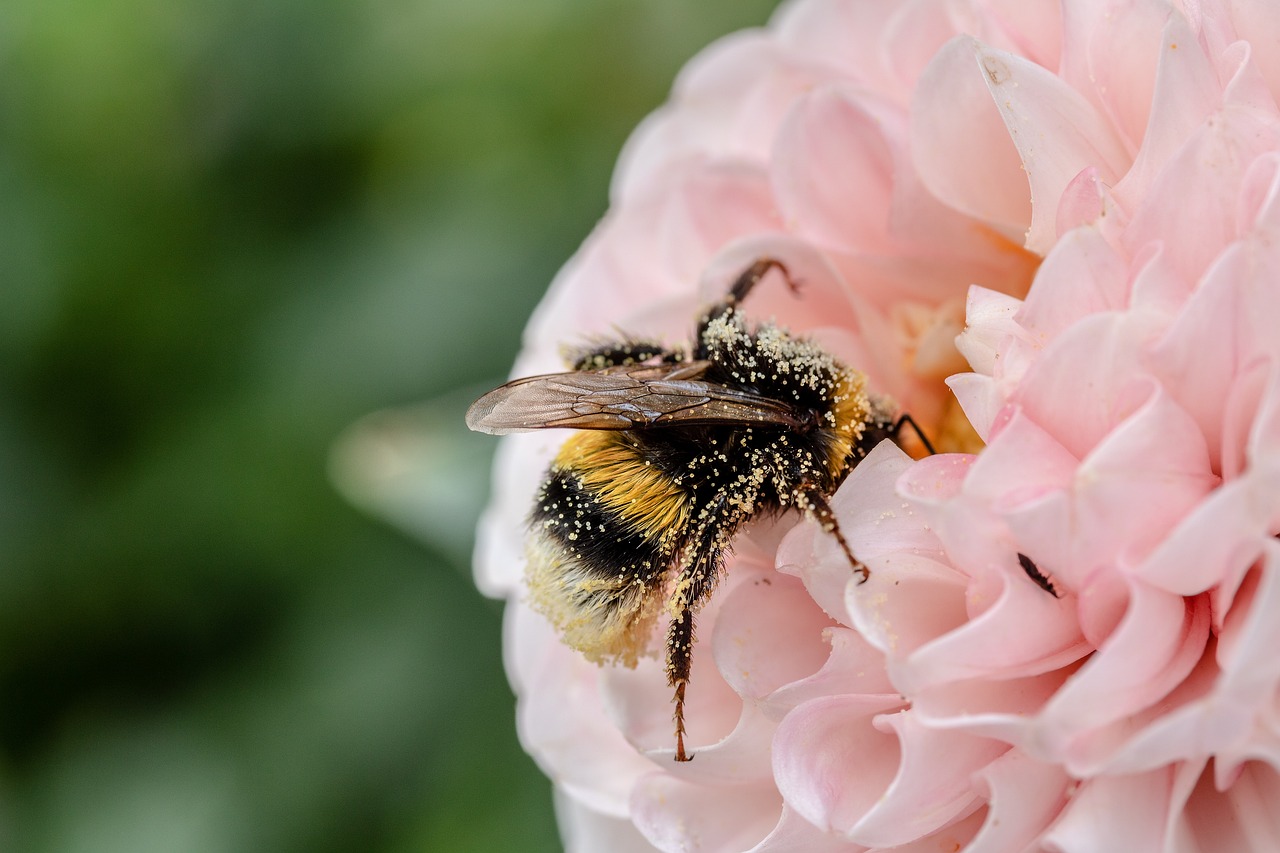
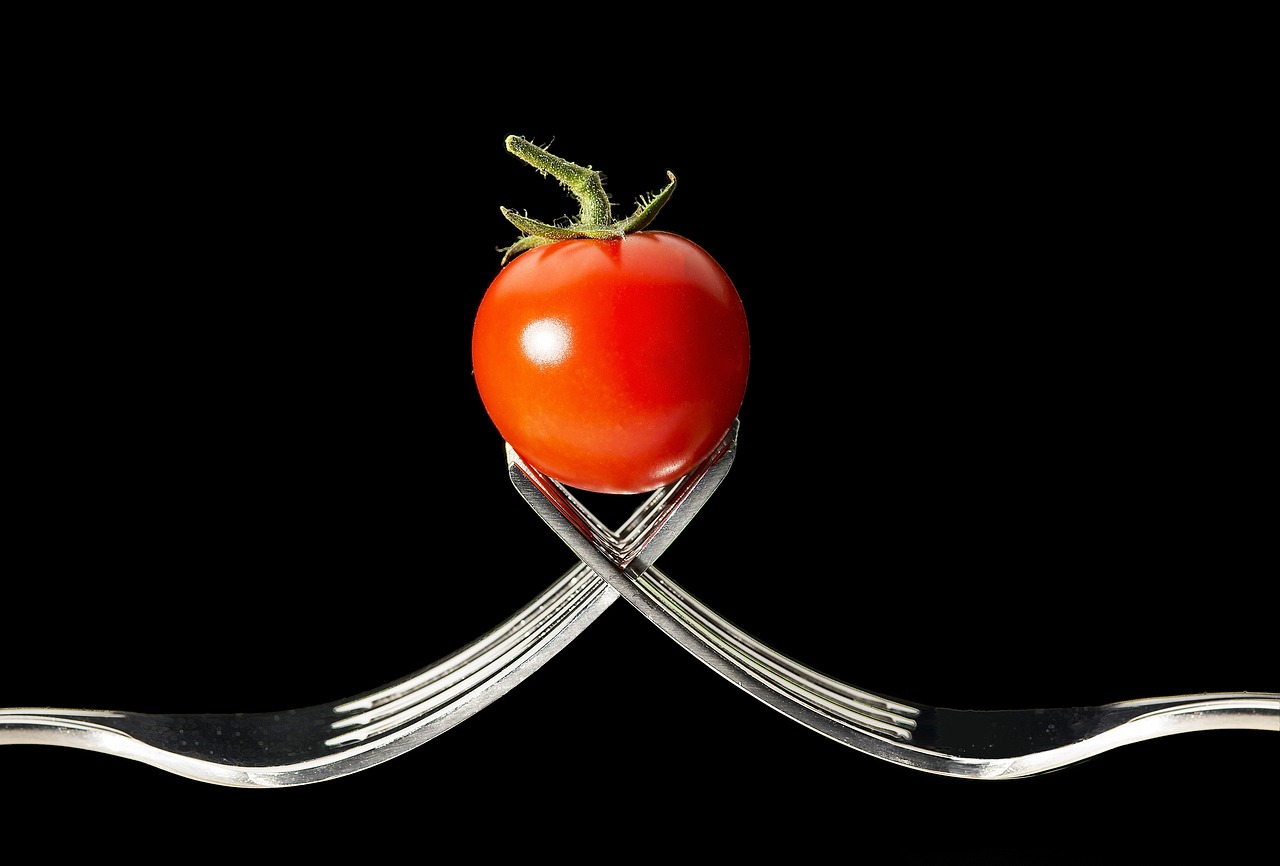
Choose a clean and uncluttered background that complements your subject. A plain black, white, or colored backdrop can help isolate the subject and draw attention to its details. Utilize props like small figurines, flowers, or everyday objects to add interest and context to your macro compositions. Props like mirrors, water droplets can enhance the narrative and creativity in your macro shots. Be prepared to experiment and improvise with different props to achieve the desired effect.
Focus Stacking
In macro photography, achieving a sharp focus across the entire subject can be challenging due to the shallow depth of field. To overcome this, consider using focus stacking techniques. This involves taking multiple shots at different focus points and combining them in post-processing to create a single, sharp image.
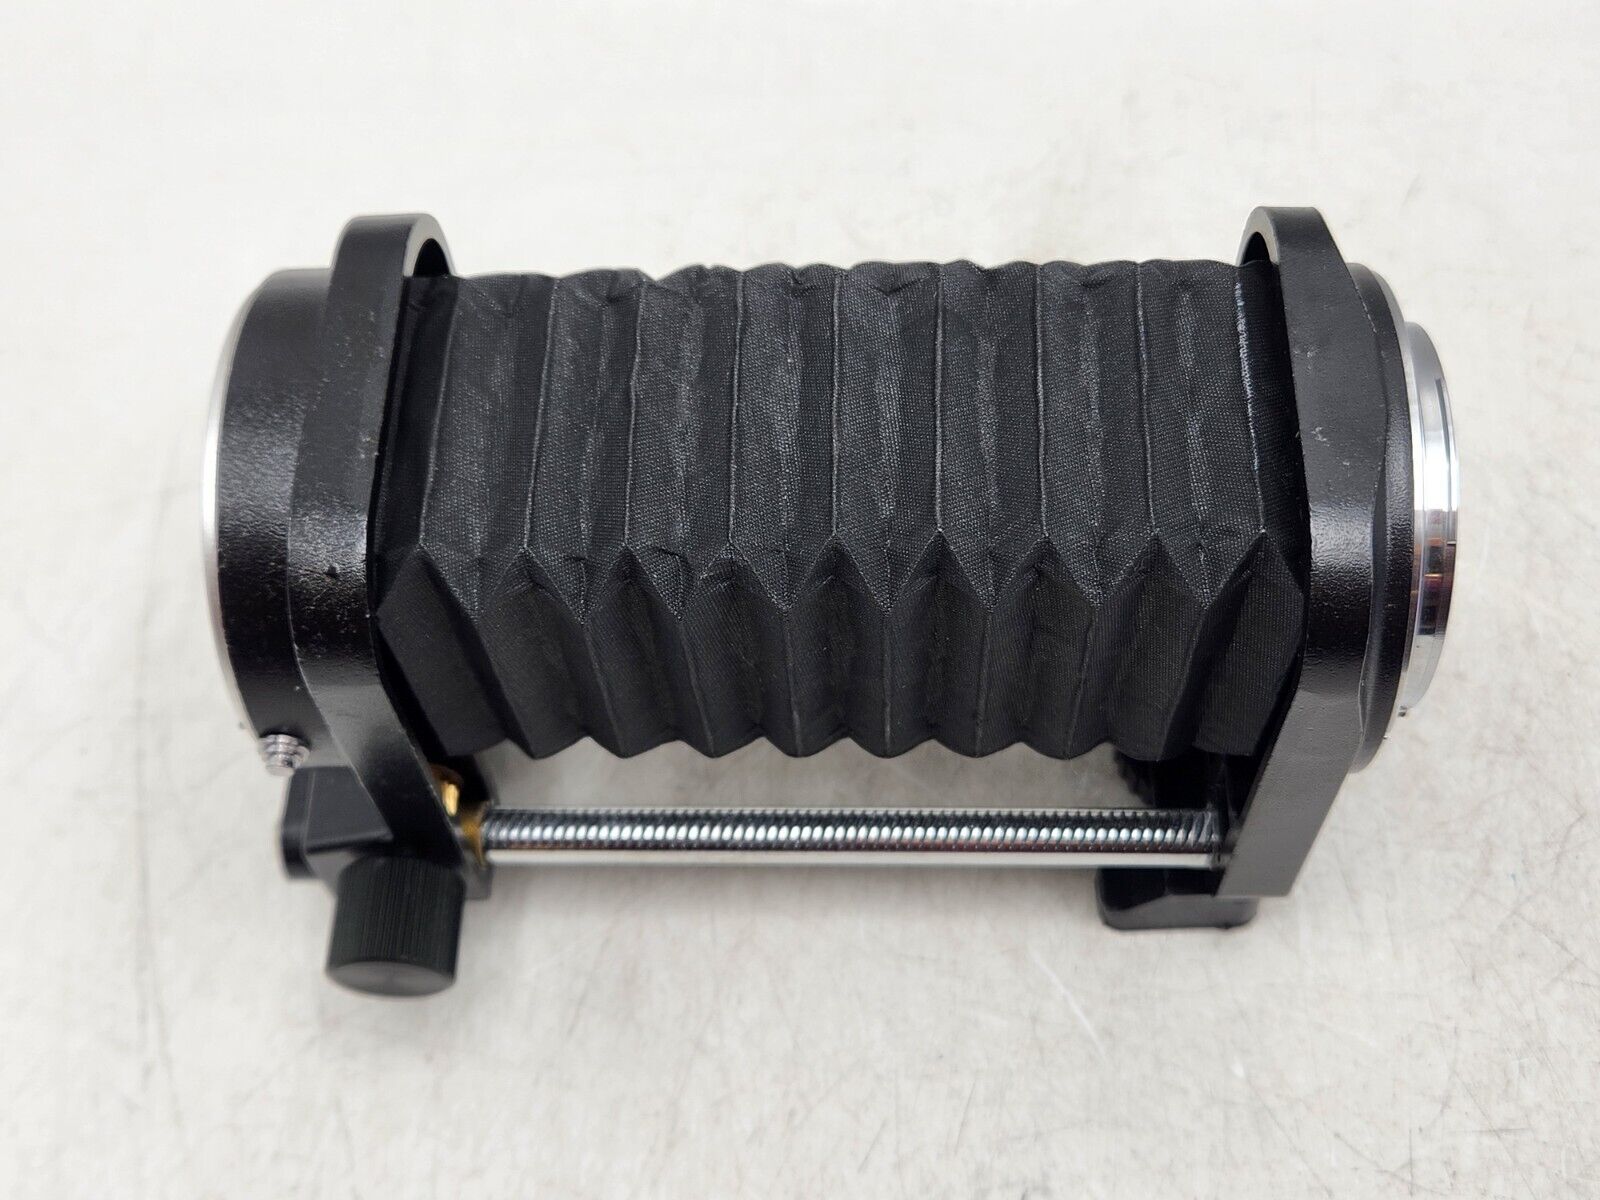
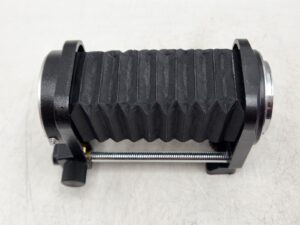
Use of Macro Rails and Sliders
Macro rails and sliders allow for precise adjustments in the distance between your camera and the subject. This is especially useful for fine-tuning focus and composition. They enable incremental movements that can help you capture complex subjects with ease.
Patience and Practice
Macro photography in the studio requires patience and practice. Subjects may be small, and tiny movements can affect your composition. Take your time to experiment with different settings, angles, and lighting setups to achieve the desired results.
Controlling the Environment
A controlled studio environment is vital for macro photography. Eliminate external factors that could disturb your shoot, such as wind or direct sunlight. You may want to work in a light tent or macro studio box to further control the lighting and minimize distractions.
Aperture and Depth of Field:
In macro photography, achieving a shallow depth of field is often desired to isolate the subject from its background. To achieve this, use a wide aperture (small f-number, like f/2.8 or f/4) on your macro lens. However, keep in mind that a very shallow depth of field can make focusing challenging. Focus stacking, where multiple shots at different focus points are combined in post-processing, can help achieve a wider depth of field while maintaining sharpness.
Composition and Framing:
Composition plays a vital role in macro photography. Experiment with different angles, perspectives, and framing techniques to create visually striking images. Techniques like the rule of thirds, leading lines, and the golden ratio can be applied to macro subjects just as effectively as they are to larger scenes.
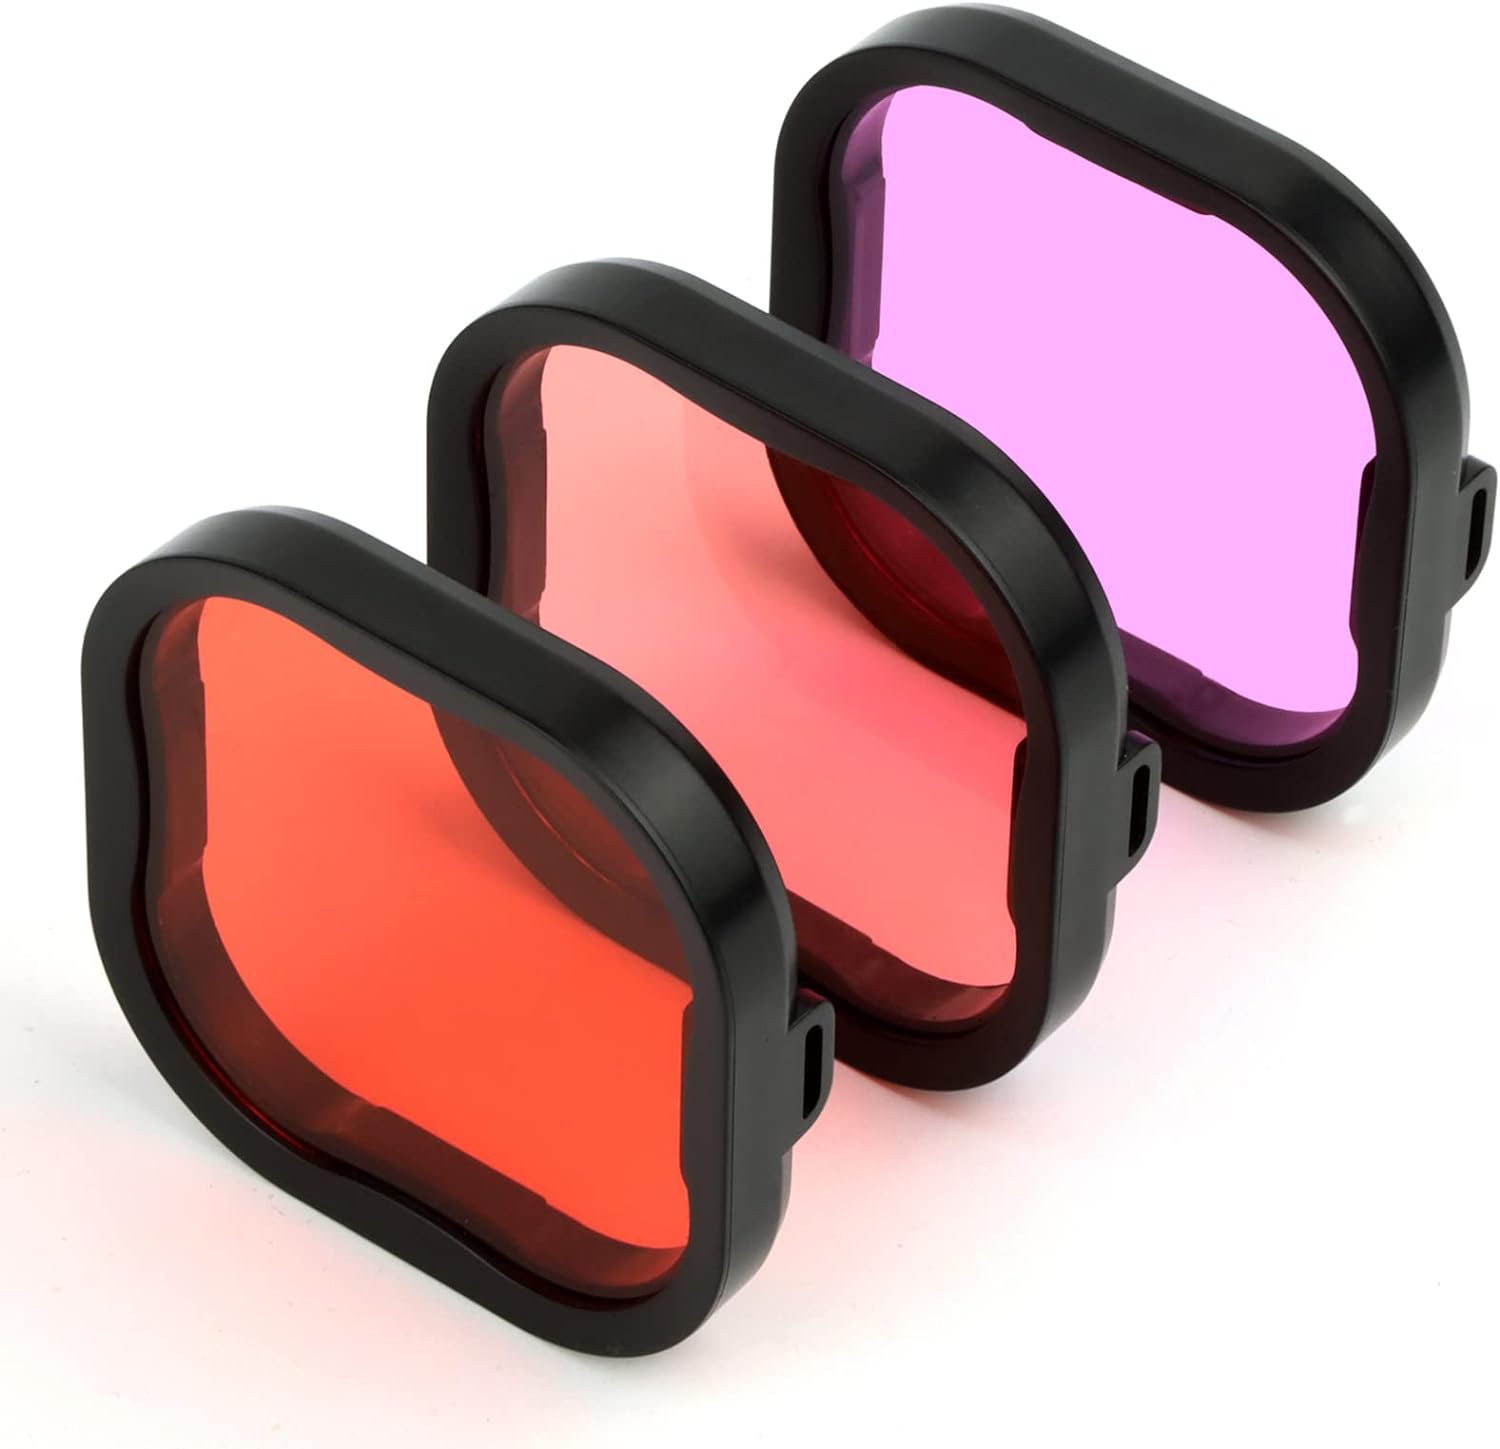
Controlling Reflections and Glare:
Because macro subjects are often highly reflective or glossy, managing reflections and glare can be challenging. Polarizing filters can help reduce reflections on shiny surfaces. Careful placement of diffusers and reflectors can also control the direction and quality of light, reducing unwanted highlights and shadows.
Advanced macro photography in the studio is a rewarding pursuit that unveils the beauty of the miniature world. By investing in the right equipment and mastering your setup, you can capture stunning, detailed images that showcase the intricacies of your chosen subjects. Remember, practice makes perfect, so take your time to refine your skills and develop your own unique style in the world of macro photography.