


Stop Motion Animation
Welcome to the world of stop-motion animation, where creativity comes to life frame by frame. we will explore the fascinating realm of stop-motion animation, specifically focusing on creating engaging product shots. Whether you are a budding filmmaker, an aspiring product photographer, or simply curious about the magic of stop motion, this book will equip you with the knowledge and techniques to create captivating animations that showcase your products in a unique and memorable way.
Stop-motion animation is based on the principle of capturing individual frames and then playing them in rapid succession to create the illusion of movement. Each frame represents a small increment of motion, and when played together, these frames give the impression of fluid animation. Understanding the concept of frame-by-frame animation is crucial for achieving smooth and seamless product shots.
The persistence of vision is an essential principle in animation. It refers to the way our eyes retain an image for a fraction of a second after it disappears from view. This persistence allows individual frames to blend together in our perception, creating the illusion of continuous motion. By leveraging this principle, animators can create the illusion of life and movement in their product shots.
Before diving into the animation process, it is crucial to plan and storyboard your animation. Storyboarding involves sketching out each shot or scene, determining camera angles, and mapping out the desired movements and actions of your products. This step ensures a clear vision and helps you organize your ideas before bringing them to life.
Timing is a crucial element in stop-motion animation. It involves determining the duration and speed of each movement or action. By adjusting the timing and pacing, you can create different effects, such as fast-paced action or slow and deliberate movements. Experimenting with timing is essential to achieve the desired impact in your product shots.
Maintaining consistency and precision is vital in stop-motion animation. Each frame must be carefully crafted to ensure the smooth flow of motion. Attention to detail, such as consistent lighting, prop positioning, and camera angles, is crucial for achieving professional-looking product shots. Taking your time and being patient during the animation process will greatly contribute to the overall quality of your work.
In stop-motion animation, you have complete control over the movements and actions of your products. You can use various techniques to manipulate objects, such as using wire rigs, clay, or repositioning them incrementally between frames. Understanding how to handle and pose objects effectively will enhance the realism and believability of your product shots.
To create high-quality product shots in stop-motion animation, it’s important to have the right equipment and tools at your disposal. In this chapter, we will explore the essential items you’ll need to bring your vision to life and capture captivating product shots.
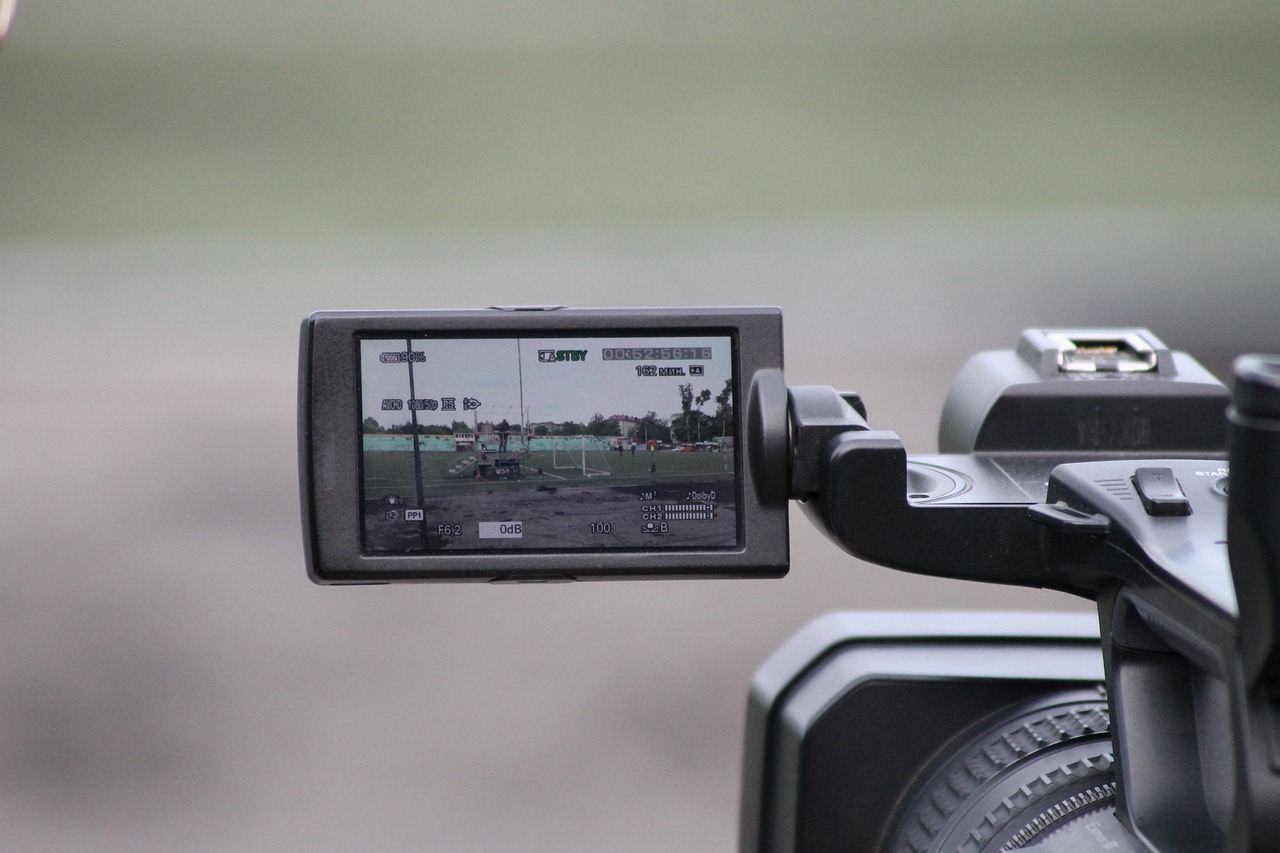
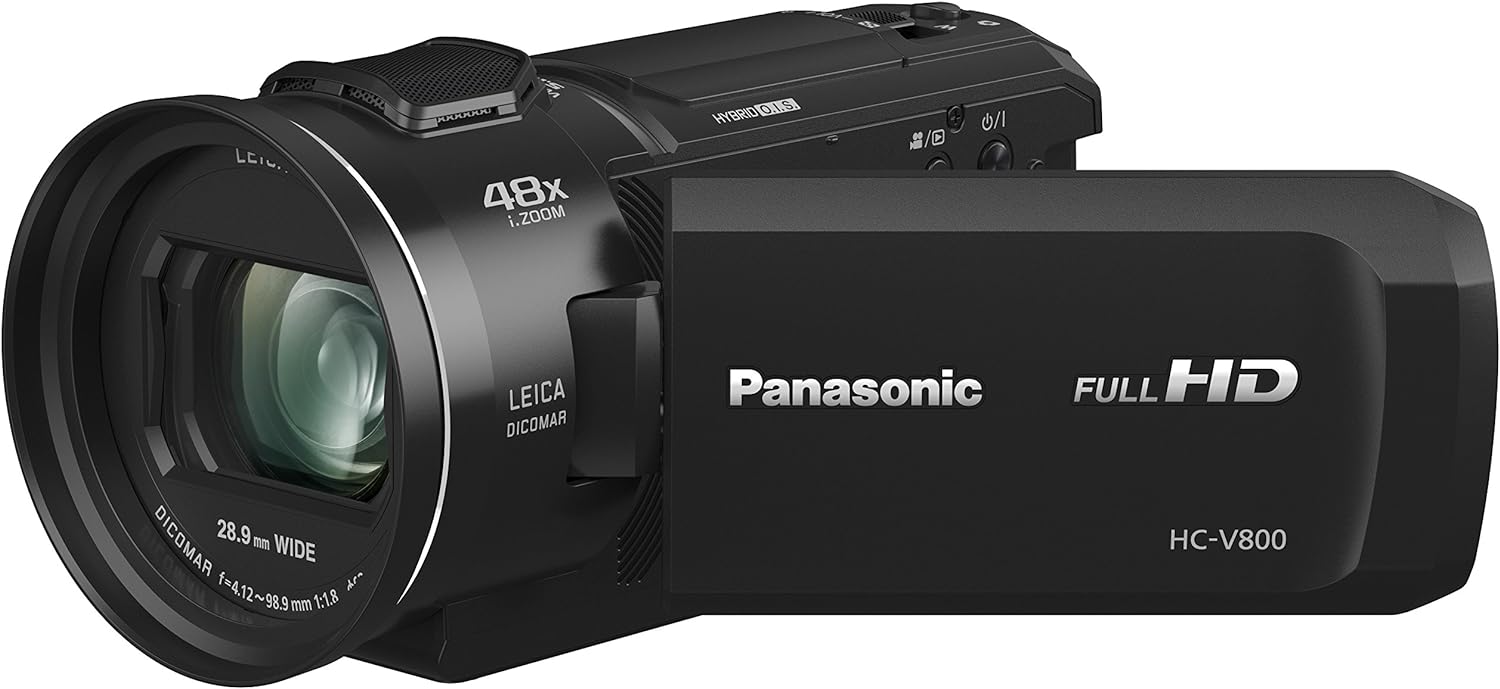
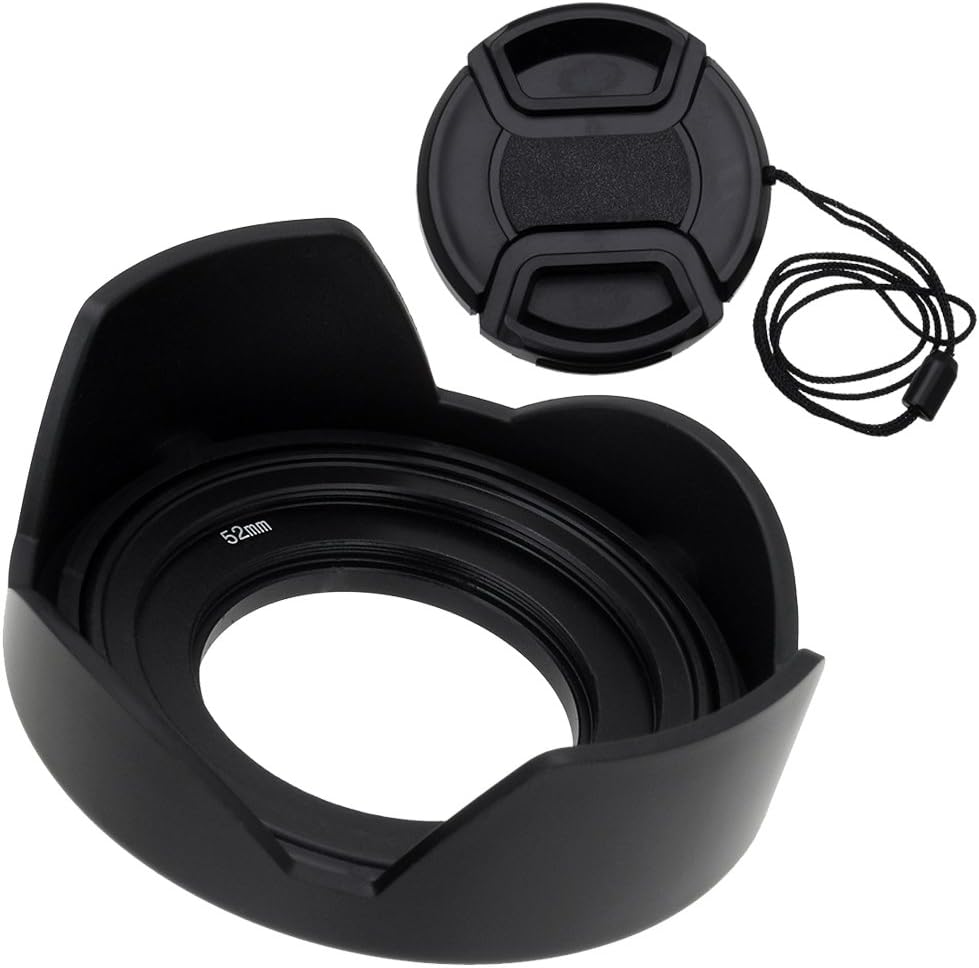
Choosing the right camera is crucial for achieving professional-looking product shots. Opt for a camera that allows manual control over settings like aperture, shutter speed, and focus. DSLR cameras and mirrorless cameras are popular choices due to their versatility and image quality. Ensure that your camera has the capability to shoot in RAW format for greater flexibility during post-production.
To maintain stability and consistency in your product shots, a tripod or camera stand is essential. It helps eliminate camera shake and allows you to position your camera precisely for each frame. Look for a sturdy and adjustable tripod that suits the weight and size of your camera setup.
Proper lighting is crucial for capturing product shots with clarity and impact. Consider investing in a lighting kit that includes adjustable studio lights, light stands, diffusers, and reflectors. Experiment with different lighting setups to achieve the desired mood and highlight the features of your products effectively.
Choosing suitable backgrounds and surfaces is important to enhance the visual appeal of your product shots. Use a variety of backgrounds such as colored paper, fabric, or textured surfaces to complement your products. Seamless paper rolls or fabric backdrops are excellent options for creating a clean and professional look.
Depending on the nature of your products, you may need props or product supports to assist with positioning and stability. Wire armatures, clamps, or adhesive putty can be used to hold products in place or create subtle movements. Ensure that any supports or props are well-concealed and do not distract from the focus of your animation.
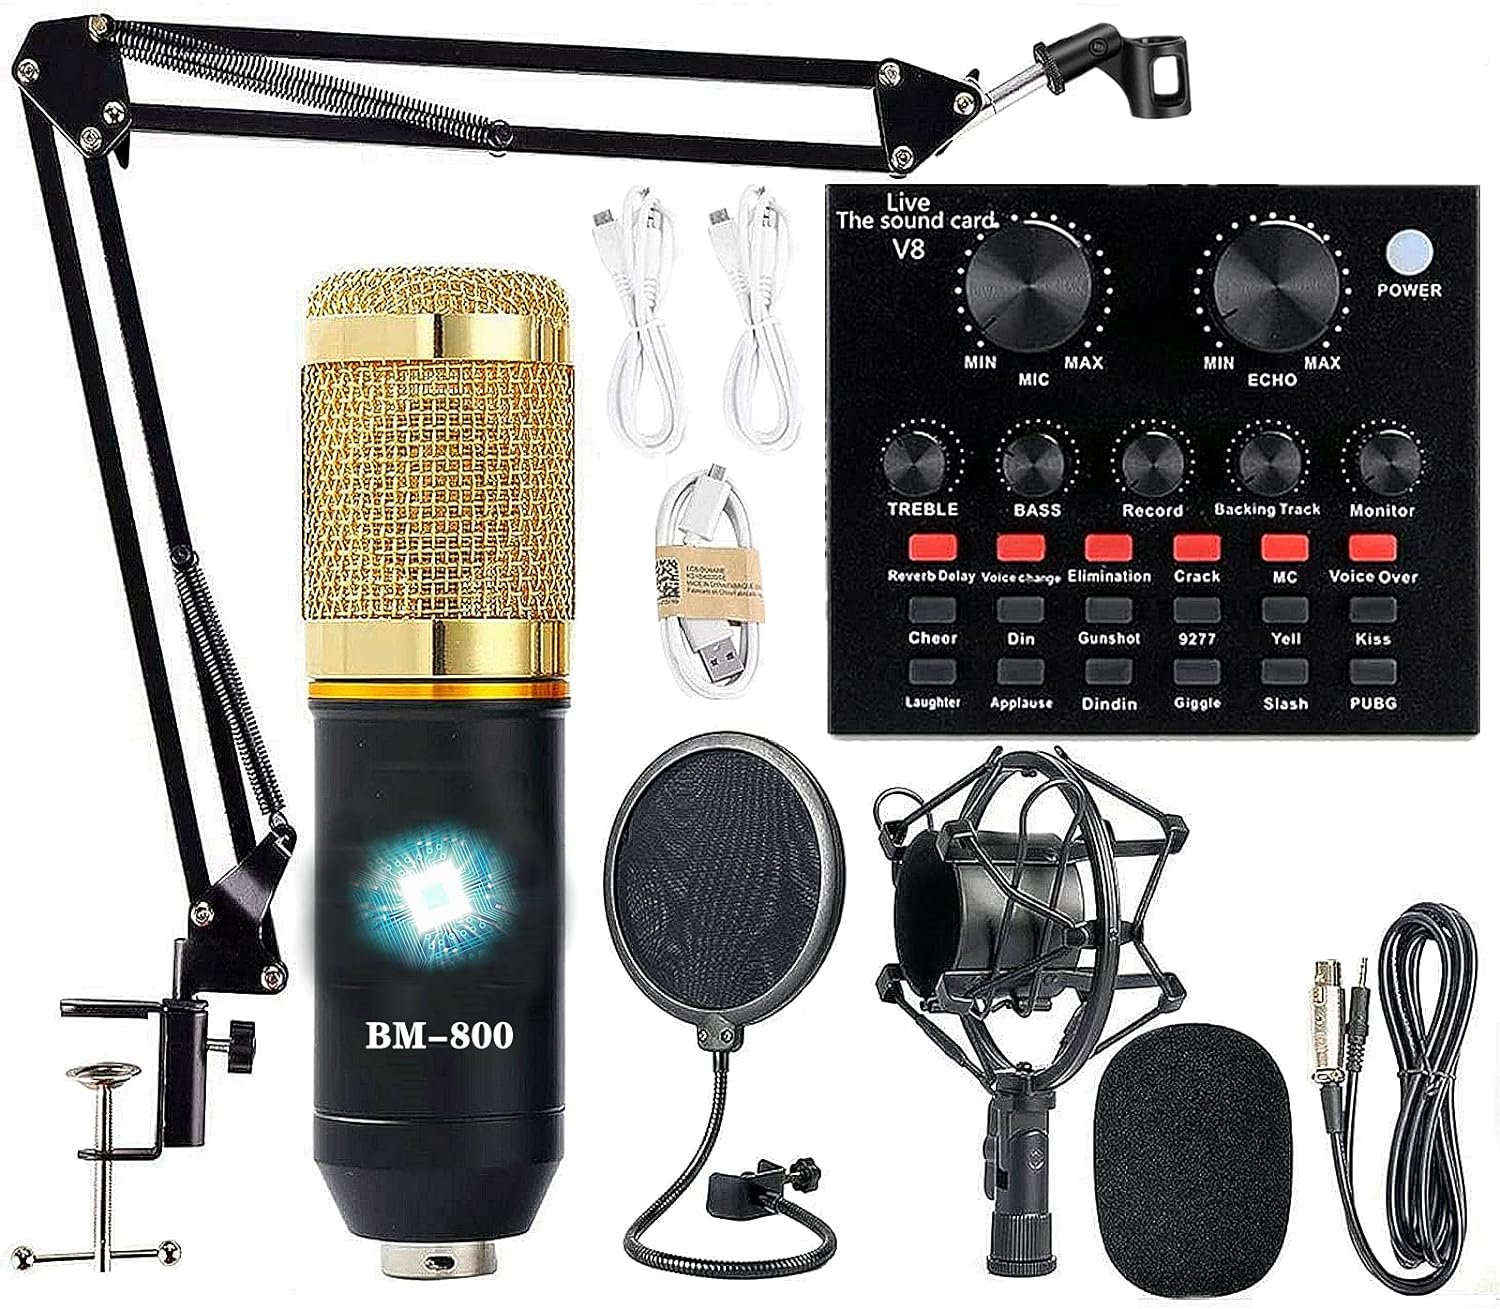
Using stop-motion software or apps can greatly enhance your workflow and provide additional features for editing and refining your animation. There are numerous options available, ranging from basic free software to comprehensive professional-grade tools. Research and choose a software/app that suits your needs and level of expertise.
Once you’ve captured your frames, you’ll need editing software to compile them into a cohesive animation. Look for video editing software that allows you to arrange frames, adjust timing, add sound, and apply visual effects. Popular options include Adobe Premiere Pro, Final Cut Pro, or free alternatives like iMovie or DaVinci Resolve.
There are a few additional tools that can come in handy during the animation process, such as:
Remote shutter release or intervalometer to trigger your camera without touching it directly.
Color cards or gray cards for accurate color correction and white balance adjustments.
Small tools like tweezers, sculpting tools, or paintbrushes for precise manipulation of objects.
Designate a clear and dedicated space for your stop-motion animation workspace. Ideally, choose a room or area where you can control lighting conditions and minimize distractions. Having a dedicated space allows you to leave your setup undisturbed between animation sessions, ensuring consistency and continuity in your work.
Controlling lighting conditions is vital for achieving consistent and professional-looking product shots. If possible, set up your workspace in a room with controllable natural light or use blackout curtains or blinds to block out unwanted external light. This provides greater control over the lighting setup and eliminates potential variations in your shots.
Keep your workstation organized to facilitate a smooth and efficient workflow. Here are some tips:
Arrange your equipment, tools, and props within easy reach to avoid disruptions during the animation process.
Utilize storage solutions such as shelves, drawers, or bins to keep your workspace tidy and free of clutter.
Labeling containers or using color-coded systems can help you quickly locate specific props or tools when needed.
Position your camera at a comfortable height and angle for shooting your product shots. Use a tripod or camera stand to ensure stability and consistent framing. Consider using a camera arm or boom to achieve overhead shots or unique perspectives if required for your animation.
Create a shooting table or stage that provides a stable and controlled surface for your product shots. This can be a flat surface like a table or a custom-built stage with adjustable platforms or supports. Ensure that the table or stage is large enough to accommodate your products and props comfortably.
Set up your background system according to your desired aesthetic and theme. Consider using backdrop stands or clamps to secure your backgrounds, whether it’s seamless paper rolls, fabric, or other materials. Make sure the backgrounds are smooth and wrinkle-free to maintain a polished look in your product shots.
Develop an efficient system for storing and organizing your props. Consider using clear containers, dividers, or labeled boxes to categorize and protect your props when they’re not in use. This saves time and minimizes the risk of losing or damaging important elements during the animation process.
Pay attention to your personal comfort and ergonomics during long animation sessions. Ensure that your workspace provides adequate seating, proper lighting, and good ventilation. Use a comfortable chair or stool that allows you to maintain a stable position while animating. Taking regular breaks and stretching can help prevent fatigue and maintain focus.
Frame-by-frame animation is at the core of stop-motion, bringing life and movement to inanimate objects. Each frame captures a slight change in position or expression, and when played together, they create the illusion of motion. In this chapter, we will explore the principles and techniques involved in frame-by-frame animation, the heart of stop-motion.
Before diving into the animation process, it’s essential to have a clear understanding of your concept and storyboard. Gather all the necessary props, materials, and equipment in your workspace. Ensure your camera is set up correctly, and the lighting conditions are optimal. Take a test shot to confirm the framing and exposure before proceeding.
Maintaining stability and consistency throughout your animation is crucial for creating seamless and professional-looking product shots. Use a tripod or camera stand to keep the camera steady and in the same position for each frame. Avoid touching the camera while shooting to prevent unwanted movements or shakes. Also, ensure that your props and products are securely positioned to maintain consistency between frames.
To create the illusion of movement, make slight incremental changes to the position or pose of your objects between frames. The amount of movement will depend on the desired effect and the speed at which you want your product to animate. Remember to keep the movement consistent and controlled to maintain the illusion of fluid motion.
Keyframing is the technique of marking key positions or poses in your animation and then filling in the intermediate frames to create smooth transitions. Determine the key positions that best represent the movement or action you want to convey. Pay attention to the timing between keyframes, as it greatly influences the pace and rhythm of your animation. Experiment with different timings to achieve the desired effect.
Stop-motion animation requires patience and attention to detail. Take your time with each frame, ensuring that the position, lighting, and props are precisely aligned. Even the smallest adjustments can make a significant difference in the final result. Maintain a consistent workflow and avoid rushing through the animation process to achieve the best possible outcome.
Onion skinning is a technique that allows you to see a faint overlay of the previous and/or next frames while animating. This feature is available in some stop-motion software and helps you maintain consistency and smooth transitions between frames. Onion skinning provides a visual reference, making it easier to gauge the incremental movements required for each frame.
Regularly review and play back your animation as you progress. This helps you identify any inconsistencies, jerky movements, or timing issues that may need adjustment. Making adjustments during the animation process allows you to refine your technique and achieve a more polished result.
Stop-motion animation is a meticulous process that requires persistence and iteration. Be prepared to redo frames or sections if necessary to improve the quality and flow of your animation. Experiment with different techniques, timings, and movements to refine your skills and achieve the desired visual impact.
Keyframing and timing are crucial elements in stop-motion animation that bring fluidity and rhythm to your product shots. By strategically placing keyframes and mastering the timing between them, you can create captivating and dynamic animations. In this chapter, we will delve into keyframing techniques and explore different timing techniques to enhance the visual impact of your stop-motion animations.
Keyframing involves marking key positions or poses in your animation and filling in the intermediate frames to create smooth transitions. Here are some keyframing techniques to consider:
In pose-to-pose animation, you define the key poses or positions at specific intervals in your animation. These key poses represent the main changes in movement or action. Once the key poses are established, you can then add the intermediate frames to complete the animation.
Straight ahead animation involves animating frame by frame from the beginning to the end, without establishing key poses in advance. This technique can create a more spontaneous and organic feel to your animation, but it requires careful attention to timing and consistency.
You can also combine pose-to-pose and straight ahead techniques to achieve the desired effect. Start with key poses to establish the main movements, and then fill in the intermediate frames using a straight ahead approach to add detail and fluidity.
Timing plays a crucial role in stop-motion animation as it determines the speed, rhythm, and impact of your movements. Here are some timing techniques to consider:
In even timing, you maintain a consistent time interval between each frame. This technique creates a smooth and constant pace in your animation. It works well for depicting regular or repetitive movements.
Slow in, slow out refers to gradually increasing or decreasing the timing of your frames to create a sense of acceleration or deceleration. For example, when animating a ball bouncing, you would have more frames in the anticipation and contact phases, and fewer frames during the peak of the bounce. This technique adds a natural and realistic feel to your animation.
Timing contrasts involve varying the speed of your movements to create emphasis and impact. For instance, you can contrast fast movements with slow movements to draw attention to a specific action or highlight a dramatic moment.
A hold is a technique where you pause on a frame for an extended period, creating a sense of anticipation or tension. Holds can be used to emphasize a particular action or build suspense in your animation.
Easing in and easing out refers to gradually accelerating or decelerating the movement at the beginning or end of an action. This technique adds a sense of weight and realism to your animation. For example, when animating a character lifting an object, you would ease into the movement at the start and ease out as the object reaches its destination.
Overlapping actions involve having different parts of your subject move at different times, mimicking the natural behavior of objects or characters. This technique adds complexity and realism to your animation. For example, when animating a character walking, the arms might swing slightly behind the body as the legs move forward.
Exaggeration is a technique where you amplify the movements or actions to create a more dynamic and engaging animation. It adds a sense of excitement and visual impact. However, be mindful not to overdo it, as subtlety and realism are still important in stop-motion animation.
Stability is essential in stop-motion animation to avoid unwanted movement or shifts between frames. Even the slightest camera or object movement can disrupt the continuity of your animation. By using rigs and supports, you can minimize camera shake and maintain a steady position for your objects, resulting in smoother and more polished animations.
Wire armatures are metal frameworks that provide structure and support to your objects. They are commonly used in character animation to create stable and poseable armatures for puppets. Wire armatures allow you to articulate and position your characters precisely, ensuring consistency throughout the animation process. They can be customized to fit your specific needs and are often covered with clay or other materials to create the final character design.
Clamps and supports are versatile tools that can help secure your objects in place during the animation process. They come in various shapes and sizes, allowing you to attach objects to the shooting table or stage securely. Clamps can be used to hold props, backgrounds, or even the camera itself, providing stability and reducing the risk of accidental movement. Supports such as rods, platforms, or adjustable platforms can also be used to hold objects at the desired angles or positions, ensuring consistency in your animation.
Adhesive putty, such as reusable adhesive tack, can be a handy tool for stabilizing objects and props. It can be shaped and molded to hold objects in place without leaving residue or damaging the surfaces. Adhesive putty is particularly useful when you need to create subtle movements or secure lightweight objects in your animation. It provides flexibility and allows for easy adjustments during the shooting process.
Rigging systems offer a more advanced and comprehensive solution for stability and consistency in stop-motion animation. They consist of a combination of rods, joints, clamps, and supports that enable you to create complex movements and maintain precise positioning. Rigging systems are especially beneficial when animating multiple objects or creating intricate scenes with various elements. They provide a high degree of control and stability, ensuring consistent movements and reducing the risk of unintentional shifts during animation.
Using weighted bases can add stability to your setups, especially when animating larger or heavier objects. These bases are typically made of metal or other dense materials and provide a solid foundation for your rigs or supports. By adding weight to the base, you reduce the chances of toppling or shifting during the animation process.
Stabilizing the camera is equally important for achieving consistent and stable shots. Consider using a camera rig or mount that attaches securely to the shooting table or stage. This prevents accidental movement or vibrations that could affect the final animation. Remote shutter releases or intervalometers can also be used to trigger the camera without physically touching it, further reducing the risk of camera shake.
Motion blur occurs when there is movement in a frame, and it creates a sense of motion and speed. Introducing motion blur in your stop-motion animations can make your movements appear more natural and fluid. Here’s how you can achieve motion blur:
Adjust your camera’s shutter speed to a slower setting. A slower shutter speed allows more time for light to enter the camera sensor, resulting in motion blur. Experiment with different shutter speeds to find the right balance between motion blur and clarity.
Some stop-motion software allows you to apply frame blending, which blends consecutive frames to simulate motion blur. This technique can be useful if you want to add motion blur in post-production.
If your animation has been shot without motion blur, you can add it during post-processing using image editing software. Apply a motion blur filter to your frames, adjusting the parameters to achieve the desired effect.
Depth of field refers to the range of distance in a scene that appears sharp and in focus. Manipulating depth of field can draw attention to specific elements and create a sense of depth and visual interest. Here’s how you can introduce depth of field in your stop-motion animations:
Adjusting the aperture of your camera controls the depth of field. A wider aperture (smaller f-number) creates a shallow depth of field, where only a small portion of the scene is in focus, while a narrower aperture (larger f-number) increases the depth of field, keeping more of the scene in focus. Experiment with different aperture settings to achieve the desired depth of field effect.
In some cases, you may want multiple elements at different distances to be in sharp focus. Focus stacking is a technique where you take multiple frames, each with a different focal point, and combine them in post-processing to create a final image with a wider depth of field.
Similar to motion blur, you can also add depth of field in post-processing using image editing software. Apply a blur effect to the areas you want to be out of focus, simulating the shallow depth of field effect.
Different lenses have varying characteristics that can affect motion blur and depth of field. Consider the following lens options:
Wide-angle lenses have a larger depth of field and can capture more of the scene in focus. They are useful when you want to showcase a broader perspective or capture a sense of spaciousness.
Telephoto lenses have a narrower depth of field, allowing you to isolate subjects and create a blurred background. They are suitable for focusing on specific details or creating a shallow depth of field effect.
Introducing motion blur and depth of field in stop-motion animation is an art form that requires experimentation and creative control. Start by understanding the principles and techniques, and then experiment with different settings, camera adjustments, and post-processing effects. Take the time to review and fine-tune your results to achieve the desired visual impact and storytelling effect.