


Film processing techniques
Film processing techniques refer to the various methods used to develop photographic film in order to produce a visible image. These techniques have been used for many years, particularly before the widespread adoption of digital photography. The film processing workflow involves several steps, each playing a crucial role in creating a high-quality image. Here are the key stages of film processing:
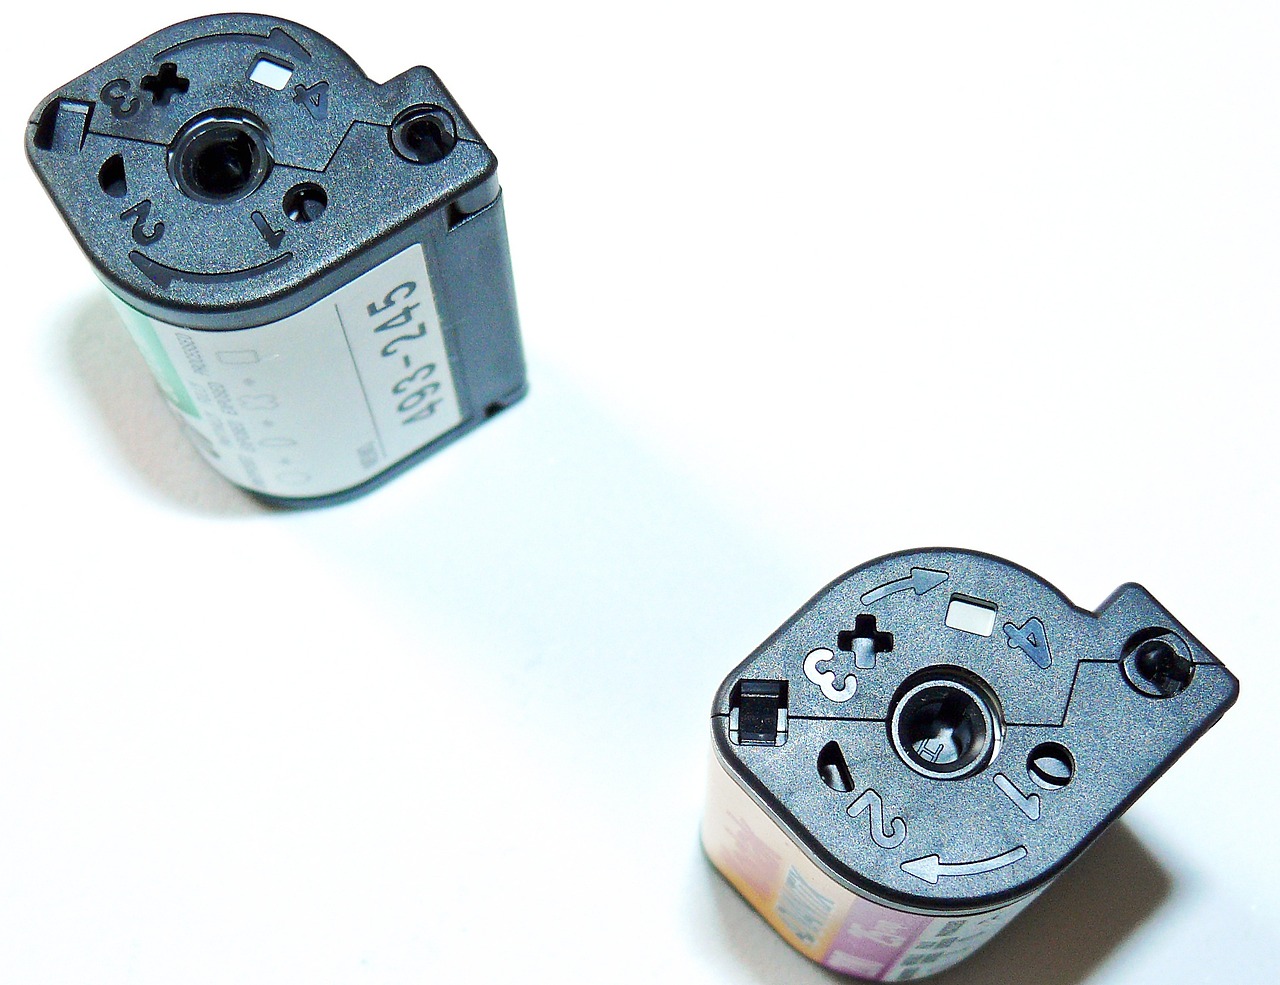
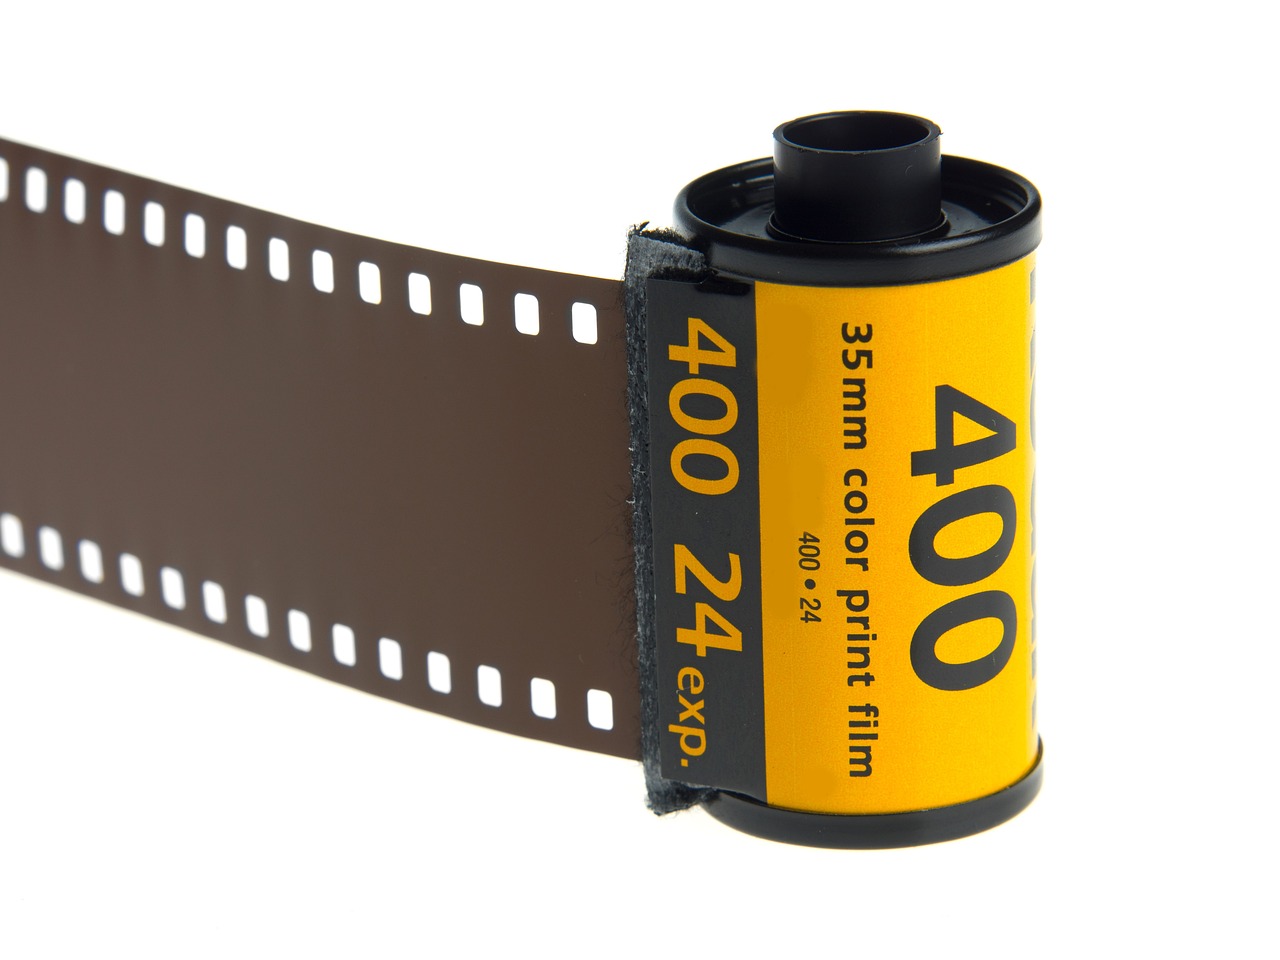
Film Loading: The first step is to load the unexposed film into a camera or film holder, ensuring that it is securely attached and ready to capture images.
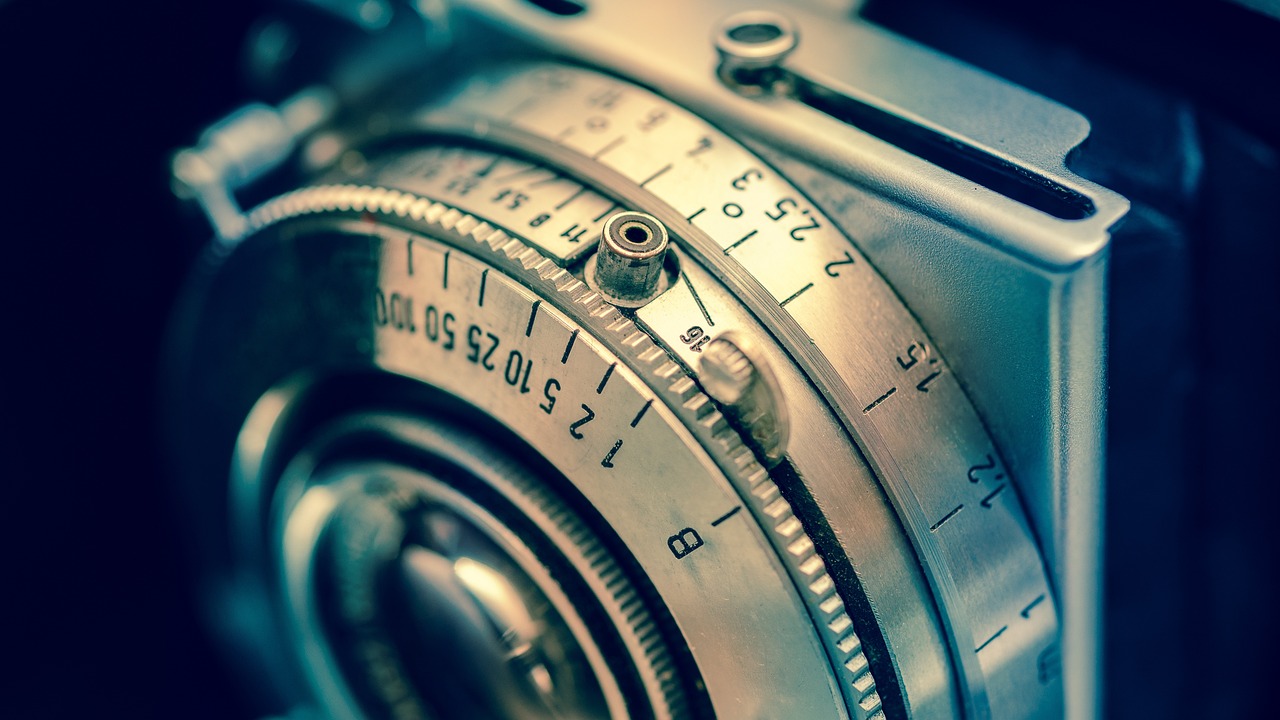
Exposure: During this stage, the photographer takes pictures by allowing light to pass through the camera’s lens and onto the film’s light-sensitive emulsion. The exposure time and aperture settings determine how much light reaches the film, affecting the final image’s brightness and sharpness.
Film Development: Once the film is fully exposed, it needs to undergo the development process to reveal the latent image. The exposed film contains silver halide crystals, which react to light exposure. The development chemicals reduce the exposed silver halides into metallic silver, forming the visible image on the film.
Developer Solution: The developer solution is responsible for converting the exposed silver halides into black metallic silver. The length of time the film spends in the developer affects the image’s contrast and density.
Stop Bath: After the film is developed, it must be stopped to prevent further chemical reactions. The stop bath is a weak acidic solution that halts the development process instantly.
Fixing: The fixing stage removes any remaining unexposed silver halides from the film. If these halides were not removed, the image would continue to darken over time due to light exposure.
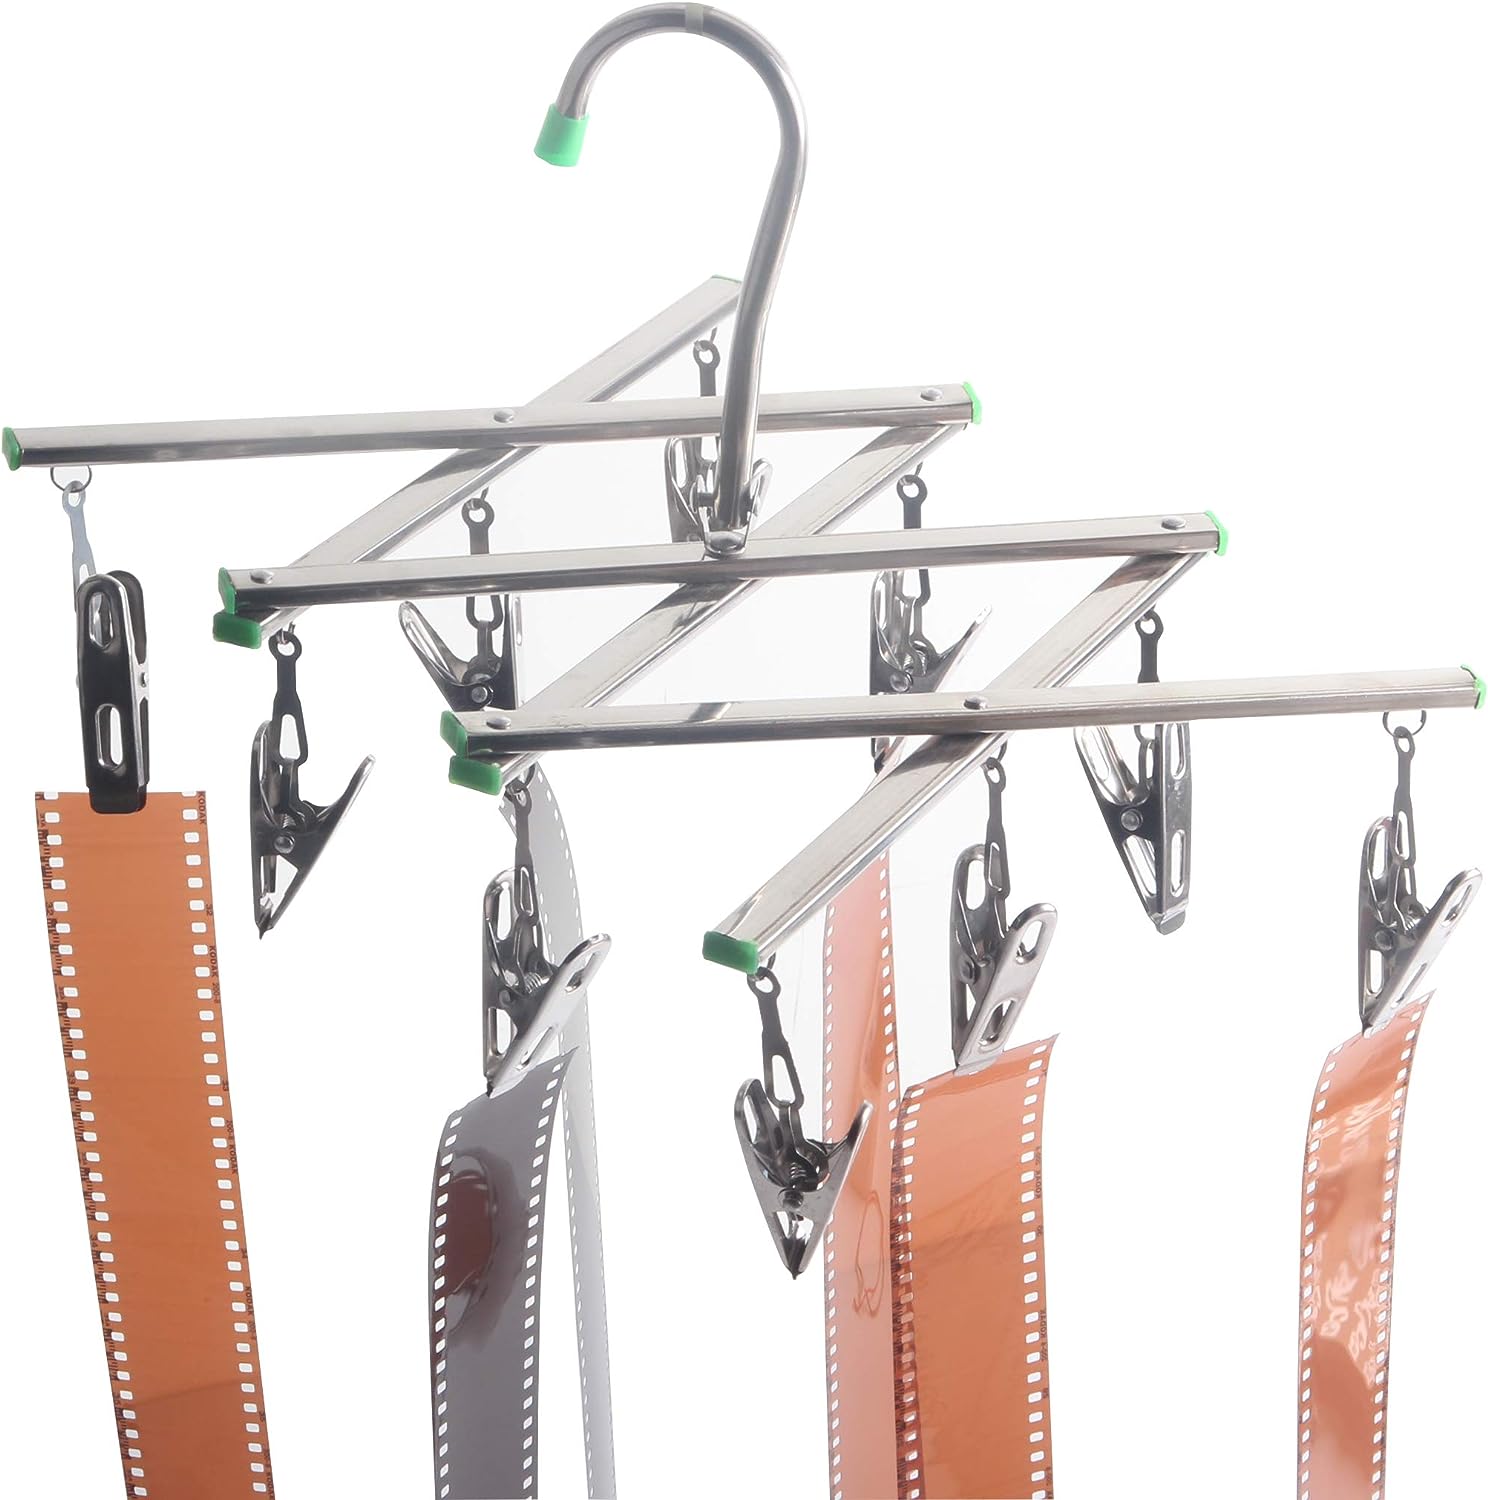
Washing: The film must be thoroughly washed to remove all residual chemicals from the previous steps. This helps preserve the film’s longevity and prevents color shifts or deterioration.
Drying: Once the film is washed, it needs to be dried completely before it can be handled or scanned. Specialized drying cabinets or dust-free environments are often used to avoid dust particles sticking to the film’s surface.
Film Scanning or Printing: After the film is processed, the final step is to digitize the image through scanning or to create a physical print. Film scanning allows the image to be further processed and edited digitally, while traditional printing produces physical copies using an enlarger and light-sensitive paper.
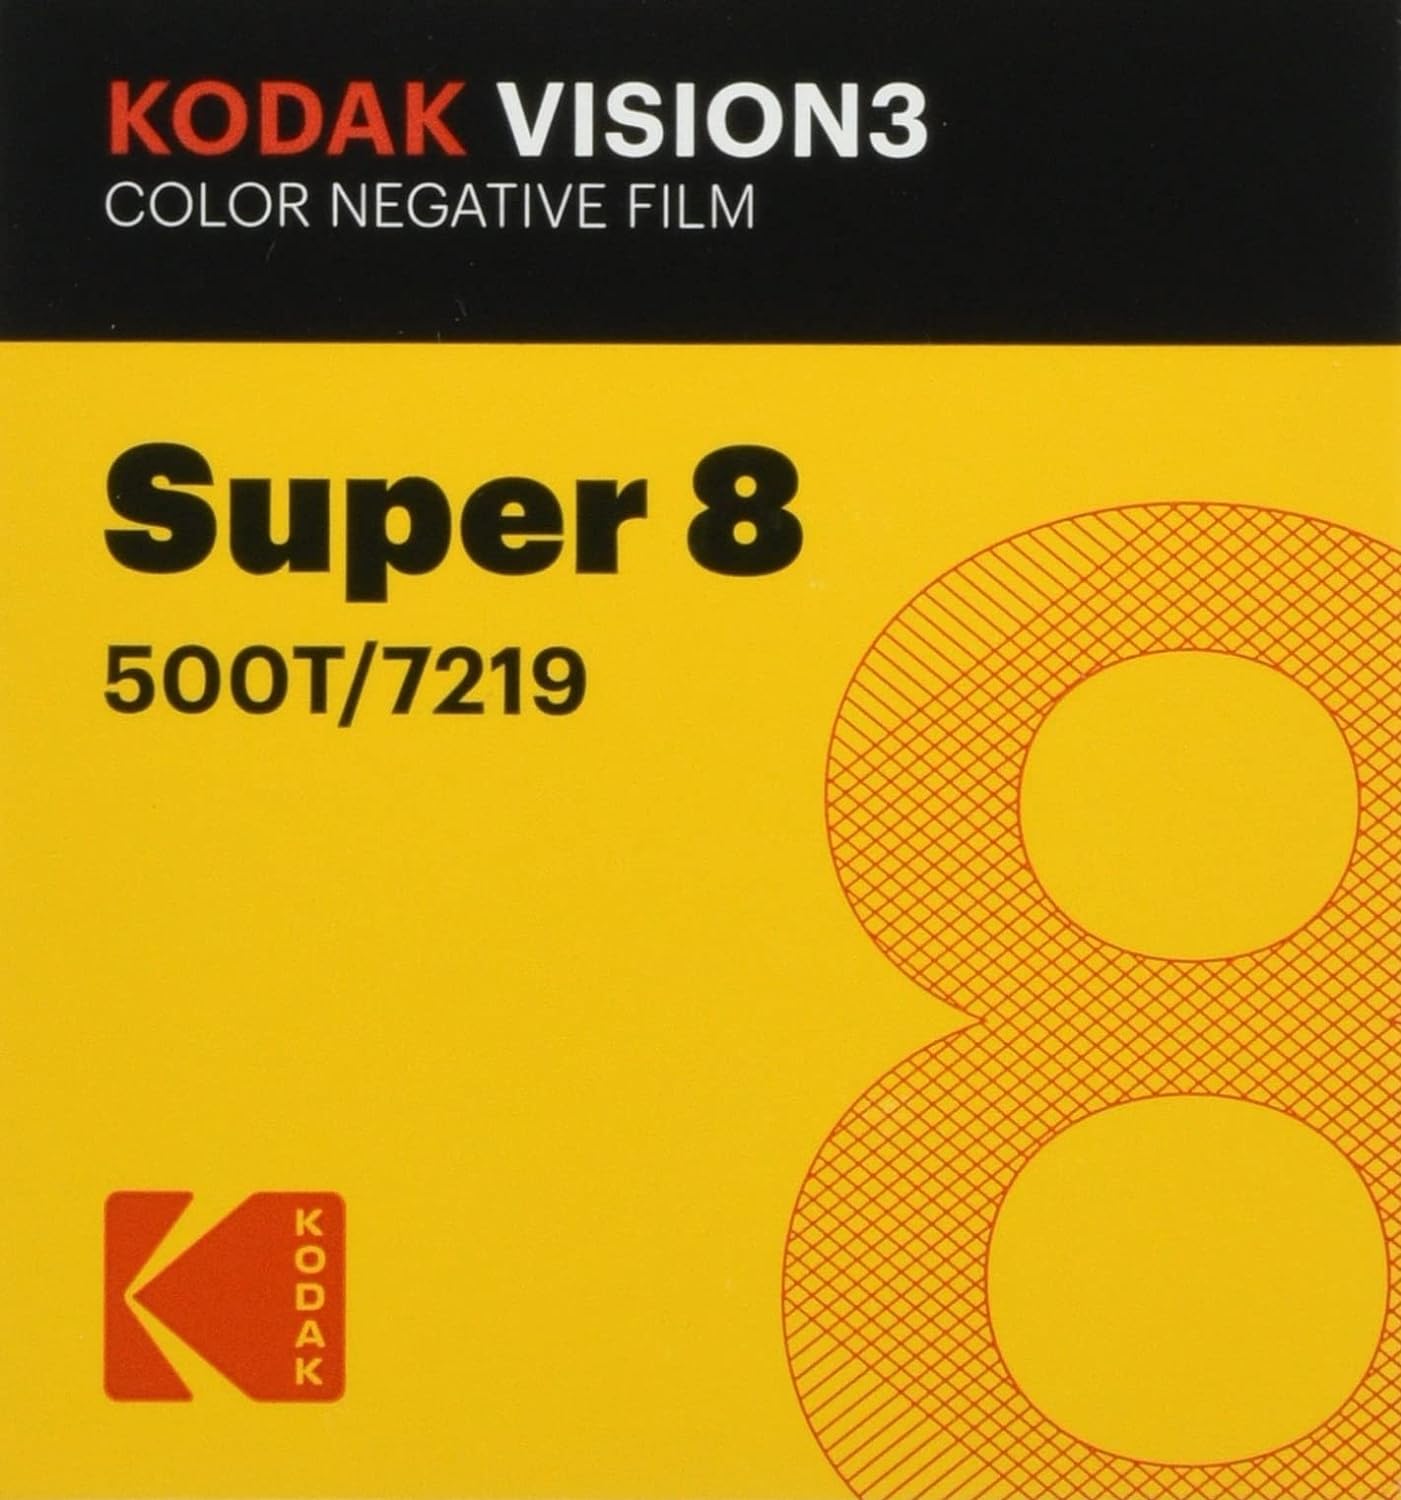
It’s important to note that film processing techniques can vary depending on the type of film used (e.g., black and white, color negative, or slide film) and the desired outcome. Different types of developers and processing times can yield varying results in terms of contrast, grain, and overall image quality. Film processing was an essential skill for photographers in the analog era and still holds value today, especially for those who appreciate the unique aesthetic and characteristics of film photography.