


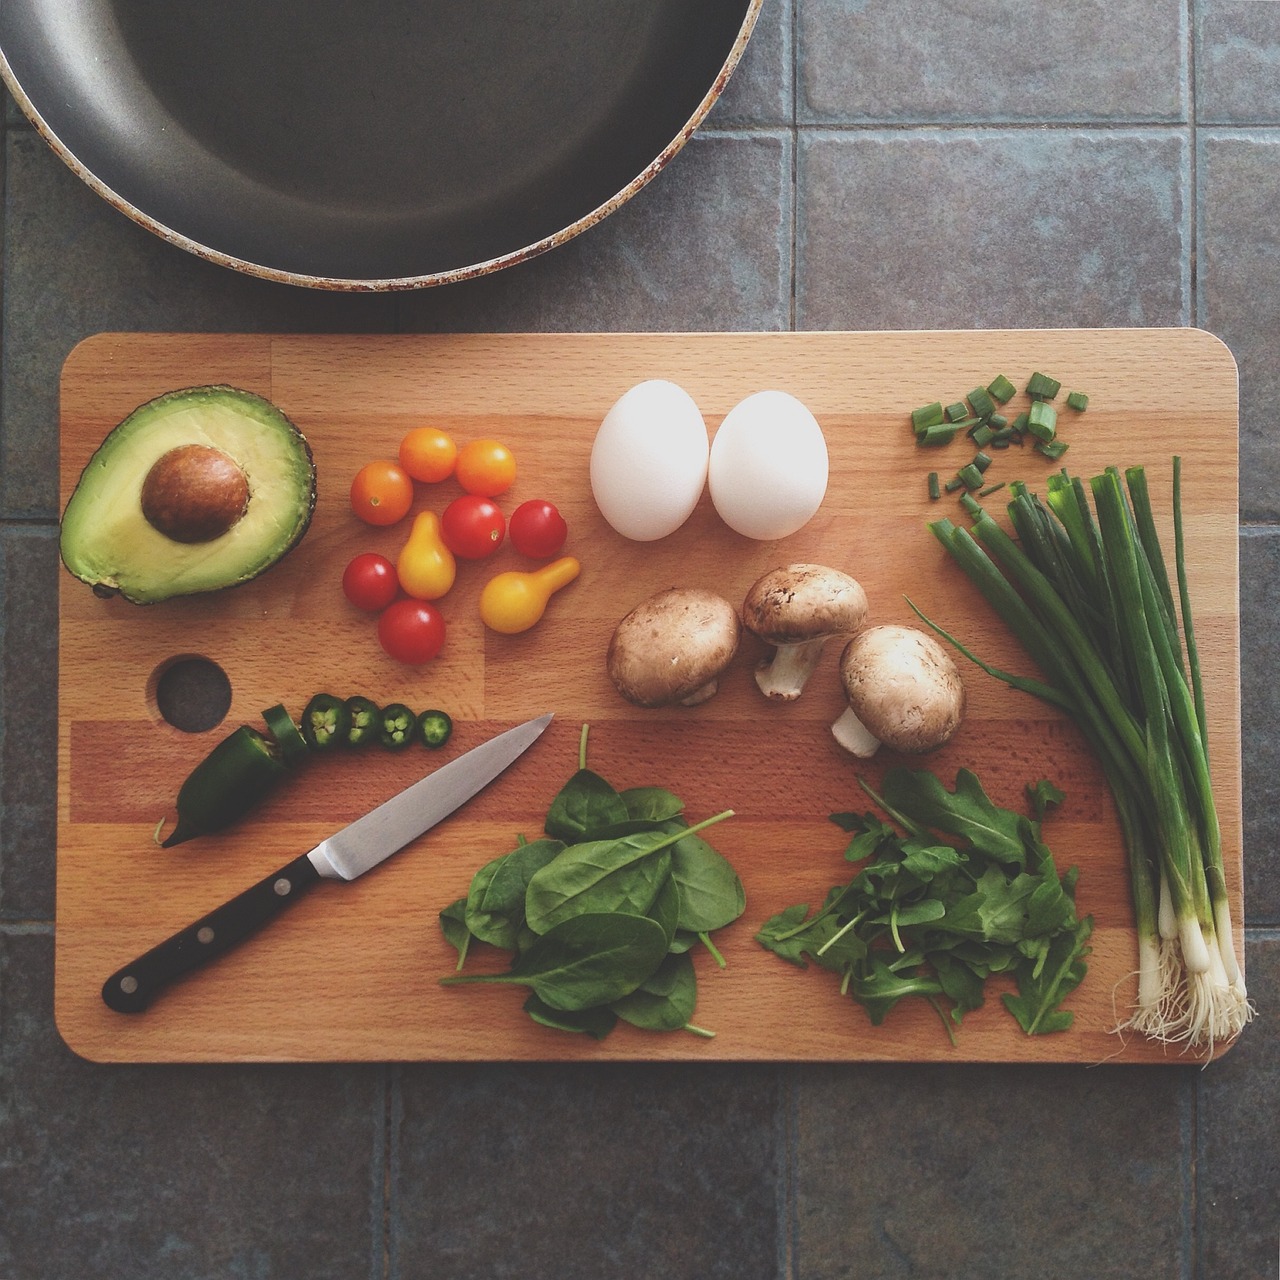
Chopping board setup: Capture a scene of food preparation

Creating an appealing and captivating scene for food photography requires careful planning and attention to detail. The chopping board setup is an essential part of the overall composition, as it sets the stage for the food preparation scene. Here’s a step-by-step guide to help you capture a beautiful food preparation scene:
Choose the right chopping board: Opt for a high-quality chopping board that complements the style and color scheme of your overall composition. Wooden or marble boards often work well for food photography, as they add a natural and rustic feel.
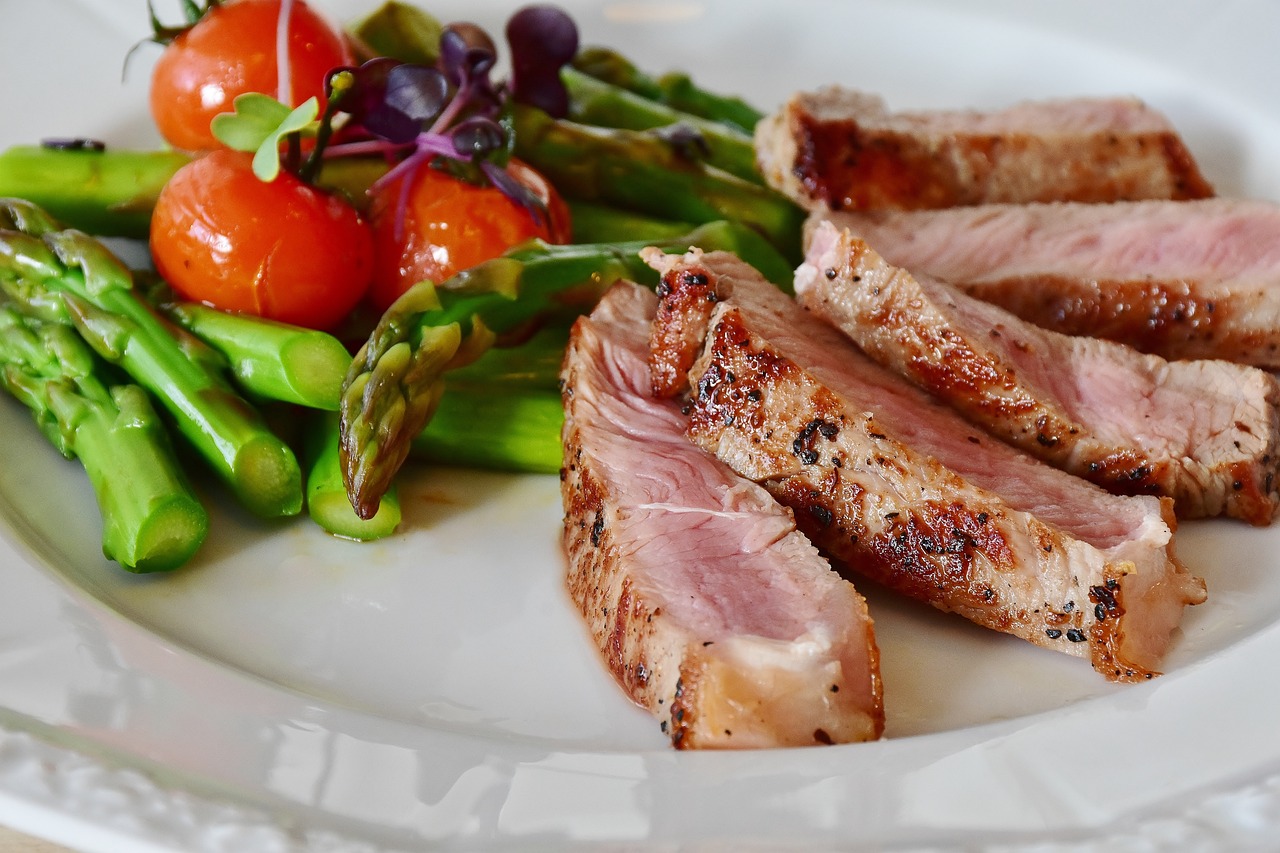
Select the food and ingredients: Decide on the dish you want to showcase and arrange all the ingredients neatly around the chopping board. Use fresh and vibrant produce to make the scene more visually appealing.
Plan the layout: Visualize the composition and how you want to arrange the ingredients on the chopping board. Consider the balance of colors, shapes, and textures to create an attractive arrangement.
Use props sparingly: You can add some relevant props to enhance the story and context of the food preparation scene. For example, include utensils, spices, herbs, or kitchen towels strategically placed around the chopping board.
Mind the lighting: Lighting is crucial in food photography. Natural light often works best, so set up your scene near a large window with diffused light. Alternatively, you can use soft artificial lighting to create a pleasing ambiance.
Adjust angles and perspectives: Experiment with different angles and perspectives to find the most appealing composition. Shoot from above for a flat lay, from a 45-degree angle for a more dynamic look, or at eye level to create a sense of intimacy.
Focus on the details: Pay attention to small details like the knife’s edge touching the ingredients, the grains of salt, or the steam rising from a freshly cooked dish. These details can make the photo more realistic and enticing.
Mind the background: Ensure the background complements the food without distracting from it. A clean, simple background works best, but you can also use textured surfaces or kitchen elements to add some context.
Use the rule of thirds: Divide your frame into a 3×3 grid and place essential elements, such as the chopping board and main ingredients, along the gridlines or at their intersections. This technique often creates a visually balanced and appealing image.
Post-processing: After capturing the photo, do some basic post-processing to enhance colors, sharpness, and contrast. Avoid heavy editing that alters the appearance of the food.
Remember, practice makes perfect in food photography. Don’t be afraid to experiment and try new things to find your unique style and showcase the beauty of food preparation effectively.
Storytelling: Create a narrative with your food photography. Think about the story you want to tell through the scene. Are you capturing a cozy home-cooked meal, a vibrant summer salad, or a fancy gourmet dish? Incorporate elements that convey the mood and theme of the story.
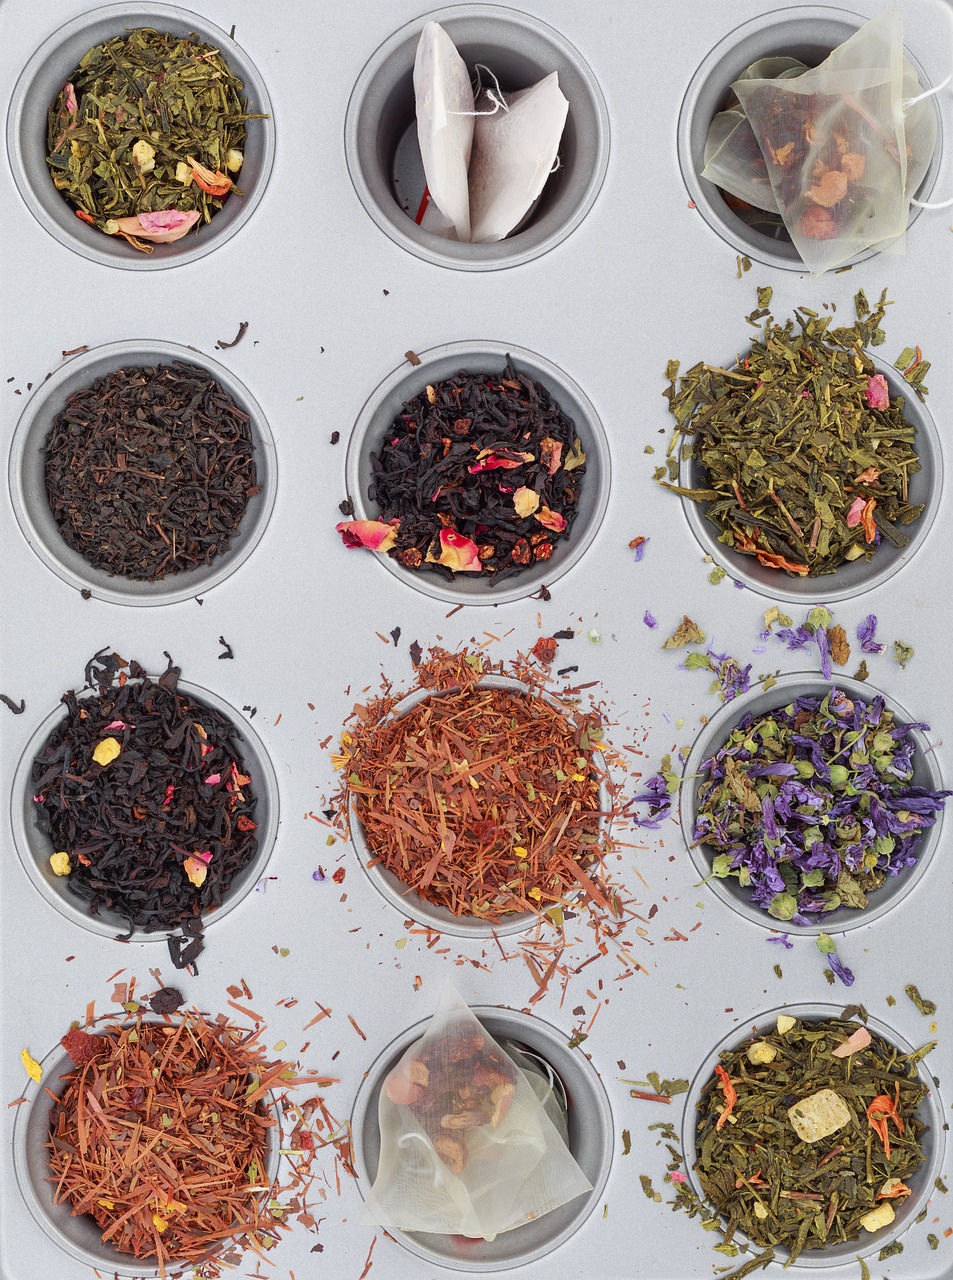
Color harmony: Pay attention to the color palette of the ingredients and props you use. Harmonious colors can make the photo more visually pleasing. Consider using complementary colors or sticking to a particular color scheme that suits the dish.
Texture and layers: Highlight the different textures and layers in the food preparation. For instance, if you’re photographing a sandwich, make sure to emphasize the various fillings and the crispness of the bread.
Negative space: Don’t overcrowd the frame with too many elements. Embrace negative space around the chopping board and ingredients to give your photo breathing room and draw the viewer’s attention to the main subject.
Action shots: Capture moments of food preparation in action. This could be slicing vegetables, pouring sauces, or sprinkling seasoning. Action shots add dynamism and a sense of realism to the scene.
Depth of field: Experiment with depth of field to create different effects. A shallow depth of field (achieved with a wide aperture like f/2.8) can help you isolate the main subject while blurring the background, making the food stand out.
Garnishing: Pay attention to the presentation of the dish. Garnish the food with fresh herbs, drizzle sauces in an artistic manner, or add some seeds or nuts for extra texture and visual appeal.
Rule of odds: When arranging ingredients or props, consider using an odd number of elements (e.g., 3 or 5). The rule of odds tends to create a more harmonious and visually interesting composition.
Styling tools: Use tweezers, toothpicks, or small brushes to position tiny elements accurately. These tools can help you finesse the arrangement and create a polished look.
Editing techniques: In post-processing, you can fine-tune your photo by adjusting exposure, contrast, and saturation. You may also consider adding subtle vignettes or enhancing specific areas to draw attention to the focal point.
Experiment with surfaces: Try shooting on different surfaces, such as marble, slate, or distressed wood, to change the mood and aesthetics of the scene. Each surface brings a unique character to the photograph.
Stay authentic: While you may want to make the food look as appealing as possible, avoid using non-edible products that make the food inedible. Your audience should trust that what they see is what they can enjoy.
Remember, food photography is an art, and there are no strict rules. Be open to exploring your creativity, and keep learning from other photographers and food stylists to develop your unique style. Practice regularly, and with time, you’ll master the art of capturing stunning food preparation scenes.