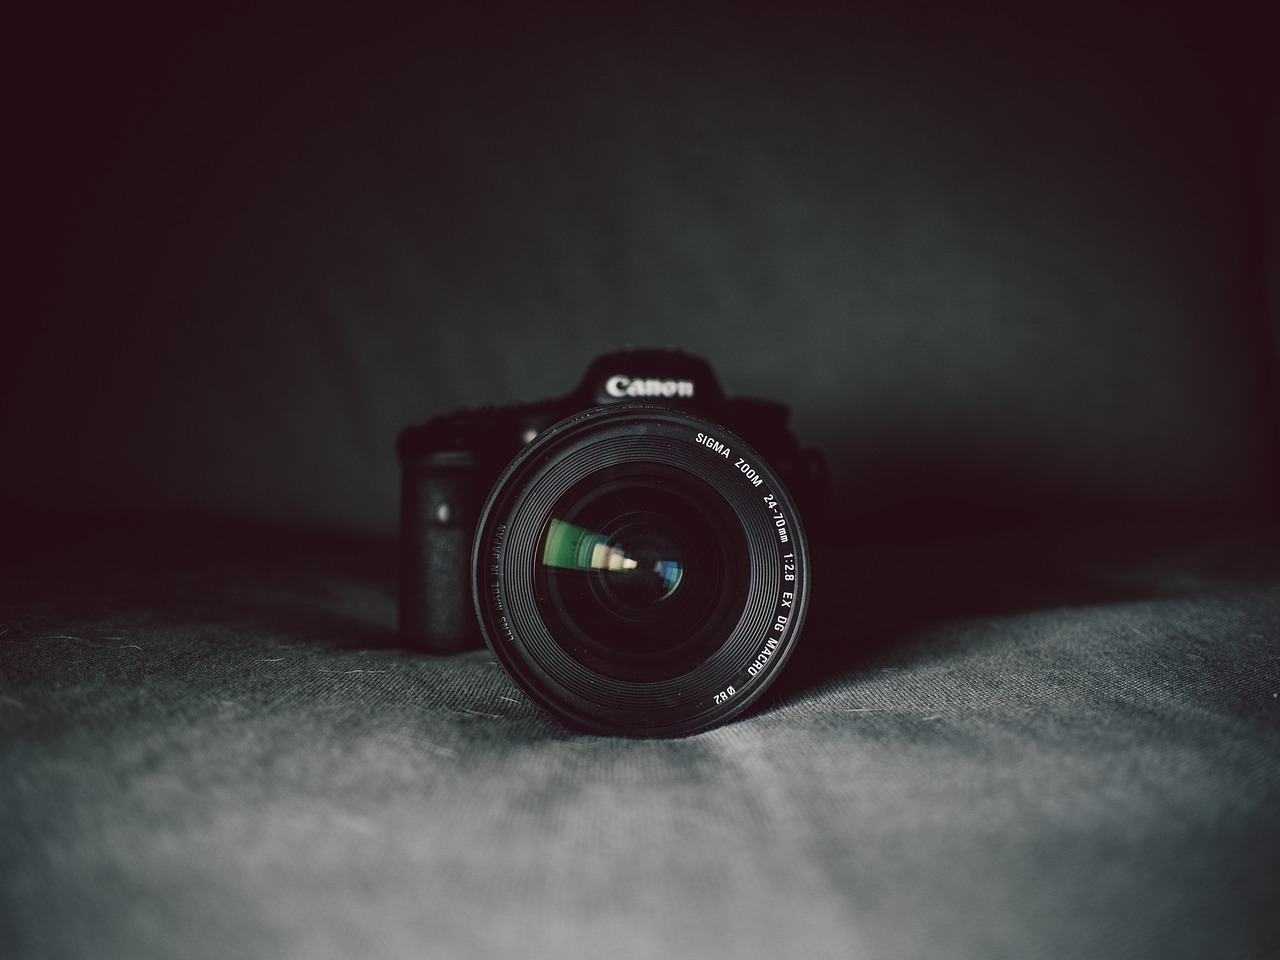


Creating dramatic lighting effects for product shots

Creating dramatic lighting effects for product shots can greatly enhance the visual impact and appeal of your photographs. Here are some techniques you can use to achieve dramatic lighting:
Use Hard Light: Instead of using soft, diffused light, opt for hard light sources like a spotlight or a single bare bulb. Hard light creates sharp shadows and high contrast, which can add drama and depth to your product shots.
Incorporate Shadows: Shadows can add a sense of mystery and intrigue to your photographs. Experiment with different angles and light placements to create interesting shadow patterns. You can use props or cut-out shapes to cast unique shadows onto your product.
Employ Backlighting: Backlighting involves placing the main light source behind the product, illuminating it from the back. This technique can create a striking silhouette effect or a glow around the edges of the product, giving it a dramatic and ethereal look.
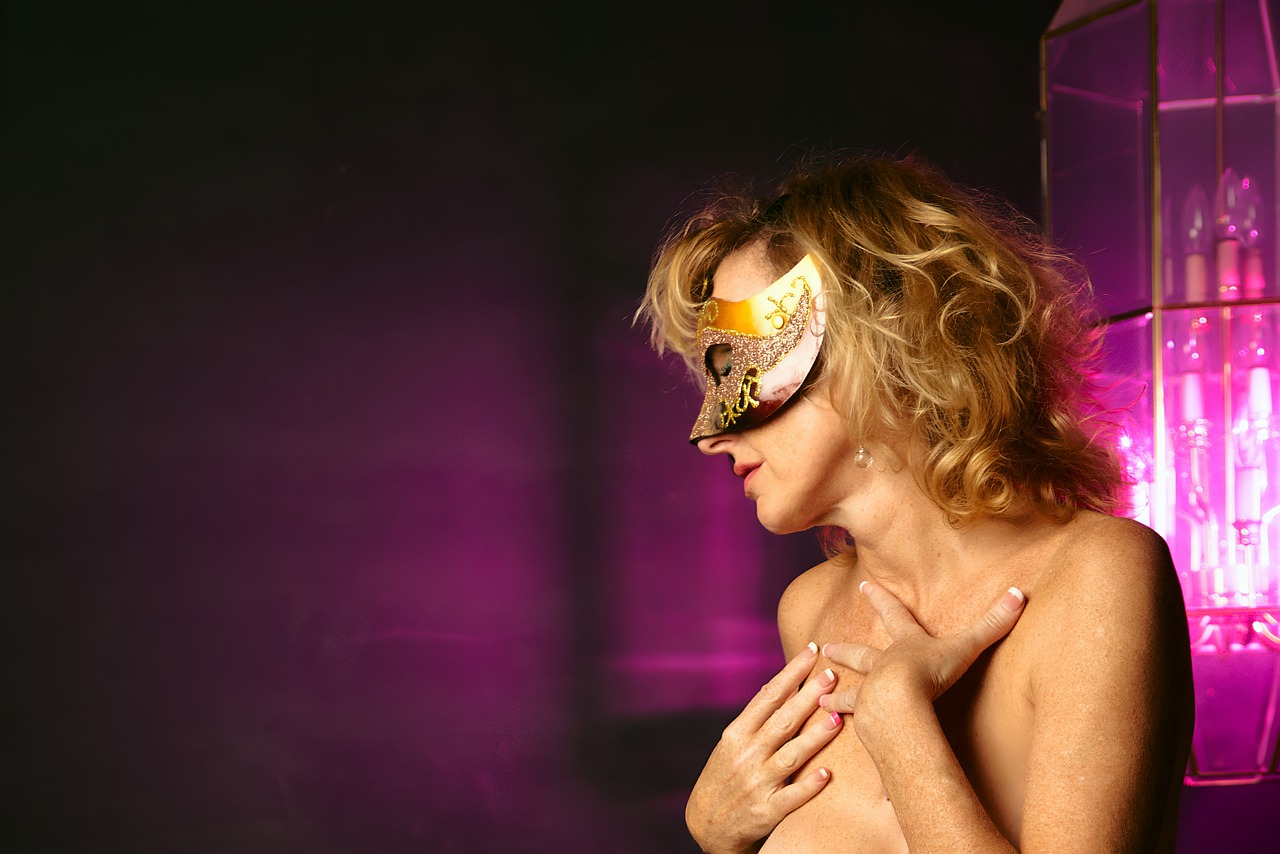
Play with Color Gels: Adding colored gels to your lights can instantly transform the mood and ambiance of your product shots. Experiment with different colors that complement or contrast with the product to create a visually captivating effect.
Use Reflectors and Flags: Reflectors can bounce light back onto the subject, filling in shadows and adding a touch of drama. On the other hand, flags or black cards can be used to block light from certain areas, creating selective lighting and adding depth.
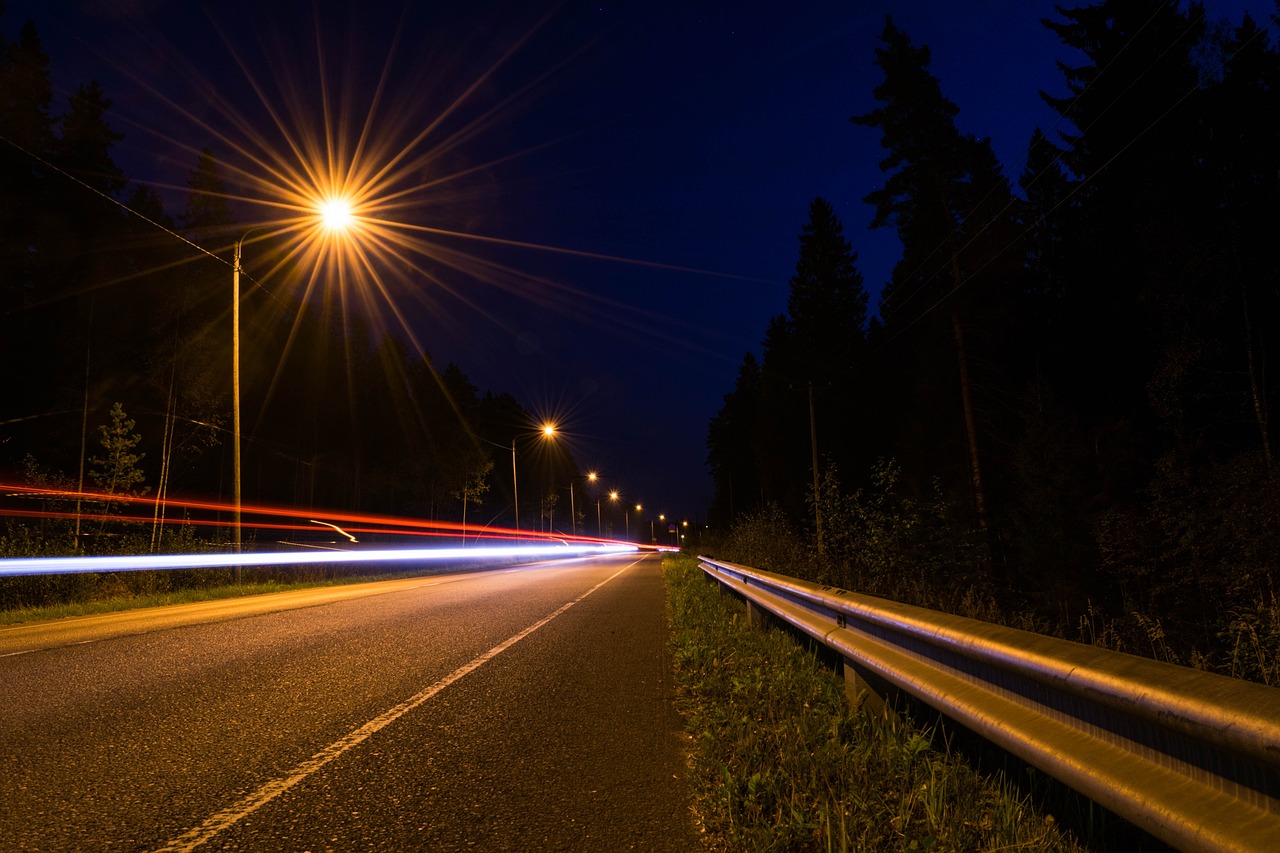
Try Light Painting: Light painting involves using a handheld light source, such as a flashlight or an LED panel, to paint light onto the product during a long exposure. This technique allows you to selectively illuminate specific areas, creating a dramatic and artistic effect.
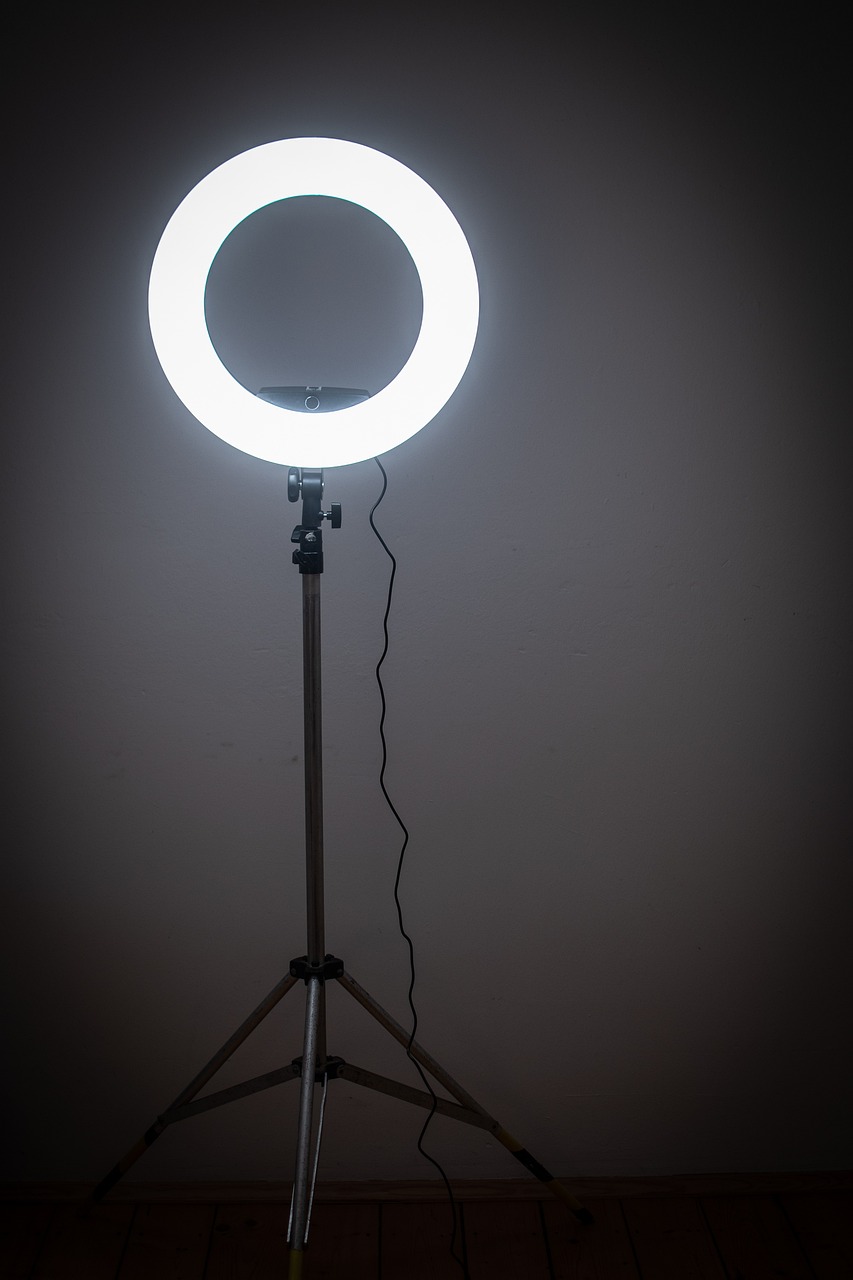
Experiment with Multiple Light Sources: Combining different light sources, such as a key light, fill light, and accent lights, can help create a multidimensional and dramatic look. Play with the placement, intensity, and direction of each light to achieve the desired effect.
Light Modifiers: Experiment with various light modifiers to shape and control the light. Grids, snoots, and barn doors can help you direct the light precisely where you want it, creating focused beams and enhancing the drama. Diffusion panels or softboxes can also be used selectively to soften certain areas while keeping others more contrasty.
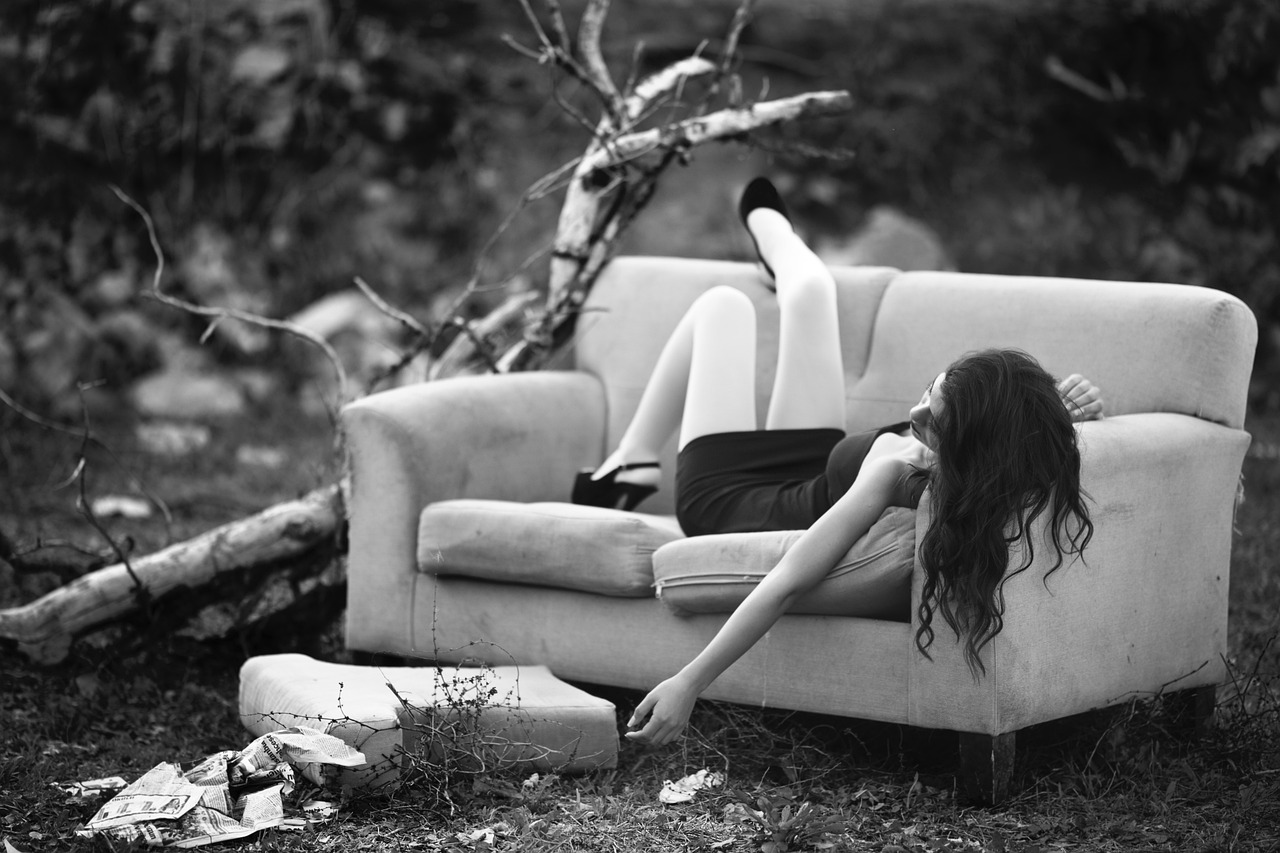
High-Key and Low-Key Lighting: High-key lighting involves creating a bright and evenly lit scene, while low-key lighting focuses on dark, moody setups with strong contrasts. These lighting styles can be used to evoke different emotions and highlight different aspects of your product. For high-key lighting, use soft and diffused lighting sources, while low-key lighting benefits from hard light and careful shadow placement.
Lighting Ratios: The lighting ratio refers to the difference in brightness between the brightest and darkest areas of your image. Experiment with different ratios to create dramatic effects. A high lighting ratio, with significant differences between light and shadow areas, can produce a bold and striking image. A low lighting ratio, with minimal contrast, can create a softer and more subtle effect.
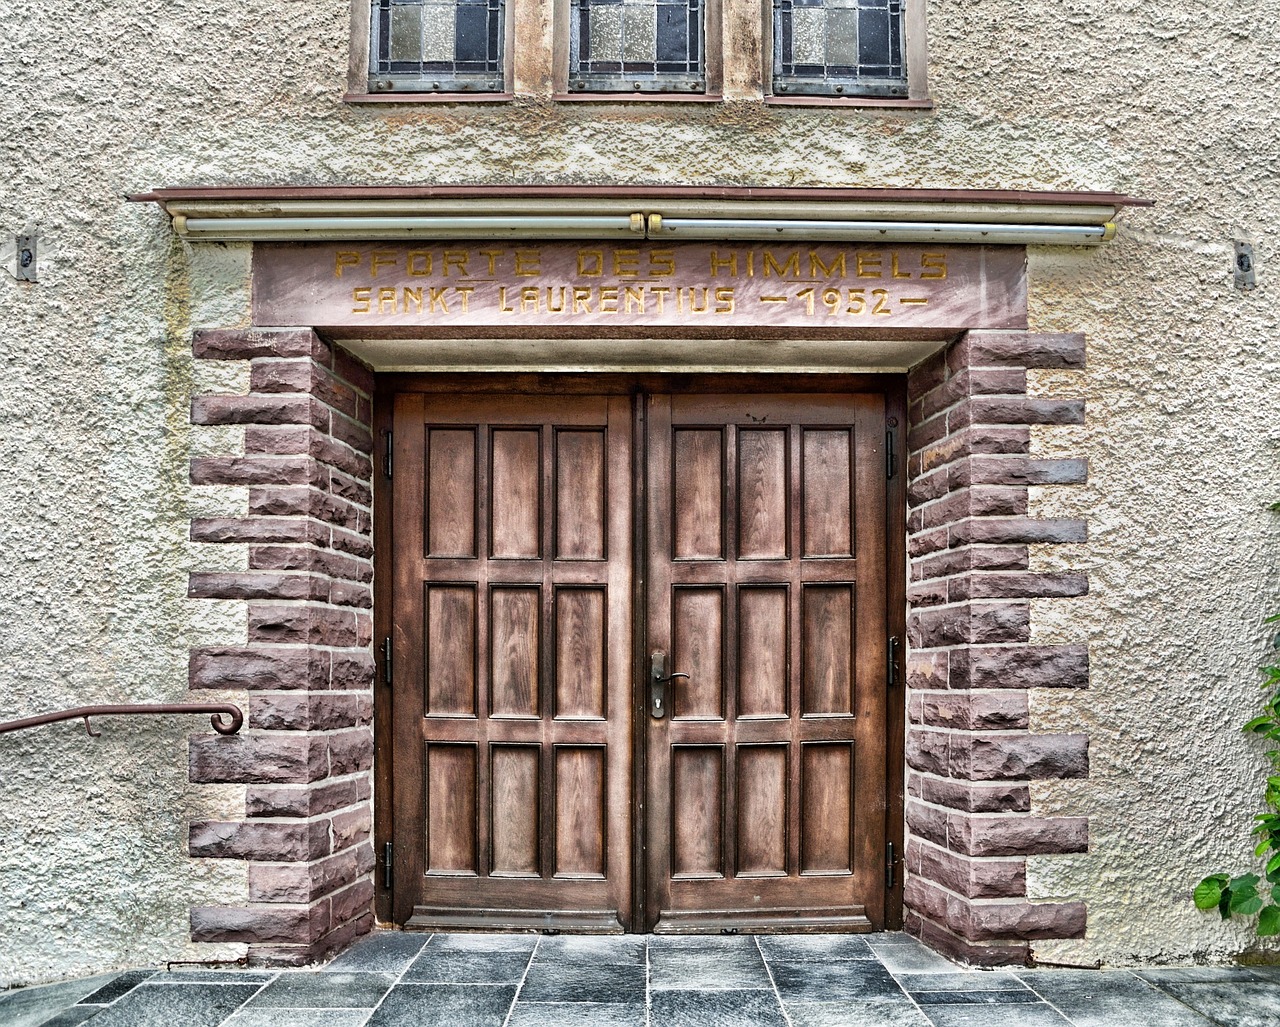
Incorporate Props and Backgrounds: The use of props and carefully chosen backgrounds can enhance the drama in your product shots. Select items that complement or contrast with the product to create interesting visual narratives. Experiment with textured backgrounds, reflective surfaces, or translucent materials to add depth and intrigue to your images.
Consider the Product’s Form: The shape, texture, and materials of the product can influence the lighting techniques you use. Highlighting the contours and textures can create a dramatic three-dimensional effect. Experiment with different lighting angles to accentuate the product’s unique features and create visually captivating results.
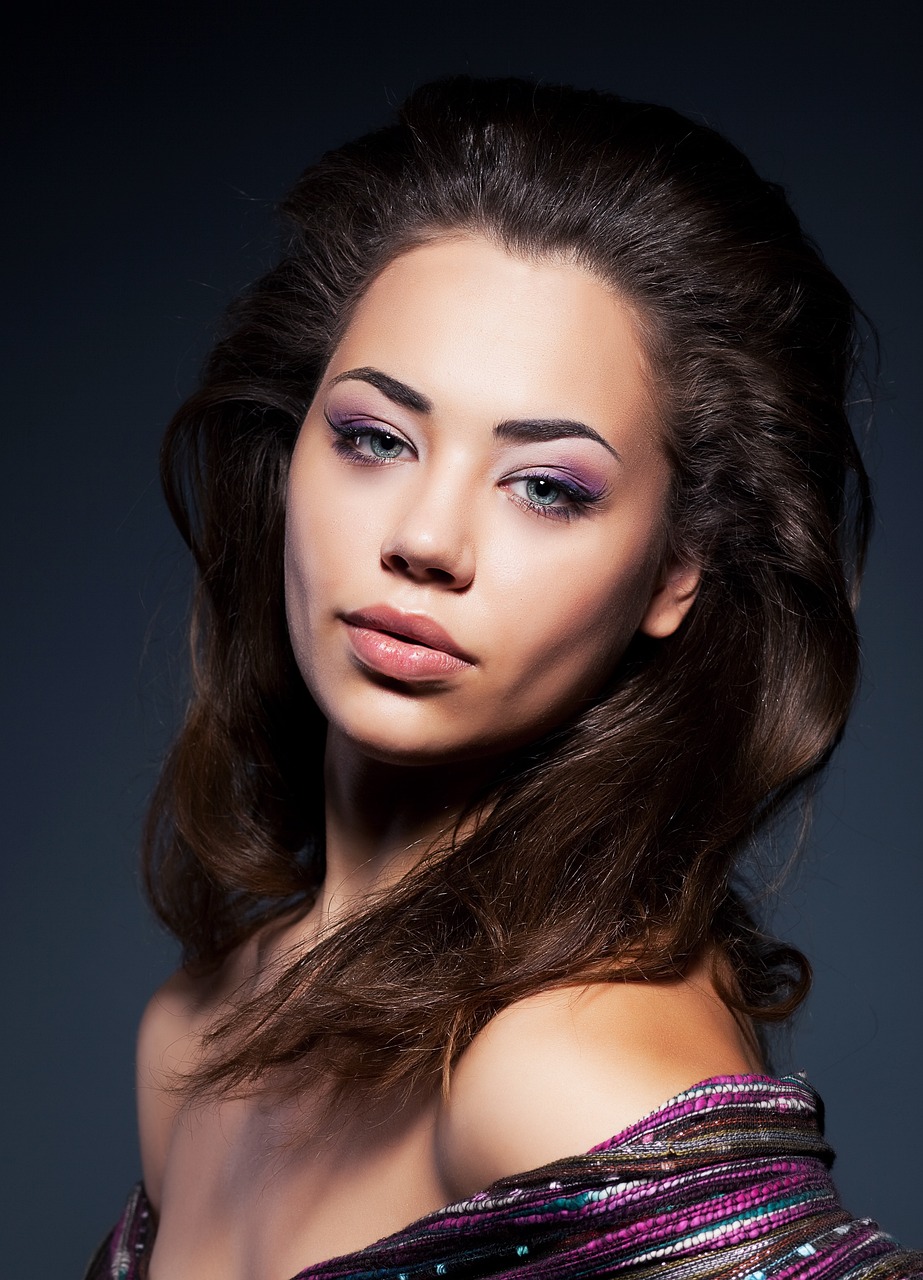
Mood and Storytelling: Lighting can evoke specific moods and narratives. Think about the story you want to convey through your product shots and use lighting to support that narrative. For example, warm and soft lighting can create a cozy and inviting atmosphere, while cool and harsh lighting can evoke a more edgy or futuristic feel.
Plan and Visualize: Before you start setting up your lighting, have a clear vision of the desired outcome. Sketch out your ideas or create a mood board to help guide your lighting setup.
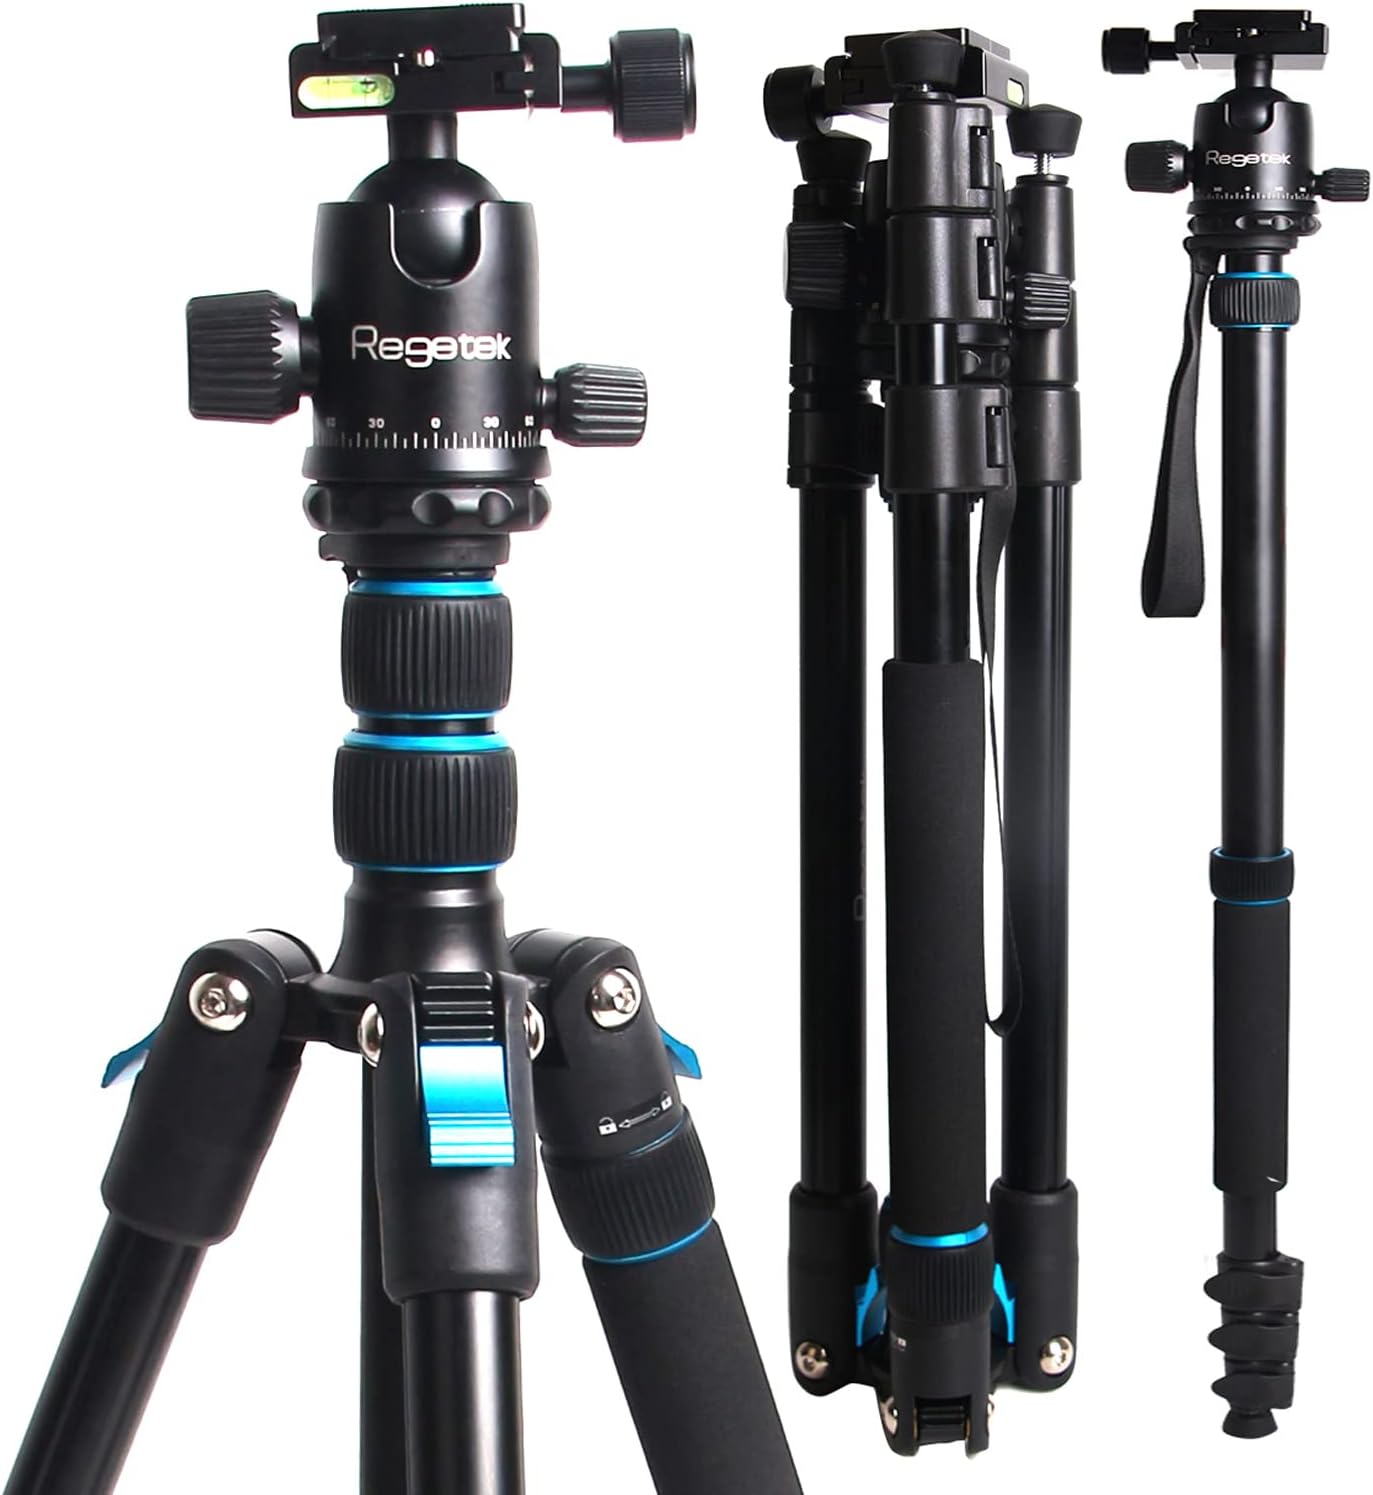
Use a Sturdy Tripod: To ensure sharp images and precise control over your lighting, use a sturdy tripod to stabilize your camera. This allows you to make adjustments without worrying about camera shake.
Master Manual Mode: Shooting in manual mode gives you full control over your camera settings, including aperture, shutter speed, and ISO. It allows you to precisely control the exposure and capture the desired lighting effects.
Start with a Key Light: The key light is the main light source illuminating your product. Start by positioning and adjusting the key light to achieve the desired lighting direction and intensity.
Experiment with Angles: Explore different lighting angles to bring out the product’s features and create interesting shadows. Move the light source around the product, trying different heights and distances to find the most flattering and dramatic lighting setup.
Add Fill Light: While dramatic lighting often involves high contrast and shadows, you may need to fill in some of the darker areas to avoid losing important details. Use a fill light, which is a softer light source, to reduce the contrast and fill in shadows without overpowering the main light.
Control Reflections: Depending on the product’s surface and the lighting setup, you may encounter unwanted reflections or glare. Use flags, reflectors, or polarizing filters to control reflections and highlight specific areas of the product.
Utilize Background Lighting: Adding separate lighting for the background can help create separation and depth, making the product stand out even more. Experiment with different lighting techniques for the background, such as backlighting or colored gels, to achieve the desired effect.
Experiment with Light Intensity: Vary the intensity of your lights to create different moods and effects. Play with brighter or dimmer lighting to emphasize specific areas or create dramatic highlights and shadows.
Take Test Shots and Review: Periodically review your shots on the camera’s LCD screen or tethered to a computer to assess the lighting effects and make necessary adjustments. Test different lighting setups and make refinements based on the results you see.