

How To Use One Light Four Different Ways
Using one light in studio photography doesn’t mean you’re limited in your creative possibilities. In fact, it can be a powerful and versatile tool when you know how to use it effectively. Here, I’ll guide you through four different ways to use a single light source in studio photography to achieve various lighting effects and moods.
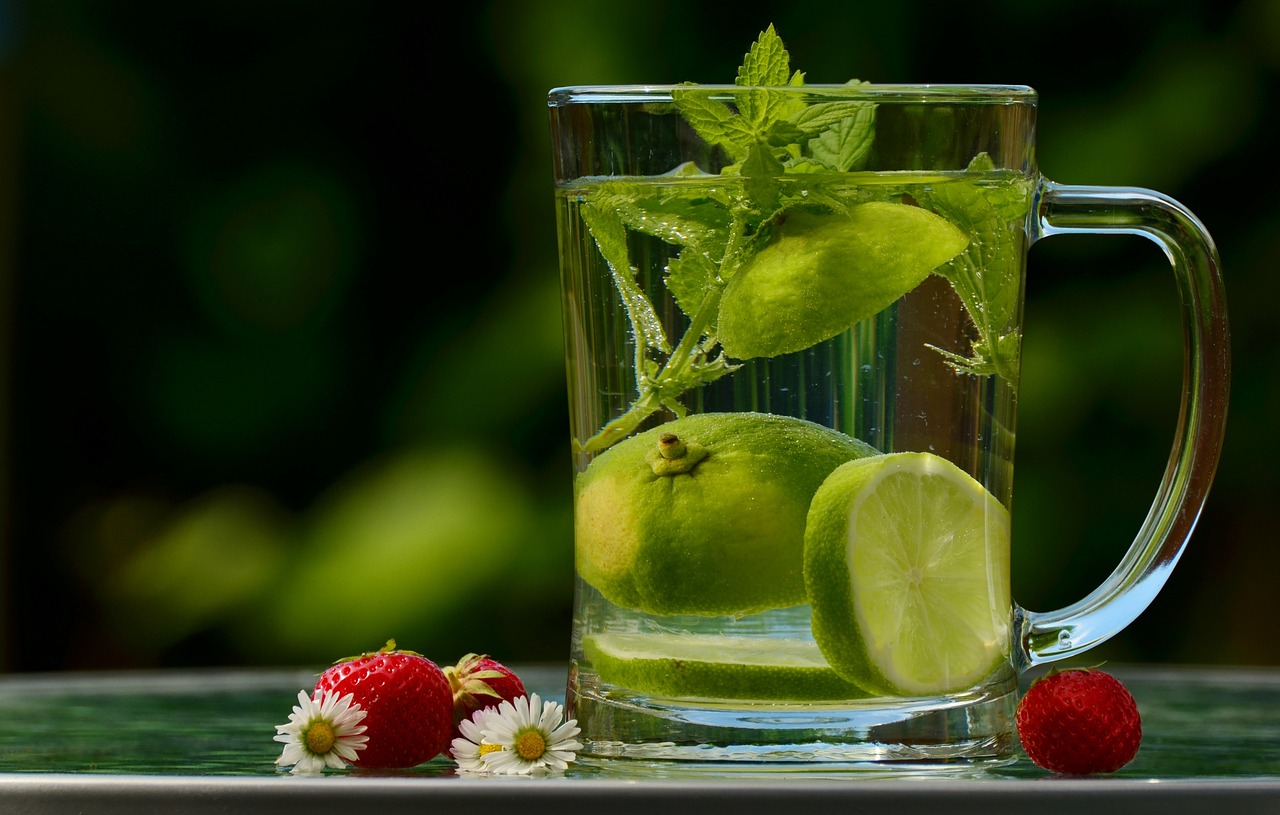
Direct Light: The most straightforward way to use a single light source is to point it directly at your subject. Place the light source in front of your subject and slightly above eye level to create flattering, even illumination. This technique is commonly used in portrait photography to achieve a classic, well-lit look with minimal shadows. You can adjust the distance and intensity of the light to control the level of brightness and contrast.
Key Tip: Use a softbox or a diffuser to soften the light and reduce harsh shadows, providing a more flattering and natural look to your subject.
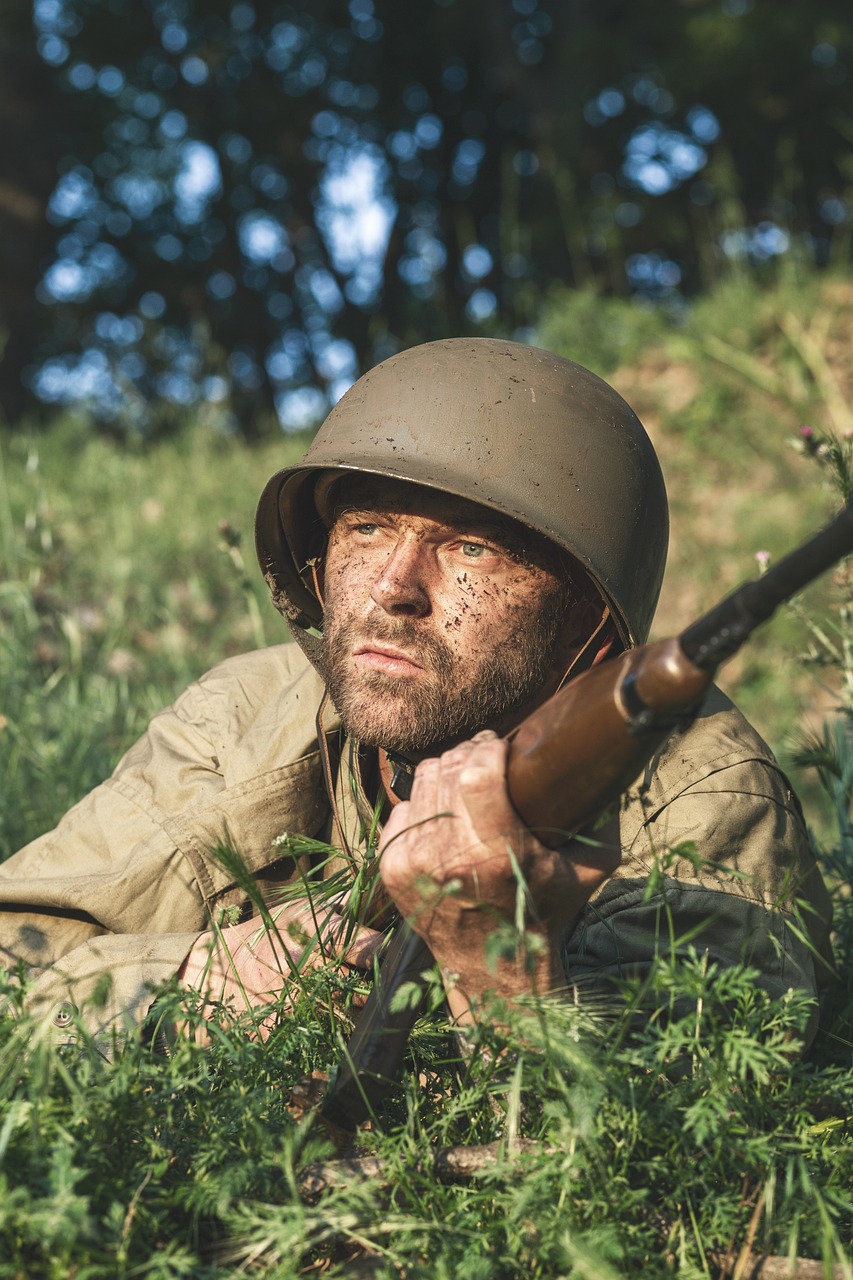
Rembrandt Lighting: Named after the famous Dutch painter, Rembrandt lighting is a technique that creates a classic and dramatic look. Position your single light source at a 45-degree angle to your subject, slightly above eye level. This will cast a triangular patch of light on one side of the face, leaving the other side in shadow. It’s characterized by a small triangle of light on the cheek under the eye.
Key Tip: Ensure that the eye opposite the light source is still well-lit and not obscured by shadows, creating a catchlight for added depth and dimension.
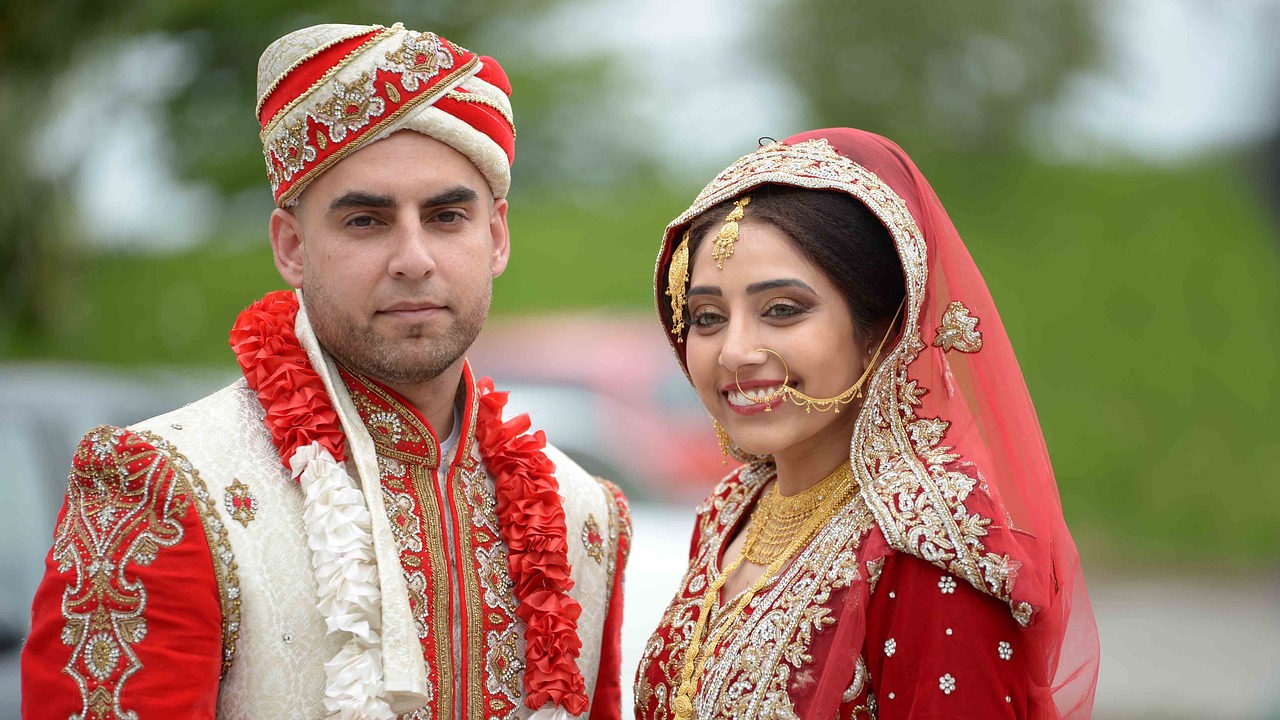
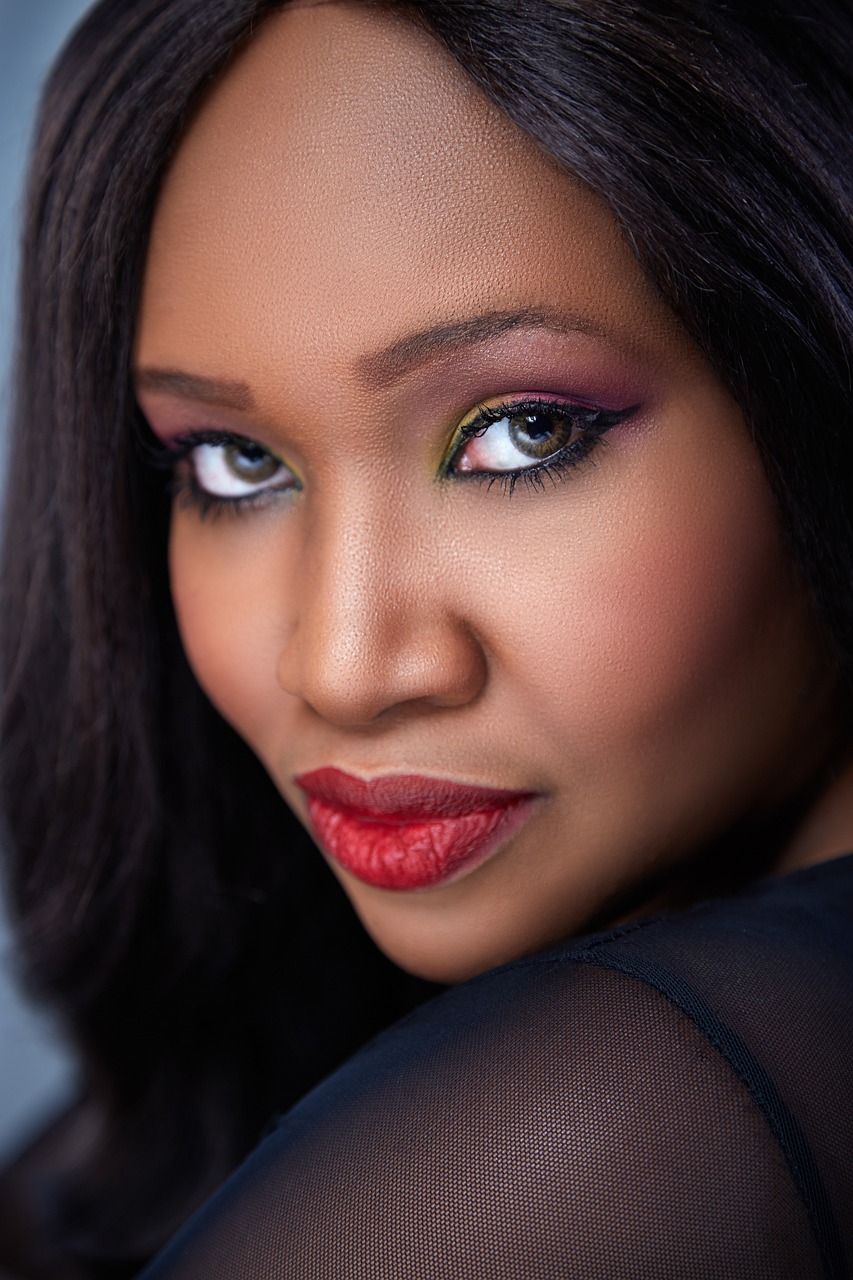
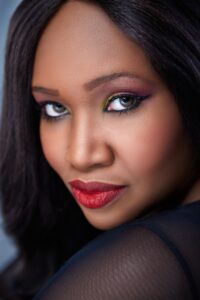
Butterfly Lighting: Butterfly lighting, also known as paramount lighting, is achieved by placing your single light source directly in front of your subject, slightly above their eye level. This setup creates a symmetrical butterfly-shaped shadow just below the nose. It’s often used in beauty and fashion photography to create a soft and flattering look.
Key Tip: Adjust the height and angle of the light to control the size and placement of the butterfly shadow, allowing you to fine-tune the effect.
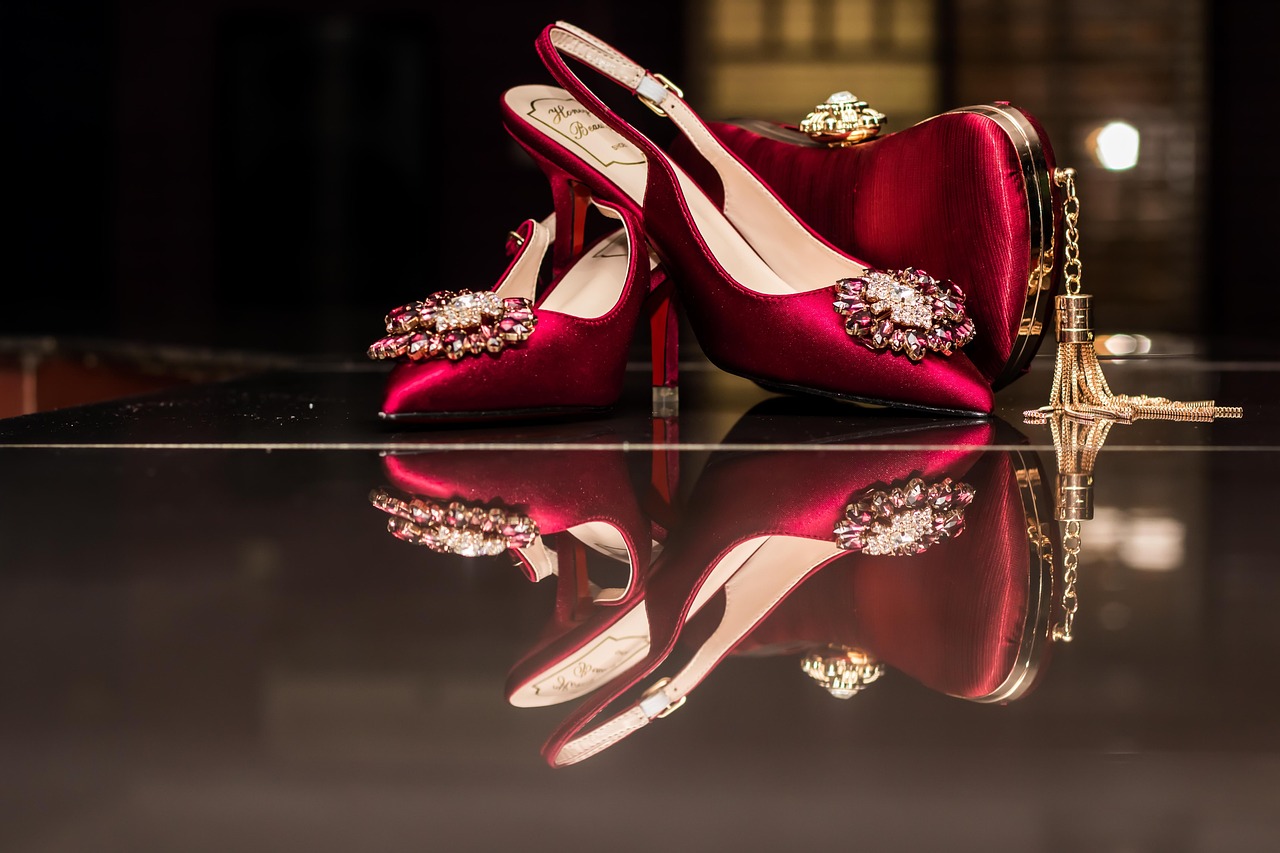
Rim Lighting: For a more dramatic and striking effect, use your single light source as a rim light. Position it behind and slightly to the side of your subject to create a glowing outline of light around their edges. This technique works exceptionally well for highlighting the contours of your subject and adding depth to your images.
Key Tip: Use a snoot or grid to focus the light and prevent it from spilling onto the background, enhancing the separation between your subject and the background.
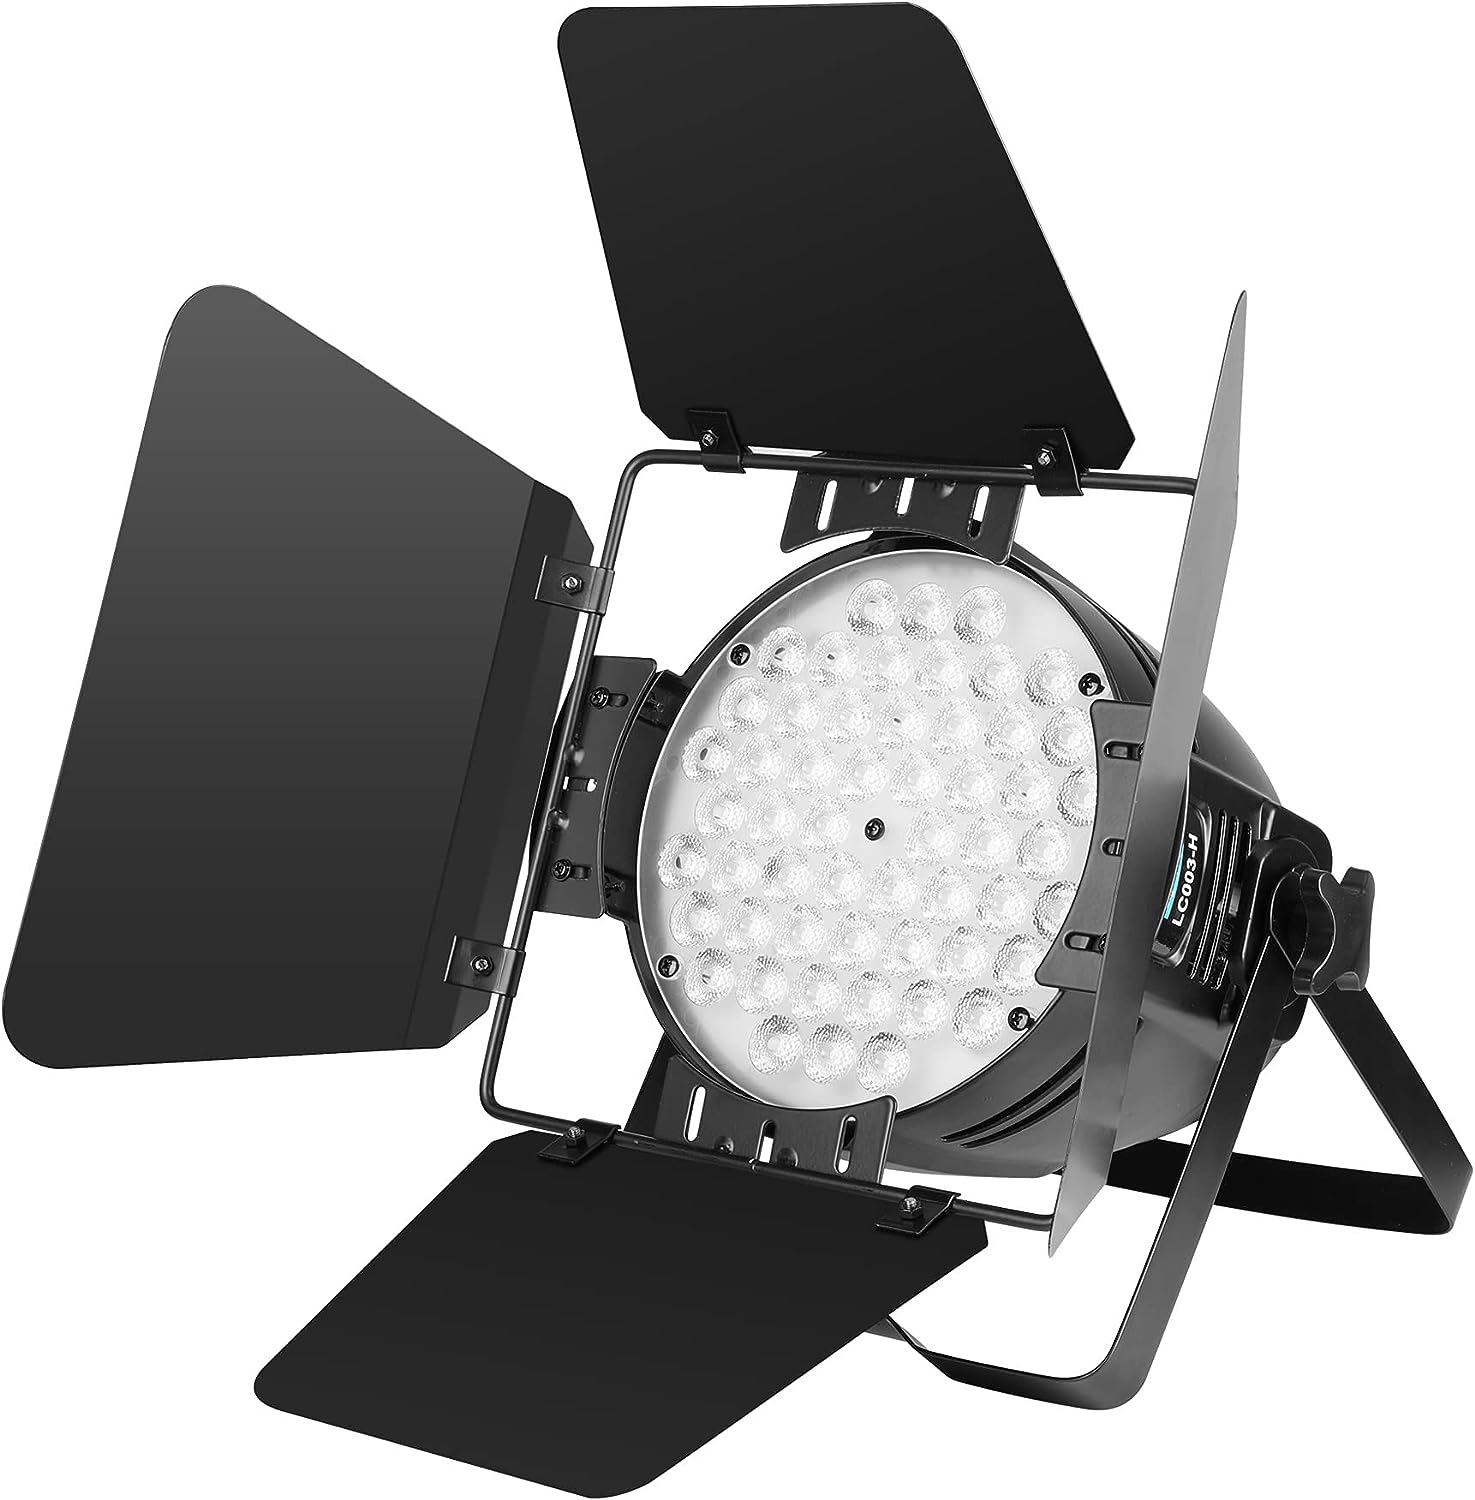
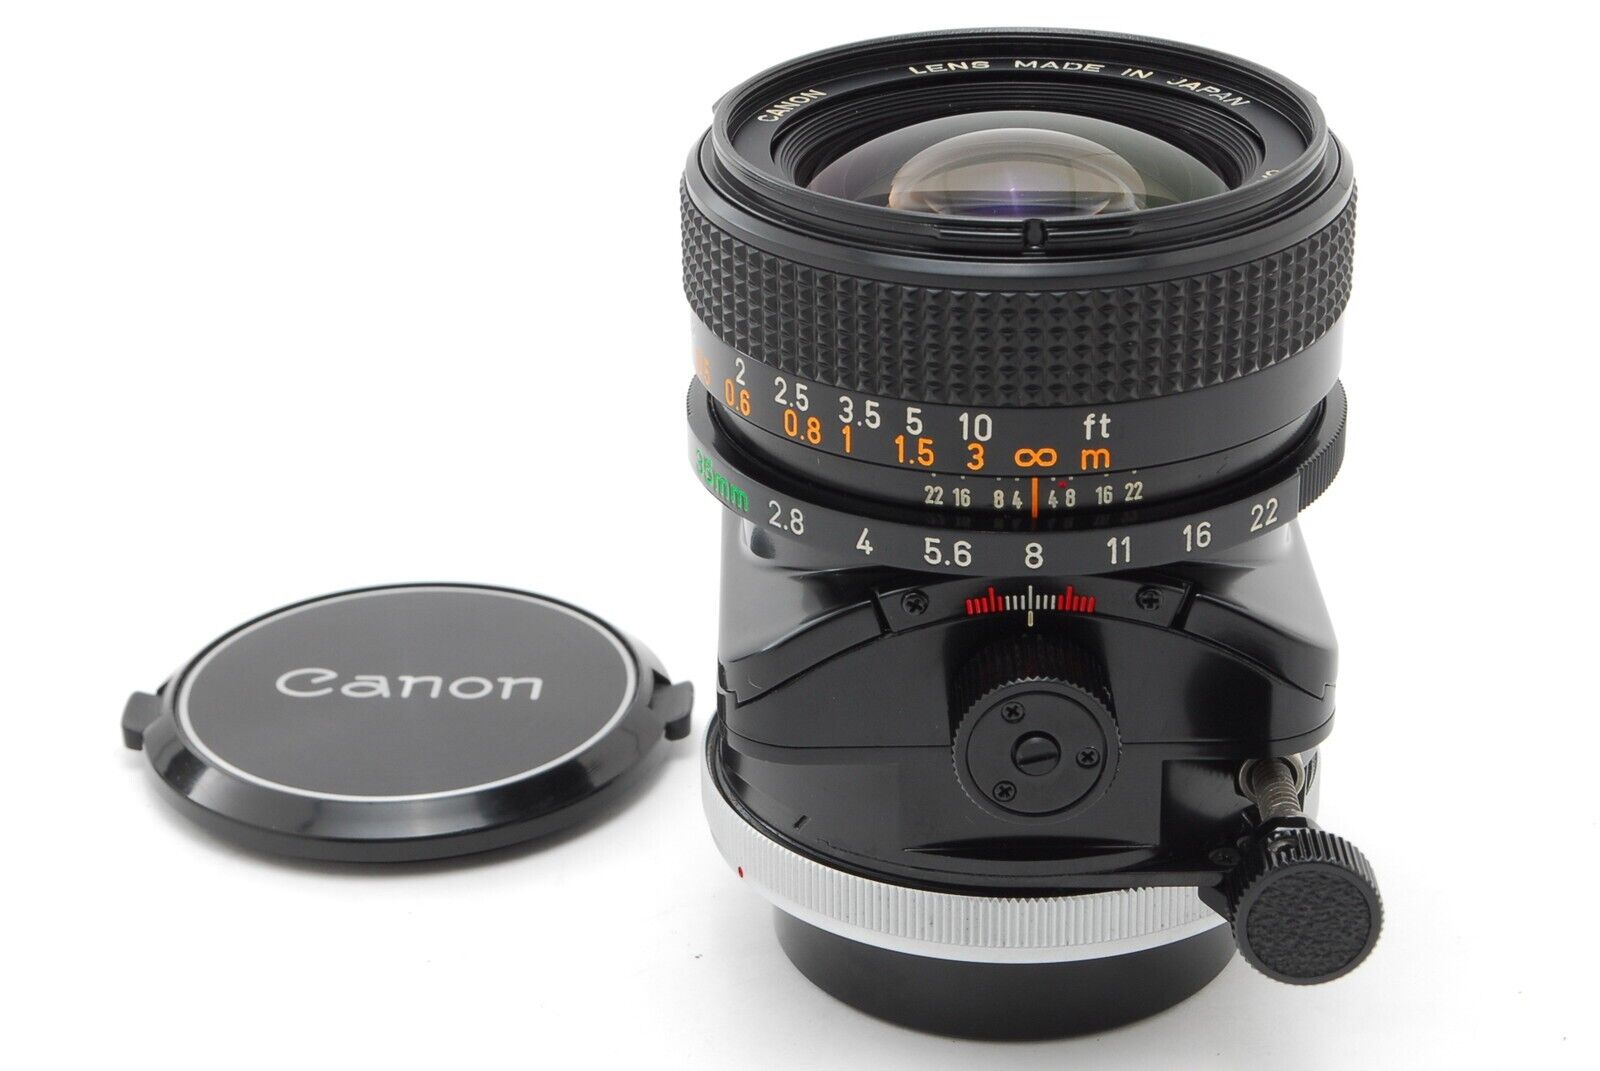
Understand Your Light Source: Get to know your light source, whether it’s a strobe, continuous light, or natural light. Familiarize yourself with its power settings, color temperature, and any available modifiers.
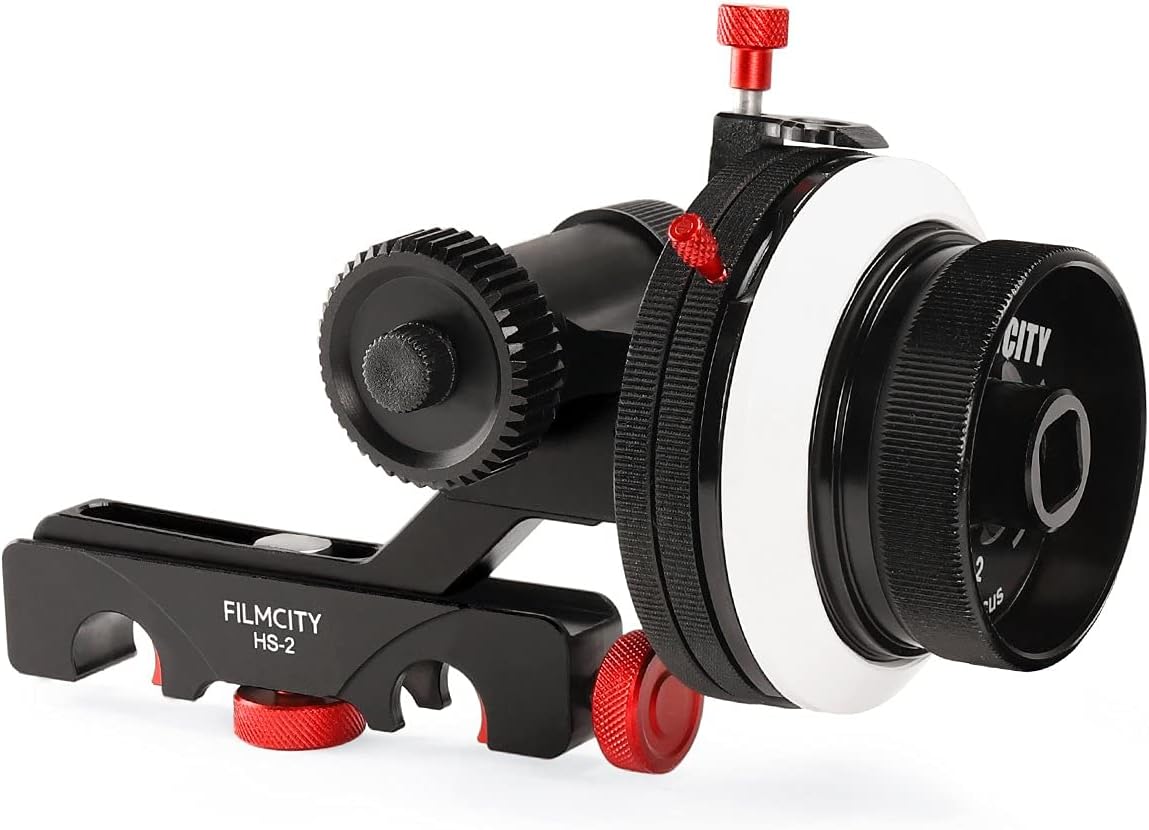
Master Light Positioning: Experiment with the placement of your light source. Even small adjustments can drastically change the look and mood of your photos. Take your time to position the light precisely where you want it.
Control Light Intensity: Use the light’s power settings or light modifiers to control the intensity of the light. Dim or brighten the light as needed to achieve the desired exposure.
Use Light Modifiers: Softboxes, umbrellas, grids, snoots, and reflectors are essential tools for modifying the light’s quality and direction. Each modifier creates a unique effect, so don’t be afraid to try different ones.
Balance with Fill and Bounce: In single-light setups, you can use reflectors or white bounce boards to fill in shadows. This can help reduce contrast and create a softer look. Experiment with the size and position of your fill reflector to achieve the desired effect.
Control Background Separation: If you’re using a single light source to illuminate your subject, pay attention to how it affects the background. You can control the background’s brightness and separation by adjusting the distance and angle of the light.
Consider Color Gels: Introduce color gels in front of your light source to create colorful and dynamic lighting effects. Gels can be used for dramatic and creative results, and they work well in portrait and artistic photography.
Pay Attention to Shadows: Shadows can be as important as the highlights. Use them to create depth, mood, and drama in your photos. Experiment with shadow placement to emphasize or de-emphasize certain features.
Test and Practice: Studio photography is all about experimentation and practice. Don’t be discouraged if your first attempts don’t turn out as expected. Continuously refine your skills through trial and error.
Remember that the key to effective studio photography with a single light source is not just the setup but also the ability to control the light’s intensity, color temperature, and distance to your subject. Experiment with different modifiers, such as softboxes, reflectors, and gels, to further shape and color your light. Additionally, mastering the art of positioning and fine-tuning your light source is essential to achieve the desired mood and style for your photographs.
The versatility of one light in studio photography lies in your creativity and skill in manipulating light to create diverse and captivating images. So, don’t be afraid to experiment and push the boundaries of what you can achieve with a single light source.