


Camcorder Audio: Capturing High-Quality Sound
Camcorder audio refers to the sound recording capabilities of camcorders, which are devices designed to capture both video and audio content. While camcorders are primarily known for their video quality, capturing high-quality sound is equally important, especially when recording events, interviews, or any situation where clear audio is essential.
Here are some tips to help you capture high-quality sound with a camcorder:
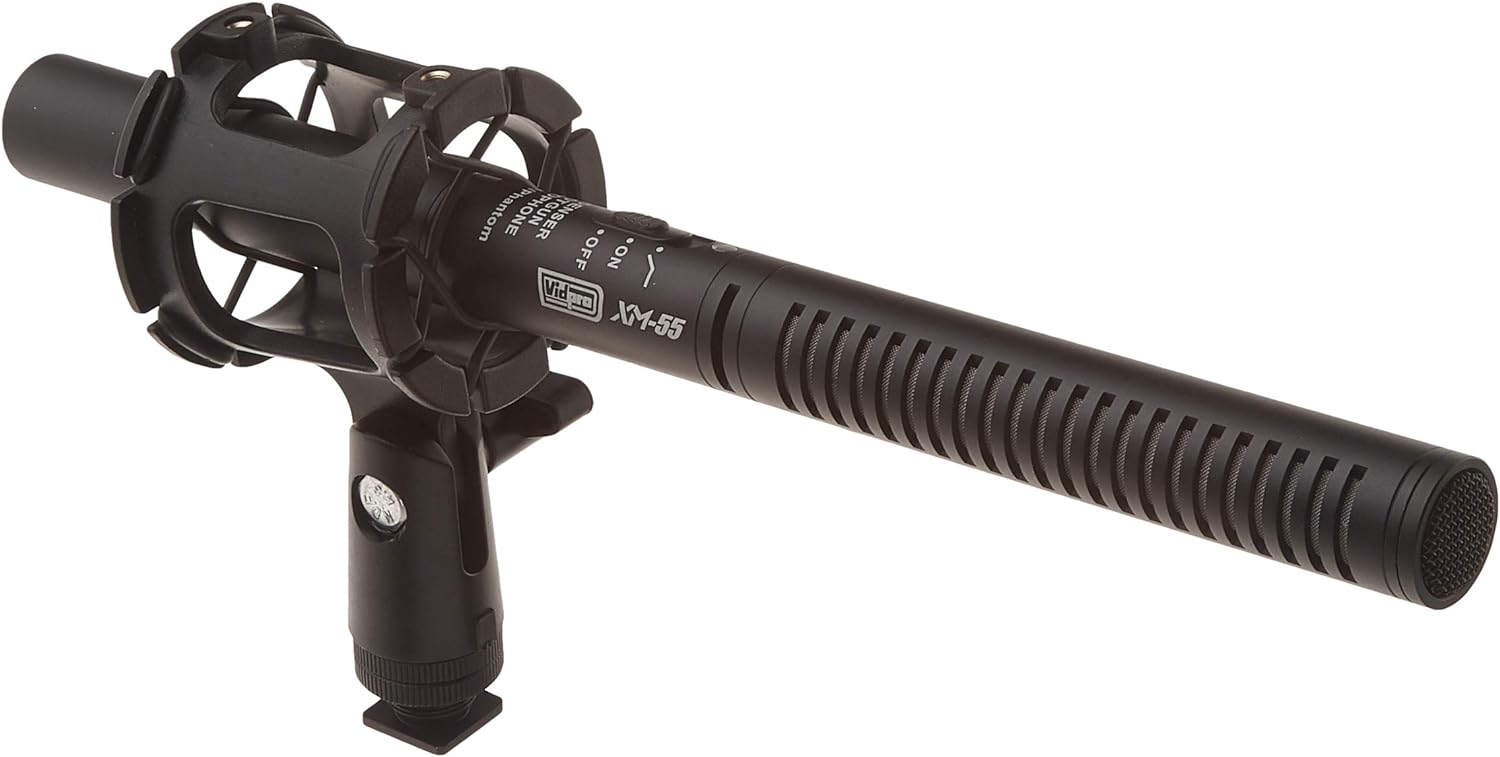
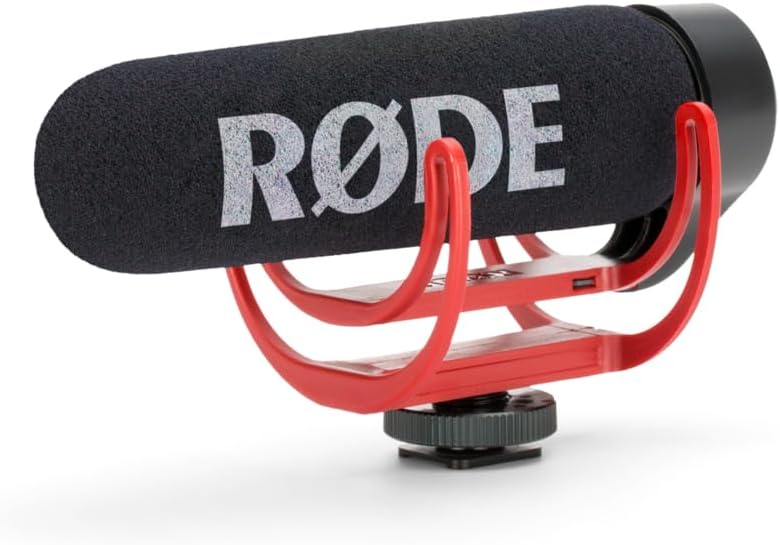
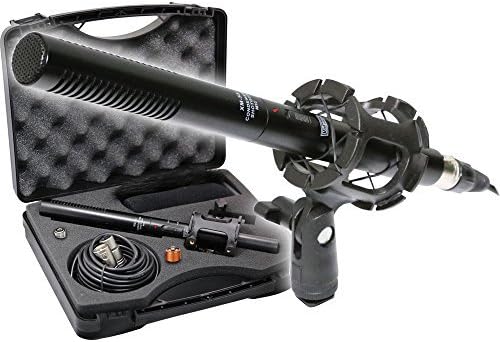
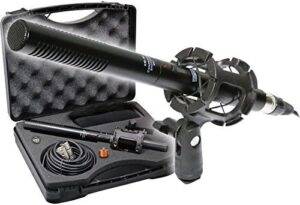
External Microphone: Built-in microphones on camcorders can be limited in their audio quality and can pick up unwanted background noise. Consider investing in an external microphone that suits your needs. There are various types of microphones available, such as shotgun microphones (ideal for isolating sound from a particular direction), lavalier microphones (great for interviews), and handheld microphones.
Wind Protection: Wind noise can be a significant issue when recording outdoors. Get a foam windscreen or a furry windjammer to reduce the impact of wind on your audio. This helps prevent distracting noises and ensures cleaner sound recordings.
Manual Audio Control: Camcorders often come with automatic audio settings, but these may not always deliver the best results. If your camcorder allows it, switch to manual audio control, which gives you more flexibility to adjust the audio levels and prevent distortion or clipping.
Monitoring Headphones: Use headphones to monitor the audio while recording. This allows you to identify any issues, such as low volume or unwanted noises, and make adjustments accordingly.
Background Noise and Acoustics: Pay attention to your recording environment. Try to minimize background noises and choose a location with good acoustics. Avoid recording in areas with excessive echo or reverberation, as this can degrade the sound quality.
Audio Test Recordings: Before capturing your main content, perform a few test recordings to ensure your audio settings are appropriate for the environment and subject. Adjust the microphone placement and audio levels as needed during these tests.
Positioning of Microphones: Properly position your microphones to capture the desired sound accurately. For example, when using a shotgun microphone, point it toward the sound source while avoiding obstructions that could block the audio.
Audio Post-Processing: After recording, you can use video editing software or dedicated audio editing tools to clean up and enhance your audio further. This may include reducing background noise, adjusting levels, and adding equalization or other effects to improve clarity and overall quality.
Backup Audio: If possible, record audio using multiple sources. For instance, you can simultaneously record with an external microphone connected to your camcorder and a separate audio recorder. This way, you have a backup in case one source fails or produces unsatisfactory results.
Use a Shock Mount: When using an external microphone, consider using a shock mount to isolate it from vibrations and handling noise. A shock mount is a device that suspends the microphone, preventing unwanted mechanical noises from reaching the recording.
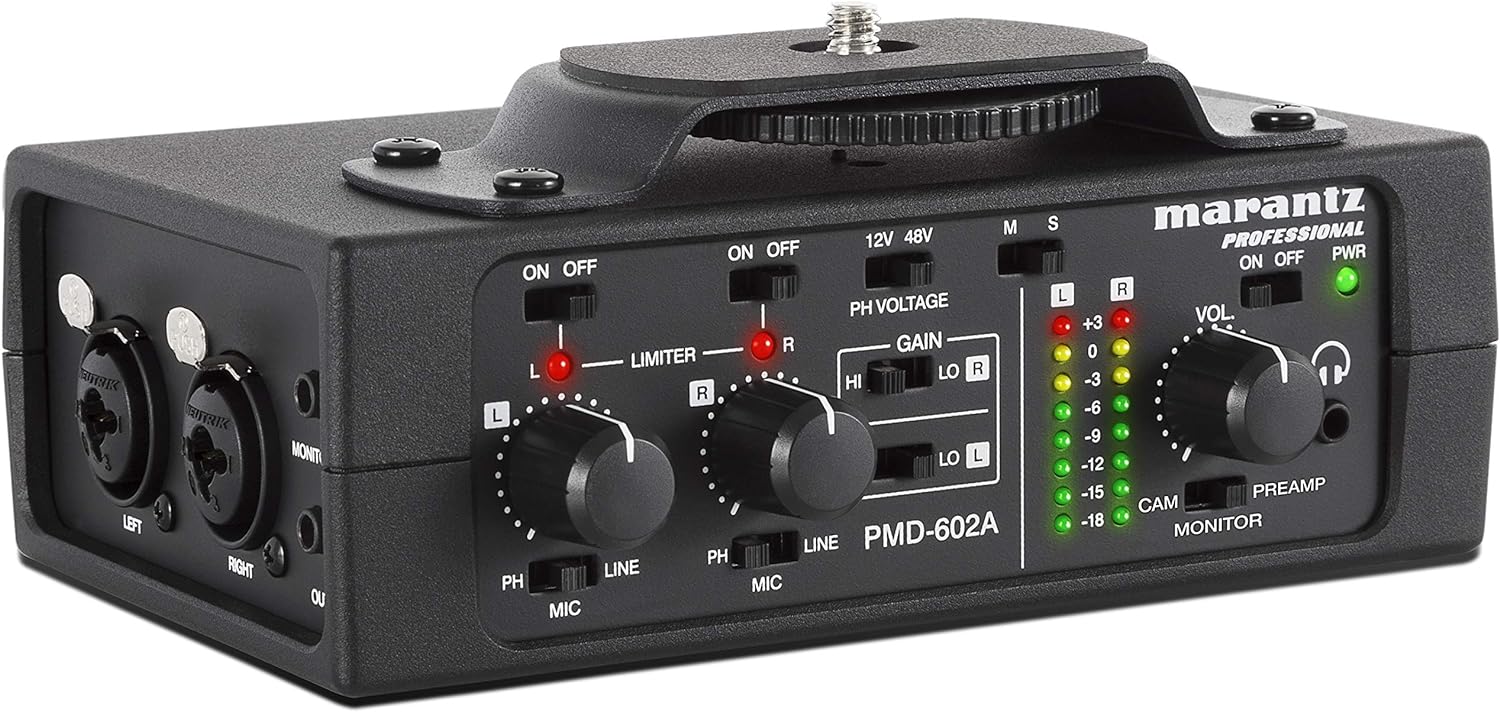
Adjusting Audio Levels: When recording, it’s essential to keep an eye on your audio levels. Avoid recording with levels too high, as it may lead to distortion, known as clipping. On the other hand, recording with levels too low might introduce more background noise when raising the volume during post-processing. Aim for a balanced level that provides sufficient headroom but doesn’t peak into the red.
Natural Sound Effects: In certain situations, capturing the ambient or natural sound effects can enhance your video’s immersion. For instance, when filming in a park, you might want to capture the sounds of birds chirping and leaves rustling. This adds depth to your audio and makes the video more authentic.
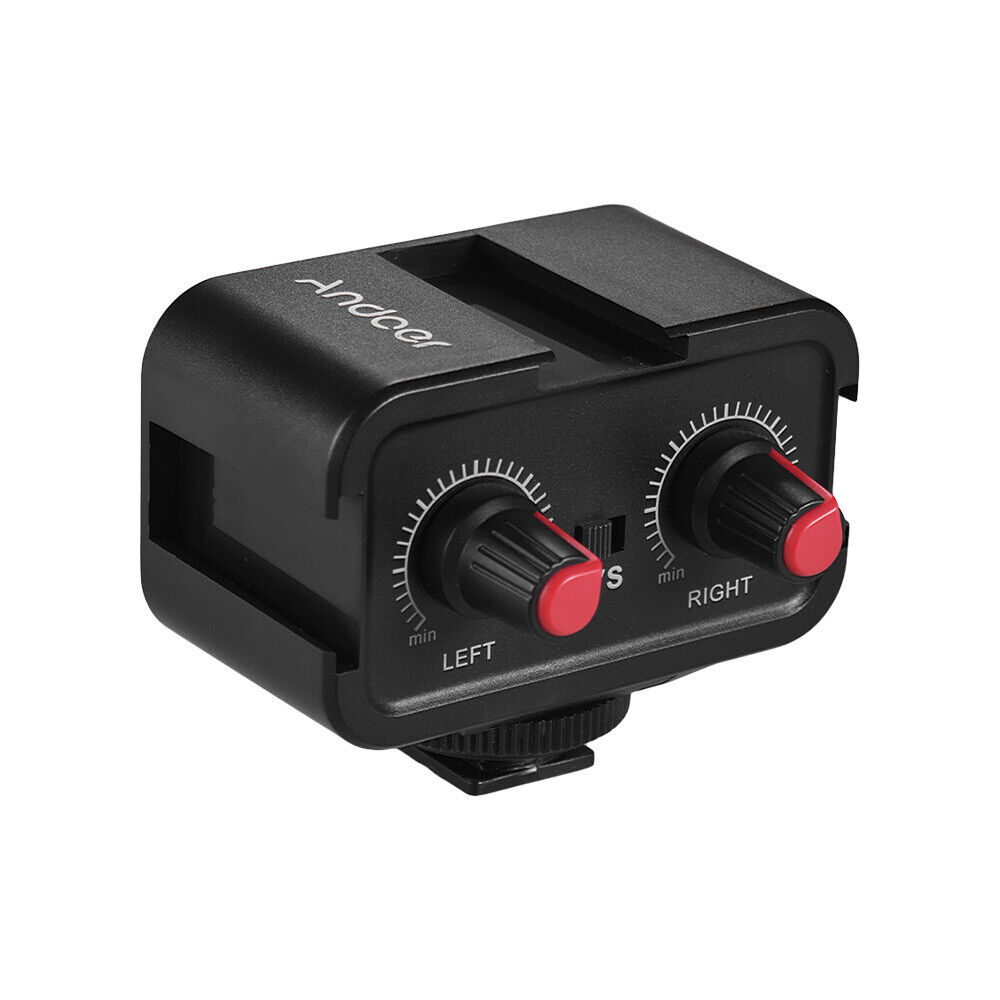
Using a Mixer or Audio Interface: If you need to connect multiple microphones or other audio sources to your camcorder, consider using an audio mixer or audio interface. This allows you to control and adjust the audio from different sources independently, resulting in a more balanced and professional sound mix.
ADR (Automated Dialogue Replacement): In cases where the recorded audio is of poor quality or has too much background noise, you can consider re-recording the dialogue or narration in a controlled environment later. This process, known as ADR, is commonly used in the film industry to ensure crystal-clear audio for dialogue.
Frequency Response and Polar Patterns: When choosing an external microphone, pay attention to its frequency response and polar pattern. Different microphones are designed for specific purposes. For example, some microphones are better suited for capturing vocals, while others excel at picking up ambient sounds. Understanding these characteristics will help you choose the right microphone for your needs.
Audio Syncing: In post-production, you might need to sync your separately recorded audio (e.g., from an external recorder) with the video footage. Use visual and audio cues to align the external audio with the camcorder’s audio track accurately.
Audio Cables: Use high-quality audio cables to connect your microphones to the camcorder or any other recording equipment. Cheap or damaged cables can introduce interference and degrade audio quality.
Batteries and Power Management: Make sure your microphone’s batteries are fresh, and your camcorder has enough power to last through your recording session. Running out of battery power in the middle of an important recording can be frustrating and may result in losing valuable content.
Practice and Experiment: Like any skill, capturing high-quality audio takes practice. Don’t be afraid to experiment with different microphone positions, settings, and recording techniques to find what works best for your specific situations.
Remember, audio quality can significantly impact how your audience perceives your video content. By paying attention to these details and continuously improving your audio recording techniques, you can create videos with clear, immersive, and professional sound that complements your visuals and elevates the overall viewing experience.