


Setting Up Your First Portrait Studio
Setting up your first portrait studio can be an exciting and rewarding endeavor, whether you’re a professional photographer looking to expand your business or a passionate amateur photographer looking to take your hobby to the next level. A well-equipped and well-designed studio provides you with the tools and environment you need to capture stunning portraits. Here’s a step-by-step guide to help you get started:
Location and Space:
Selecting the right location is crucial for your portrait studio. It could be in your home, a dedicated space, or a commercial location, depending on your budget and preferences. Ensure that the space you choose has enough room to accommodate your equipment, props, and backdrops. Good lighting is essential, so choose a room with large windows or invest in studio lighting.
Equipment:
Acquiring the right equipment is essential for a portrait studio. Basic gear includes:
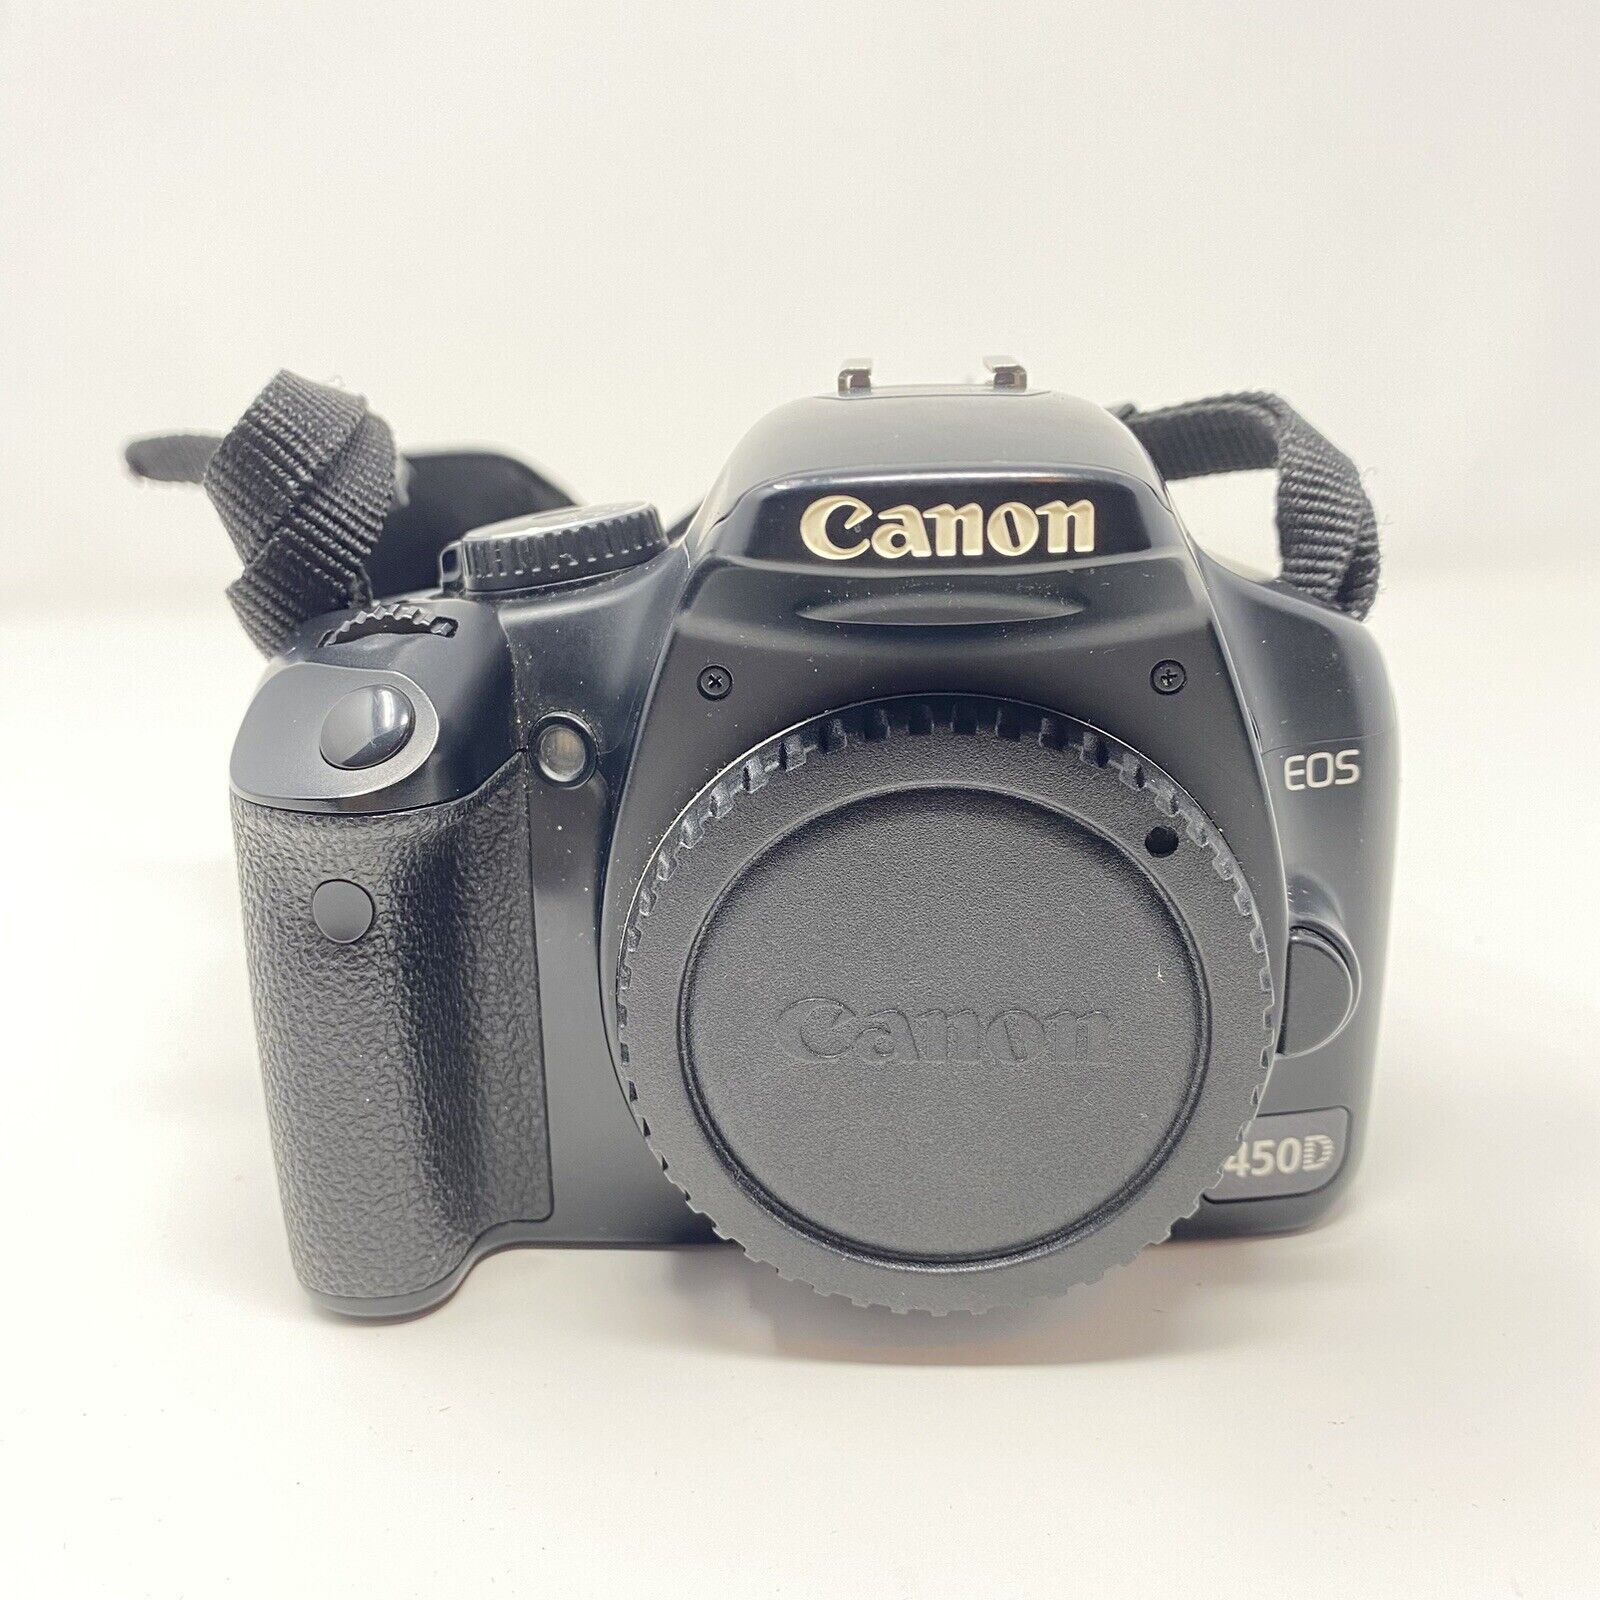
Camera: A high-quality DSLR or mirrorless camera with interchangeable lenses.
Lenses: A prime portrait lens (e.g., 50mm or 85mm) and a zoom lens for versatility.
Lighting: Studio lighting equipment, including softboxes, umbrellas, and strobes.
Backdrops: Invest in various backdrops to suit different portrait styles.
Tripods and stands: Sturdy tripods for your camera and lighting equipment.
Reflectors and modifiers: Tools to control and enhance light.
Props and furniture: Items to add interest and personality to your portraits.
Studio Setup:
Organize your studio to create a comfortable and efficient workspace. This includes arranging your lighting, backdrop, and camera in a way that allows for easy adjustments and maneuverability. Ensure that the space is clutter-free and safe for clients and yourself. Choose a room that provides adequate space for your photography needs. It should have good natural light, which can be complemented with artificial lighting, and be versatile enough to accommodate different portrait styles and group sizes. Ensure the room is well-ventilated and has climate control, as your clients’ comfort is important.
Client Area:
Create a dedicated area for clients to relax and prepare, with a mirror and space to change outfits if necessary. Make sure this area is clean and inviting.
Decor and Aesthetics:
The aesthetics of your studio should align with your brand and style. Choose decor, color schemes, and furnishings that reflect your photographic vision and appeal to your target clientele.
Sound and Music:
Consider playing soft, relaxing music in the background to create a pleasant atmosphere during the shoot. Ensure the sound levels are comfortable for everyone.
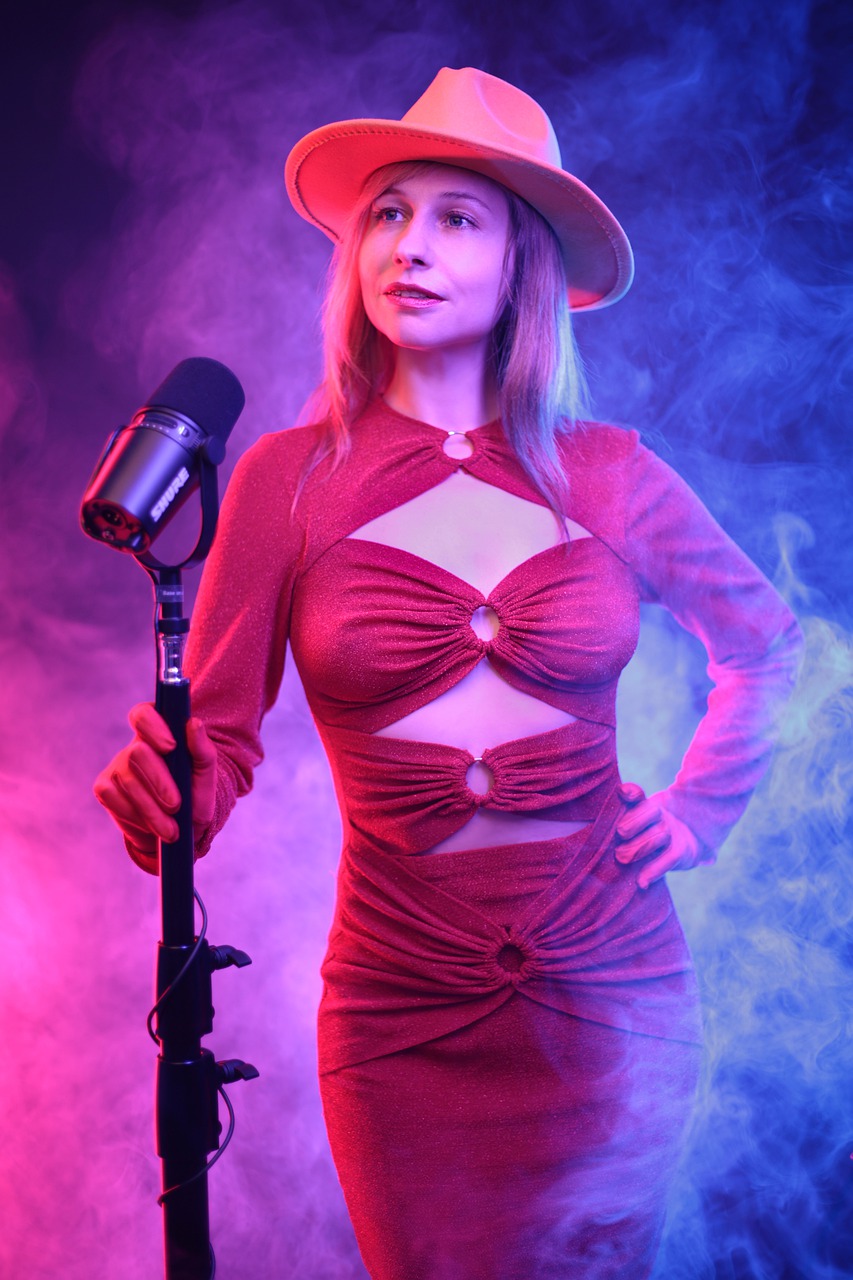
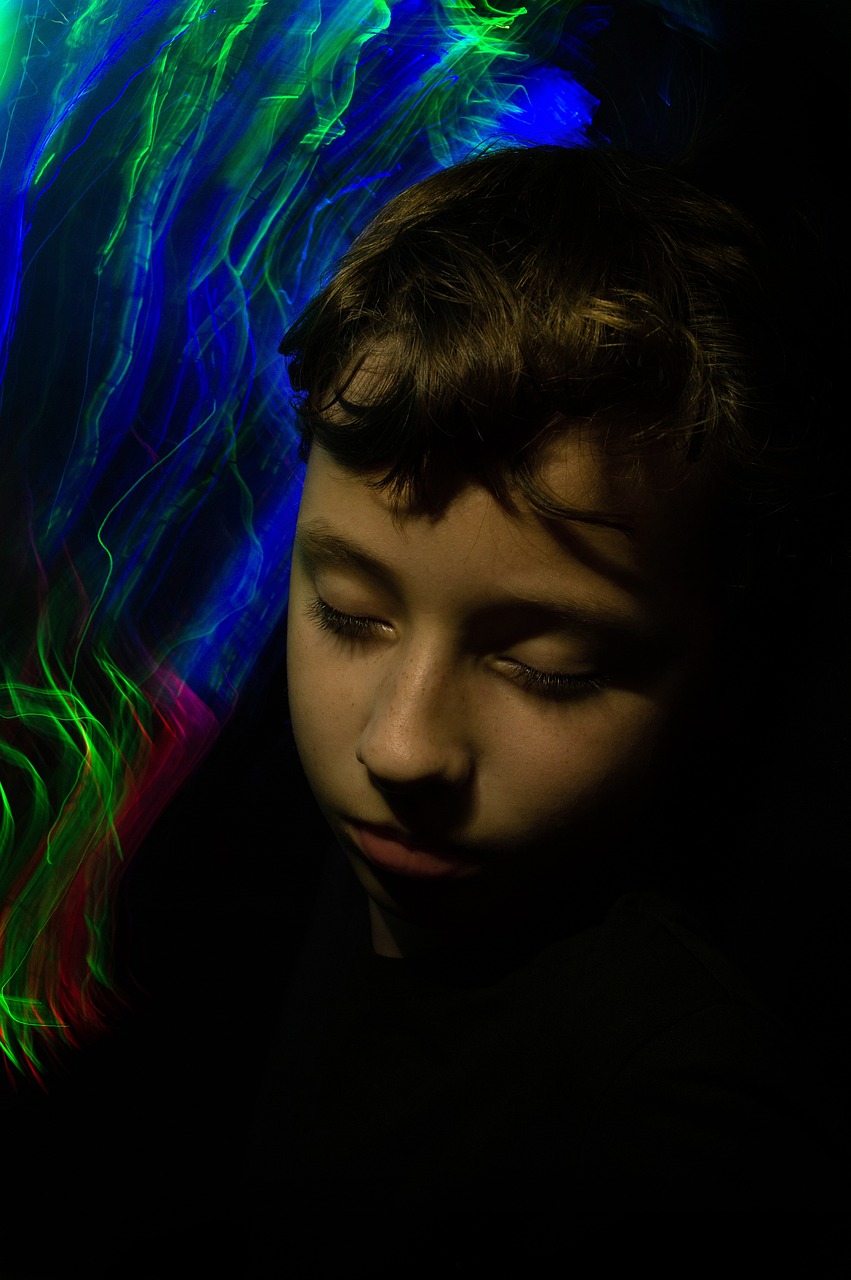
Lighting:
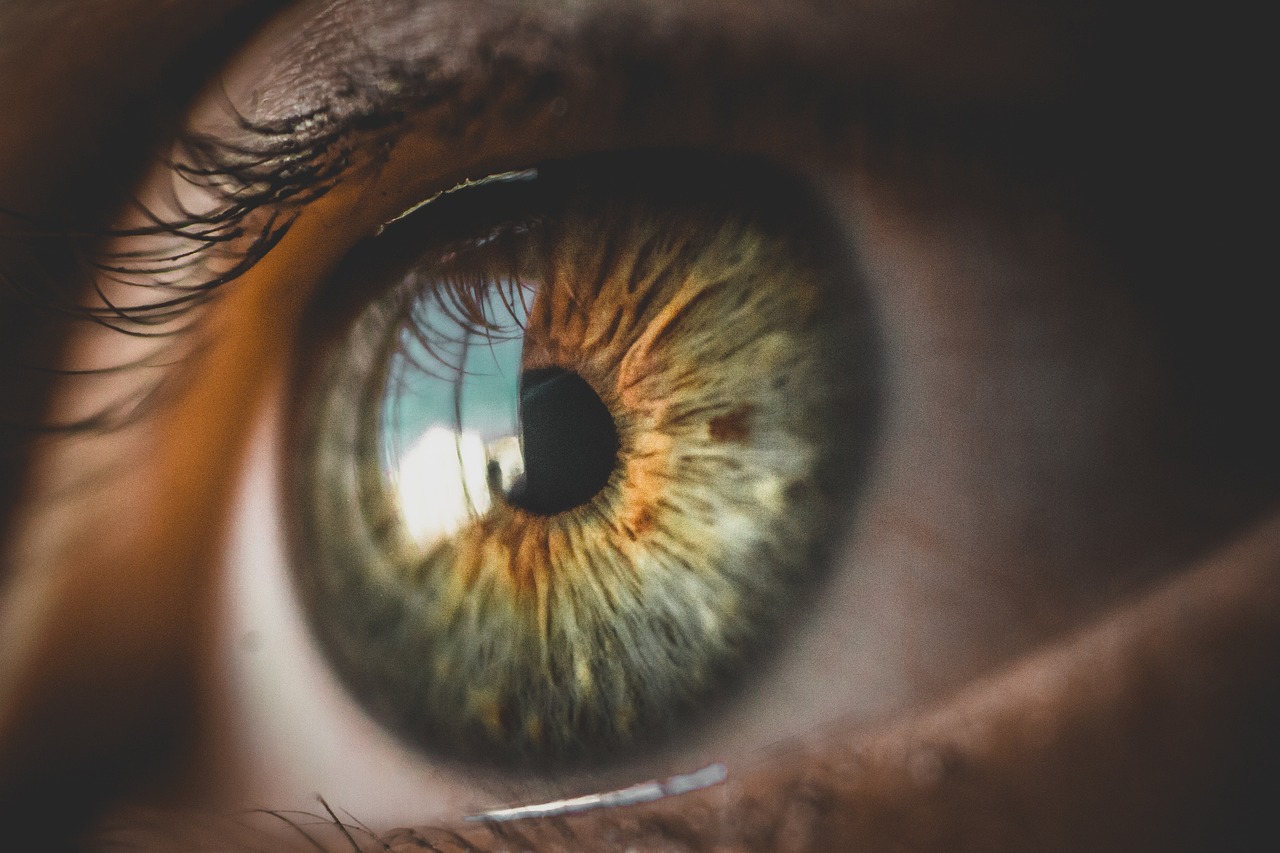
Mastering studio lighting is crucial for creating beautiful portraits. Experiment with different lighting setups such as three-point lighting, Rembrandt lighting, and butterfly lighting. Understanding the interplay of light and shadow is essential to achieve the desired mood and style in your portraits.
Types of Studio Lighting:
There are various types of studio lighting equipment to choose from, each with its own characteristics and uses:
Continuous Lighting: These are constant light sources that stay on while you’re shooting. Options include LED panels, fluorescent bulbs, and tungsten lights. They allow you to see how the light falls on your subject in real time, making them beginner-friendly.
Strobe Lighting: Strobes are flashes of light that go off when you take a picture. They provide a burst of powerful, adjustable light and are commonly used in professional studios. Strobes offer greater control over light intensity and are suitable for high-speed photography.
Light modifiers are essential tools to control and shape the light in your studio. They include:
Softboxes: These create soft, diffused light and are ideal for flattering portrait lighting. They come in various shapes and sizes.
Umbrellas: Reflective and shoot-through umbrellas can also diffuse light and create a softer, more even illumination.
Beauty Dishes: These produce a soft yet slightly contrasty light, often used for beauty and fashion portraits.
Grids are used to direct and focus light in a specific direction, reducing light spill.
Reflectors: These bounce light back onto your subject to fill in shadows and add a catchlight to the eyes.
Lighting Patterns:
Different lighting patterns can be used to shape the way light falls on your subject’s face. Common lighting patterns for portraits include:
Loop Lighting: A small shadow of the subject’s nose is cast on the cheek, creating a loop-shaped shadow.
Rembrandt Lighting: Characterized by a triangle of light on the cheek and a small, inverted triangle of shadow under the eye on the opposite side.
Butterfly Lighting: Achieved by positioning the key light directly in front of the subject and slightly above eye level, creating a small, butterfly-shaped shadow under the nose.
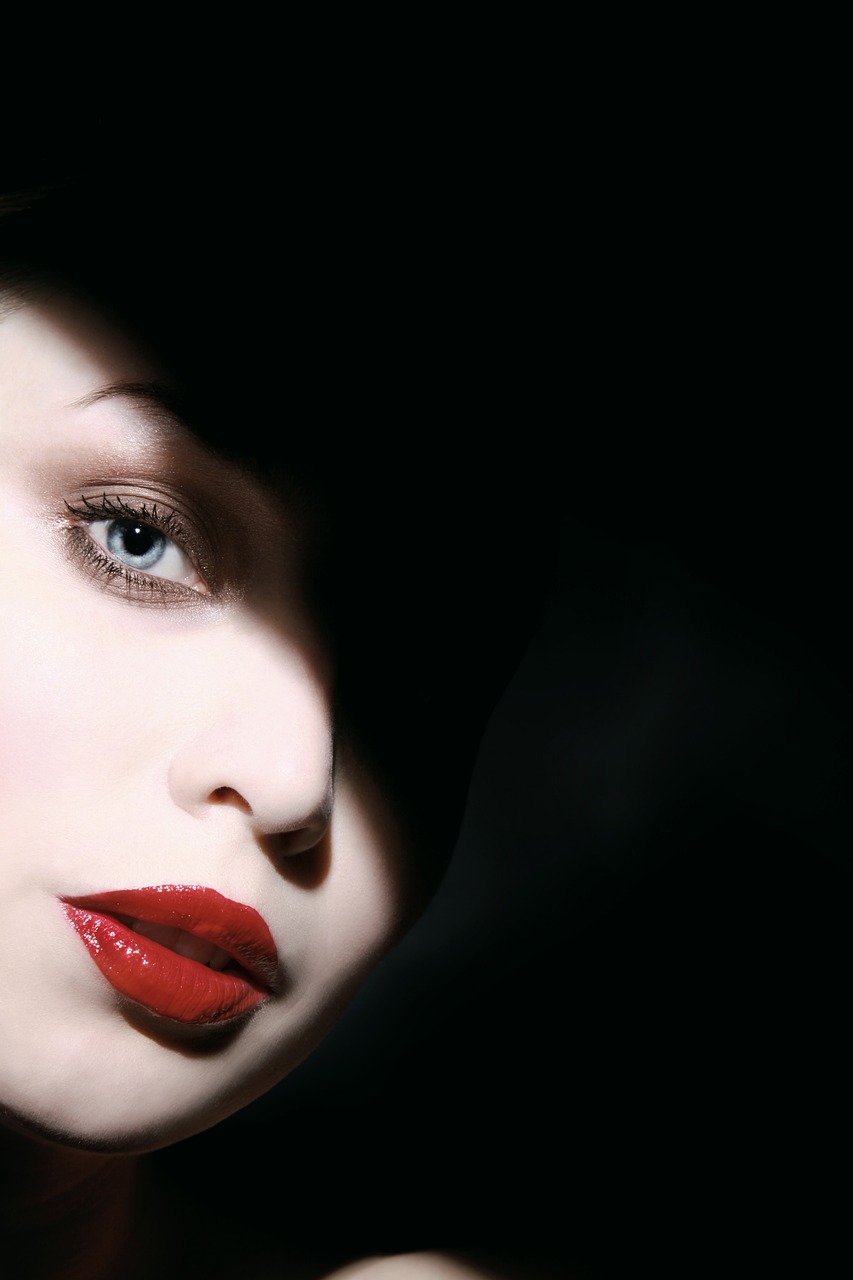
Split Lighting: Half of the subject’s face is lit, and the other half is in shadow, creating a dramatic effect.
Lighting Ratios:
Lighting ratios refer to the balance between the key light and fill light. A 1:1 ratio means both lights are of equal intensity, while a 2:1 ratio indicates that the key light is twice as powerful as the fill light. Experiment with different ratios to control the contrast in your portraits.
Background Lighting:
Consider using separate lights to illuminate your background. This creates separation between your subject and the background, making your subject stand out. Proper background lighting is essential for achieving a clean, professional look.
Lighting Control:
Be prepared to adjust your lights during the shoot. Test different lighting setups and make adjustments as needed to achieve the desired look. A light meter can be a helpful tool to ensure accurate exposure.
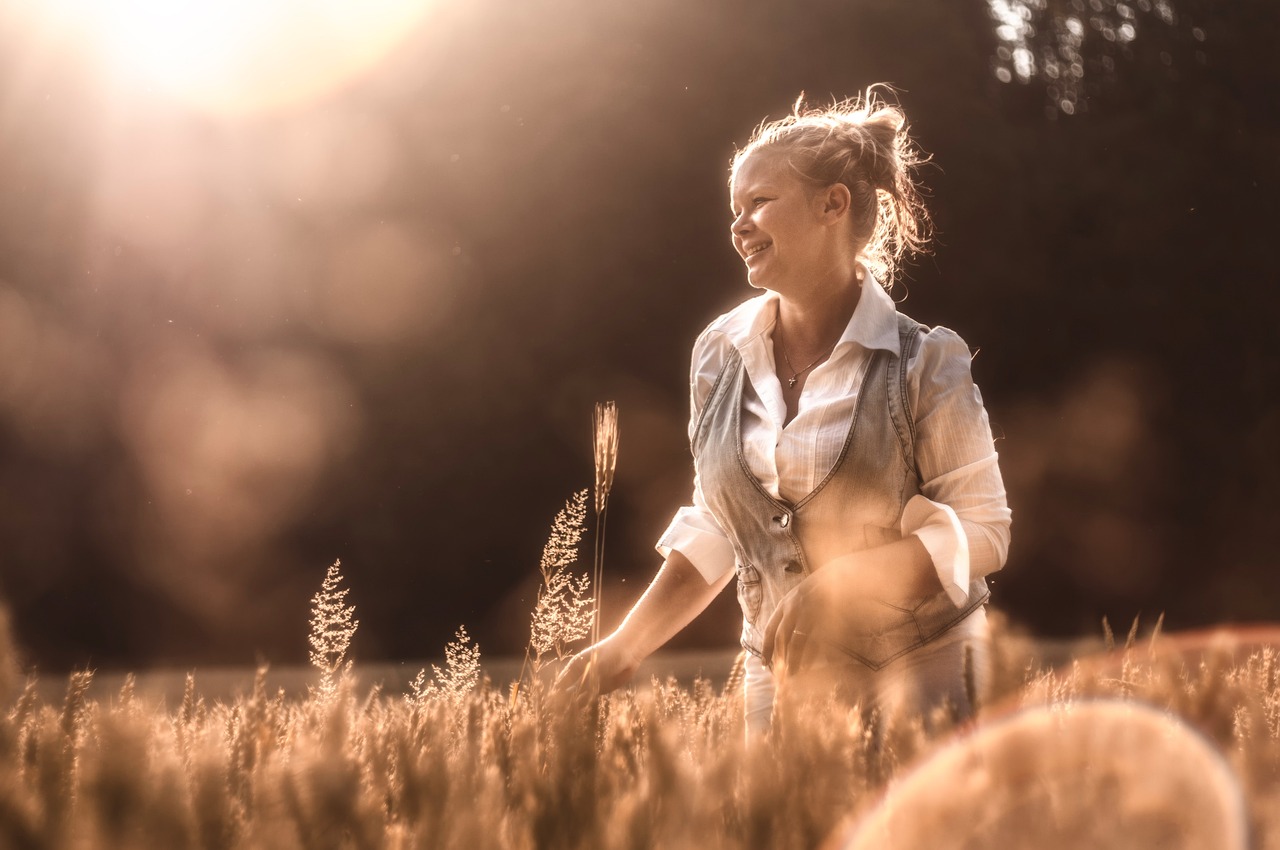
Natural Light:
If your studio has windows, take advantage of natural light. Diffusers and reflectors can help soften and control sunlight to create beautiful, flattering portraits.
Consistency:
Maintain consistency in your lighting setup throughout a session to ensure that all the images have a uniform look and feel.
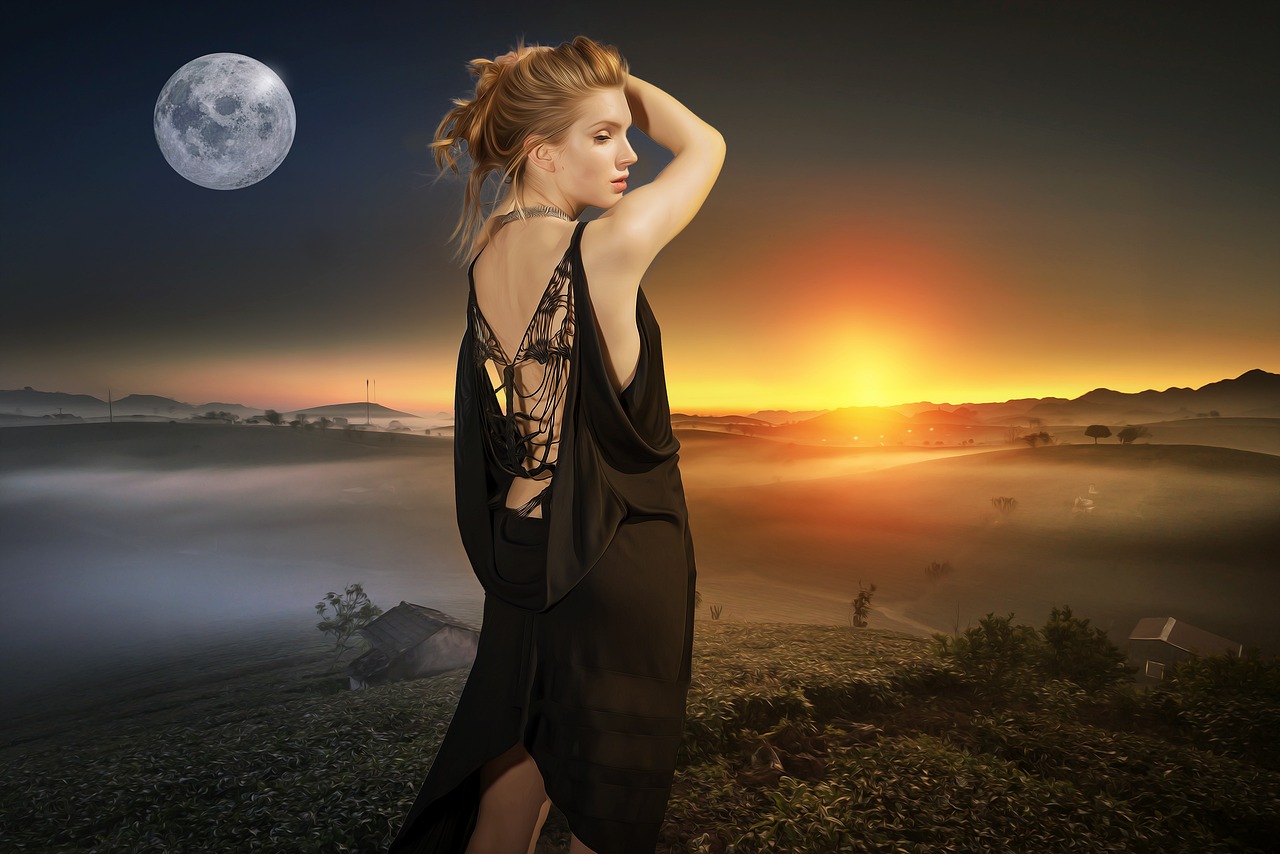
Backdrops:
Choose a variety of backdrops to suit different types of portraits. Consider options like seamless paper, muslin, or portable pop-up backdrops. Select colors and textures that complement your subject and style.
Types of Backdrops:
Seamless Paper: Seamless paper rolls are versatile and come in a wide range of colors. They provide a clean and uniform background for portraits. White, gray, and black are popular choices, but you can experiment with various colors to suit different themes and moods.
Muslin Backdrops: Muslin backdrops are made of a textured, cotton material that adds a touch of elegance to your portraits. They are available in various colors and patterns and are often used for high-end portrait photography.
Vinyl Backdrops: Vinyl backdrops are durable and easy to clean, making them a good choice for studios. They come in a variety of designs, including solid colors, patterns, and scenic backgrounds.
Canvas Backdrops: Canvas backdrops have a textured, painterly quality and are favored for artistic and classic portraits. They can add depth and richness to your images.
Portable Backdrops: These are often collapsible and easy to transport, making them great for on-location shoots. They come in various materials, including fabric and vinyl, and may feature different patterns or colors.
Backdrop Stands and Support:
Invest in a sturdy backdrop support system to ensure that your backdrops hang securely and evenly. This may include backdrop stands, crossbars, and clamps. Make sure the backdrop is free of wrinkles or creases for a clean background in your photos.
Backdrop Selection:
Consider the subject and their clothing when choosing a backdrop. High-contrast backgrounds can make subjects stand out, while low-contrast backgrounds provide a softer, more harmonious look.
Use colors and patterns that complement or contrast with your subject’s skin tone, clothing, and overall style.
Match the backdrop to the mood or theme of the portrait. A formal portrait may benefit from a solid, neutral color, while a creative or themed shoot might call for a vibrant or textured backdrop.
Backdrop Placement:
Hang the backdrop several feet behind your subject to minimize shadows and create separation between the subject and the background.
Use gaffer’s tape or clips to secure the backdrop in place and ensure it doesn’t move during the session.
Backdrop Lighting:
Illuminate the backdrop separately from your subject. This helps to control the background’s exposure and can be used to create interesting effects.
Consider using gels on your background lights to add color and create atmosphere.
Texture and Pattern:
Textured backdrops, such as canvas or muslin, can add depth and interest to your portraits.
Patterns can create a visually dynamic backdrop, but be mindful that they don’t distract from your subject.
Backdrop Maintenance:
Keep your backdrops clean and well-maintained. Iron or steam out any wrinkles or creases before a photoshoot.
Store your backdrops rolled up and protected to prevent damage and dust accumulation.
Camera Settings:
Set your camera to manual mode to have full control over exposure. Pay attention to settings like aperture, shutter speed, and ISO to achieve the desired depth of field and image sharpness. Use your camera’s histogram to ensure proper exposure.
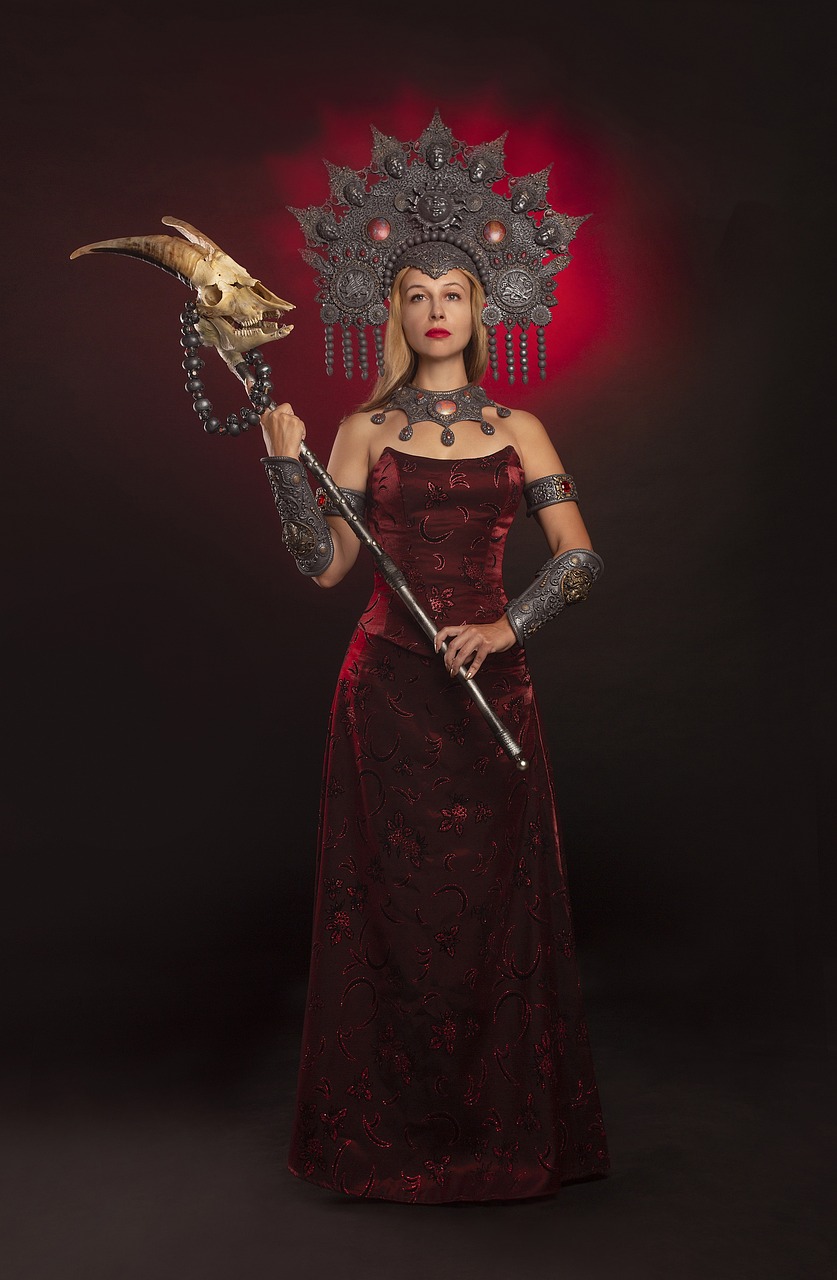
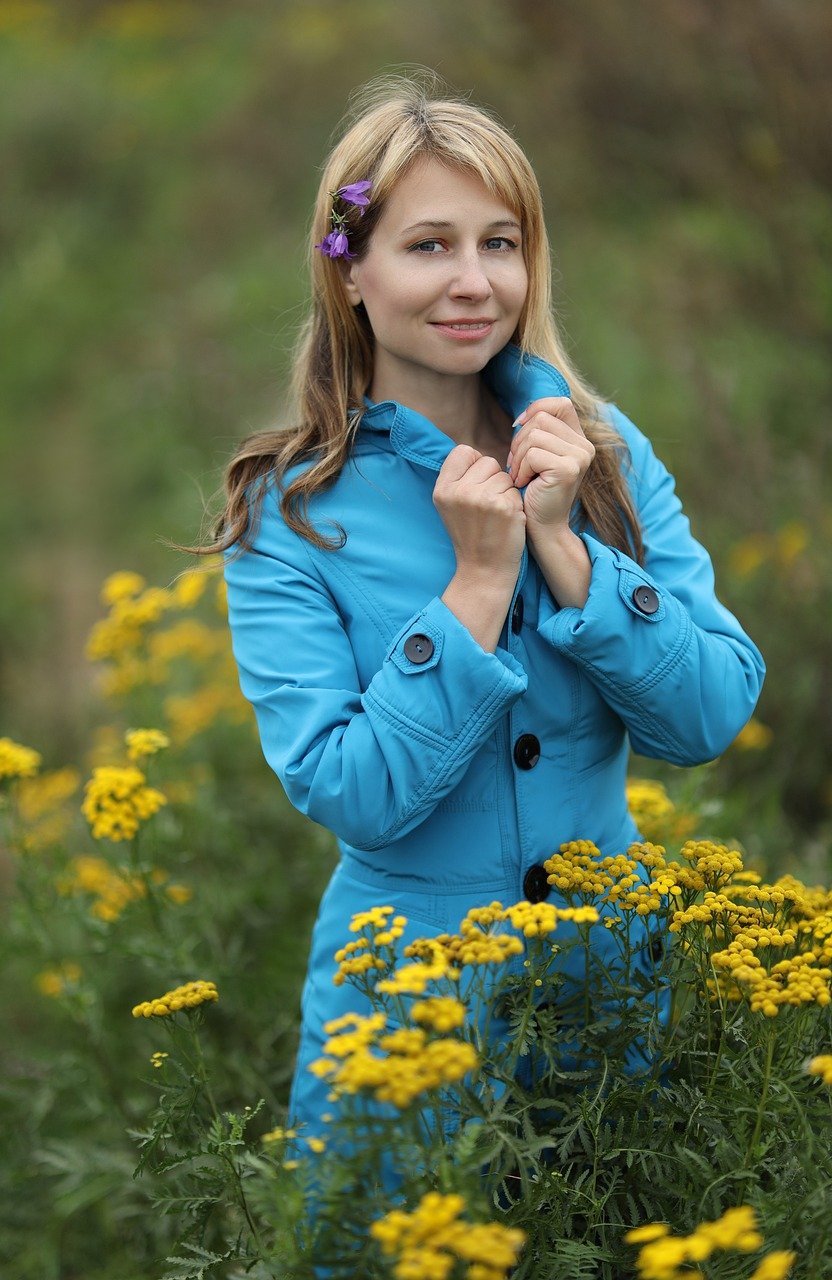
Props and Styling:
Props and styling elements can enhance the story and mood of your portraits. Collect a range of items like chairs, fabrics, flowers, or objects that are relevant to your subject or theme.
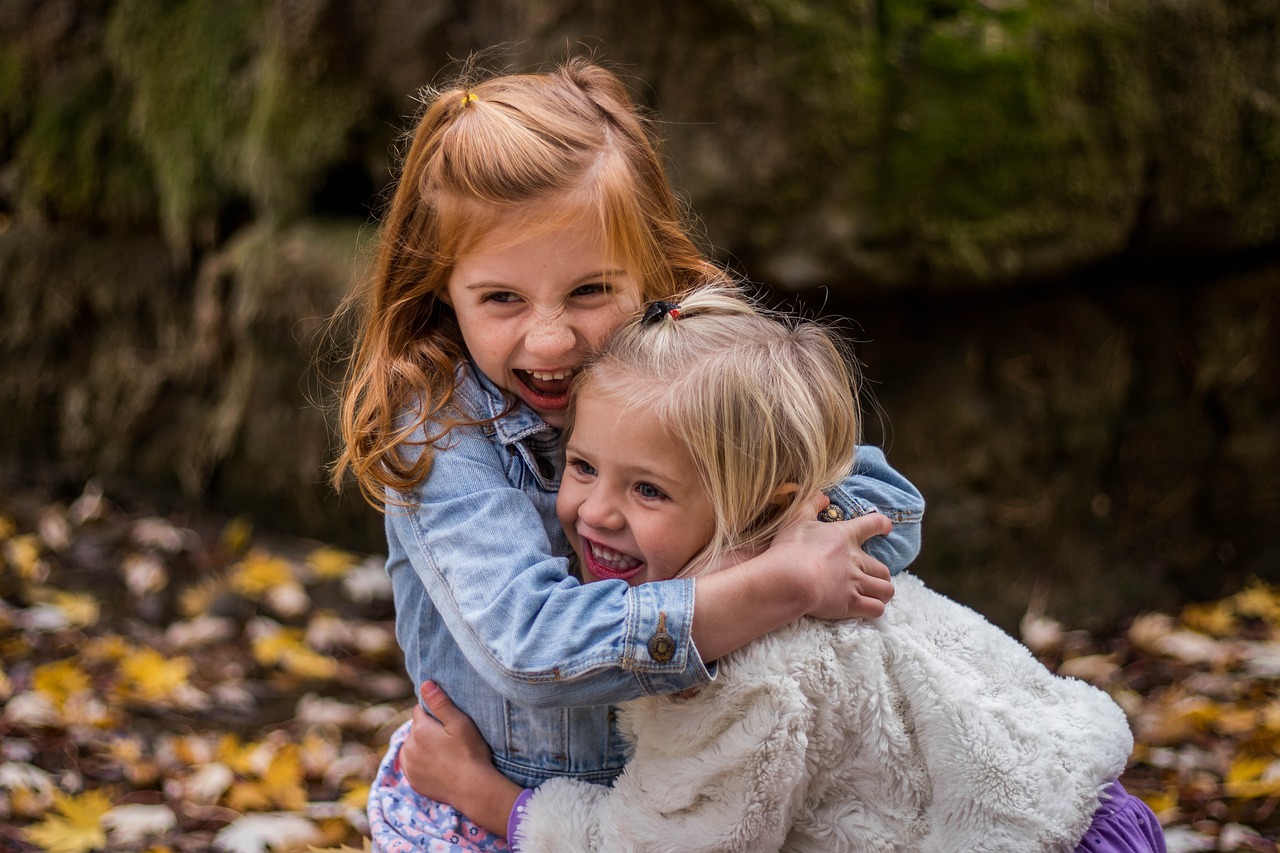
Consider the Subject and Theme:
Start by thinking about your subject and the message you want to convey through the portrait. Consider their personality, interests, and the purpose of the photoshoot.
Decide on a theme or concept for the portrait, whether it’s classic, romantic, vintage, contemporary, or something else entirely.
Select Props with Purpose:
Choose props that are relevant to the subject, theme, or story you want to tell. For example, a musician might pose with their instrument, or a chef with cooking utensils.
Avoid cluttering the image with too many props. Focus on a few key items that have significance.
Scale and Proportion:
Ensure that the size and scale of the props are appropriate for the subject and the composition. Oversized or undersized props can look unnatural.
Props for Interaction:
Use props that allow the subject to interact with them. This can lead to more natural and engaging poses and expressions.
Use Texture and Color:
Props can add texture and color to your portraits, enhancing the visual appeal. Consider how the colors and textures of the props complement or contrast with the subject’s clothing and the backdrop.
Balancing the Frame:
Props can help balance the composition and fill empty spaces in the frame. Use them to create visual interest and guide the viewer’s eye.
Plan the Wardrobe:
Coordinate the subject’s clothing and styling with the chosen props and theme. Ensure that the wardrobe aligns with the overall look you’re trying to achieve.
Create a Narrative:
Think of the props as elements that tell a story. Whether it’s a suitcase for a traveler or a book for a scholar, the props should contribute to the narrative of the portrait.
Experiment with Depth:
Props can add depth to your images. For instance, placing a subject in the foreground with relevant props can create a dynamic and visually engaging composition.
Subtlety and Elegance:
Sometimes, less is more. A simple, well-chosen prop can add a touch of elegance to your portrait without overpowering the subject.
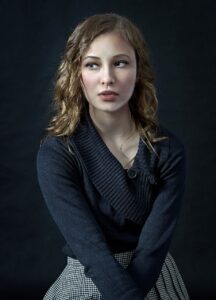
Styling and Grooming:
Pay attention to hair, makeup, and grooming to ensure the subject looks their best. Subtle styling choices can make a big difference in the final image.
Post-Processing:
After the photoshoot, post-processing is an essential step to enhance your images. Use photo editing software like Adobe Lightroom or Photoshop to fine-tune exposure, color balance, and retouching.
Client Experience:
Provide a welcoming and comfortable atmosphere for your clients. Communicate clearly with them before the session to understand their needs and preferences. Be patient and friendly during the shoot to create a relaxed and enjoyable experience.
Marketing and Business:
Once your studio is up and running, you need to market your services and manage your business effectively. Develop a strong online presence through a website and social media. Create a pricing structure and offer packages that cater to your target audience. Don’t forget to establish a solid booking and payment system.
Starting your first portrait studio is an exciting journey that requires dedication and continuous learning. As you gain experience, you’ll refine your skills and style, making your studio a sought-after destination for portrait photography.