


Flash Exposure Bracketing: Getting Perfectly Exposed Shots

Flash Exposure Bracketing (FEB) is a technique used in photography to capture perfectly exposed shots, especially in challenging lighting conditions. It involves taking multiple shots of the same scene with different flash power settings, allowing the photographer to choose the best exposure in post-processing or by blending the images together.
Here’s how Flash Exposure Bracketing works:
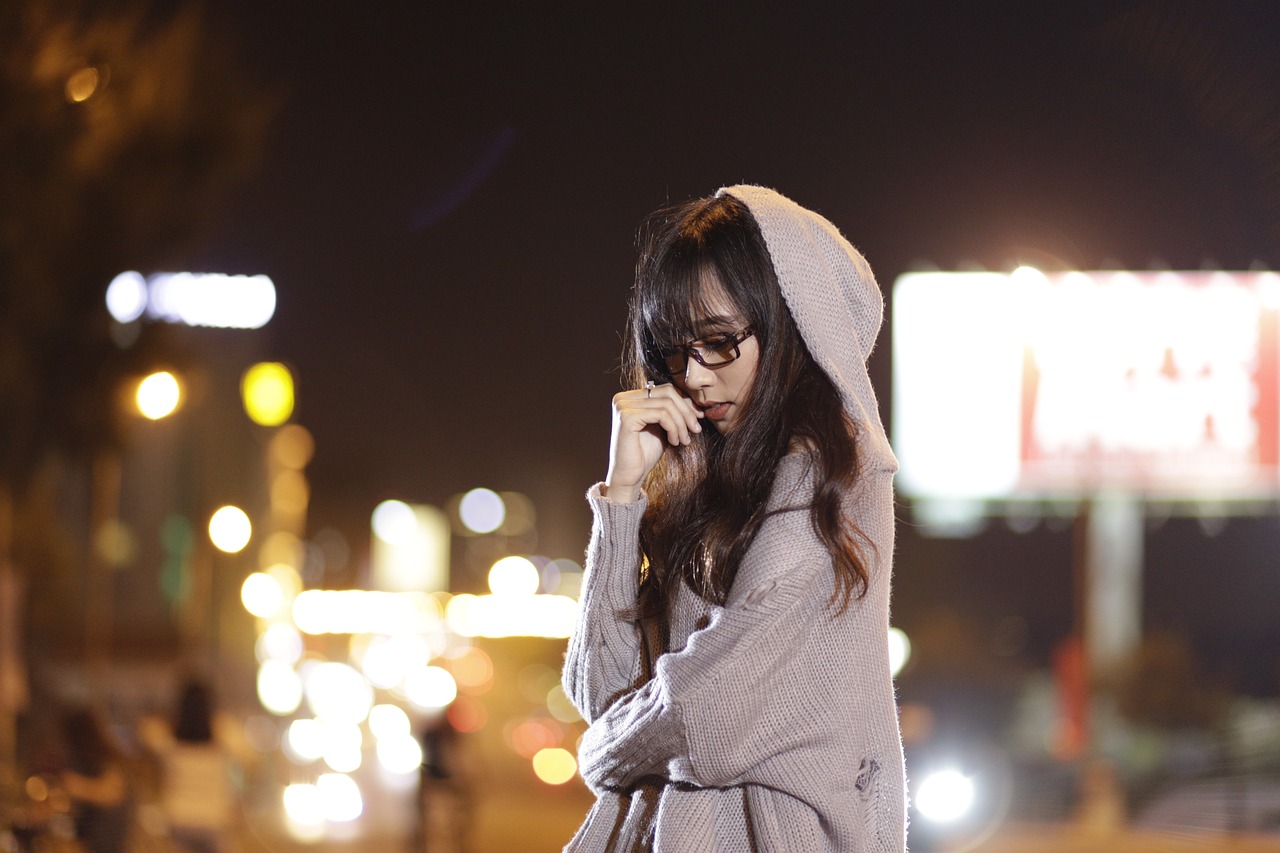
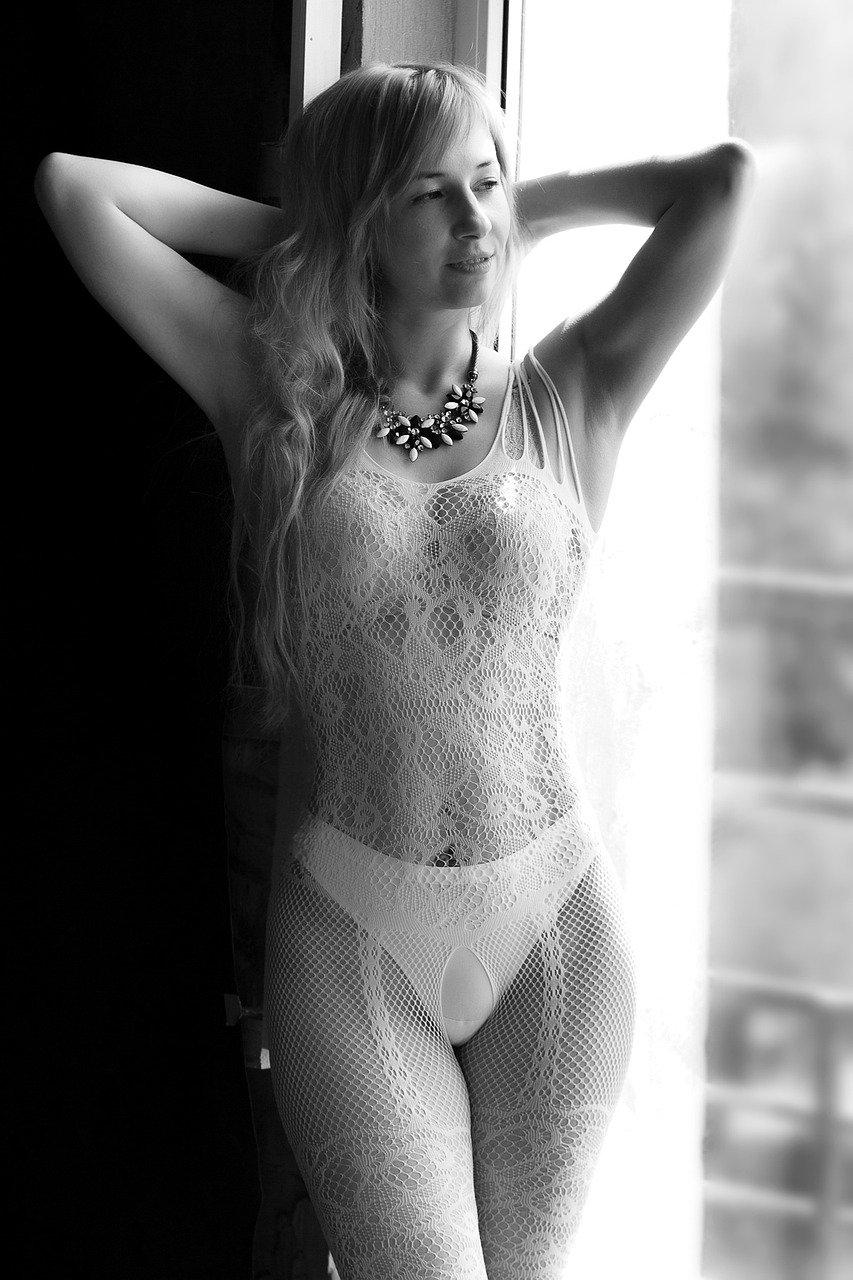
Challenging Lighting Conditions: FEB is particularly useful when dealing with scenes that have high contrast or difficult lighting situations. For example, when the subject is in a shadowy area, and the background is brightly lit, achieving a well-balanced exposure can be tricky.
Enabling FEB: Most modern digital cameras and external flashes have the option to enable Flash Exposure Bracketing. Check your camera’s manual or settings to find this feature. Once activated, you can set the bracketing range, which determines how many shots will be taken and the variation in flash power between them.
Bracketing Range: The bracketing range is usually expressed in terms of exposure values (EV) or flash power levels. For example, if you set the bracketing range to ±1 EV, the camera will take three shots—one at the current flash power, one underexposed by 1 EV, and one overexposed by 1 EV.
Capturing the Shots: With FEB enabled and the desired bracketing range set, take the shot. The camera will automatically adjust the flash power for each consecutive shot according to the bracketing range you defined.
Post-Processing and Blending: Once you have captured the bracketed shots, you can review them on your computer and choose the one with the best exposure. Additionally, you can blend the bracketed shots using image editing software to create a single image that has balanced exposure throughout the scene.
HDR Photography: FEB can also be used in combination with High Dynamic Range (HDR) photography techniques. In HDR, you capture multiple exposures of the same scene (without flash) to cover a broader dynamic range. By blending these shots with the bracketed flash shots, you can achieve a well-exposed image with a wide tonal range.
Using Manual or TTL Flash Mode: Flash Exposure Bracketing can be done in either manual flash mode or through the camera’s TTL (Through-The-Lens) flash metering system. In manual mode, you set the flash power levels yourself, while in TTL mode, the camera and flash communicate to determine the appropriate flash power automatically.
Bracketing Range and Number of Shots: The bracketing range determines the difference in flash power levels between each shot. A wider bracketing range (e.g., ±2 EV) will result in more noticeable exposure differences between shots, giving you more flexibility in post-processing. However, it can also increase the risk of overexposing or underexposing some shots. Start with a narrower range (e.g., ±1 EV) and adjust as needed based on the scene’s dynamic range and your camera’s capabilities.
Using a Tripod: To ensure consistent framing across all bracketed shots, it’s recommended to use a sturdy tripod. This is especially important when creating HDR images, as alignment issues may arise if the frames aren’t perfectly matched.
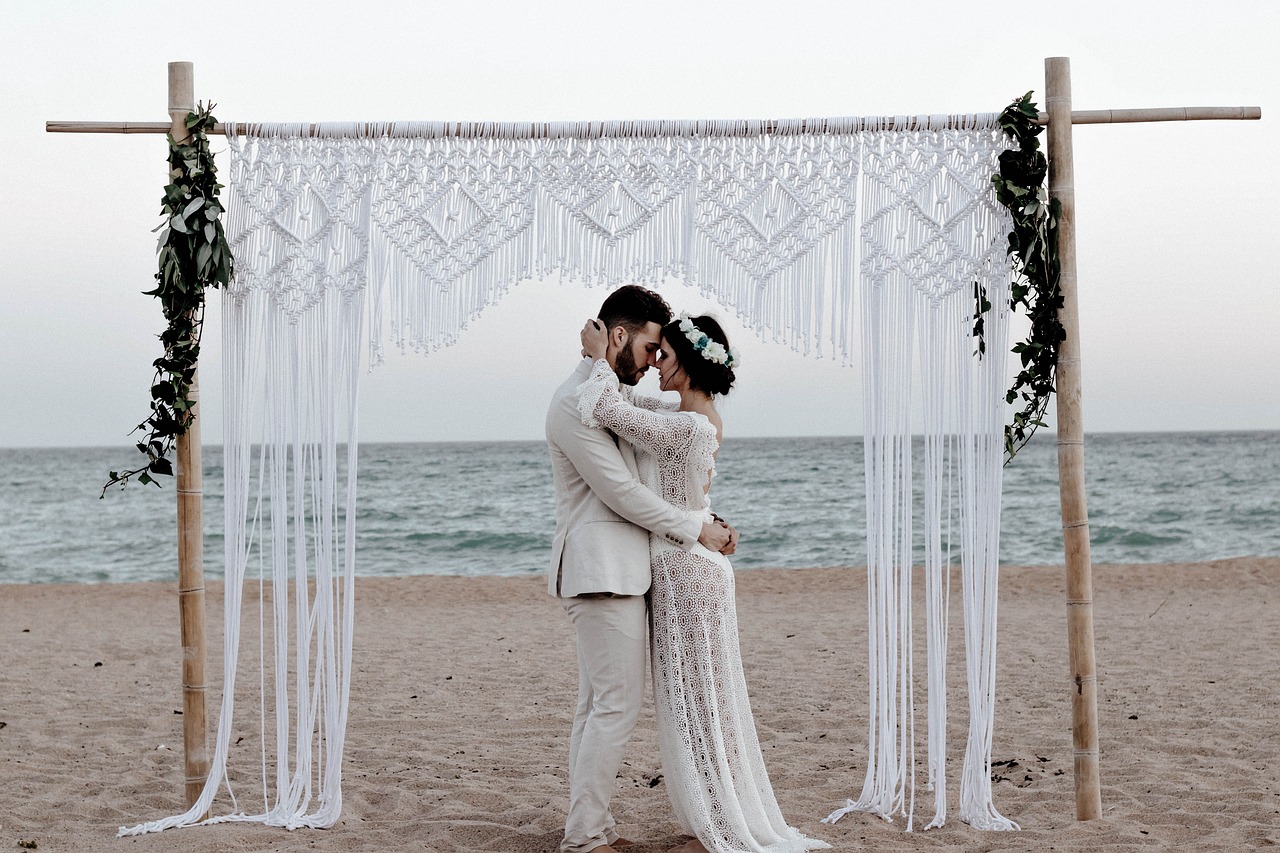
Avoiding Subject Movement: If your subject is moving during the bracketed shots, there may be issues with ghosting or blurring in the final image. This is especially common in situations like portrait photography with moving subjects. In such cases, it’s best to ask the subject to remain as still as possible or reduce the number of bracketed shots to minimize potential issues.
Exposure Compensation: Some cameras allow you to apply exposure compensation in addition to Flash Exposure Bracketing. This can be helpful when you want to fine-tune the overall exposure beyond the bracketing range provided by the flash power adjustments.
Auto ISO: Be cautious when using Flash Exposure Bracketing in conjunction with Auto ISO mode. The camera might change the ISO setting between shots, which could lead to inconsistent results. It’s generally better to set a fixed ISO value for consistent exposures.
Experiment with Different Scenes: FEB is not limited to specific genres of photography. It can be valuable in various scenarios, including landscape, portrait, and macro photography. Practice with different scenes to get a feel for how FEB impacts your images.
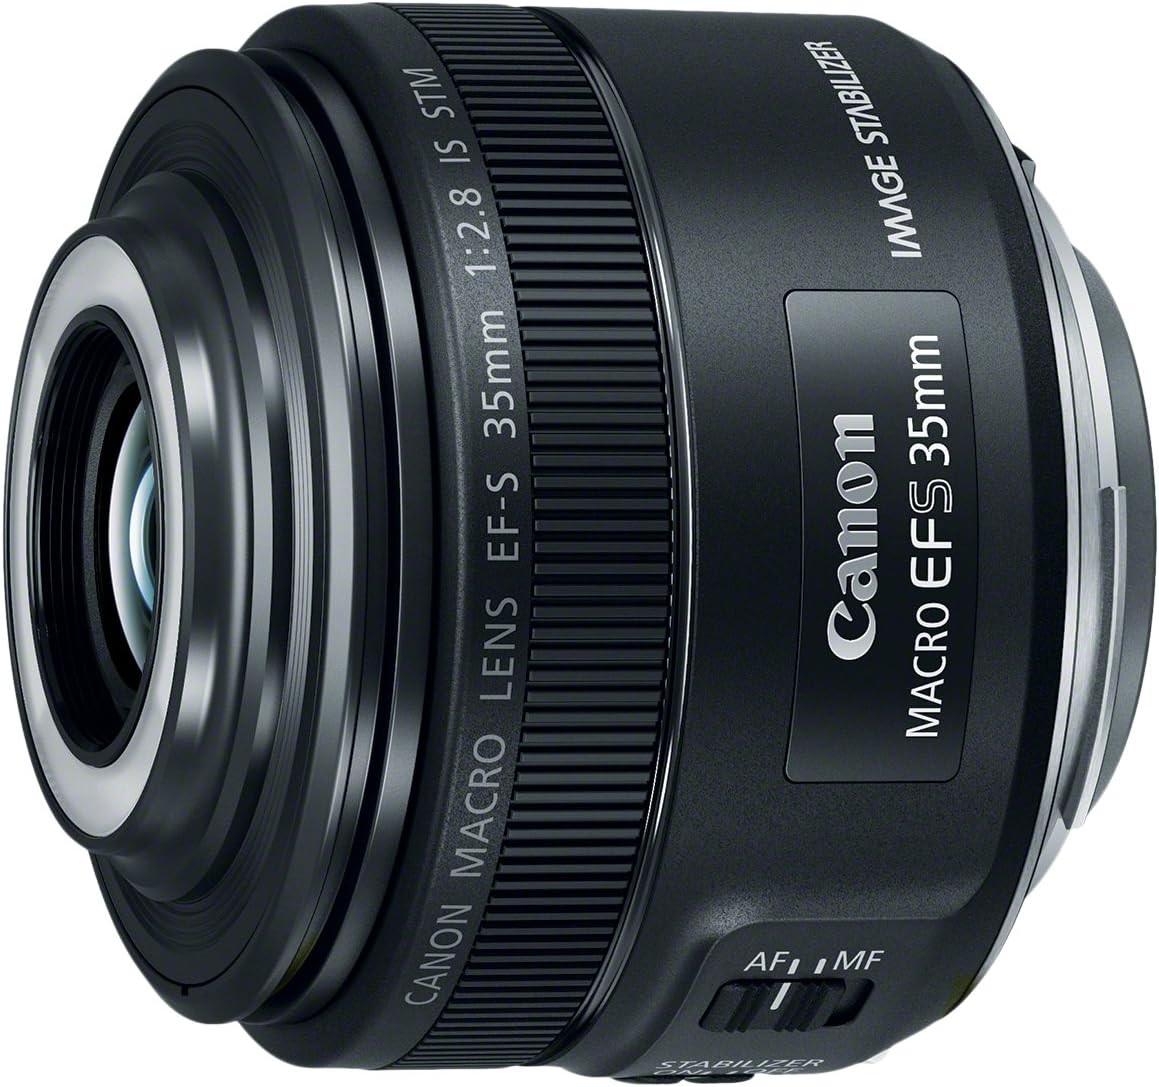
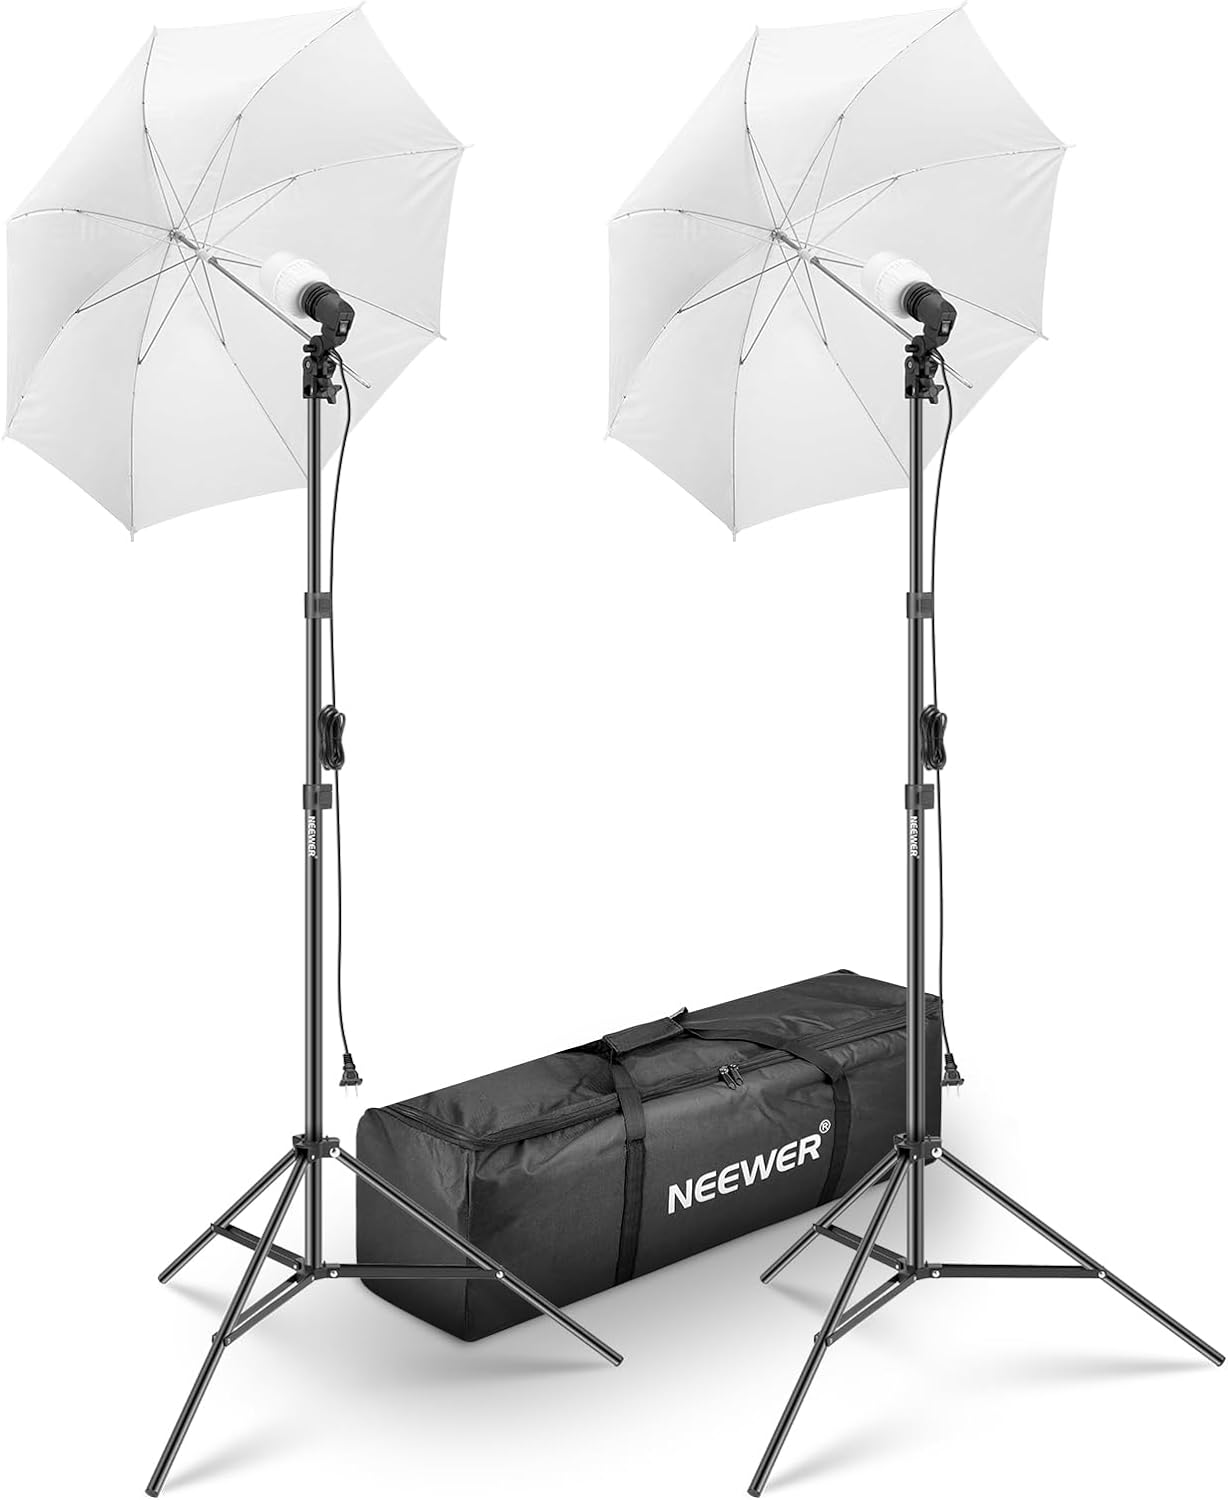
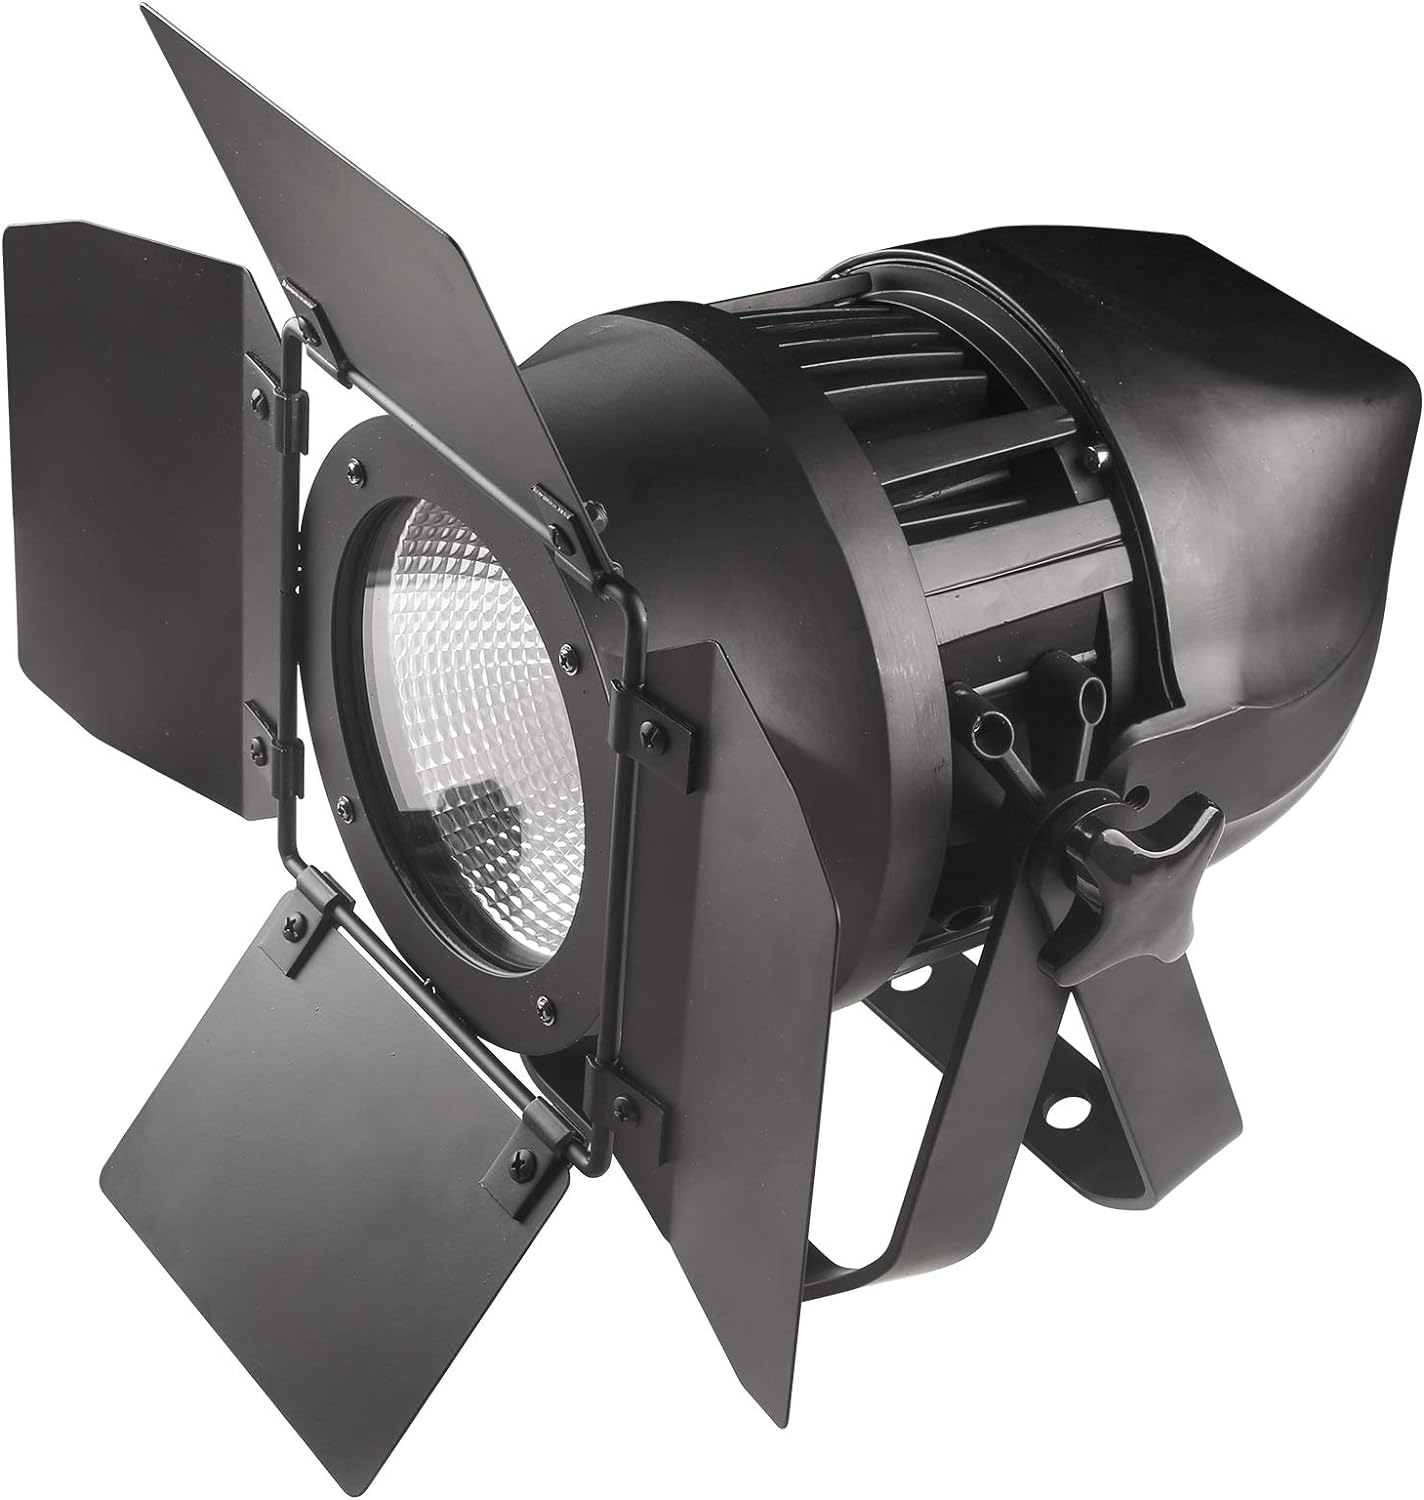
Understanding Flash Output: Familiarize yourself with your flash unit’s power output and how it affects exposure. Some flashes have more power than others, and this can influence how you set your bracketing range.
HDR Software: If you’re blending bracketed shots to create an HDR image, consider using specialized HDR software. These tools often offer better control over the merging process and produce more natural-looking results compared to standard image editing software.
Post-Processing: When editing bracketed shots, ensure that all adjustments are applied consistently across the images before blending or selecting the best exposure. This helps maintain a coherent look in the final image.
Practice and Review: As with any photographic technique, practice is essential to master Flash Exposure Bracketing. Review your results regularly to identify patterns and learn from your mistakes.
Remember that Flash Exposure Bracketing is not always necessary for every shot. It’s most useful in situations with challenging lighting conditions or when you’re looking to achieve a specific artistic effect. As you gain experience and understanding, you’ll be better equipped to decide when to utilize this technique to get perfectly exposed shots.