


How to Set Up a Basic Home Studio with Flash Units
Setting up a basic home studio with flash units can greatly improve the quality of your indoor photography. Here’s a step-by-step guide to help you get started:
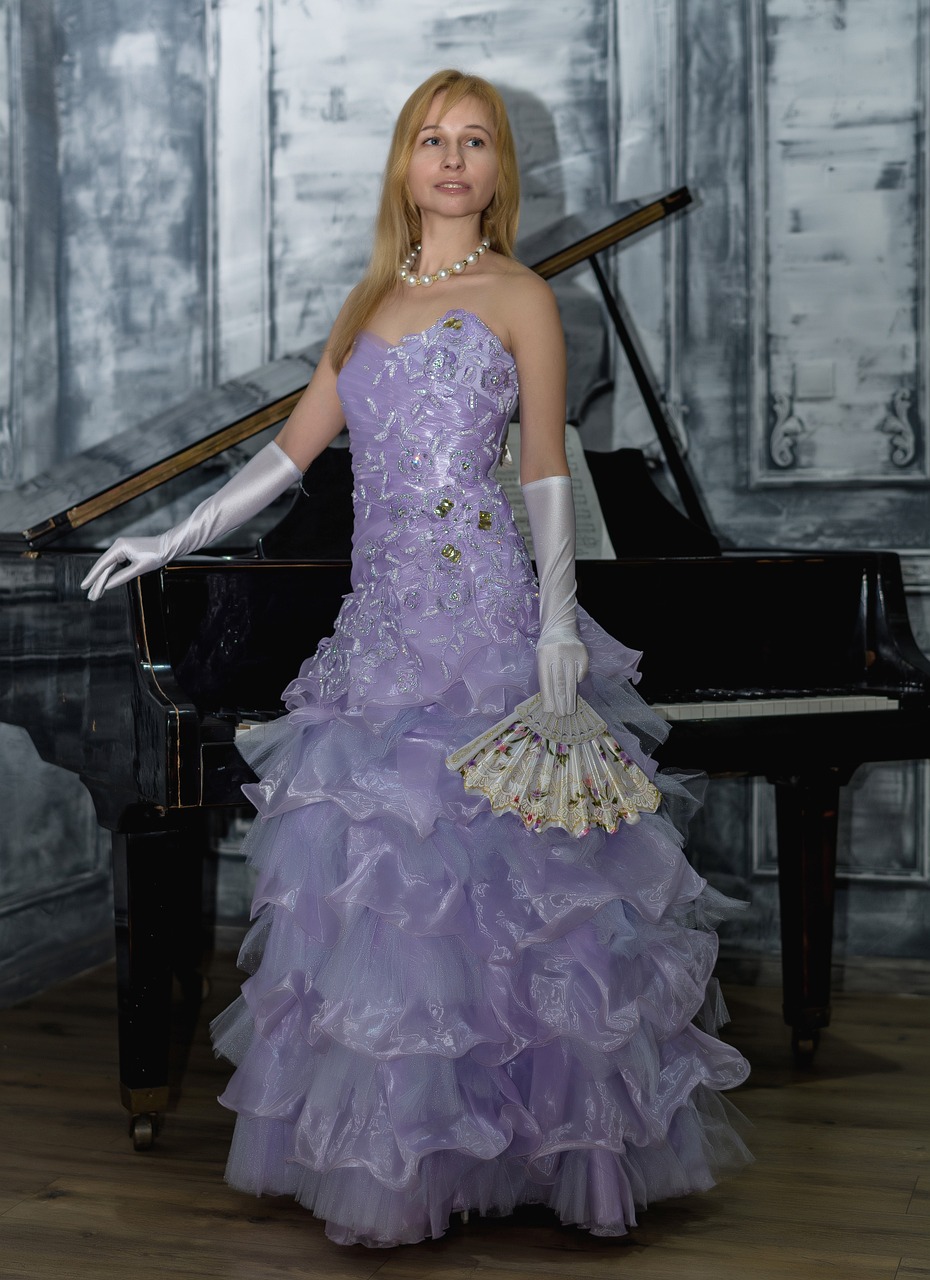
Select a Suitable Location: Choose a room with enough space to accommodate your subjects and equipment. A living room, spare bedroom, or a dedicated space in your home can work well. Consider the availability of power outlets and natural light sources, as well as the ability to control ambient light.
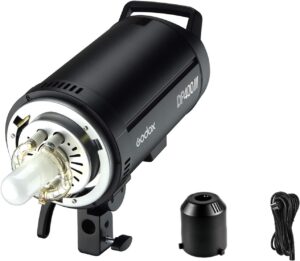
Get Flash Units and Triggers: Invest in one or more external flash units. These can be speedlights or studio strobes, depending on your budget and needs. Additionally, you’ll need wireless triggers to remotely fire the flash units. These triggers can be radio or optical triggers.
Acquire Light Modifiers: Light modifiers are essential to control the quality of light produced by the flash units. Some commonly used modifiers include softboxes, umbrellas, and reflectors. Softboxes produce soft, diffused light, while umbrellas can spread light more widely. Reflectors can bounce and redirect light for more even illumination.
Set Up a Background: Decide on a background for your photos. You can use a seamless paper backdrop, a cloth backdrop, or even a blank wall. Choose a color or style that complements your subjects.
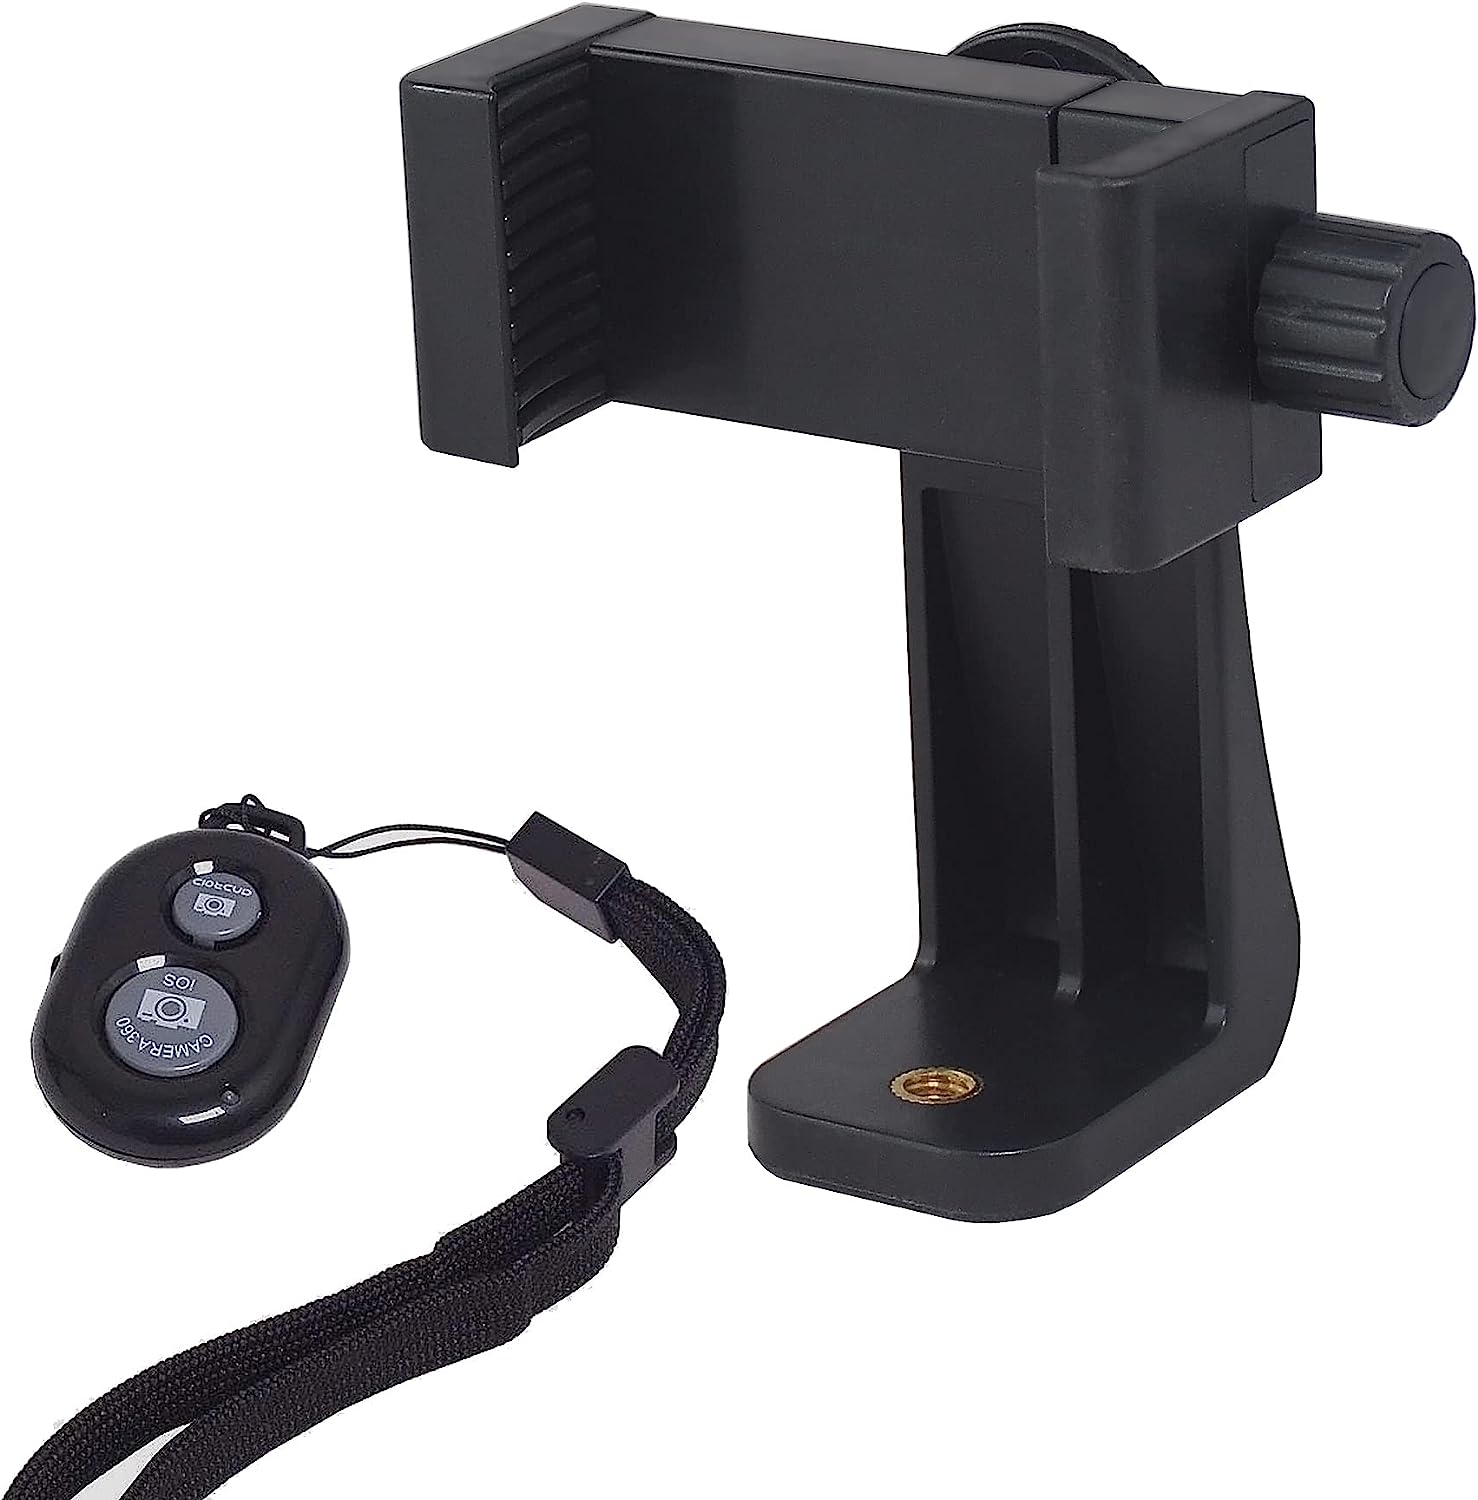
Tripod: While not directly related to flash units, a sturdy tripod can be beneficial, especially if you want to use longer shutter speeds and low ISO settings for better image quality.
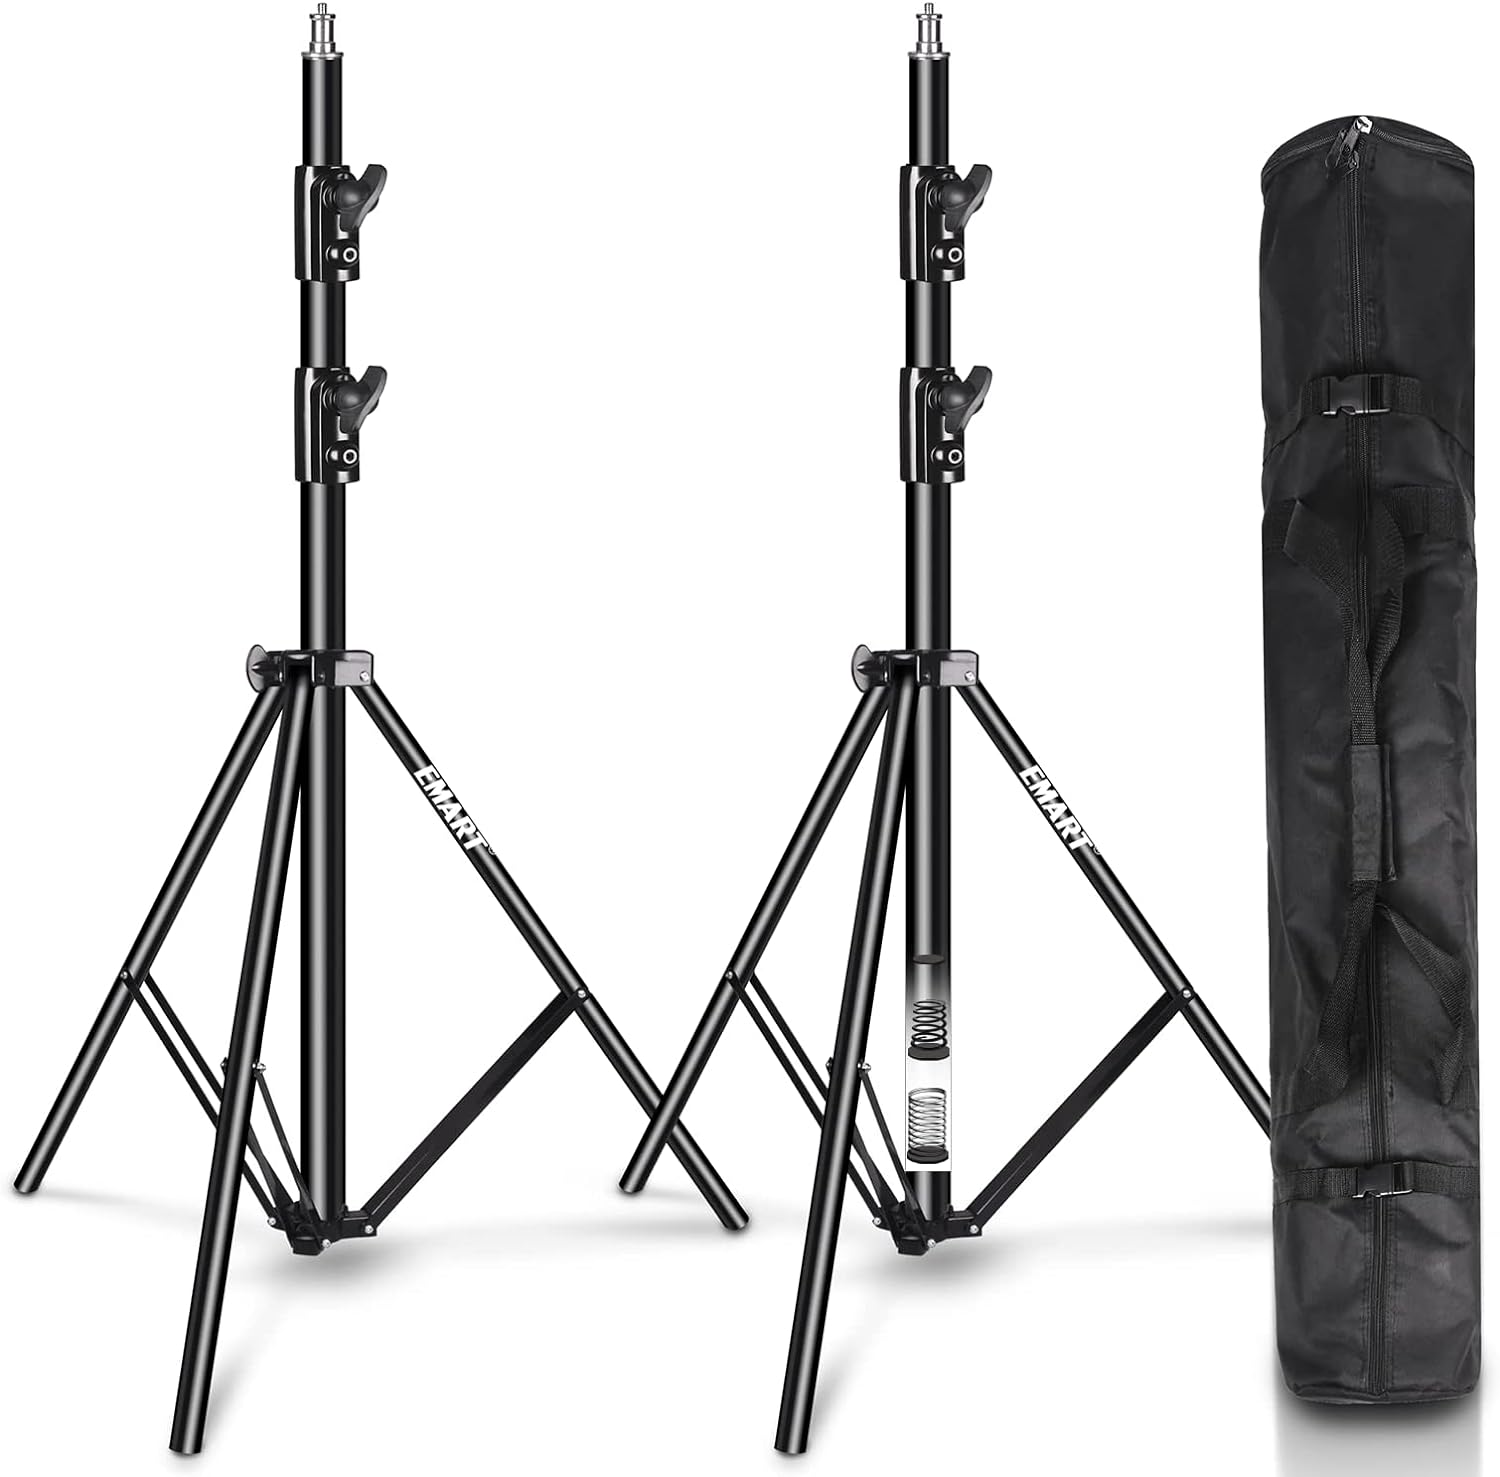
Positioning the Flash Units: Place the flash units on light stands or any stable surface. Position them at different angles relative to your subject to create various lighting effects. For beginners, a simple setup with one key light (the main light source) and one fill light (to reduce harsh shadows) is a good starting point.
Connect Triggers and Test: Attach the wireless triggers to your camera’s hot shoe and the flash units. Turn on the flash units and ensure they are properly synced with the triggers. Test the flashes to see if they fire correctly.
Set Camera Settings: Set your camera to manual mode to have complete control over the exposure. Start with a low ISO setting (e.g., ISO 100 or 200) for minimal noise. Choose an aperture (f-stop) depending on your desired depth of field. A value between f/8 and f/11 is often a good starting point. Set the shutter speed to the camera’s sync speed, which is usually around 1/200 to 1/250 seconds. This is the maximum shutter speed you can use without encountering sync issues with flash units.
Adjust Flash Power: Depending on the distance between your subject and the flash units, you may need to adjust the flash power. Experiment with different power settings to achieve the desired exposure.
Start Shooting: With everything set up and adjusted, you’re ready to start shooting. Communicate with your subjects and make them feel comfortable during the photo session. Take test shots and make any necessary adjustments to achieve the desired results.
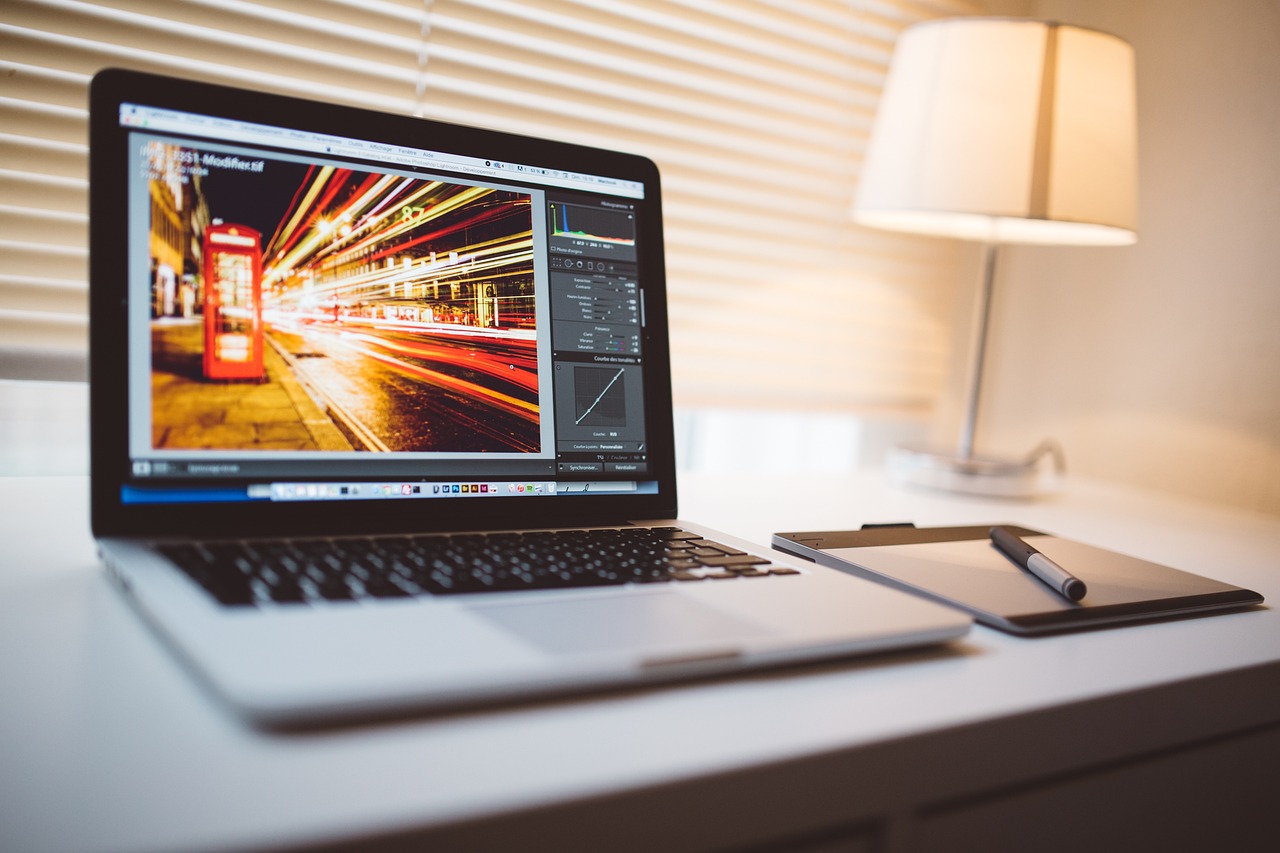
Post-Processing: After the photo session, you can enhance your images further using photo editing software. Adjust the exposure, color balance, and make any necessary retouches.
Light Modifiers:
Softboxes: These are versatile and create soft, even lighting. They come in various shapes and sizes, such as rectangular, octagonal, and strip boxes. Larger softboxes produce softer light, while smaller ones create more focused light.
Umbrellas: They are easy to use and budget-friendly. Shoot-through umbrellas spread light widely and are softer, while reflective umbrellas bounce light back, offering more control over direction and intensity.
Reflectors: These can be used to bounce light from the flash units, helping to fill in shadows or direct light in specific areas.
2. Lighting Ratios:
Understanding lighting ratios is crucial for creating different moods and effects. The lighting ratio is the difference in brightness between the key light and fill light. For a soft, flattering look, use a 1:1 ratio (equal brightness). For more dramatic lighting, try a 1:2 or 1:3 ratio (key light twice or three times brighter than fill).
3. Backgrounds:
Seamless paper backdrops are a popular choice as they provide a clean and uniform background.
Cloth backdrops offer a more textured look and are available in various colors and patterns.
A blank wall in your home can also serve as a background if you don’t have access to backdrops.
4. Lighting Techniques:
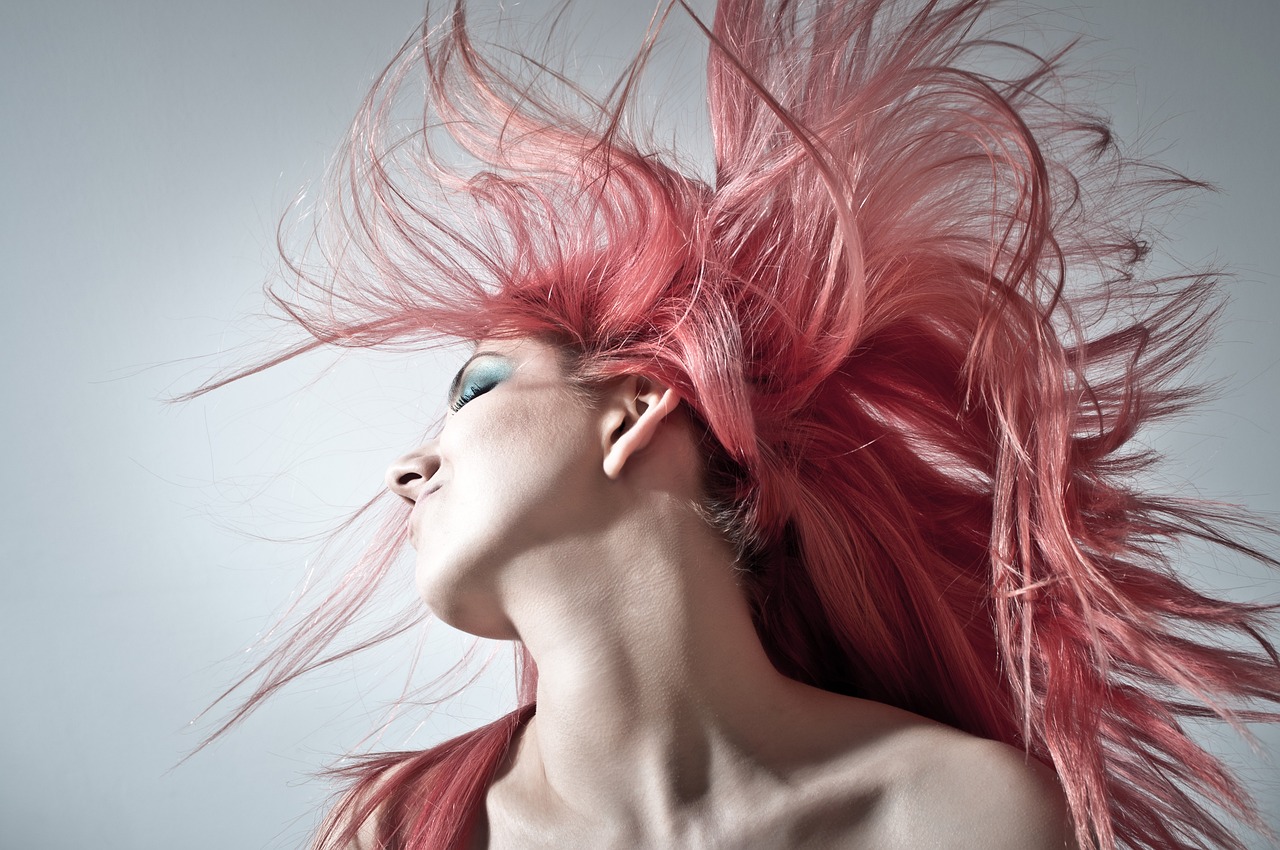
Three-point lighting is a classic setup that involves a key light, fill light, and a backlight (rim light). The key light is the main light source, the fill light softens shadows, and the backlight separates the subject from the background.
Rembrandt lighting is a technique where the key light creates a small, angled triangle of light on the subject’s cheek opposite the light source, with the rest of the face in shadow.
Butterfly lighting, also known as Paramount lighting, involves positioning the key light above and just in front of the subject’s face to create a butterfly-shaped shadow under the nose.
5. Light Placement:
Experiment with different angles and distances for the flash units. Moving the lights closer to the subject results in softer light, while moving them farther away produces harder light.
You can place the key light at a 45-degree angle to the subject, slightly above eye level, and the fill light at the opposite angle to reduce shadows.
6. Controlling Ambient Light:
If you want to eliminate ambient light, shoot in a darkened room or during nighttime.
To balance ambient light with flash, adjust your camera settings accordingly. Lower your shutter speed to allow more ambient light while still maintaining proper exposure from the flash.
7. Safety and Precautions:
Be careful with high-powered flash units to avoid eye strain or injury. Avoid pointing the flash directly at people’s eyes.
Avoid overheating the flash units by giving them time to cool down during extended shoots.
8. Continuous Lighting:
If working with flash units seems daunting, you can start with continuous lighting sources like LED panels or tungsten lights. Continuous lights provide constant illumination, making it easier to visualize the effect of light on your subject.
9. Learning Resources:
There are numerous online tutorials, courses, and books dedicated to studio lighting and flash photography. Invest time in learning about lighting techniques and practicing them to improve your skills.
Start Small and Build Up: Don’t feel pressured to invest in expensive equipment right away. Begin with one or two flash units and basic light modifiers. As you gain experience and identify your specific needs, you can gradually expand your setup.
Master One Light Before Adding More: Working with multiple flash units can be complex. Start by mastering the use of one flash unit and a single light modifier. Once you’re comfortable with the basics, add more lights and modifiers to experiment with different lighting setups.
Practice Lighting Ratios: Understanding and controlling lighting ratios is essential for creating various moods and effects in your portraits. Experiment with different ratios by adjusting the power output of your flash units or the distance between the lights and the subject.
Use Light Positioning for Flattering Portraits: For a flattering look, place the key light at a 45-degree angle above the subject’s eye level. This lighting position helps to create catchlights in the eyes and emphasizes facial features.
Explore Light Modifiers: Get creative with light modifiers. Try using different modifiers such as softboxes, umbrellas, and reflectors to see how they affect the quality and direction of light.
Pay Attention to Backgrounds: A cluttered or distracting background can take the focus away from your subject. Keep your backgrounds simple and unobtrusive to make your subject stand out.
Control Light Spill: Light spill refers to light that falls on areas you don’t want to illuminate, such as the background or unwanted surfaces. Use barn doors, grids, or flags to control the direction of light and prevent spill.
Use Colored Gels: Experiment with colored gels to add creative effects to your images. Colored gels can be placed over the flash units to change the color of the light and create a more dynamic and visually appealing photograph.
Shoot in RAW: Shooting in RAW format gives you greater flexibility during post-processing. RAW files retain more information and allow for better adjustments to exposure, white balance, and other settings without losing image quality.
Review and Adjust: After each shoot, review your images to identify areas for improvement. Adjust your lighting setup, positioning, or camera settings as needed to achieve your desired results.
Invest in Light Stands and Accessories: Sturdy light stands and other accessories like sandbags for stability are essential for maintaining a safe and organized studio environment.
Take Breaks: If you’re doing a long photo session, give yourself and your subjects regular breaks to stay refreshed and maintain creativity.
Be Mindful of Shadows: Pay attention to where shadows fall, especially when using multiple light sources. Shadows can add depth and dimension to your images, but they can also be distracting if not controlled.
Experiment and Have Fun: The beauty of a home studio is that you can experiment and try different setups without any pressure. Embrace the learning process, be open to trying new techniques, and have fun while honing your skills.
Remember, creating a home studio is a journey of exploration and learning. Over time, you’ll develop your style and preferences, leading to captivating and stunning photographs. Enjoy the process and keep pushing yourself to improve!