

Basics of Light Painting Photography

In the realm of creative photography techniques, light painting stands out as a captivating and artistic approach. It transforms photography into a form of visual poetry, where light becomes the brushstroke and the canvas is the camera’s sensor. Mastering light painting photography requires a blend of technical skill, artistic vision, and a willingness to experiment. This comprehensive guide will walk you through the basics of light painting photography, from equipment and settings to techniques and creative tips.
Understanding Light Painting Photography
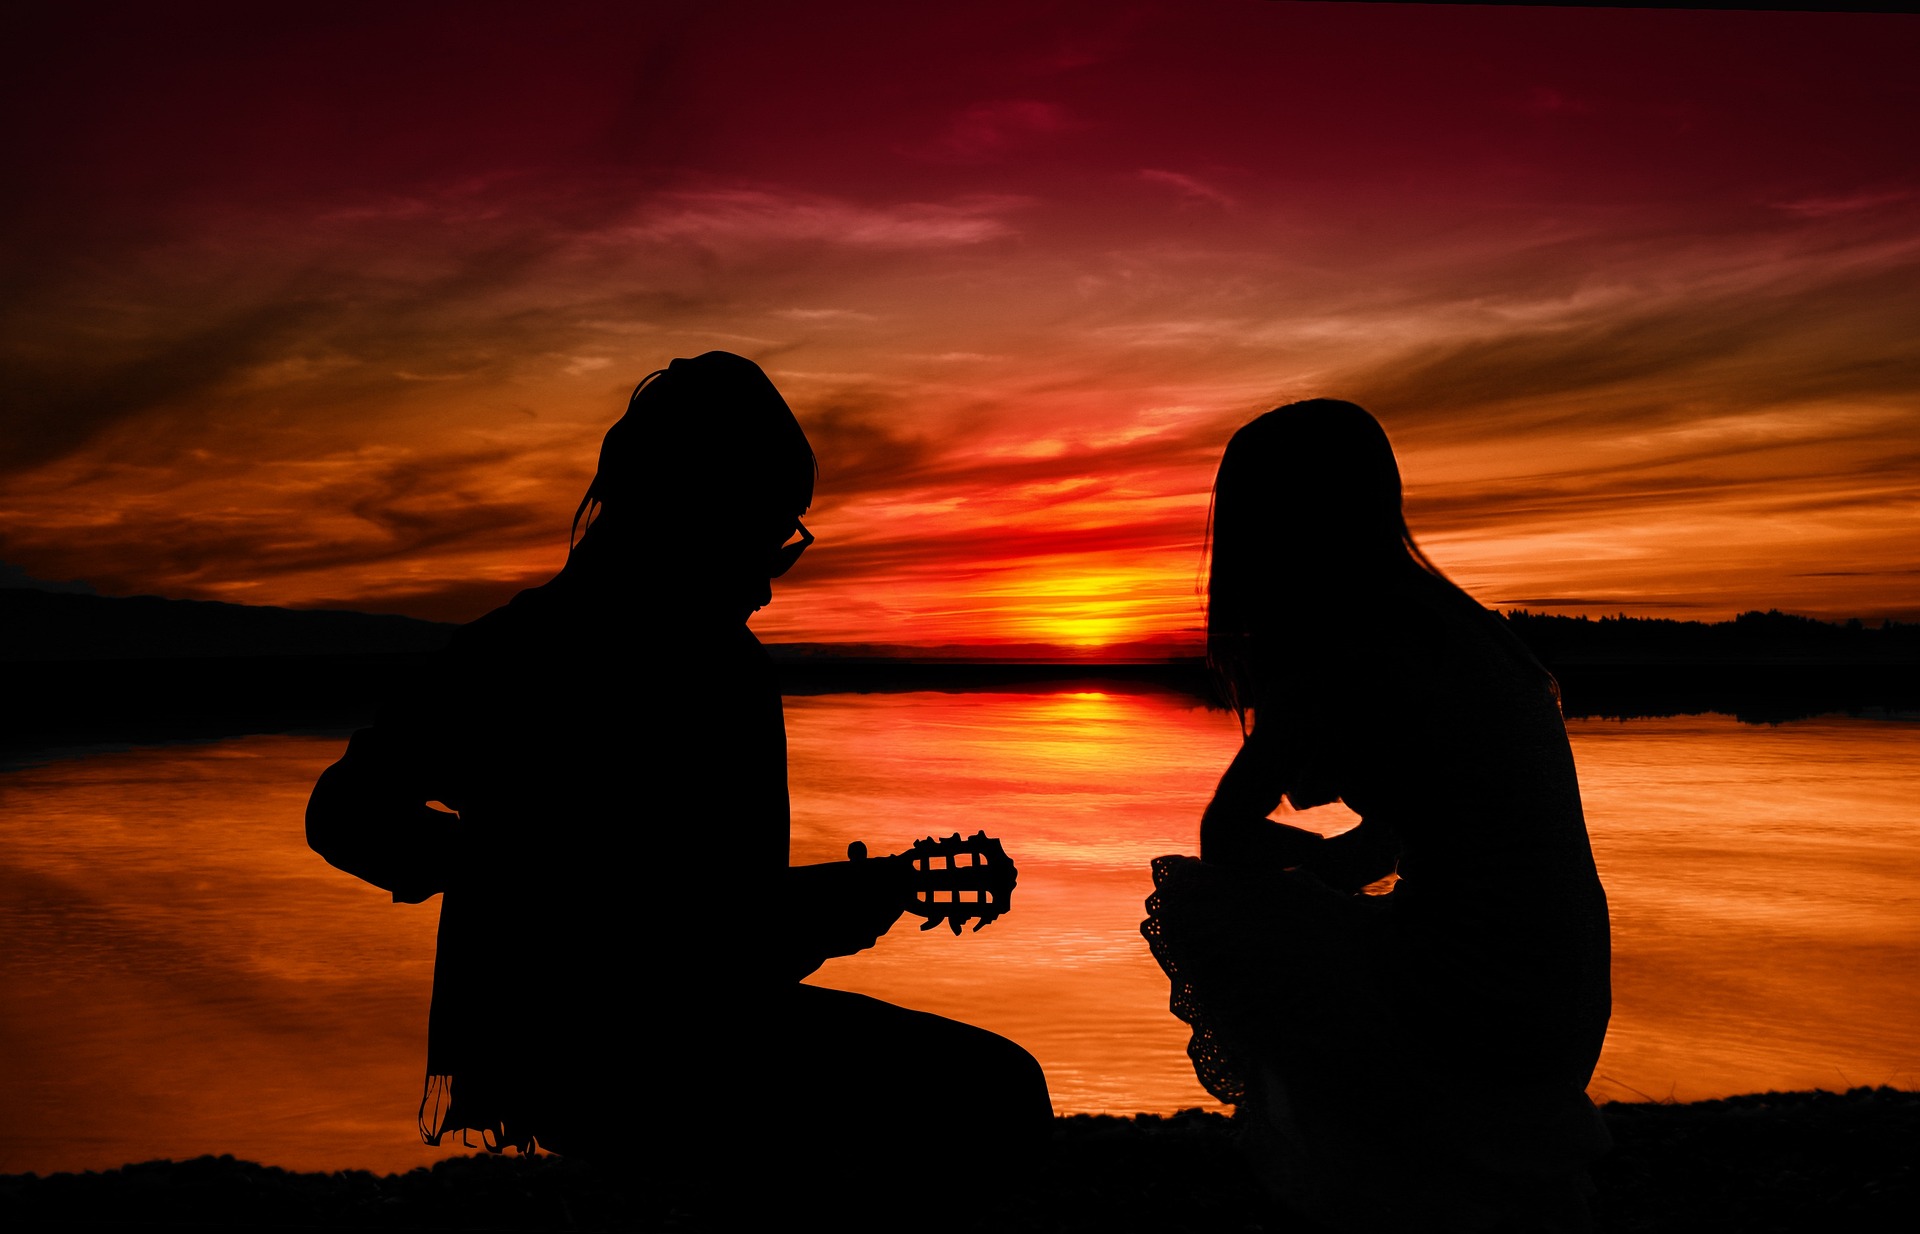
Light painting photography is a technique that involves capturing images with long exposure times while moving a light source within the frame. This movement creates streaks, patterns, and shapes of light that add a unique and mesmerizing quality to the photograph. The key to successful light painting photography lies in controlling the exposure, managing the light source, and ensuring the overall composition remains visually appealing.
Equipment and Setup
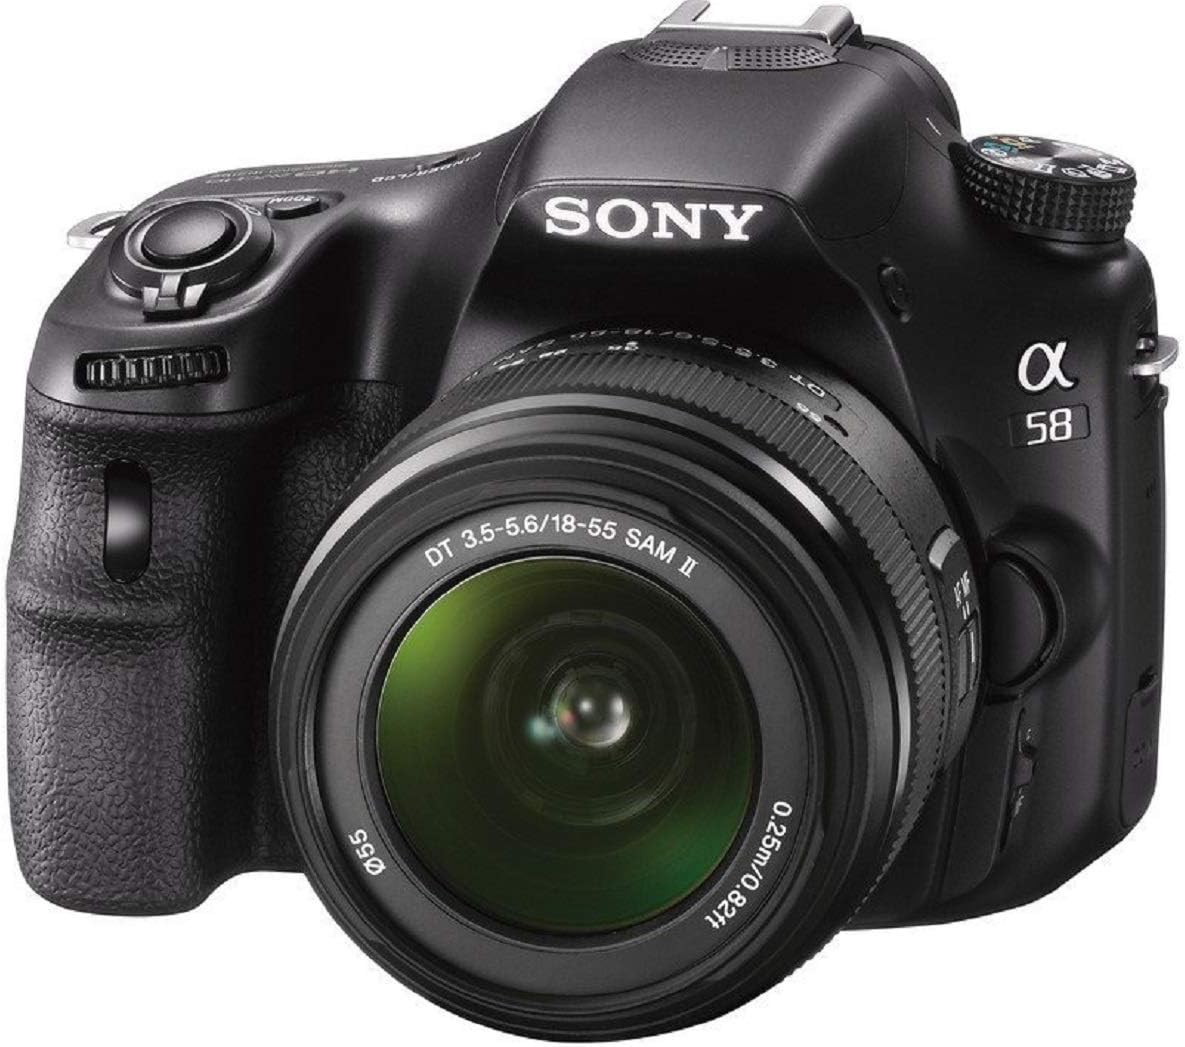
Camera:
Choose a camera with manual settings, including the ability to control shutter speed, aperture, and ISO. A camera with bulb mode is ideal for longer exposures.
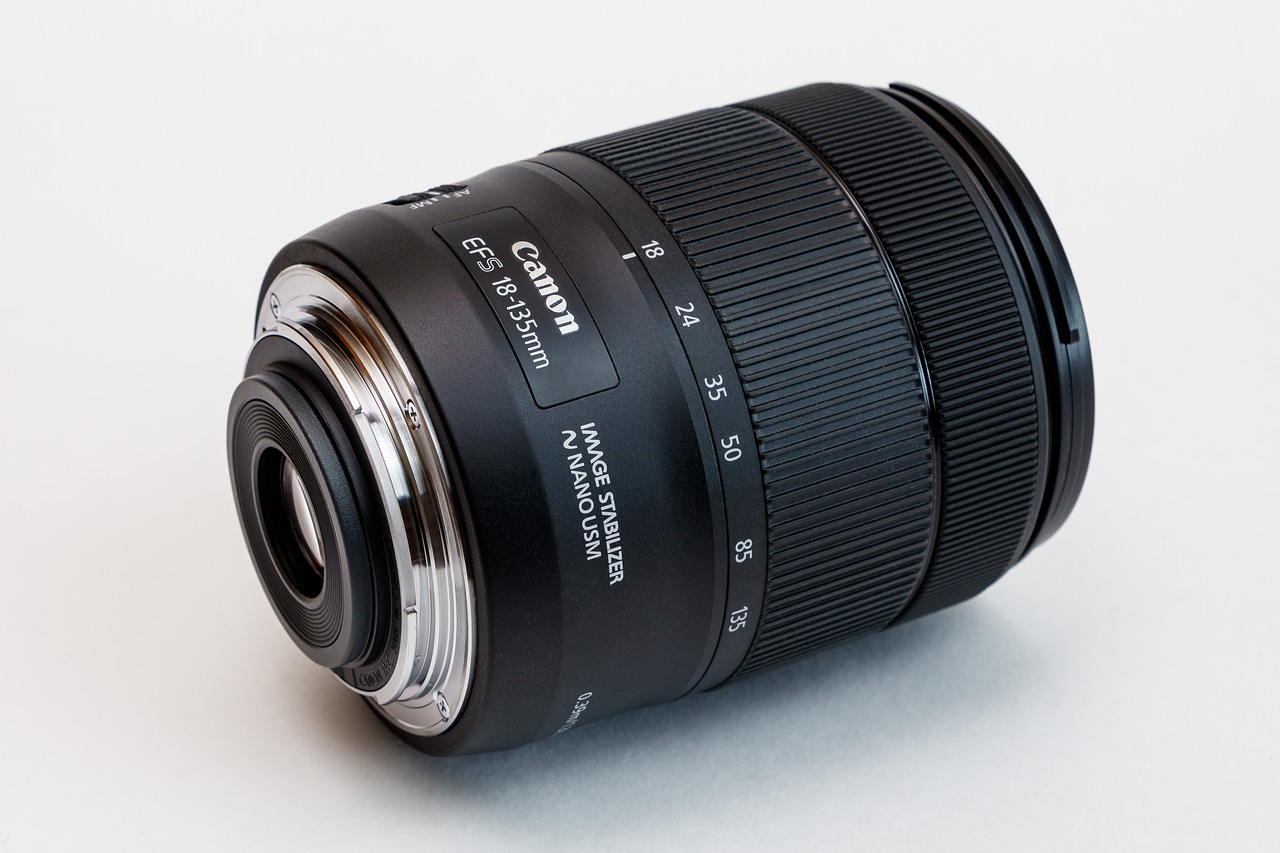
Lens:
Opt for a wide-angle lens, as it allows you to capture more of the scene and provides ample room for creative light painting.
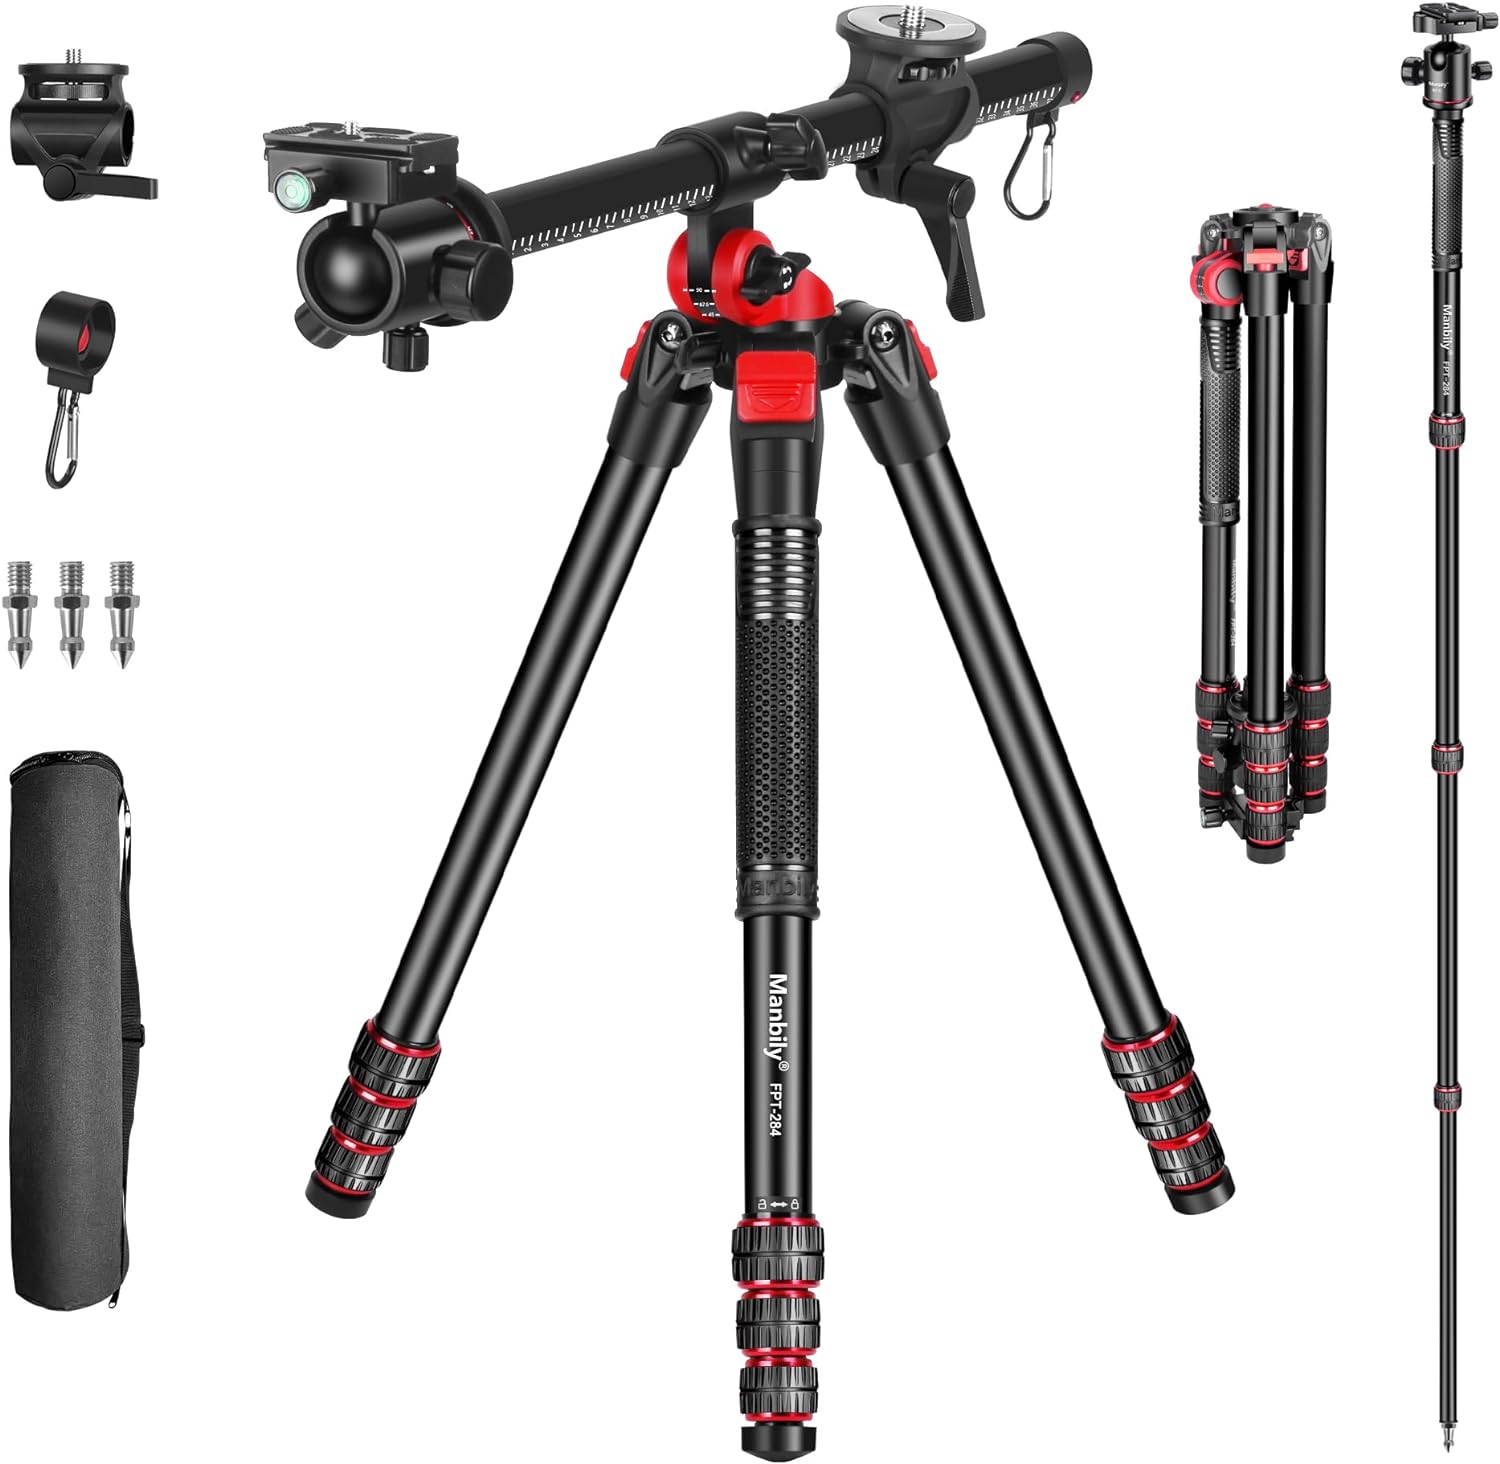
Tripod:
A sturdy tripod is essential to keep the camera steady during long exposures, preventing any unwanted blur caused by camera shake.
Remote Shutter Release:
Using a remote shutter release or intervalometer helps prevent camera shake when triggering the shutter.
Light Sources:
Experiment with various light sources such as LED flashlights, glow sticks, sparklers, and even custom-made tools designed for light painting.
Setting the Scene
Location:
Choose a dark environment to minimize unwanted ambient light. This could be outdoors on a moonlit night or indoors with controlled lighting.
Composition:
Plan your composition in advance. Consider elements like foreground, background, and points of interest where you’ll apply the light painting.
Camera Settings:
ISO: Start with a low ISO setting (e.g., ISO 100 or 200) to reduce noise.
Aperture: Choose a smaller aperture (higher f-number) like f/8 or higher for greater depth of field.
Shutter Speed: In bulb mode, you’ll manually control the shutter speed. Start with a few seconds and adjust as needed to achieve the desired effect.
Light Painting Techniques
1. Basic Light Trails:
Hold a light source and move it through the frame. Experiment with different movements and speeds for various effects.
2. Freehand Drawing:
Use a light source like a pen to draw shapes or words in the air while the shutter is open.
3. Foreground Illumination:
Direct light towards a specific object or area in the scene to emphasize it.
4. Pixel Stick or Light Wand:
Advanced tools like pixel sticks can create intricate and detailed light paintings. These devices display pre-programmed images as you move them.
5. Multiple Exposures:
Combine multiple light painting elements in a single frame by capturing separate exposures and blending them in post-processing.
Tips for Creative Light Painting
Practice Patience: Light painting can be trial and error. Be patient and experiment with different techniques to find your style.
Experiment with Colors: Use gels or colored lights to add a dynamic and captivating element to your light painting.
Plan your Movements: Think about the path you’ll take with the light source before starting the exposure. Smooth and deliberate movements yield better results.
Think in Layers: Create depth by introducing multiple layers of light painting. Start with the background, then move to mid-ground and foreground elements.
Utilize Reflective Surfaces: Water, mirrors, and other reflective surfaces can enhance your light painting by creating interesting reflections and patterns.
Choosing the Right Light Sources
The type of light source you use greatly influences the outcome of your light painting photographs. Here are some options to consider:
LED Flashlights: LED flashlights are versatile and come in various colors and intensities. They are great for creating defined lines and shapes.
Glow Sticks: Glow sticks offer a soft and diffused light. You can bend them to create curves and swirls, resulting in a dreamy and ethereal effect.
Steel Wool: When ignited and spun, steel wool creates sparks that leave a trail of light. This technique adds a touch of drama to your images.
Fiber Optics: Fiber optic strands can be used to create intricate patterns and details in your light painting.
Sparklers and Fireworks: Sparklers and fireworks produce dynamic and unpredictable light patterns. They can be particularly effective in outdoor settings.
Custom-Made Tools: There are various tools and attachments designed specifically for light painting, such as light wands, light spheres, and pixel sticks. These tools offer precise control over the light patterns you create.
Working with Color
Introducing color to your light painting adds depth and emotion to your images. You can achieve this by using colored gels or filters over your light sources. Experiment with different color combinations to evoke various moods. For example:
Cool Colors (Blues and Greens): These colors can create a calm and serene atmosphere, ideal for capturing nighttime landscapes.
Warm Colors (Reds, Oranges, Yellows): Warm tones convey a sense of energy and vibrancy, making them suitable for adding excitement and drama to your scenes.
Contrasting Colors: Combining complementary colors (such as blue and orange or red and green) can create visually striking and attention-grabbing compositions.
Creating Light Trails with Movement
The movement of your light source is crucial to achieving captivating light trails. Consider these techniques:
Linear Movement: Move the light source in straight lines across the frame. This can be done horizontally, vertically, or diagonally.
Circular Movement: Rotate the light source in a circular motion around a fixed point. This can result in mesmerizing spirals of light.
Spiral Movement: Combine linear and circular movements to create intricate spiral patterns that draw the viewer’s eye.
Enhancing Composition and Storytelling
While light painting itself is visually captivating, don’t forget the importance of composition and storytelling:
Foreground Elements: Incorporate interesting objects or subjects in the foreground to add depth and context to your images.
Silhouettes: Experiment with using the light source to create silhouettes against the background, emphasizing shapes and forms.
Combining Techniques: Combine light painting with other photography techniques, such as long exposure cityscapes or astrophotography, to create unique and multifaceted images.
Safety Precautions
As with any photography technique, safety should be a top priority:
Outdoor Locations: When shooting outdoors, be aware of your surroundings and choose safe locations away from traffic and hazards.
Fire Hazards: If you’re using fire-based tools like sparklers or steel wool, take extra precautions to prevent accidental fires. Have a fire extinguisher and a bucket of water nearby.
Personal Safety: Be mindful of your movements while creating light painting patterns, especially if you’re working in low-light conditions.
Experimentation and Creativity
One of the most exciting aspects of light painting photography is the limitless potential for experimentation and creativity. Embrace the unexpected and don’t be afraid to push your boundaries. Every session can yield surprising results that you can learn from and build upon.
Advanced Techniques and Editing
As you become more comfortable with the basics, you can explore advanced techniques like light stencils, light orbs, and light graffiti. Additionally, advanced post-processing techniques can further enhance your light painting images, allowing you to fine-tune colors, contrast, and details.
Inspiration and Community
Joining photography communities, forums, and social media groups focused on light painting can provide inspiration, feedback, and a platform to share your work. Learning from fellow photographers’ experiences and techniques can be incredibly valuable on your journey to mastering light painting.