


How to Properly Set Up Your Camera on a Tripod

Setting up your camera on a tripod properly is crucial for getting steady shots and ensuring the best image quality. Here’s a step-by-step guide to help you set up your camera on a tripod:
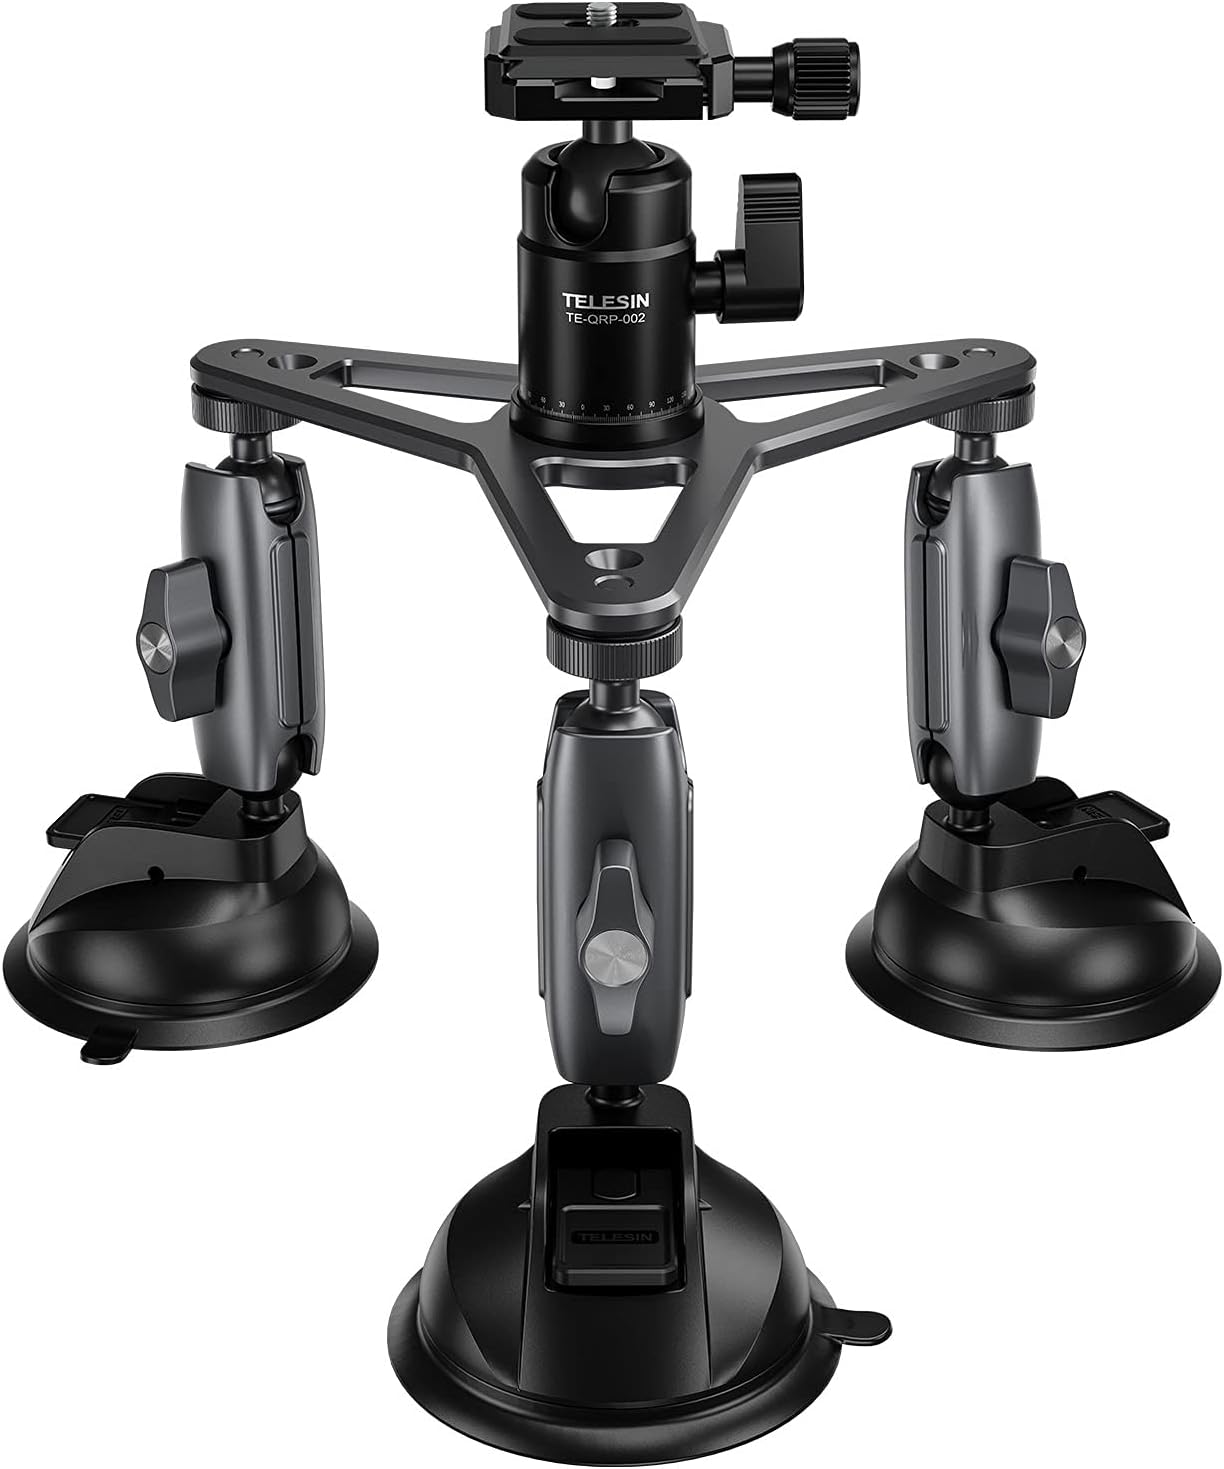
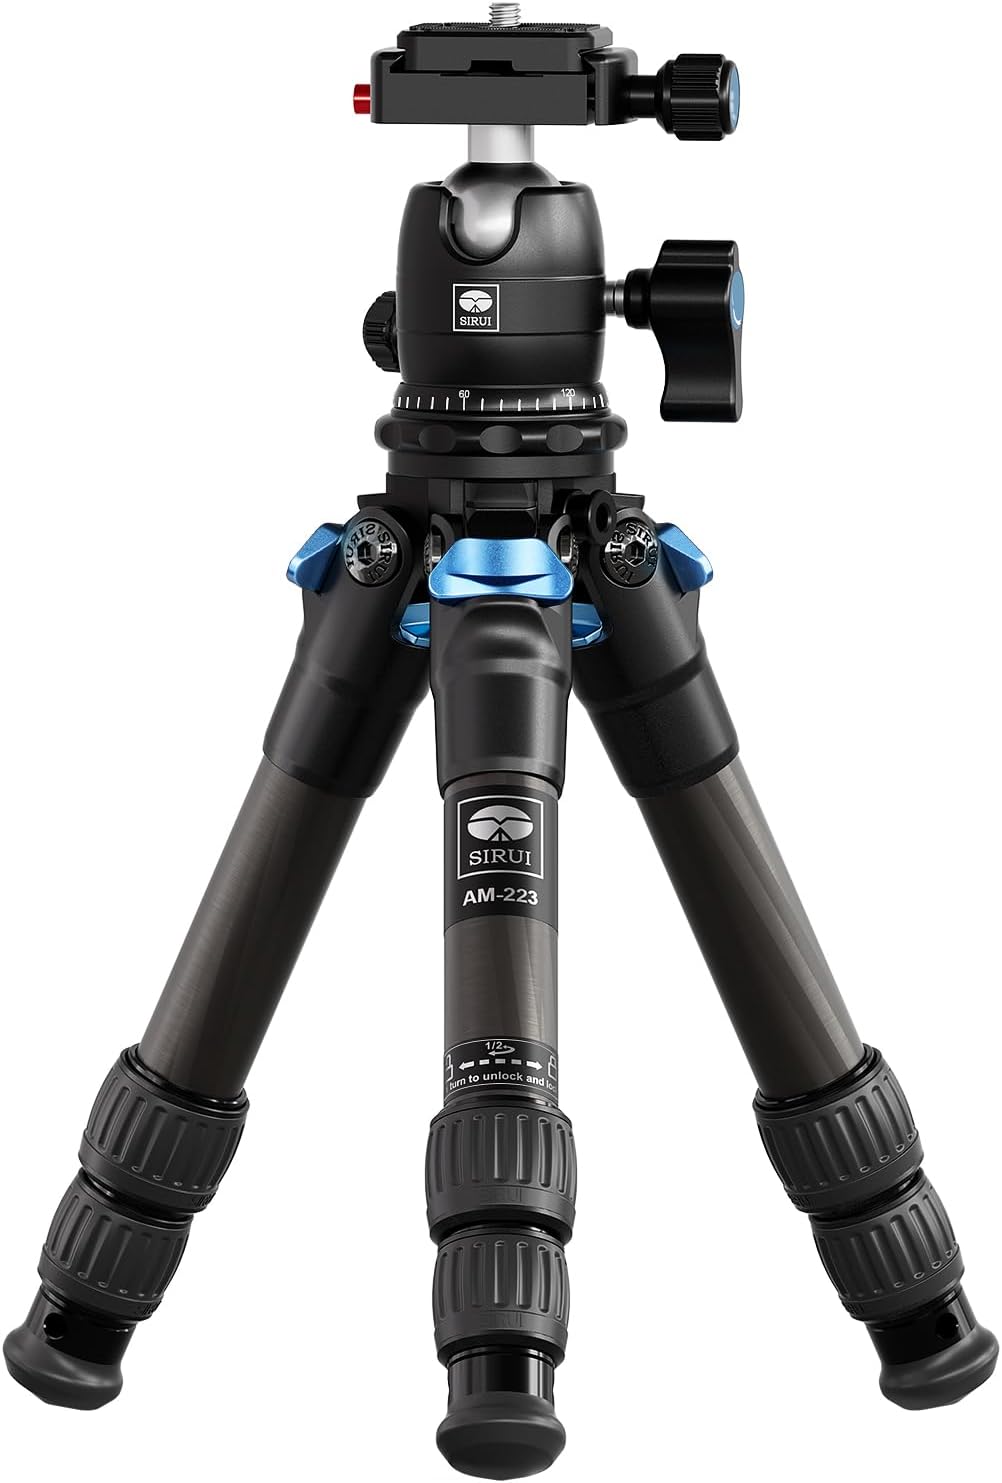
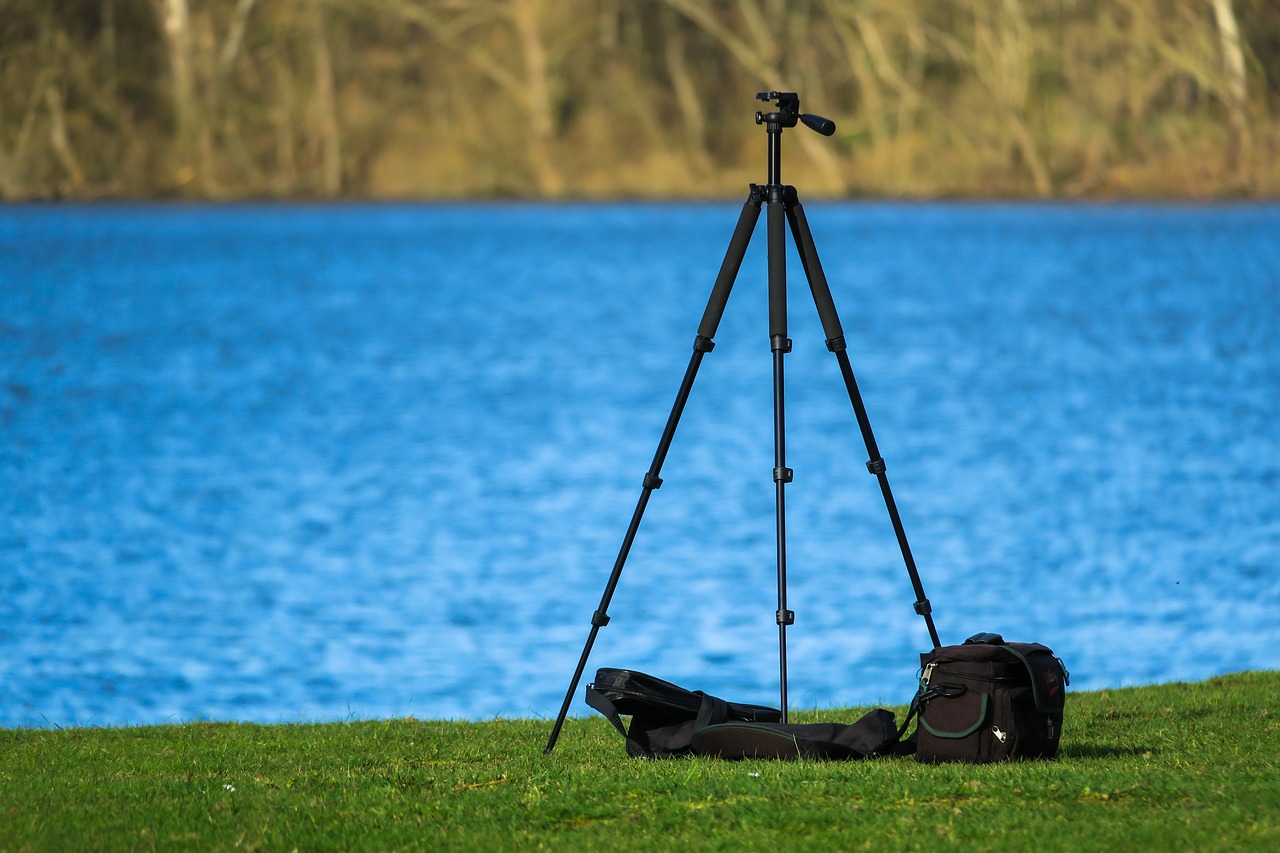
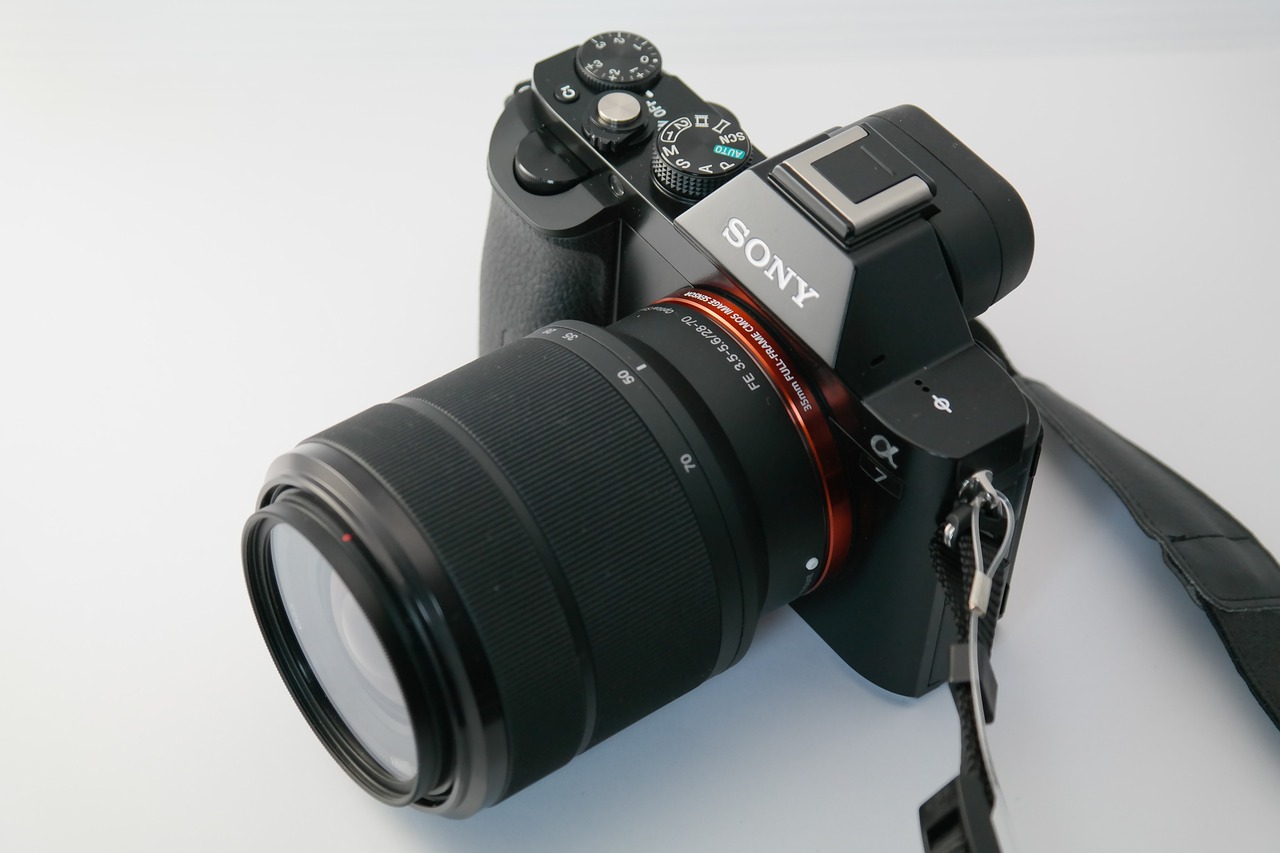
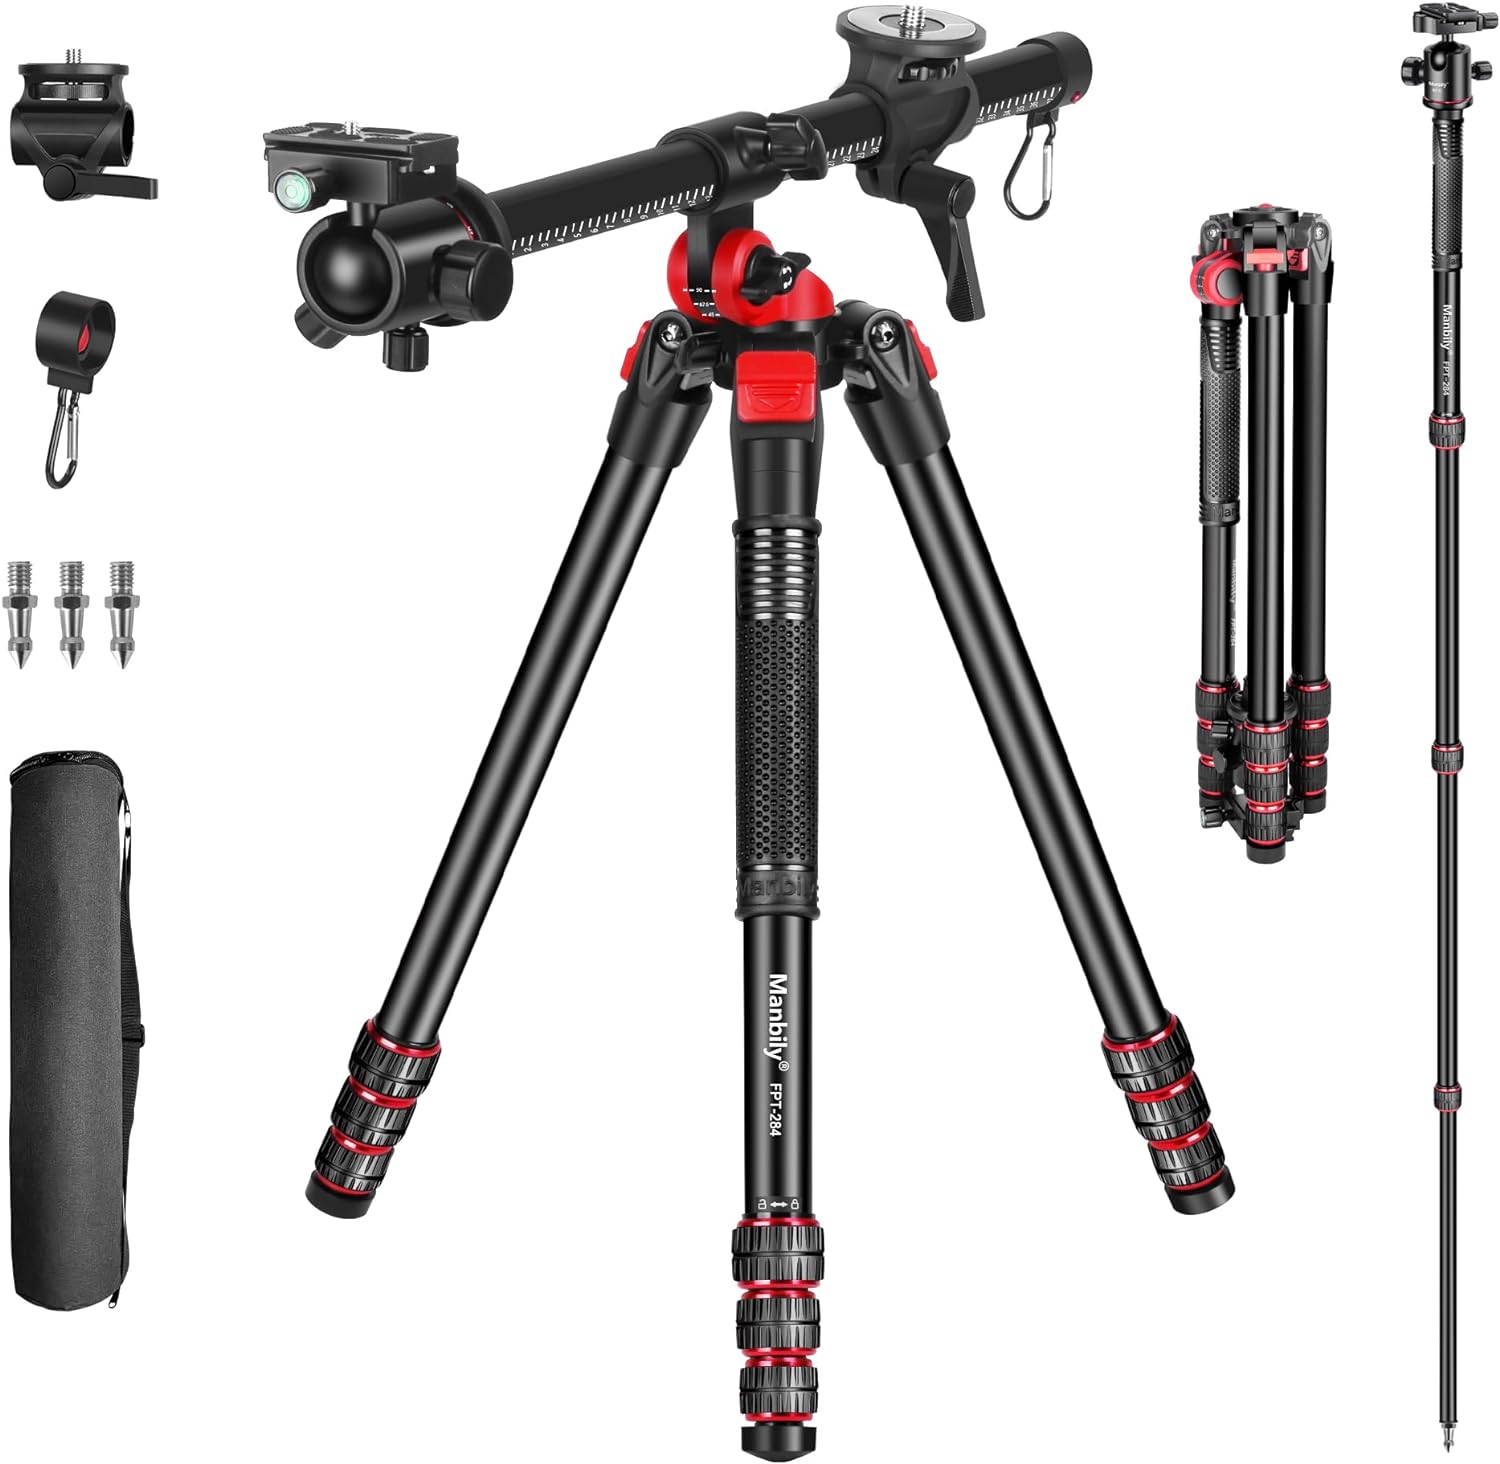
Choose a Stable Tripod: Invest in a good-quality tripod that is sturdy and can support the weight of your camera and lens. Make sure the legs and the tripod head are secure and in good working condition.
Level the Tripod: Before mounting your camera, make sure the tripod is set up on a level surface. Most tripods have a built-in bubble level, but you can also use a separate small spirit level to ensure it’s perfectly level.
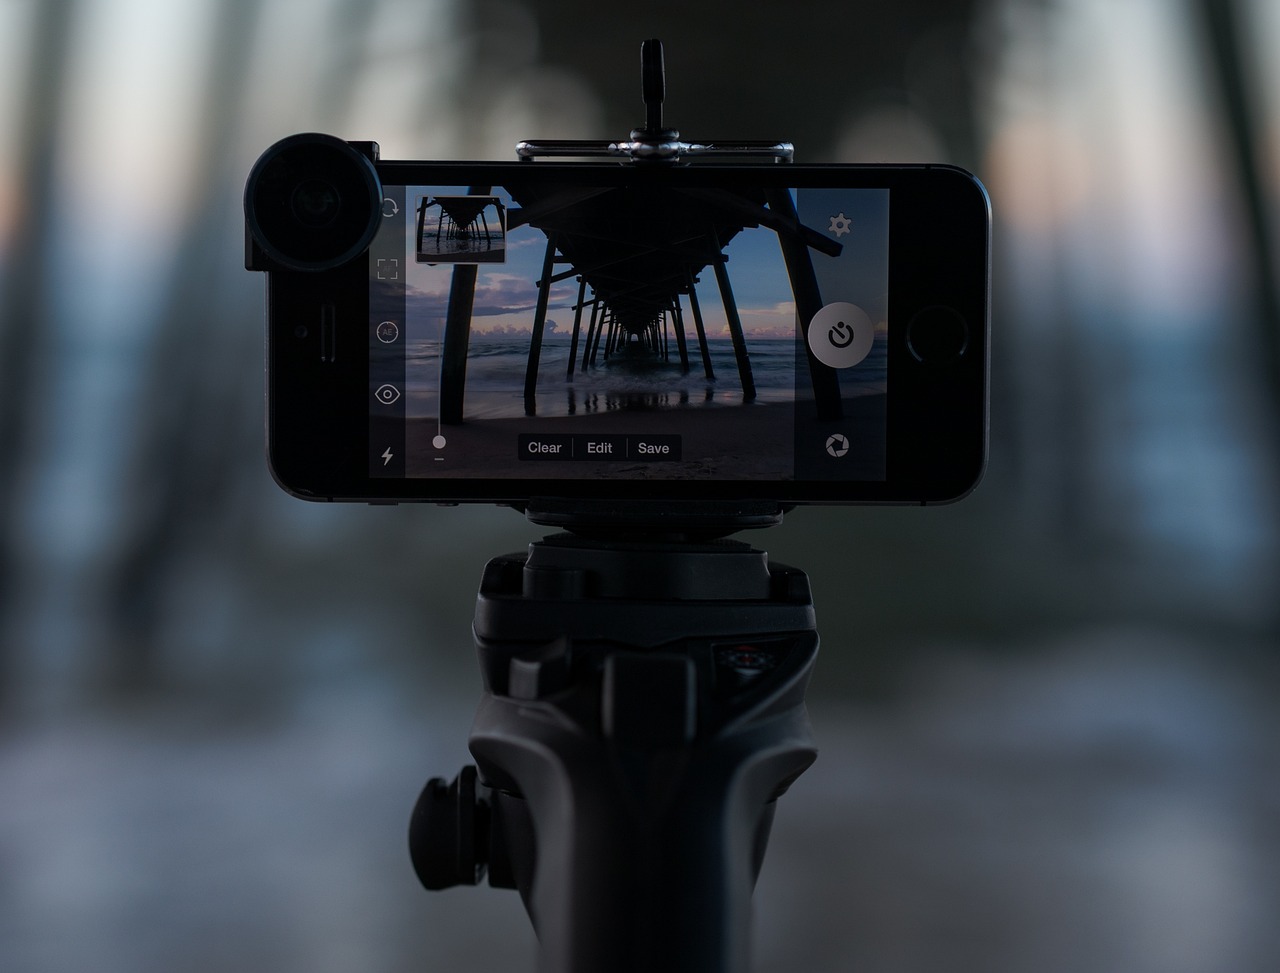
Attach the Quick Release Plate: Many tripods come with a quick release plate system. Mount the plate securely onto the bottom of your camera. It allows you to quickly attach and detach your camera from the tripod.
Mount the Camera: With the quick release plate attached to the camera, slide it into the tripod head’s plate receiver. Make sure it clicks or locks into place, so the camera is firmly secured on the tripod.
Adjust the Height: Extend the tripod legs to your desired height, and lock them in place. If you need to adjust the tripod head’s height further, use the center column if your tripod has one, but avoid extending it fully as it can compromise stability.
Position the Camera: Use the tripod head’s pan and tilt controls to position the camera exactly where you want it. Ensure the camera is level both horizontally and vertically.
Check the Stability: Gently nudge the tripod to check if it’s stable. If it wobbles or vibrates, double-check that the tripod is securely set up, and adjust the tension knobs on the tripod head to minimize any movement.
Use a Remote Shutter Release or Timer: To avoid camera shake when taking photos, use a remote shutter release or your camera’s built-in timer to trigger the shot without physically touching the camera.
Turn Off Image Stabilization: If your camera or lens has image stabilization (also known as vibration reduction or optical stabilization), turn it off when shooting from a tripod. Image stabilization can interfere with tripod-mounted shots and may even introduce slight vibrations.
Use Mirror Lock-Up (DSLRs): For DSLR cameras, especially when using longer lenses, enable the mirror lock-up feature. This lifts the mirror inside the camera before taking the shot, reducing potential vibrations caused by the mirror movement.
Use a Stable Surface: In certain situations, you may not have access to a solid and stable surface for your tripod. If that’s the case, consider using a weight bag or hanging your camera bag from the center column hook of the tripod to add extra stability and minimize vibrations.
Tighten all Connections: Before starting your shoot, ensure that all the connections, including the camera mount on the tripod head and the quick release plate, are securely tightened. This prevents any accidental slipping or movement during shooting.
Consider the Center of Gravity: Larger lenses or camera bodies might have a different center of gravity. Adjust the tripod head’s tension and positioning to handle the weight and ensure the camera remains stable.
Avoid Extending the Center Column: Whenever possible, avoid fully extending the center column of the tripod. Doing so can introduce more instability and reduce the overall sturdiness of the setup. Instead, adjust the height using the tripod legs.
Use a Bubble Level: Many tripods come with built-in bubble levels, both on the tripod legs and the tripod head. Use these levels to ensure your camera is perfectly level in both horizontal and vertical directions.
Enable Grid Lines: Most modern cameras offer grid lines on the viewfinder or rear LCD screen. Enabling these lines can help you compose your shots with better alignment and balance.
Use Live View or Electronic Viewfinder (EVF): When your camera is mounted on a tripod, using Live View (for DSLRs) or the EVF (for mirrorless cameras) can help you compose and focus your shots more accurately.
Adjust Tripod Height Carefully: Take your time to find the right height for your composition. Avoid rushing and ending up with a suboptimal framing.
Lock Down Tripod Movements: Once you have set up your shot and composed it correctly, lock down the tripod head’s pan and tilt controls to prevent unintentional movement.
Wind and Vibration: If you’re shooting outdoors on a windy day or in a location with vibrations (e.g., near a busy road), consider using a windscreen or stabilizing your tripod with additional weight.
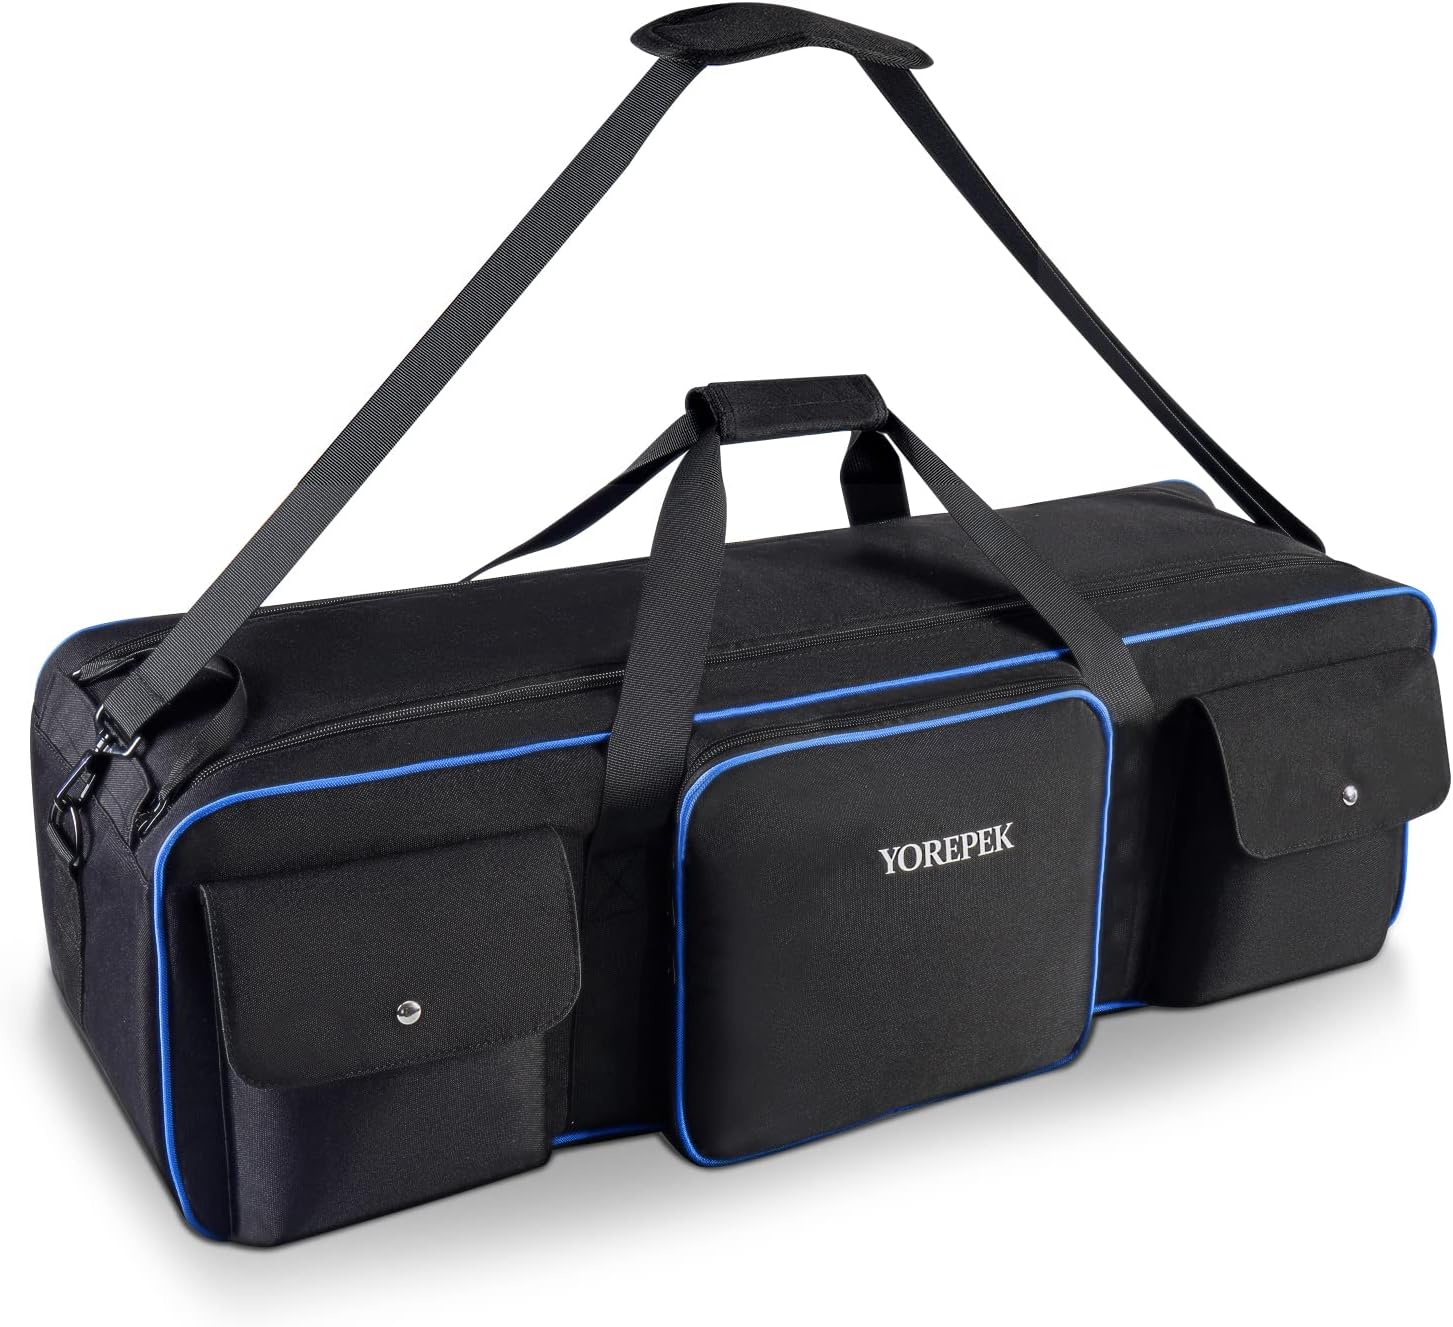
Always Carry a Tripod: A tripod can be a bit cumbersome to carry around, but it’s an invaluable tool for getting sharp images in various shooting scenarios. Consider investing in a lightweight and portable tripod for travel photography.
By paying attention to these additional tips, you’ll be able to maximize the benefits of using a tripod and capture professional-quality images with minimal camera shake and superior sharpness.