


Understanding the basics of light meters for beginners
Understanding the basics of light meters is essential for photographers, both beginners, and professionals, as it helps them achieve accurate exposure settings and create well-balanced and properly lit photographs. A light meter is a device that measures the amount of light in a scene and provides readings that can be used to determine the ideal camera settings, such as aperture, shutter speed, and ISO, for a well-exposed photograph. Here are the key concepts beginners should know about light meters:
Incident vs. Reflected Light Metering:
There are two primary types of light metering: incident and reflected. Incident light meters measure the light falling on the subject, providing more accurate readings since they are not affected by the subject’s reflectivity or color. On the other hand, reflected light meters measure the light that bounces off the subject, which can be influenced by the subject’s color and brightness. Most built-in camera meters are reflected meters, while some handheld light meters offer both options.
Camera’s Built-in Light Meter:
Modern cameras, including DSLRs and mirrorless cameras, come with built-in light meters that use reflected light metering. They often use sophisticated metering modes like evaluative, center-weighted, and spot metering to calculate the exposure settings. Different metering modes can be used based on the scene’s complexity and the photographer’s creative intentions.
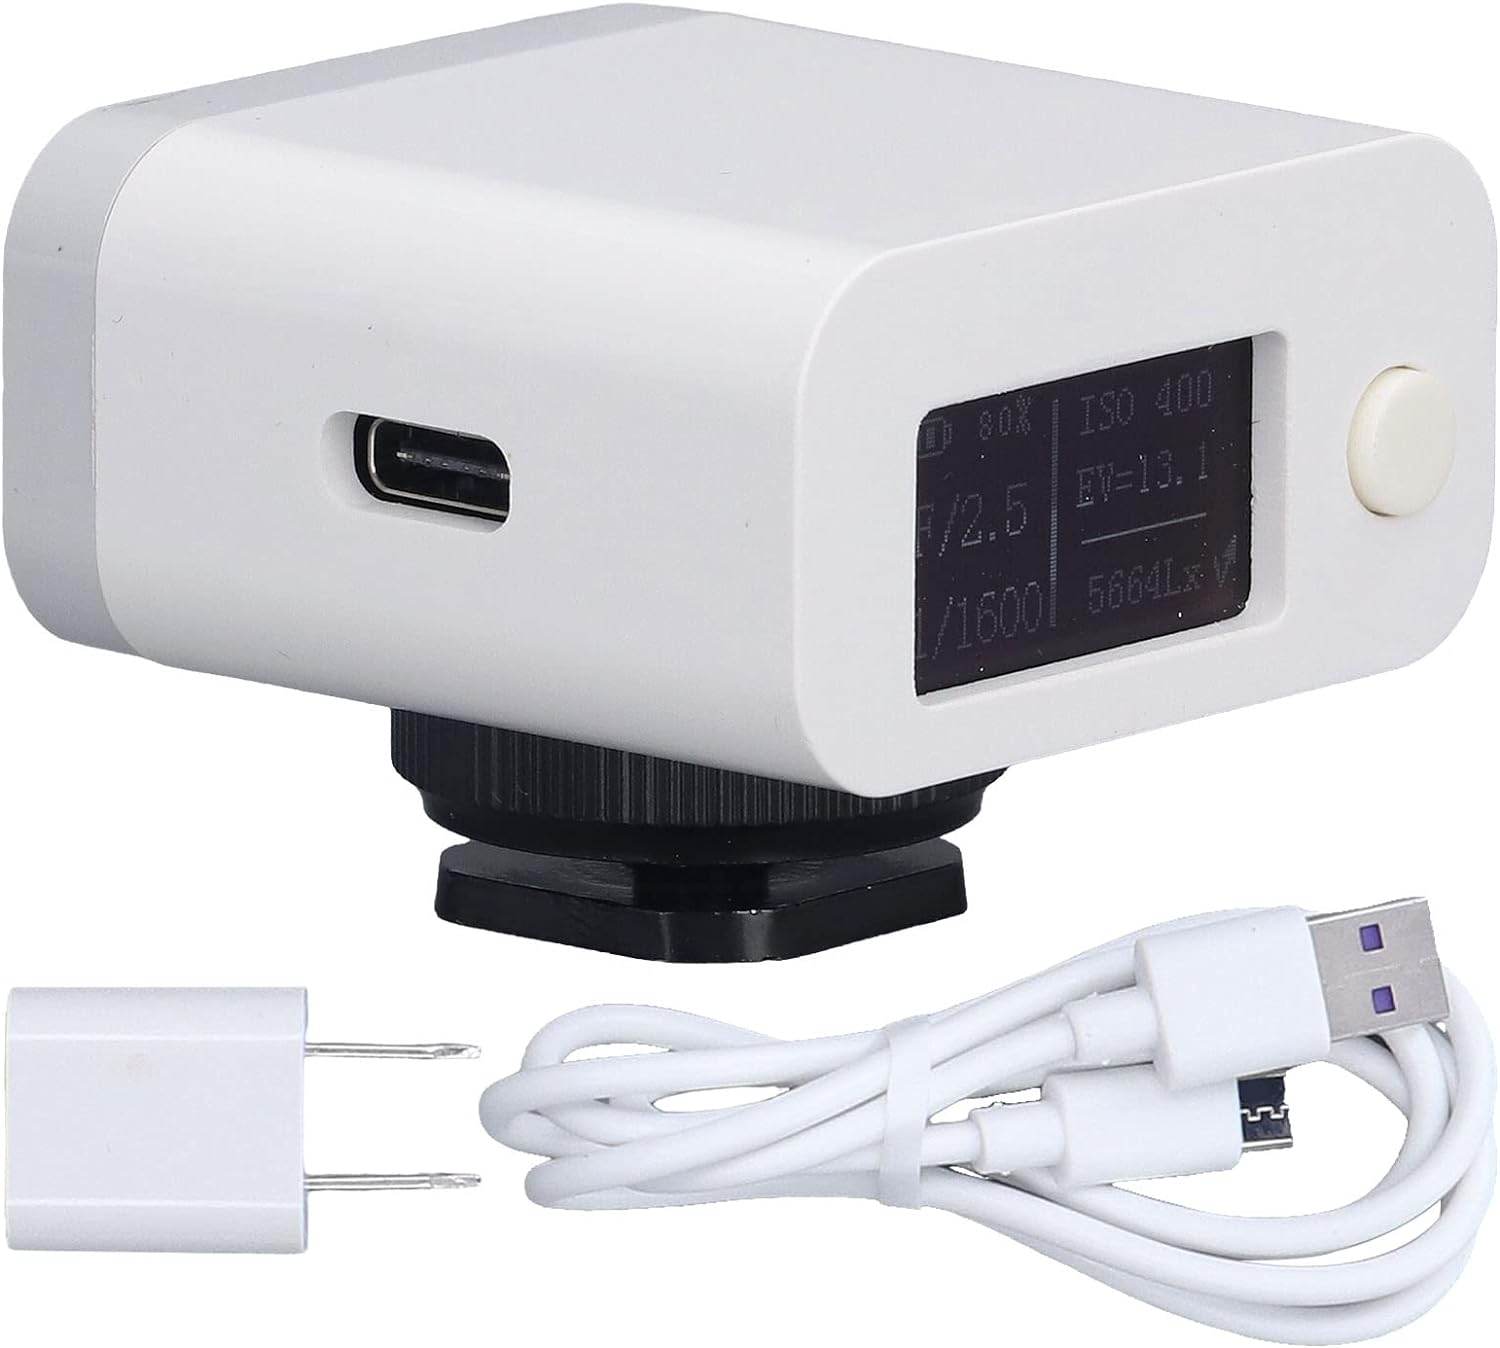
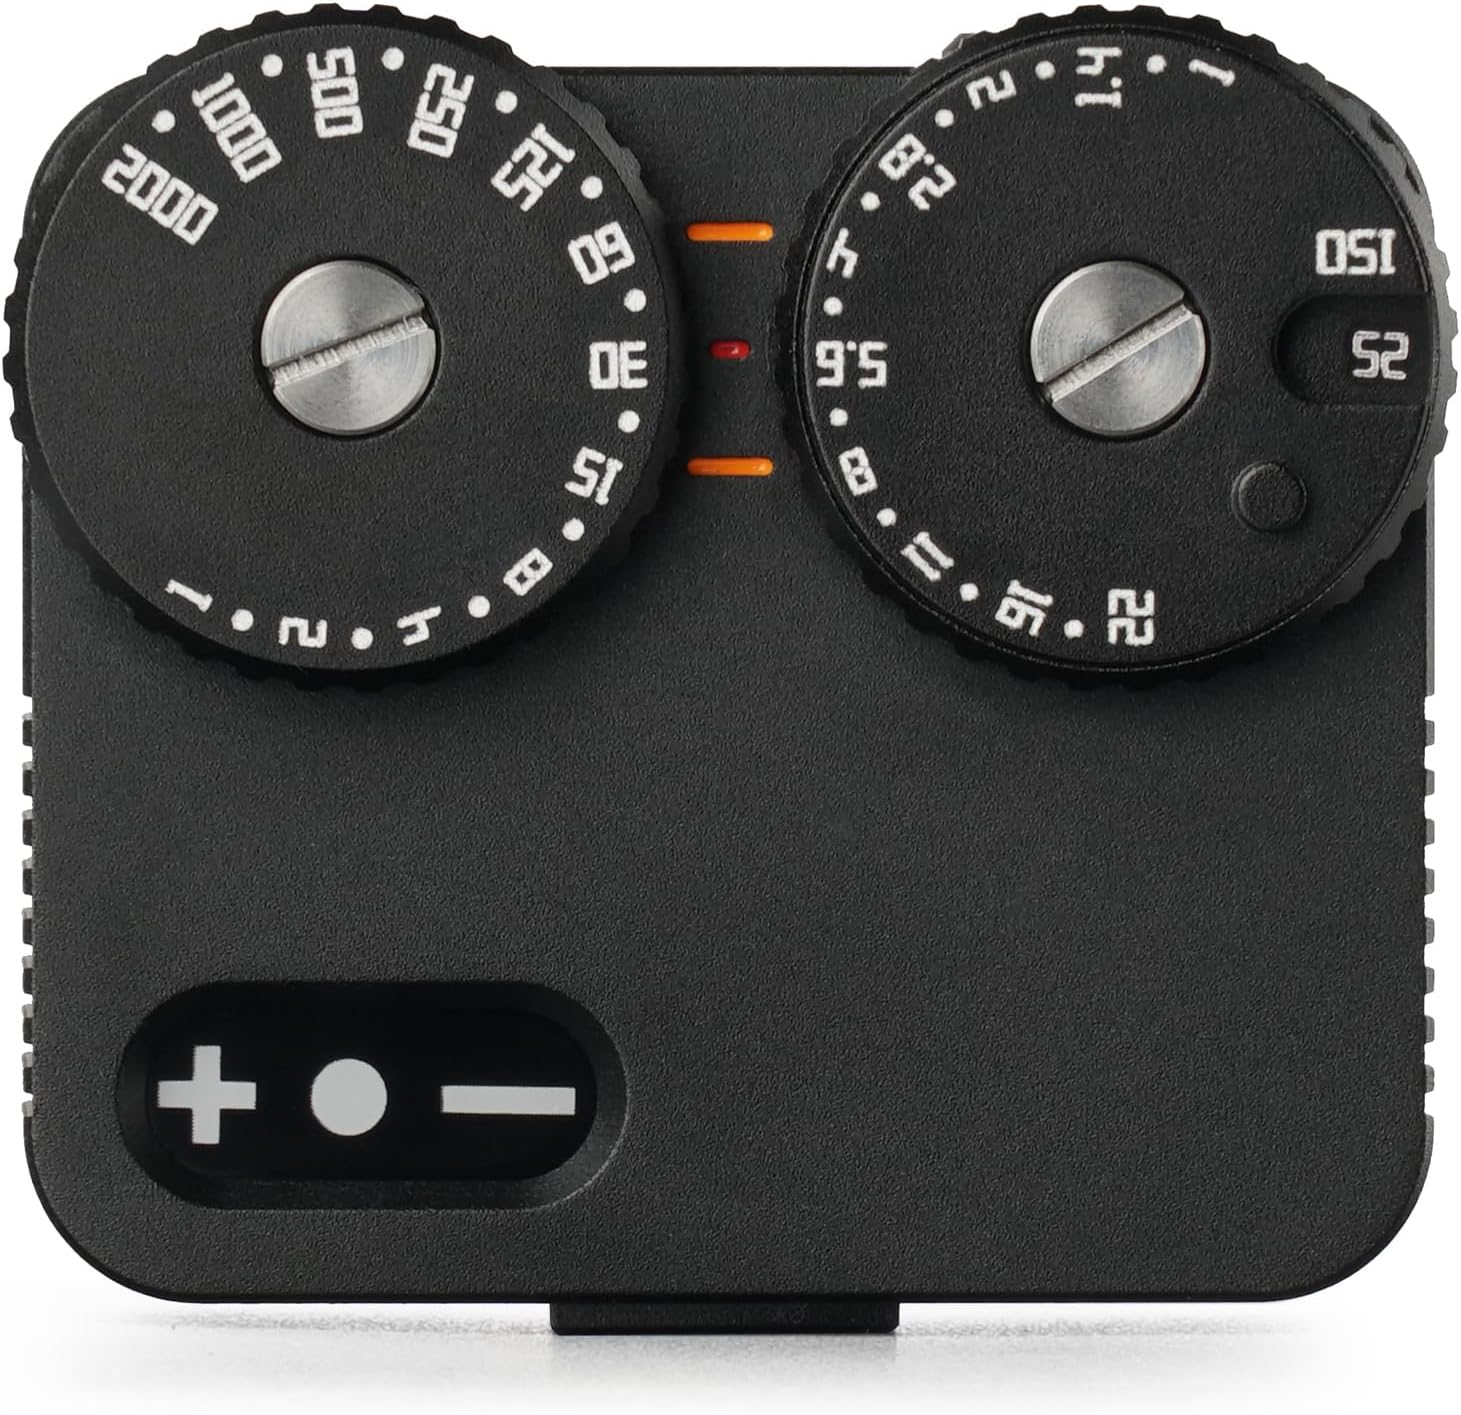
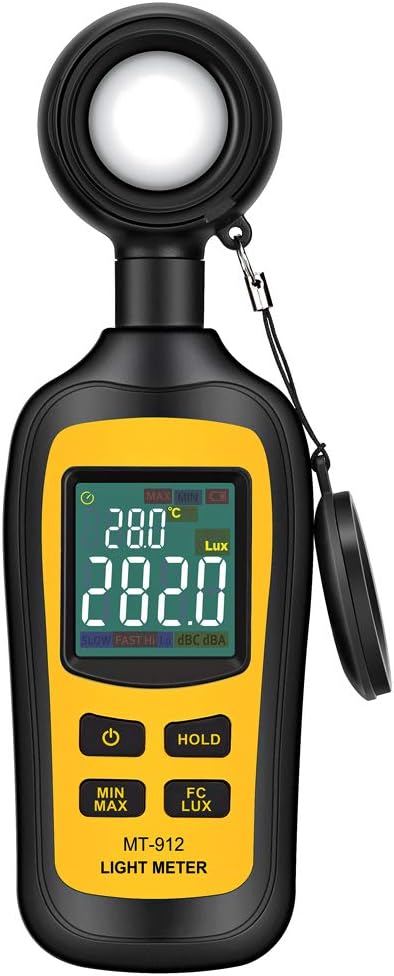
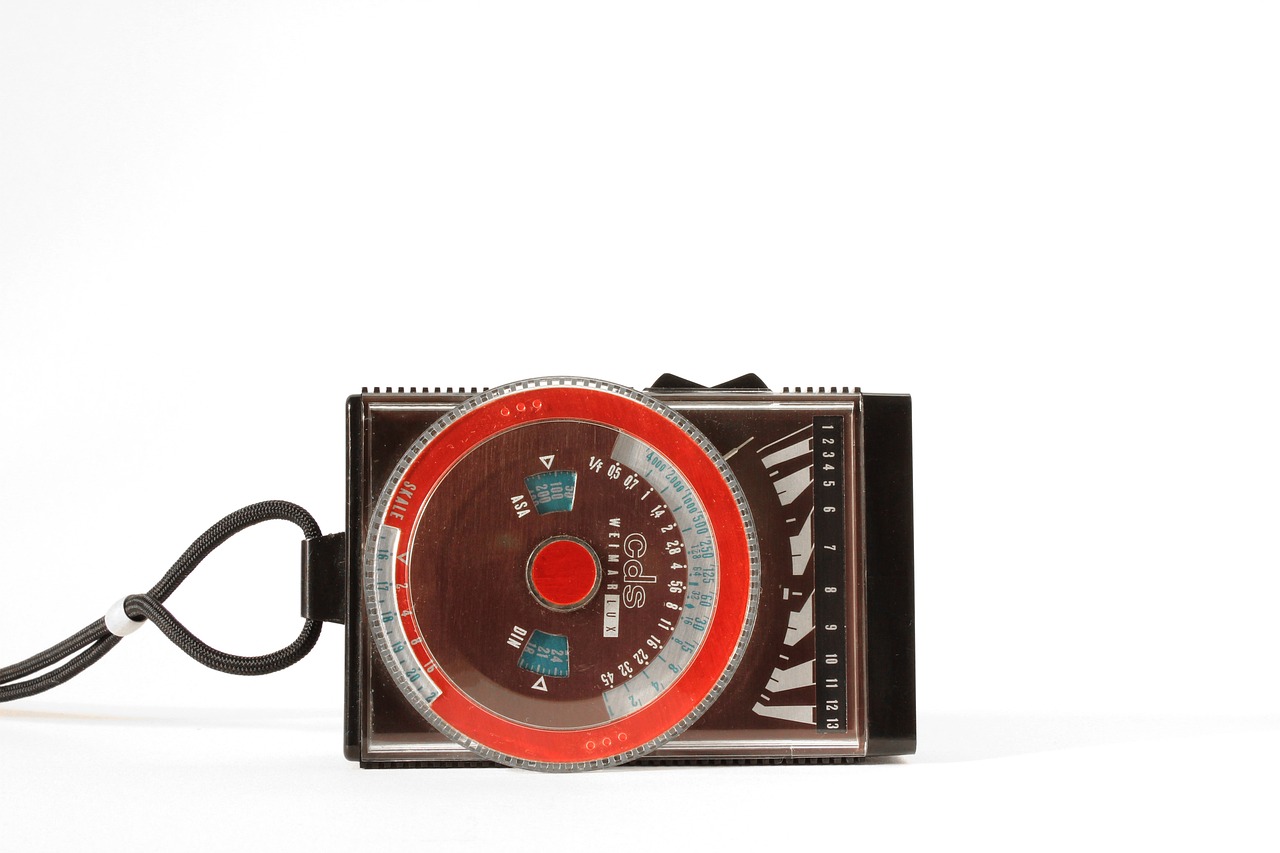
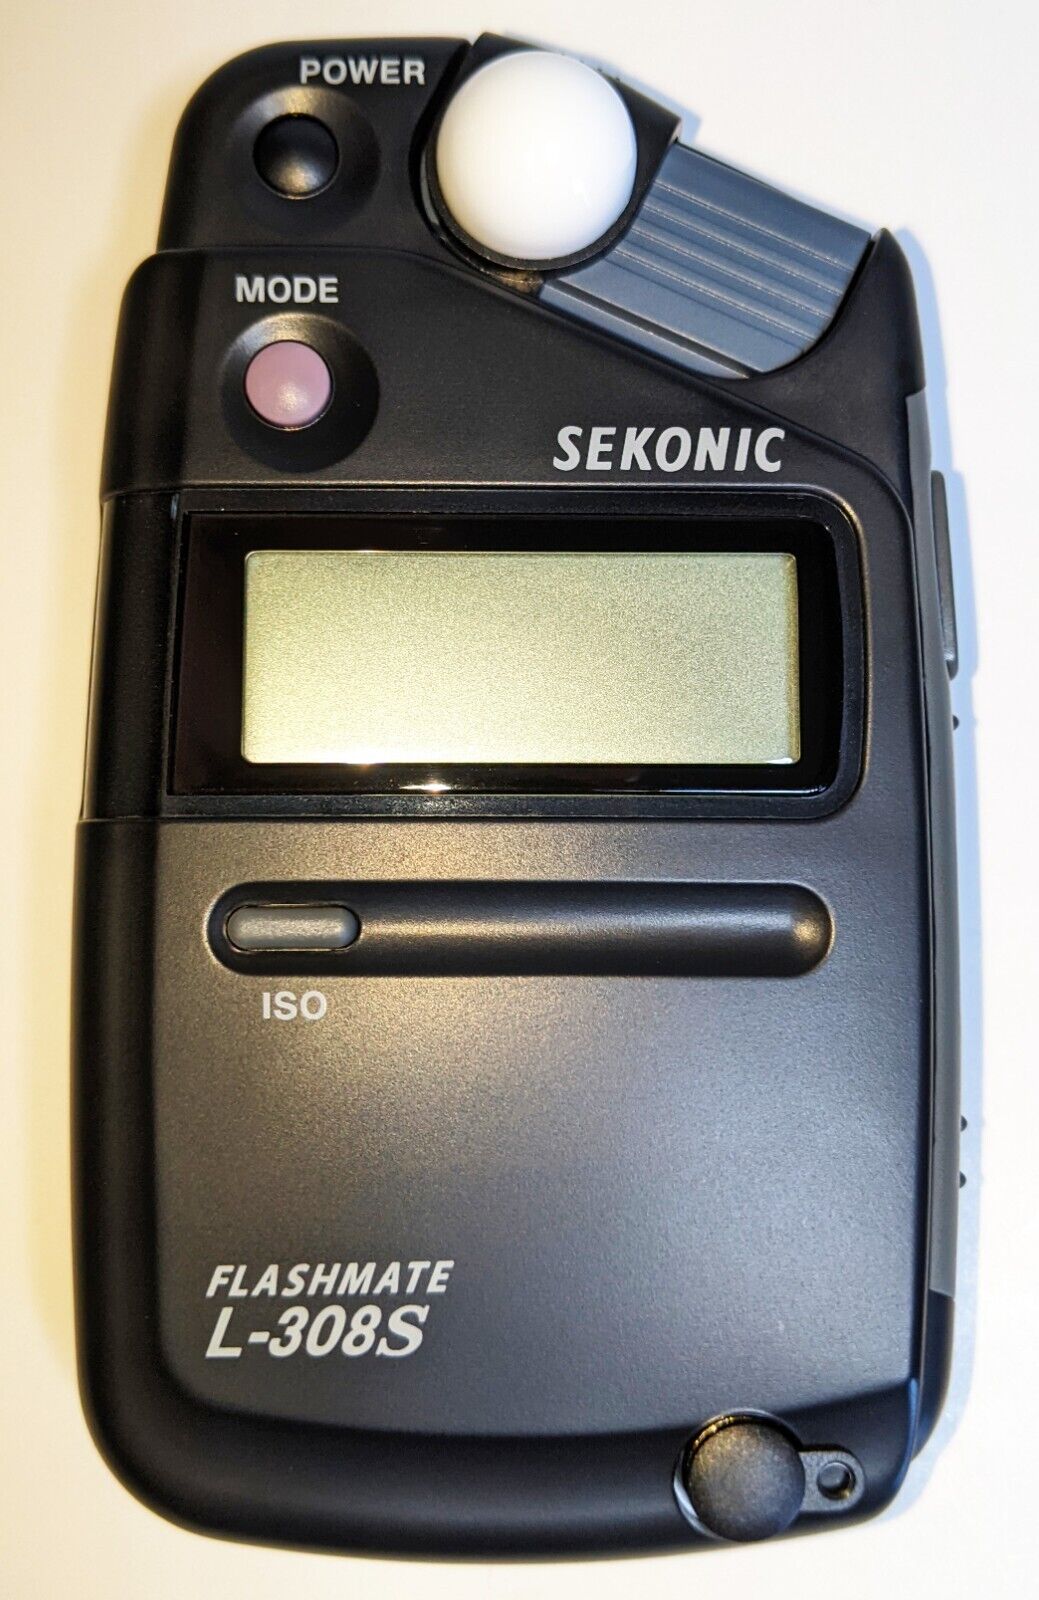
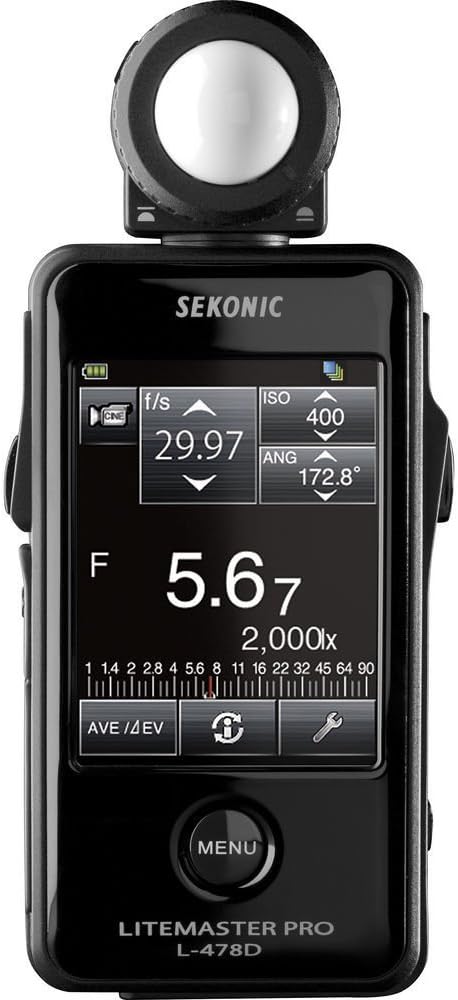
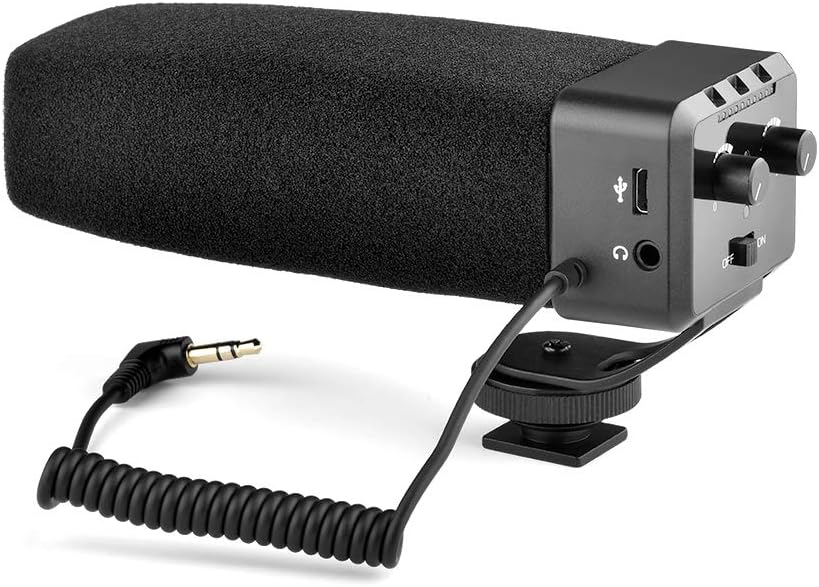
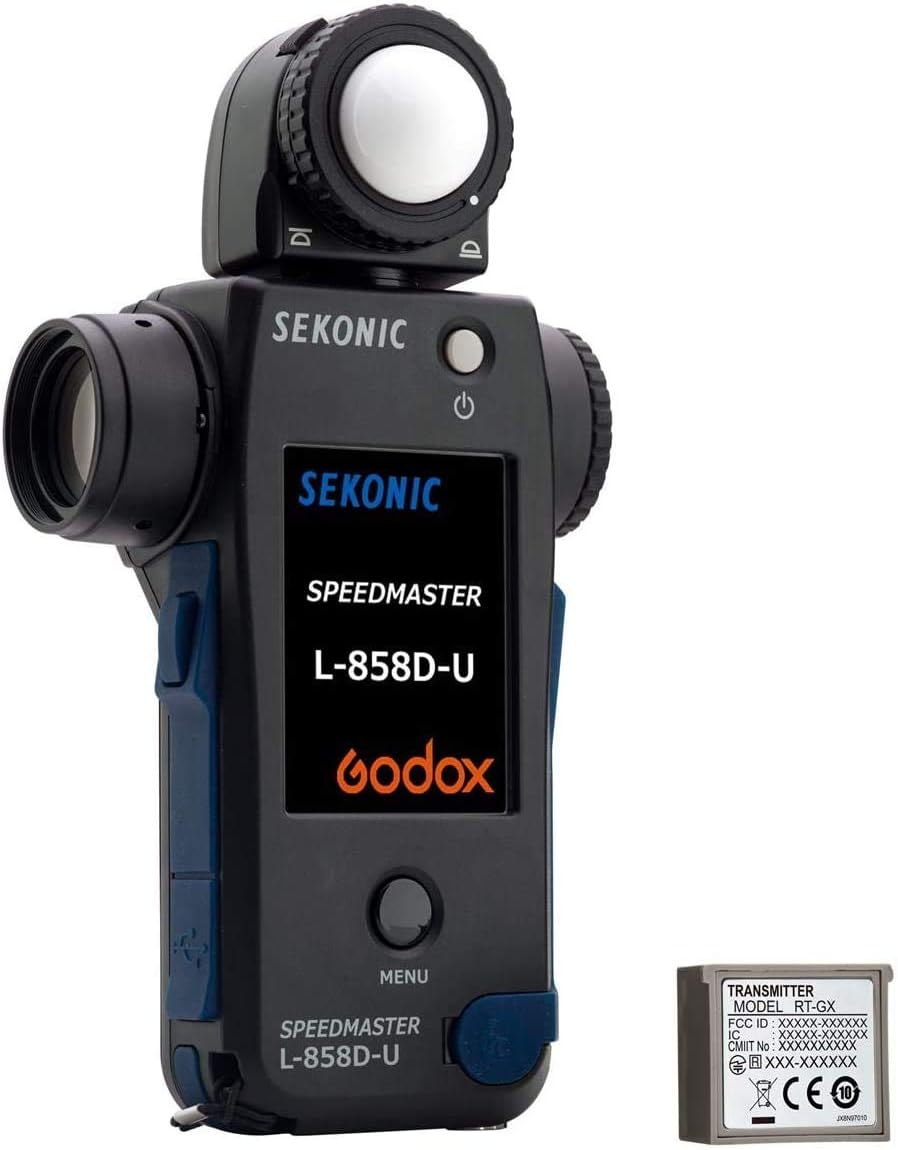
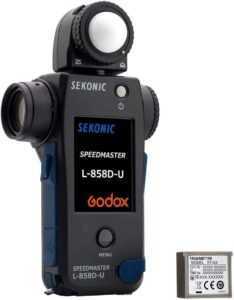
External Handheld Light Meters:
Professional photographers often use standalone handheld light meters for more precise and consistent exposure readings. These meters are held close to the subject to measure incident light or pointed towards the camera to measure reflected light. Handheld meters offer greater control over exposure settings and can be particularly useful in studio setups or challenging lighting conditions.
Metering Modes:
Handheld light meters may offer different metering modes, similar to those found in built-in camera meters. The three common metering modes are:
a. Incident Metering: Measures the light falling on the subject.
b. Reflected Metering: Measures the light reflected by the subject.
c. Spot Metering: Measures the light from a specific area, often a small spot, in the scene. This mode is useful for metering a specific part of the subject or when dealing with high-contrast scenes.
Exposure Values (EV):
Light meters provide readings in Exposure Values (EV), a numeric representation of the brightness of a scene. Each EV corresponds to a specific combination of aperture and shutter speed settings for proper exposure. For example, an EV of 12 might correspond to f/8 at 1/125th of a second.
Setting Exposure:
To set exposure, photographers adjust the camera settings based on the light meter readings. By matching the camera’s settings to the recommended EV value from the meter, they can achieve a well-exposed photograph.
Metering Techniques:
Understanding various metering techniques is crucial for photographers to handle different lighting situations effectively. Some common techniques include:
a. Evaluative/Matrix Metering: The camera or meter evaluates the entire scene’s lighting and sets exposure accordingly.
b. Center-Weighted Metering: The meter gives more importance to the center of the frame, often useful for portrait photography.
c. Spot Metering: The meter focuses on a small spot, ideal for controlling exposure in specific areas of the frame.
Exposure Triangle:
The exposure triangle refers to the three primary elements that control the exposure of a photograph: aperture, shutter speed, and ISO. Light meters help photographers find the correct combination of these settings to achieve a well-exposed image. Understanding how these three factors interrelate is crucial to mastering exposure control.
Aperture: It is the opening in the lens through which light passes. Aperture is measured in f-stops (e.g., f/2.8, f/5.6, f/11), and a lower f-stop means a larger aperture, allowing more light to reach the camera sensor.
Shutter Speed: Shutter speed determines the duration of time the camera’s sensor is exposed to light. It is measured in seconds or fractions of a second (e.g., 1/1000s, 1/250s, 1s), and faster shutter speeds reduce the amount of light reaching the sensor.
ISO: ISO represents the sensitivity of the camera’s sensor to light. A higher ISO setting makes the sensor more sensitive, allowing for faster shutter speeds in low-light conditions, but it can introduce digital noise or grain in the image.
Metering Challenges:
While light meters are generally reliable, they can be tricked by certain lighting conditions. Scenes with extremely high contrast, such as a subject in bright sunlight against a dark background, may lead to overexposed or underexposed areas. In such situations, photographers often use exposure compensation to adjust the meter’s readings and achieve a better balance in the final image.
Incident Light Metering Benefits:
Using an incident light meter can be advantageous in various situations, especially when dealing with difficult lighting conditions or when the subject’s reflectivity affects the reading. Photographers often use incident meters in portrait photography, studio setups, and outdoor shoots with unpredictable lighting.
Bracketing:
Bracketing is a technique where a photographer takes multiple shots of the same scene at different exposure settings, ensuring they capture the scene correctly exposed and slightly overexposed and underexposed versions. This technique is particularly useful in situations with challenging lighting, such as high contrast scenes or complex lighting conditions. It allows the photographer to choose the best exposure during post-processing.
Understanding Histograms:
Histograms are graphical representations of the distribution of tones in an image. They show the range of brightness levels from shadows on the left to highlights on the right. After capturing an image, reviewing its histogram can provide valuable information about exposure. A well-balanced histogram typically means a well-exposed image.
Practice and Experimentation:
Becoming proficient with light meters and exposure control requires practice and experimentation. As you gain experience, you’ll develop a better understanding of how different lighting situations impact exposure and how to adjust your camera settings accordingly.
Utilizing In-Camera Metering Modes:
Modern cameras offer advanced in-camera metering modes that use complex algorithms to evaluate the scene and set exposure settings. Familiarize yourself with your camera’s metering modes and learn when to use each one to get the best results in various shooting scenarios.
Remember, mastering exposure and light metering is an ongoing learning process, and it’s essential to keep experimenting and refining your skills to create compelling and well-exposed photographs.