


Mastering Rim Lighting for Striking Portraits

Portraiture photography is an art form that can be elevated to new heights with the strategic use of lighting techniques. One such technique that can add drama, depth, and a touch of mystique to your portraits is rim lighting. When executed correctly, rim lighting can transform an ordinary portrait into a striking and memorable image. In this article, we will explore what rim lighting is, why it’s so effective, and how you can master this technique to create stunning portraits.
Understanding Rim Lighting
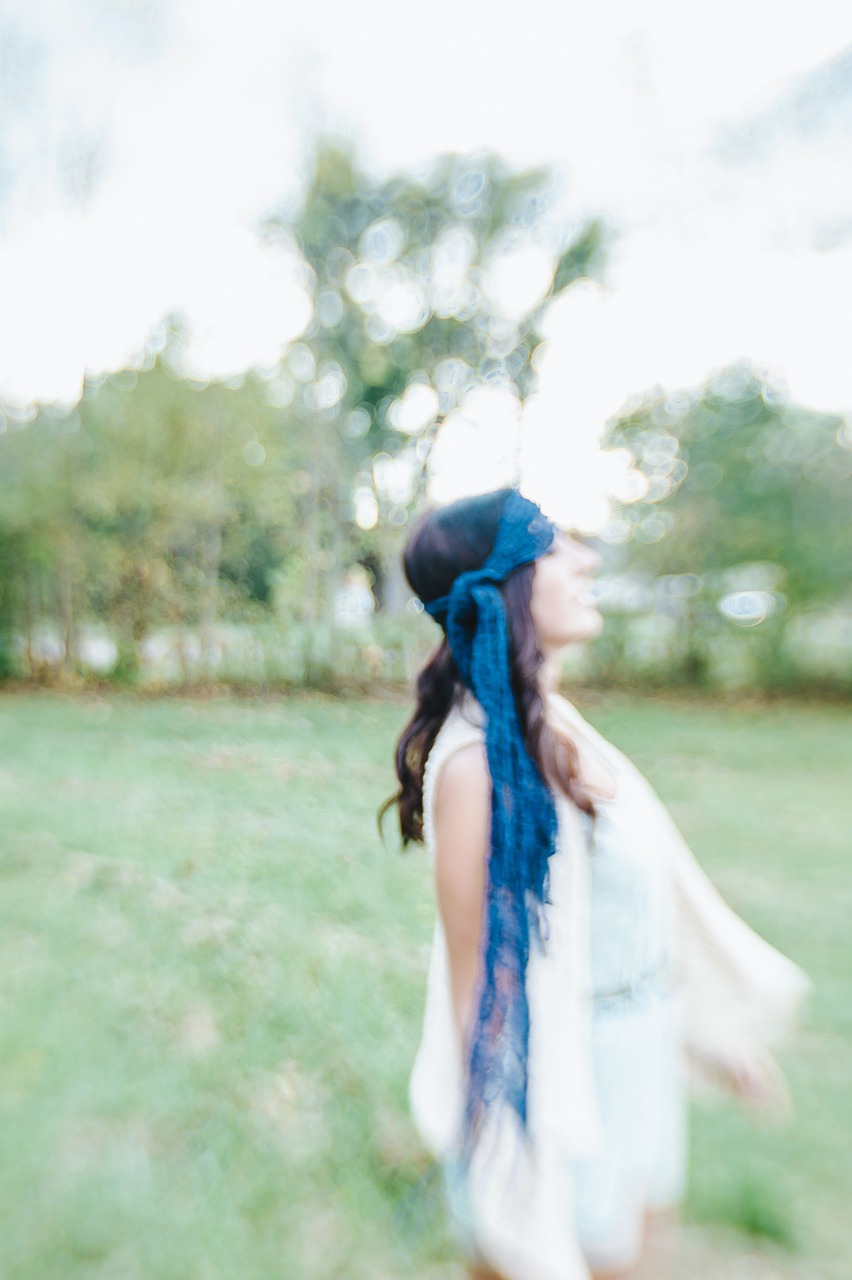
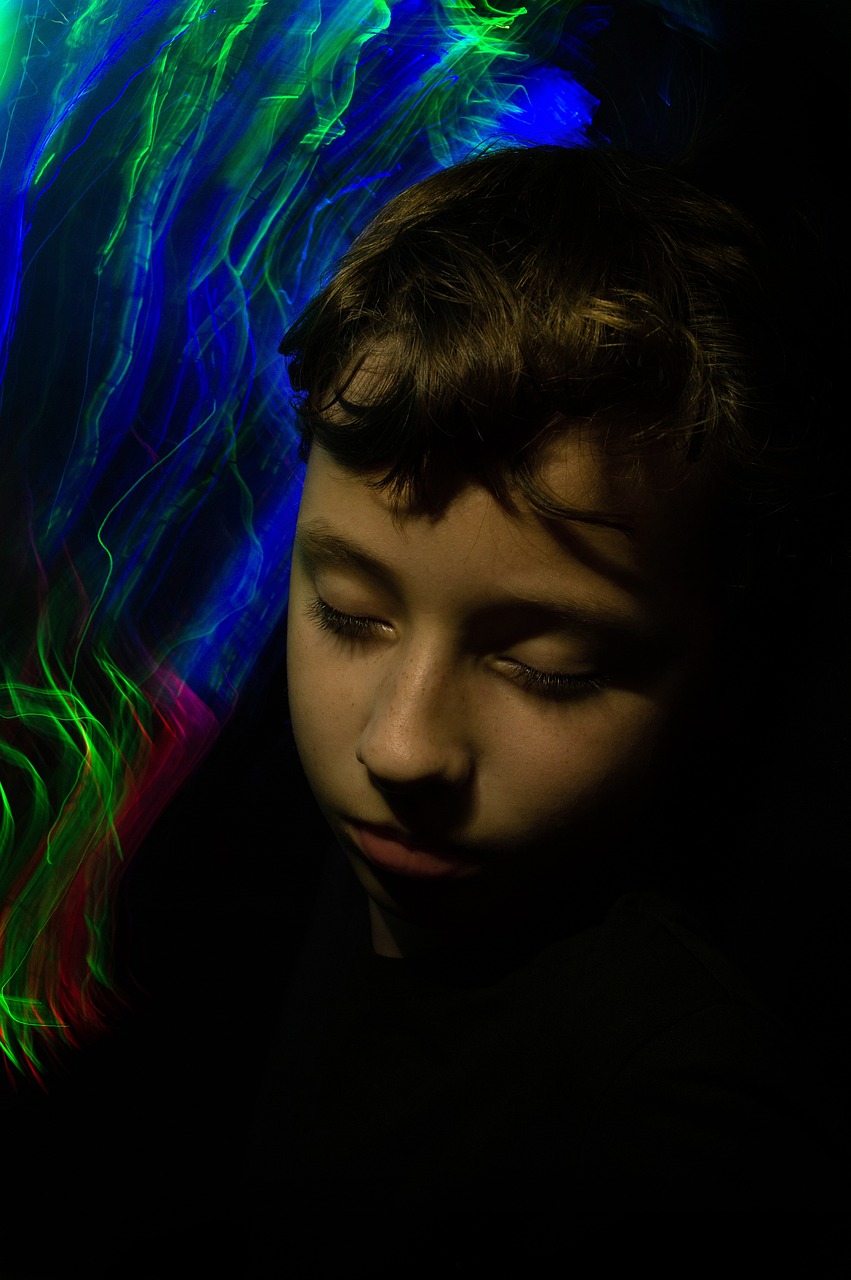
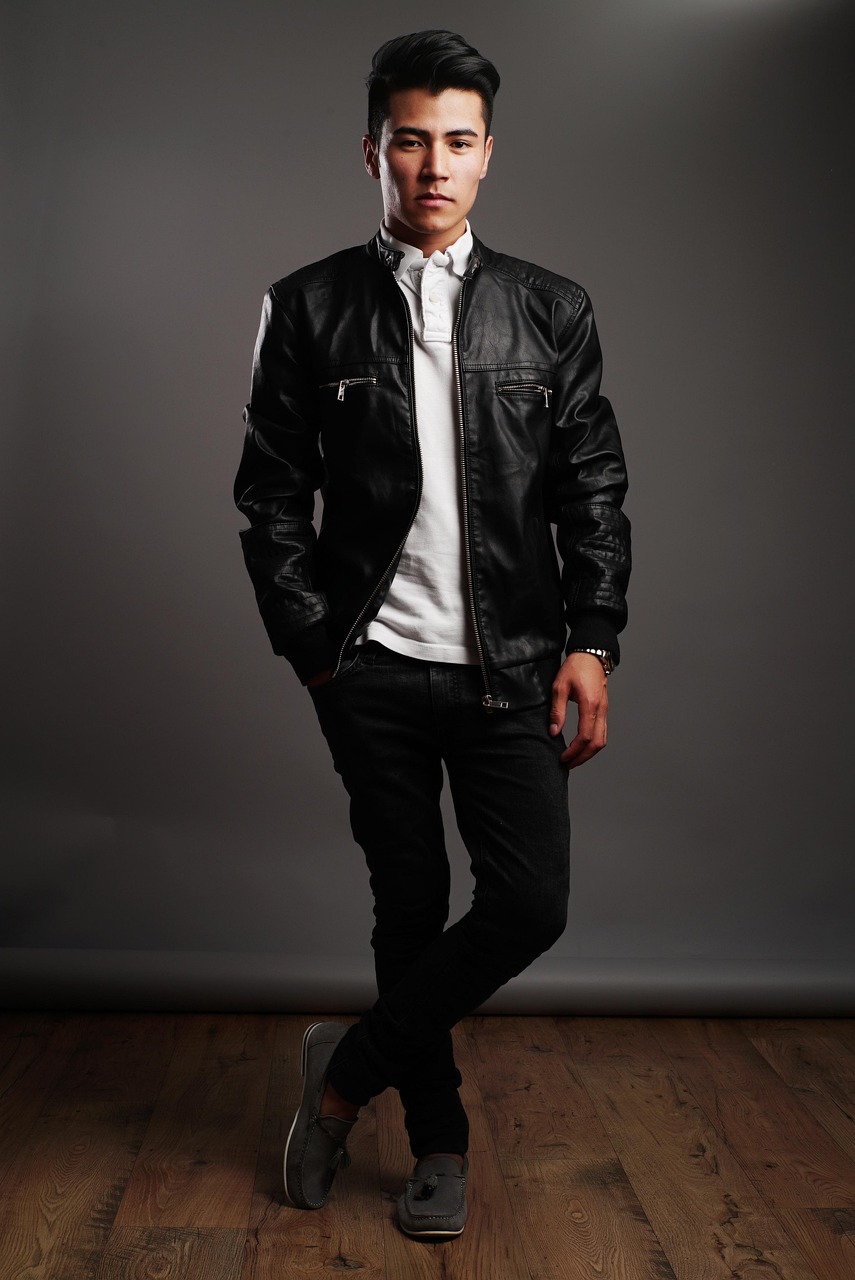
Rim lighting, also known as edge lighting or backlighting, is a technique where the subject is illuminated from behind, creating a glowing outline or “rim” around their silhouette. This technique is especially effective when used in contrast with a darker background, as it helps separate the subject from the background and adds a three-dimensional quality to the image.
Rim lighting can be achieved using natural light, studio lighting, or a combination of both. It’s important to note that while rim lighting can be used as the primary light source for a portrait, it is often used as a secondary or accent light to enhance the overall composition.
Why Rim Lighting Works
Rim lighting is so effective in portrait photography because it accomplishes several key objectives:
Separation from the Background
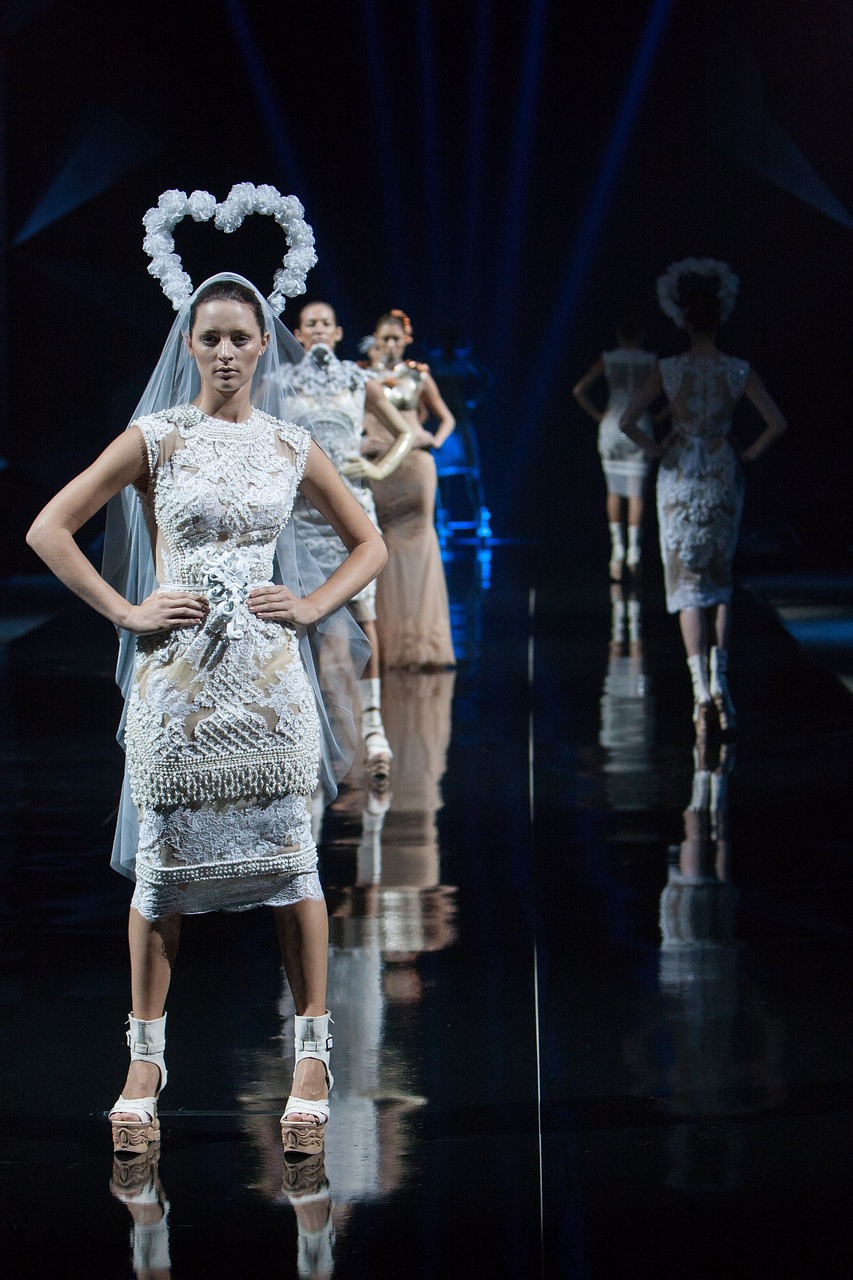
Rim lighting creates a clear separation between the subject and the background. This separation makes the subject stand out and appear more three-dimensional. It’s particularly useful when shooting against a dark or cluttered background, as it prevents the subject from blending into their surroundings.
Emphasis on Shape and Form
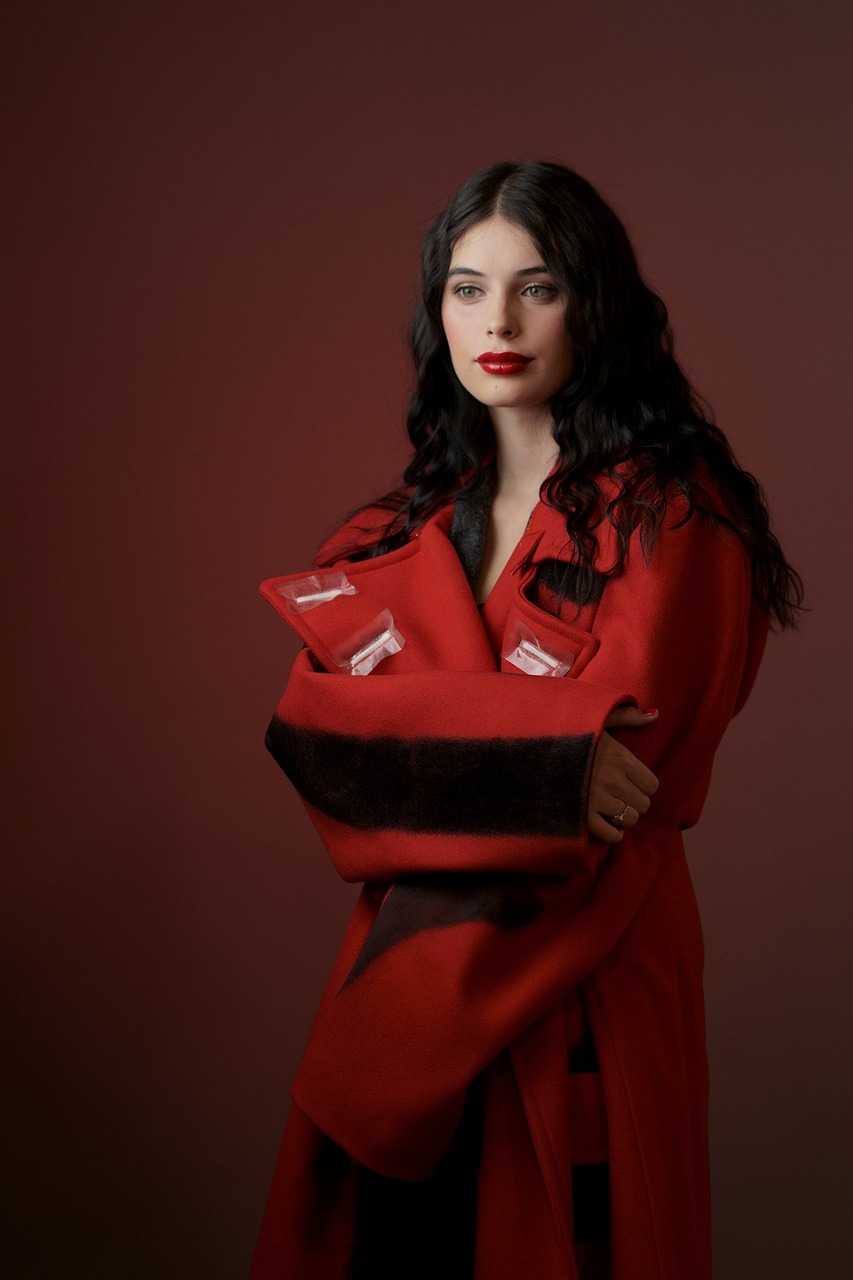
Rim lighting accentuates the shape and form of the subject. It highlights the contours of their face, body, and clothing, adding depth and dimension to the image. This is particularly beneficial for portraits where you want to emphasize the subject’s features or the details of their outfit.
Visual Interest and Drama
Rim lighting adds a sense of drama and visual interest to a portrait. The soft glow that surrounds the subject can create a sense of intrigue and draw the viewer’s eye. It can be especially effective when shooting portraits with a moody or cinematic style.
Flattering Effects
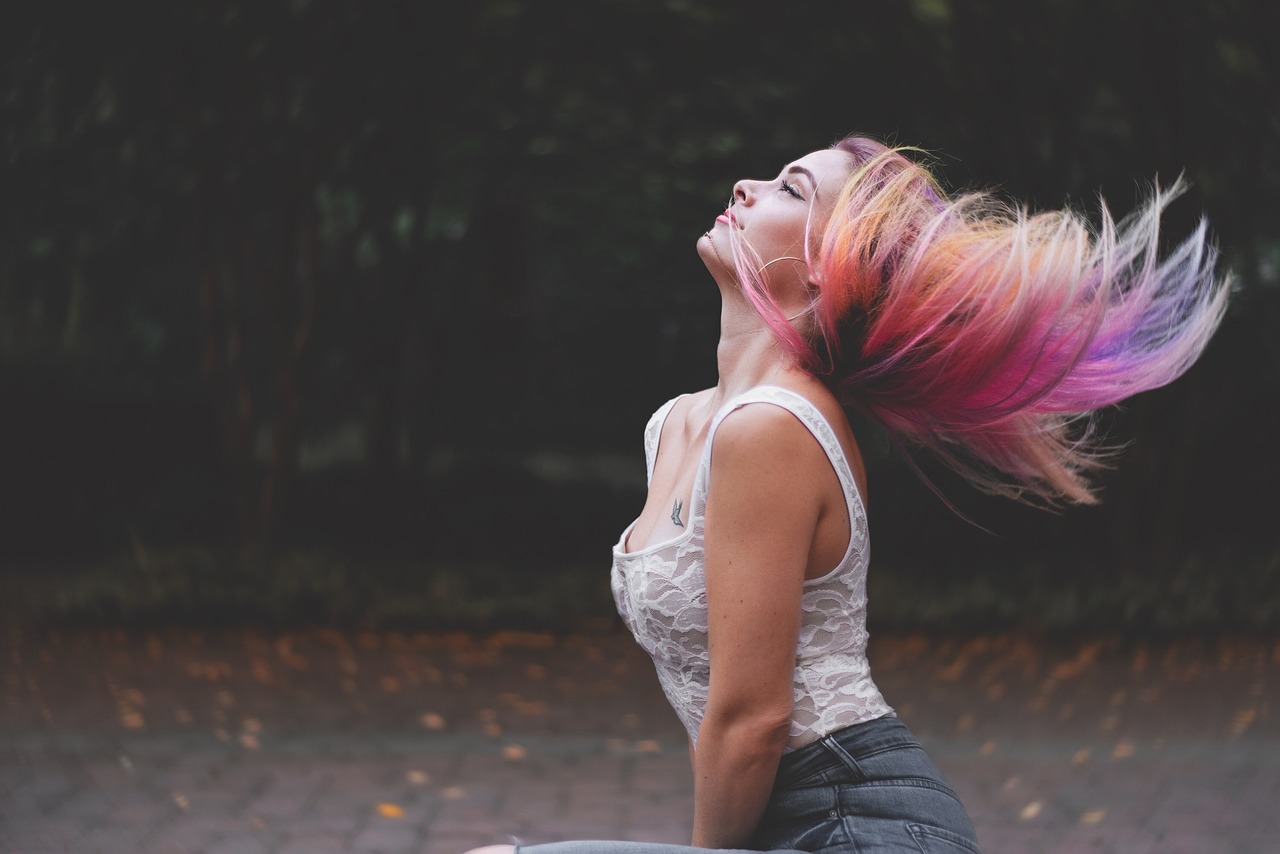
When used correctly, rim lighting can also have flattering effects on the subject’s appearance. It can soften skin imperfections and create a natural hair light that adds shine and depth to the subject’s hair.
How to Master Rim Lighting
Now that you understand why rim lighting is such a valuable technique in portrait photography, let’s discuss how you can master it:
Positioning the Light
Position your light source behind the subject and slightly to one side. This will create a rim of light along one side of the subject’s silhouette. The angle and distance of the light source can be adjusted to control the intensity and width of the rim.
Adjusting Light Intensity
The intensity of the rim light can be controlled by adjusting the power of your light source or the exposure settings on your camera. Experiment with different levels of intensity to achieve the desired effect.
Balance with Fill Light
To avoid underexposing your subject’s face, you may need to use a fill light or a reflector to add some front illumination. This will ensure that the subject’s features are visible and well-balanced with the rim light.
Consider the Background
Choose a background that complements the rim lighting effect. Dark backgrounds work exceptionally well, but you can also experiment with other backgrounds to achieve different moods and styles.
Use a Hair Light
In portrait photography, rim lighting is often accompanied by a hair light, which is positioned above and behind the subject. This adds a beautiful highlight to the subject’s hair, creating a natural shine.
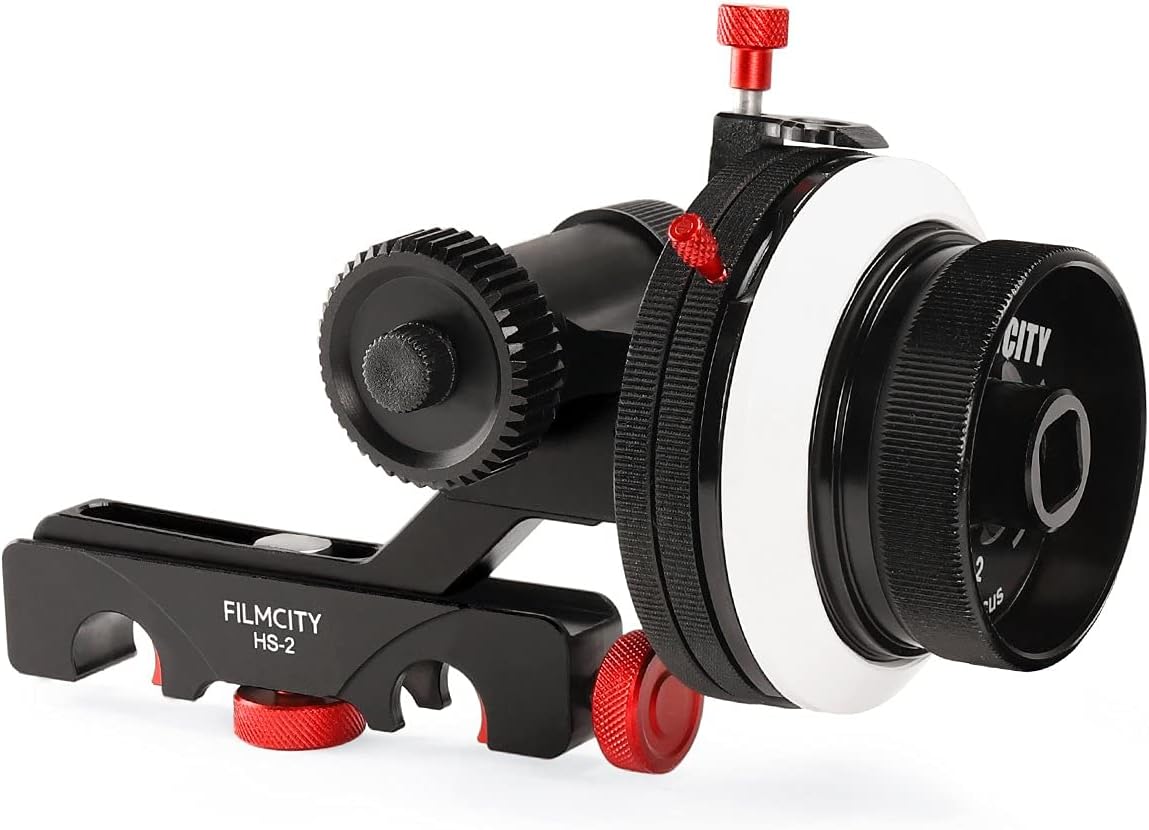
Choosing the Right Light Source
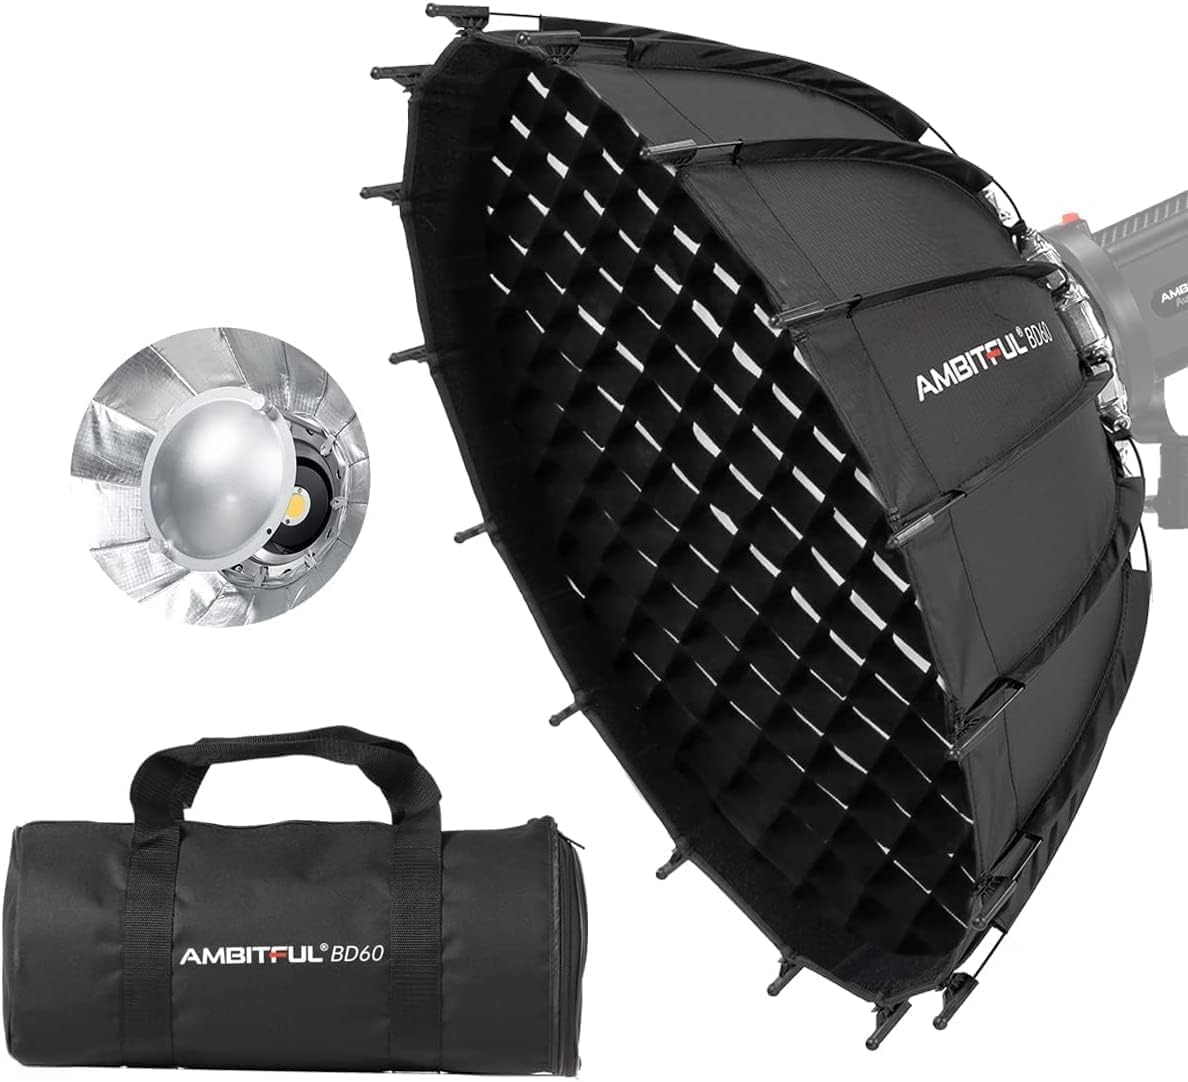
The type of light source you use can greatly affect the quality of your rim lighting. Continuous lights, such as LED panels or fluorescent bulbs, can provide a consistent and even rim light. On the other hand, strobe or flash lighting can create a more intense and precise rim effect. Experiment with different light sources to see which one suits your style and equipment best.
Controlling Light Spill
Rim lighting should primarily illuminate the subject’s edges without spilling onto their front. To achieve this control, consider using grids or snoots on your light source. These accessories help narrow the beam of light, preventing unwanted spillage onto the subject’s face or body.
Adjusting for Skin Tones
The color temperature of your rim light can influence the overall mood of your portraits. A warmer rim light can create a cozy and inviting atmosphere, while a cooler one can convey a sense of mystery. Experiment with different color gels or adjust the color temperature in post-processing to achieve the desired effect.
Rim Lighting for Silhouettes
Rim lighting can also be used to create captivating silhouette portraits. To do this, expose for the rim light itself, allowing the subject to become a dark silhouette against the bright background. This technique can produce striking, high-contrast images with a powerful visual impact.
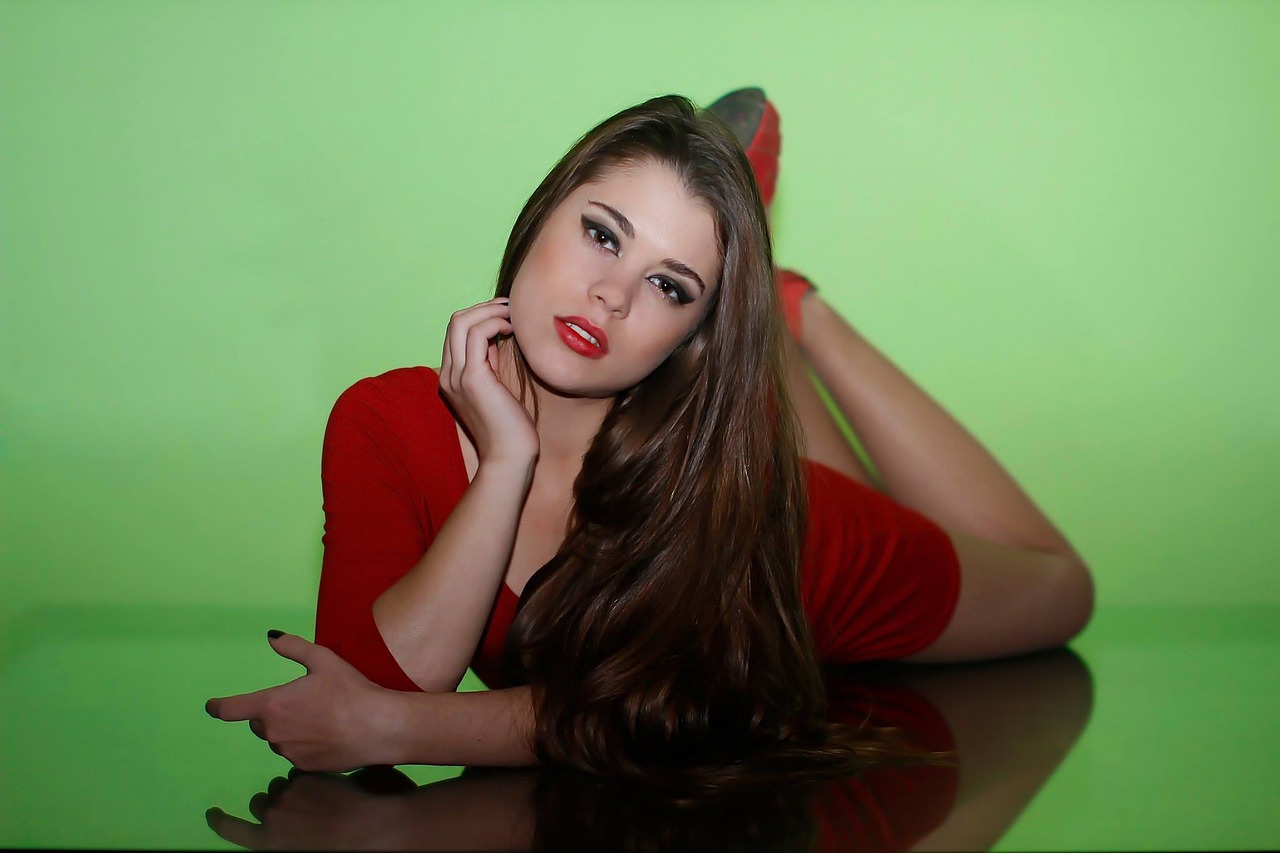
Experiment with Backdrops
While dark backgrounds are often favored for rim lighting, you can experiment with various backdrops to achieve different looks. For example, using a semi-transparent backdrop can produce a dreamy and ethereal effect as the rim light shines through. Alternatively, using textured or colored backgrounds can add unique elements to your portraits.
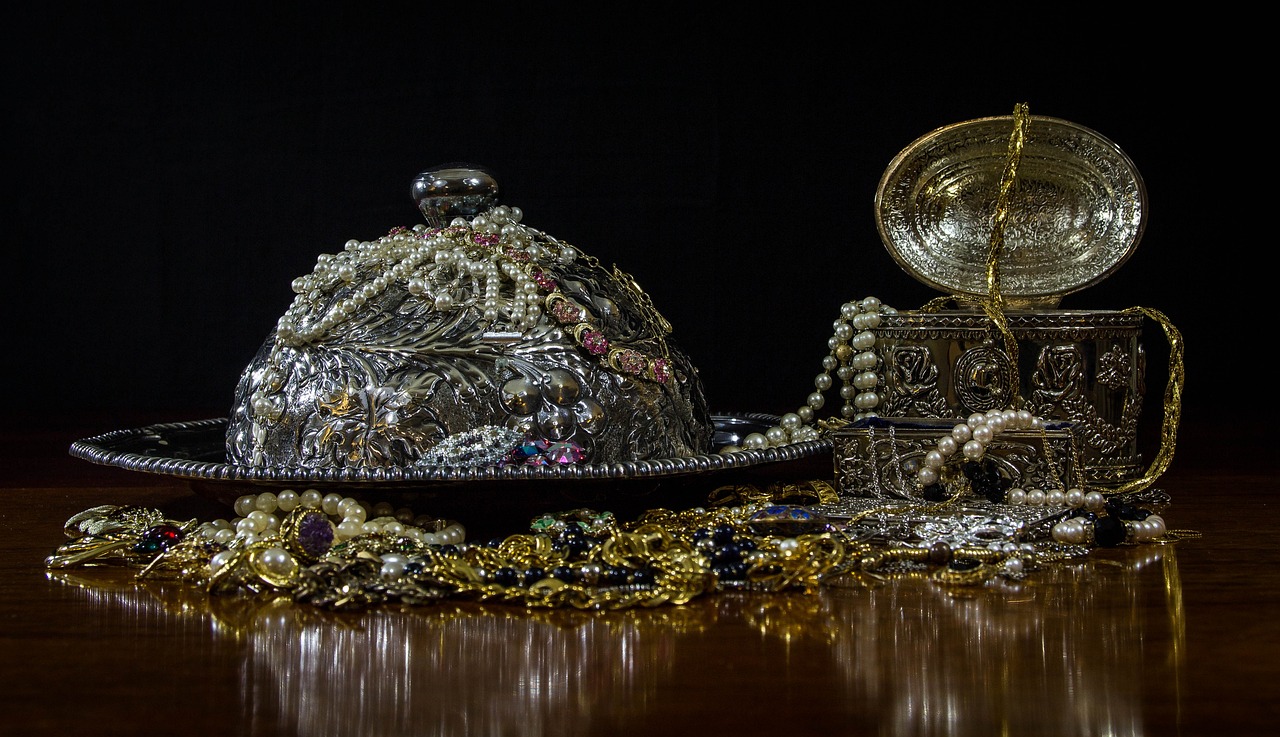
Incorporate Props and Accessories
Rim lighting can be a fantastic way to emphasize props, accessories, or details in your portraits. Whether it’s highlighting a hat, jewelry, or a particular pose, consider how the rim light can draw attention to these elements and enhance the storytelling aspect of your photographs.