


Powered mics for cameras
Powered microphones, also known as active microphones, are microphones that require an external power source to operate. They differ from standard microphones (passive microphones) that do not need any additional power and rely on the device they are connected to for power, such as cameras or audio recorders.
Powered microphones are commonly used in various audio recording situations, including on-camera applications. They offer several advantages over passive microphones, such as:
Improved signal-to-noise ratio: Powered microphones have built-in preamplifiers that boost the signal before it travels through the cable to the camera or recording device. This amplification helps reduce the impact of cable-related noise, resulting in cleaner audio recordings.
Longer cable runs: Active microphones can handle longer cable runs without significant signal degradation compared to passive microphones. This feature is useful in scenarios where the microphone needs to be placed further away from the recording device.
Compatibility with a wider range of devices: Since powered microphones do not rely on the camera’s or recorder’s internal preamp for amplification, they can work with a broader range of devices, including those with less capable preamps.
There are two main types of powered microphones used for camera applications:
Battery-powered microphones: These microphones have an internal battery that provides the necessary power for their operation. Users must ensure that the microphone has a charged battery before use, and it’s essential to monitor the battery level to avoid unexpected power loss during recording.
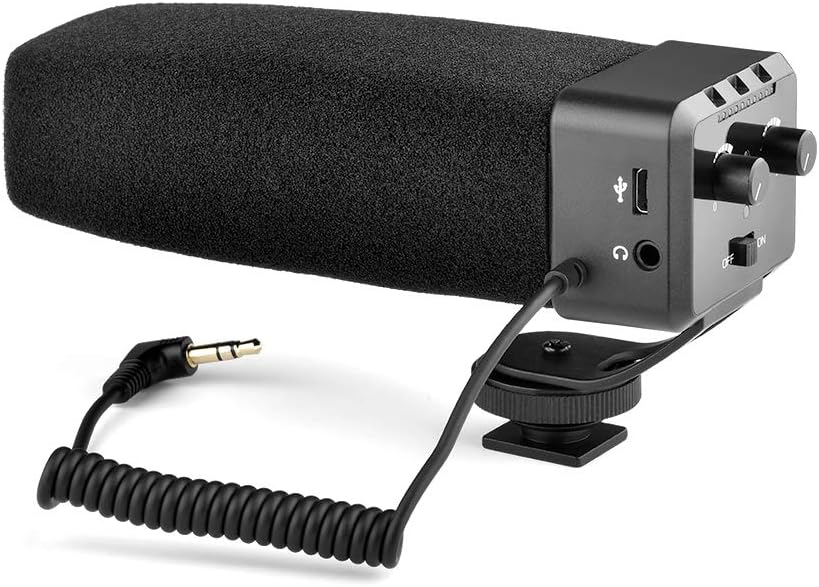
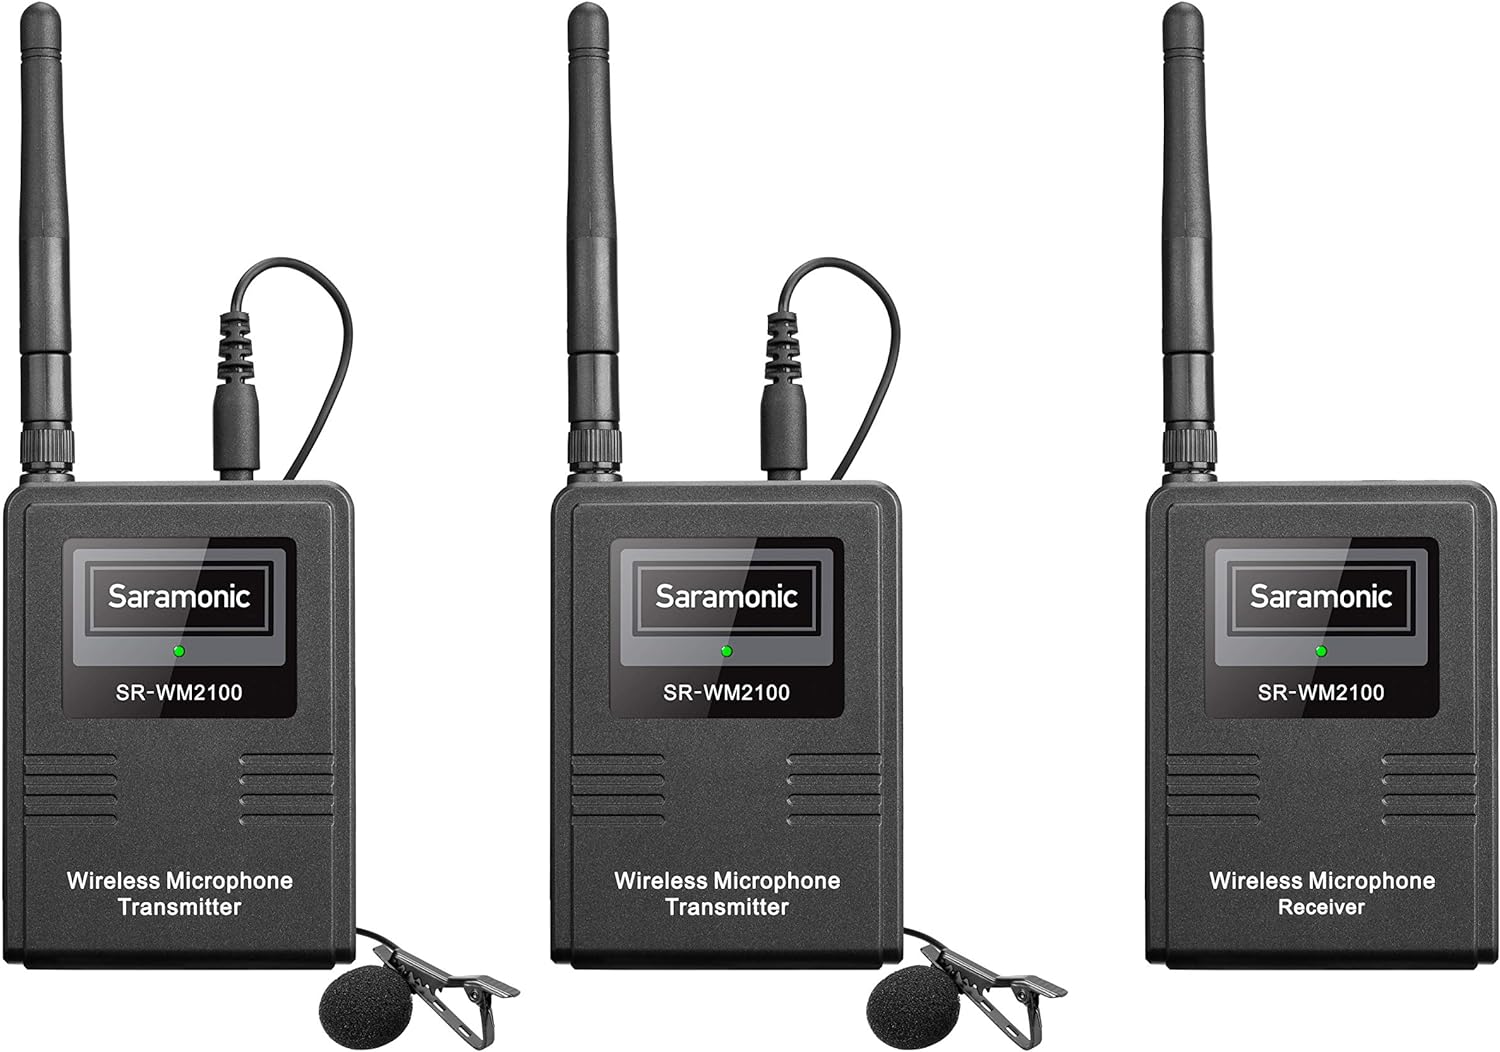
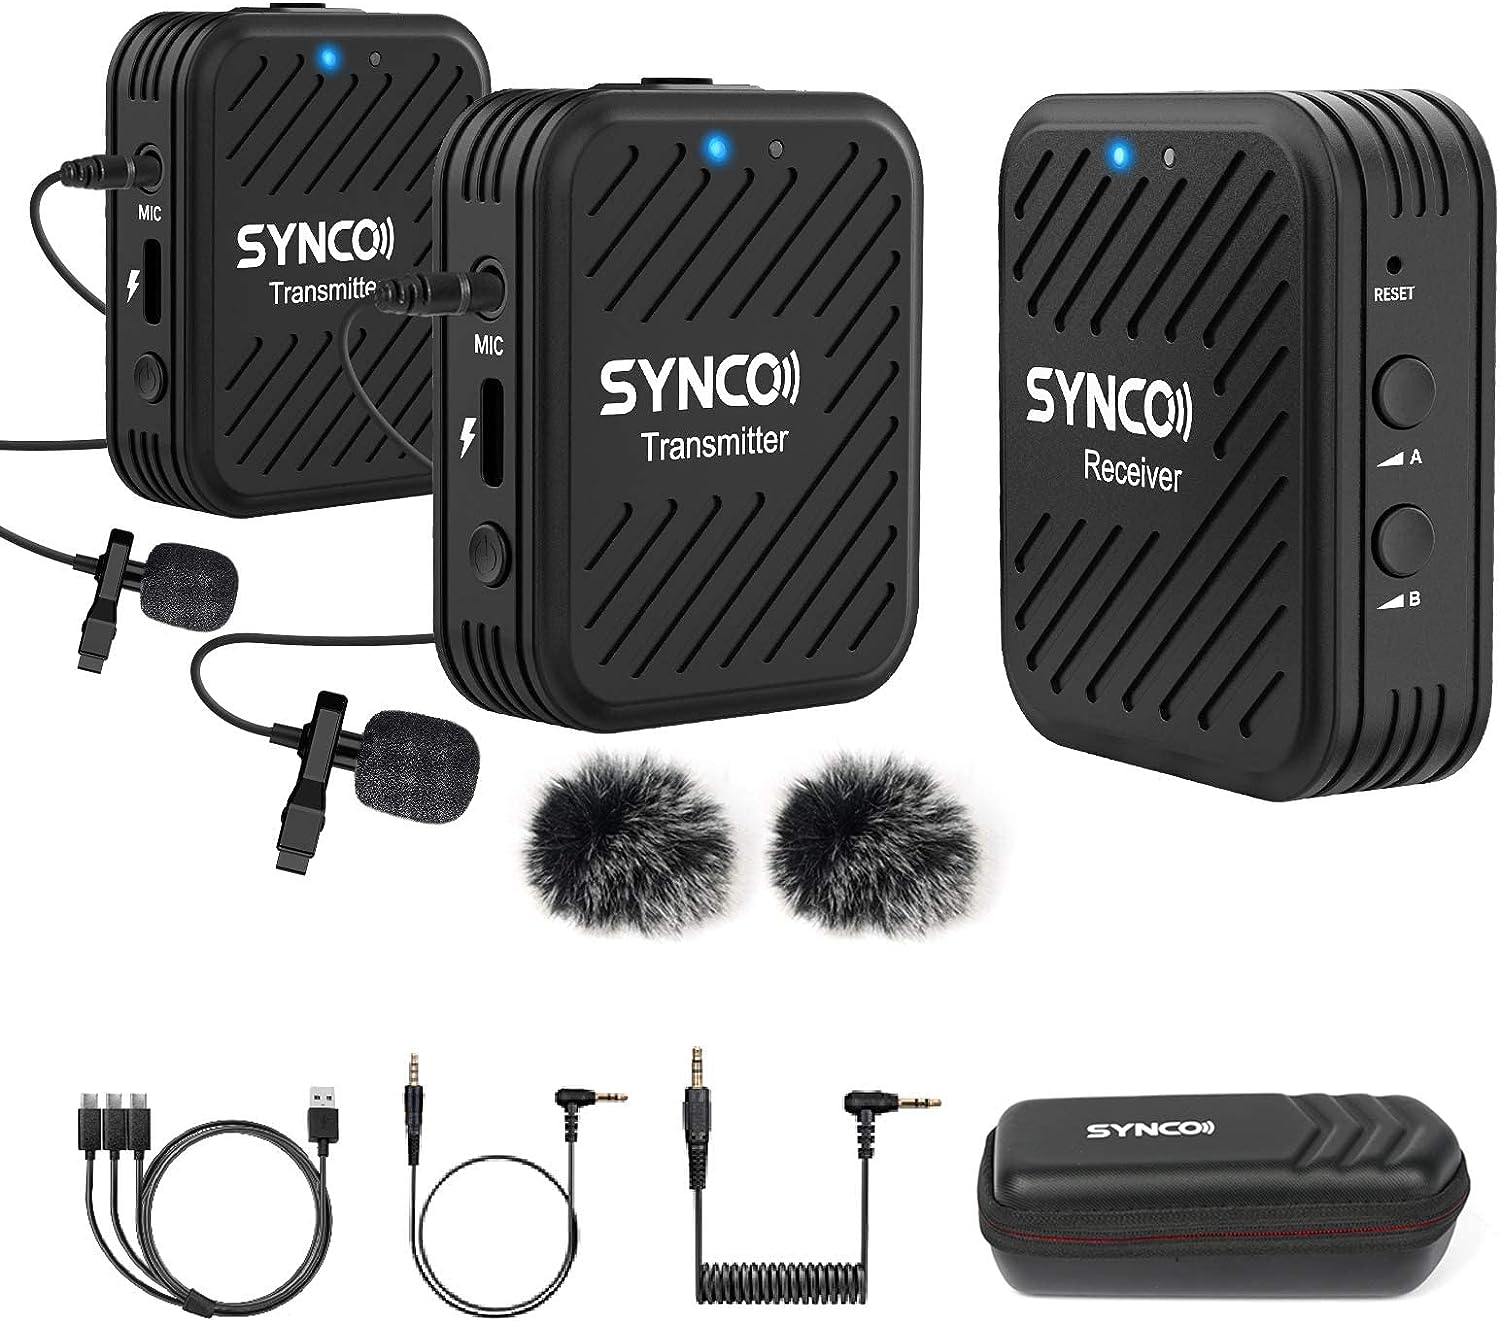
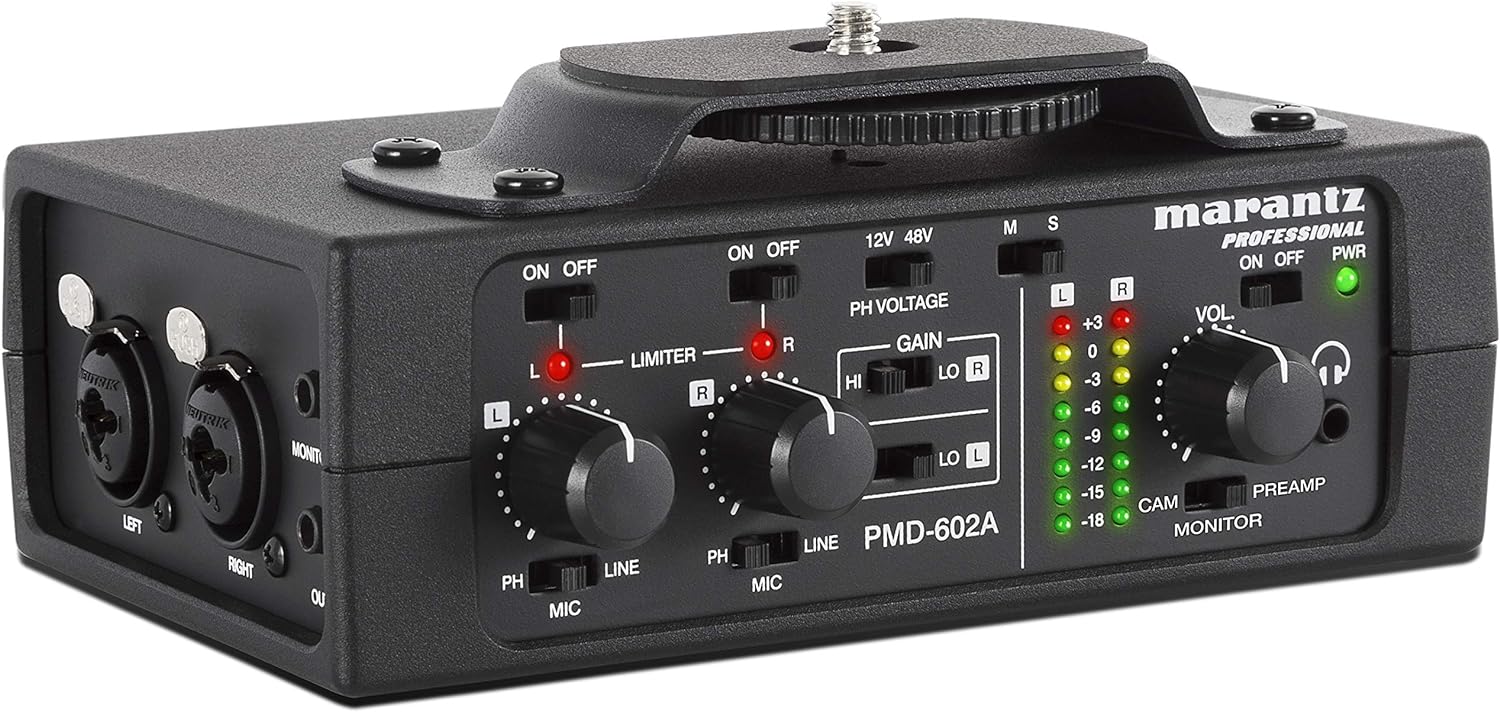
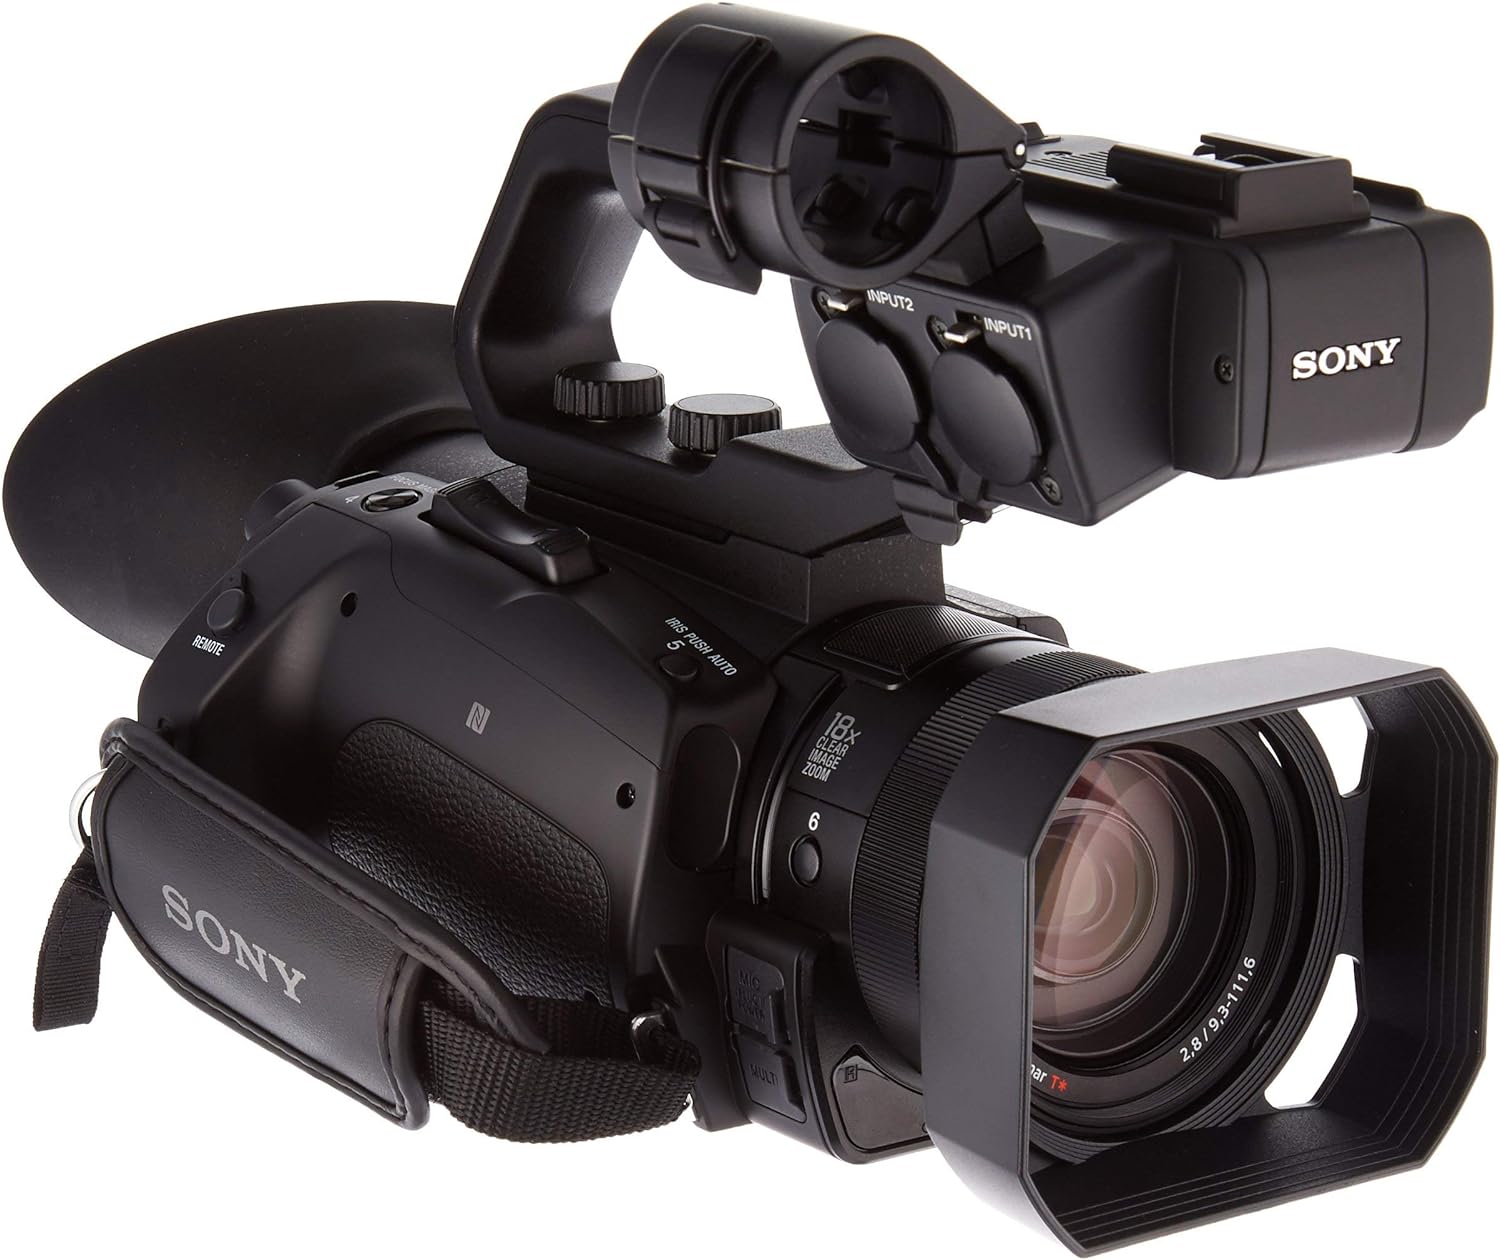
Phantom-powered microphones: Phantom power is a method of supplying power to microphones through the same audio cable used to transmit the audio signal. Most professional cameras and audio recorders provide phantom power through XLR connectors (usually 48V, though some devices offer lower voltages like 24V). Condenser microphones, including shotgun mics and lavalier mics, often use phantom power.
When using a powered microphone with your camera, it’s crucial to verify that the camera supports the type of power required (battery or phantom power) and whether the microphone’s connector (XLR, 3.5mm, or other) is compatible with the camera’s audio input.
Before purchasing a powered microphone, consider the specific requirements of your recording situation, the type of content you produce, and the compatibility with your camera or recording device. Always test the microphone with your equipment to ensure optimal performance and audio quality.
Microphone Types: Powered microphones come in various types, each suitable for specific recording scenarios:
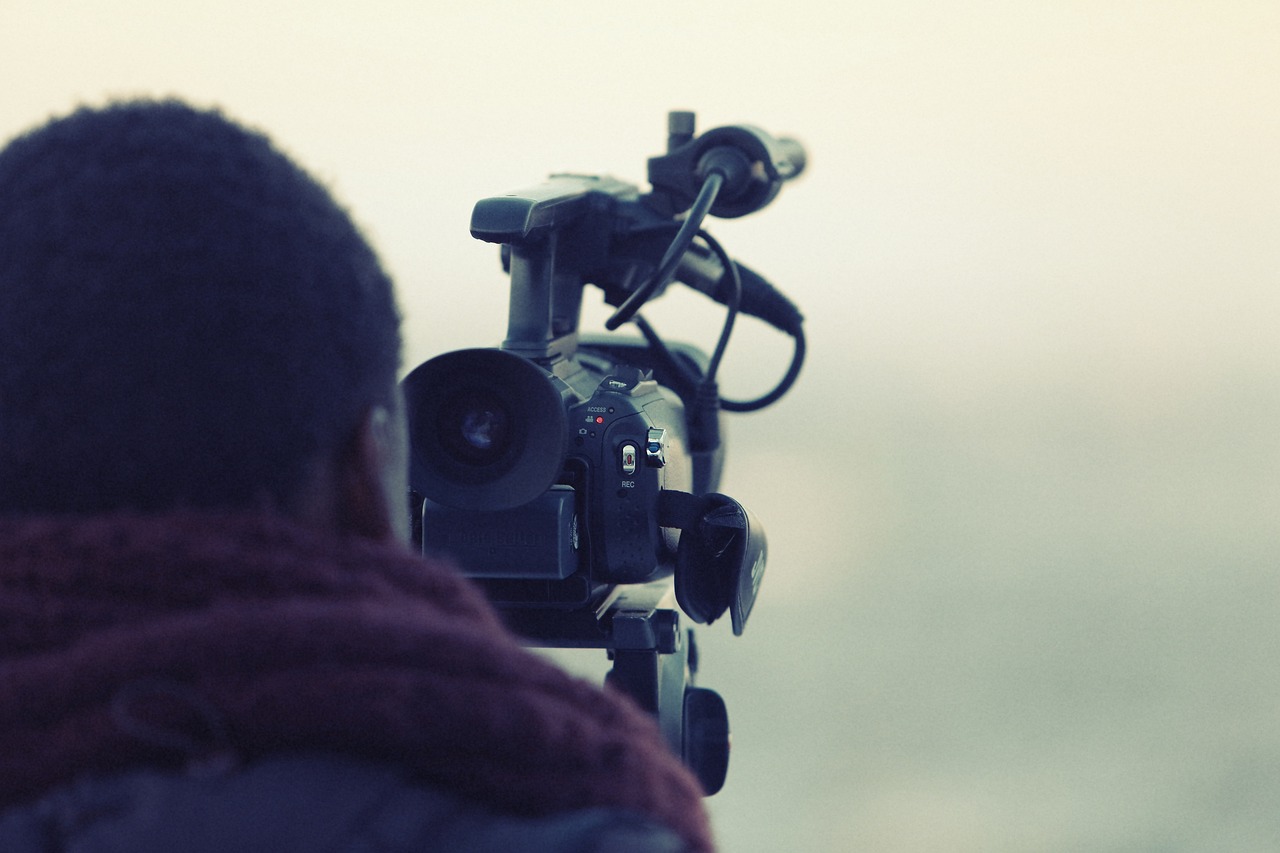
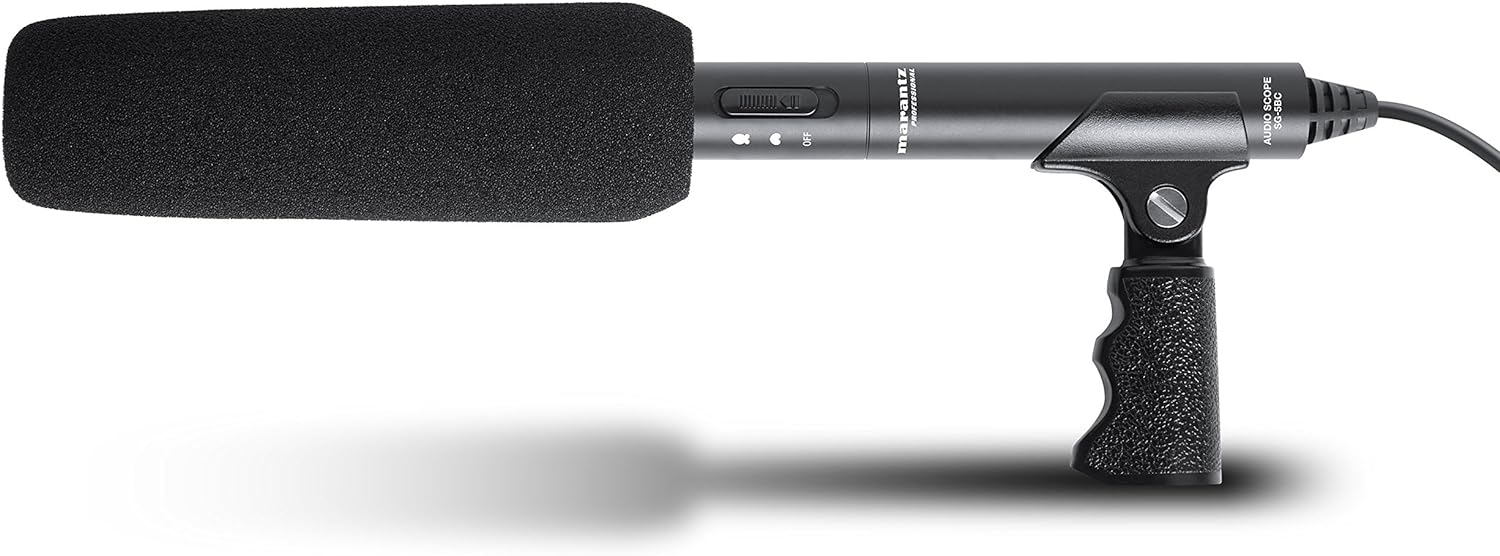
Shotgun Microphones: These directional microphones are popular for on-camera use, particularly in video production and filmmaking. They have a narrow pickup pattern that focuses on the sound source in front of the camera while reducing background noise.
Lavalier Microphones: These are small, clip-on microphones that are often used for interviews and presentations. They can be discreetly attached to the clothing of the speaker, allowing for hands-free operation.
Handheld Microphones: These microphones are commonly used in documentary-style filming or interviews. They offer good off-axis rejection, minimizing background noise.
Stereo Microphones: Some powered microphones come in a stereo configuration, providing a more immersive audio experience for certain video content, such as capturing ambient sounds or live music performances.
Battery Life: If you opt for a battery-powered microphone, be mindful of its battery life. High-quality microphones often have longer battery life, but it’s still essential to have spare batteries on hand, especially during extended recording sessions.
Phantom Power: When using phantom-powered microphones, ensure that your camera or audio recorder can supply the necessary phantom power. Most professional XLR inputs on cameras and recorders support phantom power, but it’s always good to double-check.
Preamp Quality: While powered microphones have built-in preamps that help improve the signal-to-noise ratio, the quality of these preamps can vary. Some higher-end microphones may have superior internal preamps that offer even better audio performance.
Shock Mounts and Wind Protection: Consider investing in a shock mount for your microphone to reduce handling noise and vibrations. Additionally, wind protection (such as foam windscreens or furry windshields, also known as “deadcats”) can be essential when recording outdoors to minimize wind noise.
Audio Monitoring: For professional video production, consider using headphones to monitor the audio during recording. This way, you can catch any potential issues (e.g., low battery, interference, or wind noise) early on and ensure you’re getting the best possible sound.
Post-Processing: While powered microphones generally offer better audio quality, some post-processing may still be required to fine-tune the audio and remove any remaining noise or imperfections. Audio editing software can be used to enhance the final sound.
Budget Considerations: Powered microphones vary in price, depending on the type, brand, and features. Set a budget that aligns with your recording needs, and consider investing in a quality microphone that will last longer and provide better audio results.
Always do thorough research and read reviews before purchasing a powered microphone. Additionally, consider seeking advice from experienced filmmakers, content creators, or audio professionals to find the best microphone for your specific camera and recording requirements. A well-chosen powered microphone can significantly enhance the audio quality of your videos and make your content more engaging and professional.
Choose the Right Microphone: Select a microphone that suits your specific recording needs and the type of content you produce. Consider factors such as the environment you’ll be recording in, the type of sound sources you’ll capture, and whether you need a directional or omnidirectional microphone.
Test Your Microphone Setup: Before starting any important recording, test your microphone setup to ensure everything is working correctly. Check for any potential interference, adjust levels, and listen for background noise or unwanted artifacts.
Use Headphones for Monitoring: Always use headphones to monitor the audio during recording. This helps you catch any issues with the audio quality, such as low battery, wind noise, or unwanted background sounds.
Check Battery Life: If using a battery-powered microphone, make sure to check the battery level before each recording session. Always carry spare batteries or have a charging solution available to avoid running out of power unexpectedly.
Properly Position the Microphone: Position the microphone close to the sound source while considering the desired audio characteristics. For instance, a shotgun microphone should be aimed at the subject for clear audio, while an omnidirectional microphone may be more forgiving regarding positioning.
Reduce Handling Noise: Use a shock mount or isolation system to minimize handling noise, especially if the camera or microphone will be handheld or moved during recording.
Use Wind Protection: When recording outdoors, use wind protection such as foam windscreens or furry windshields (deadcats) to minimize wind noise and improve the audio quality.
Avoid Interference: Keep your microphone away from sources of electromagnetic interference, such as wireless devices or power cables. Such interference can introduce unwanted noise into your recordings.
Maintain Good Mic Technique: If you are using a lavalier microphone, educate the talent or speaker on proper mic placement to ensure consistent and clear audio.
Record Room Tone: Before or after recording your main audio, capture a few seconds of ambient room tone. This will serve as a reference for post-processing and can help in reducing background noise during editing.
Be Mindful of Background Noise: Try to record in quiet environments when possible. If you can’t avoid background noise, pause recording during noisy periods and resume when it’s quieter.
Record Dual Audio: For critical projects, consider recording audio separately using an external audio recorder along with the camera’s internal microphone. This provides a backup in case of any issues with the primary audio recording.
Post-Processing: After recording, edit and process the audio in a digital audio editing software to improve its quality. Remove any remaining noise, adjust levels, and apply EQ or compression if necessary.
Practice and Learn: Experiment with your microphone and recording techniques. Practice improves your skills and allows you to understand how your microphone responds to different situations.
Remember, audio quality can significantly impact the overall production value of your videos. Investing time and effort into capturing clear and professional audio will enhance your content and keep your audience engaged.