


Night Sky Photography with Light Pollution Filters
Night sky photography with light pollution filters is a technique used by photographers to capture stunning images of the night sky while minimizing the interference caused by artificial light sources, such as streetlights and urban glow. Light pollution can make it challenging to capture clear and detailed shots of stars, the Milky Way, and other celestial objects. Light pollution filters are designed to block specific wavelengths of light and enhance the visibility of astronomical objects.
Here’s some useful information about night sky photography with light pollution filters:
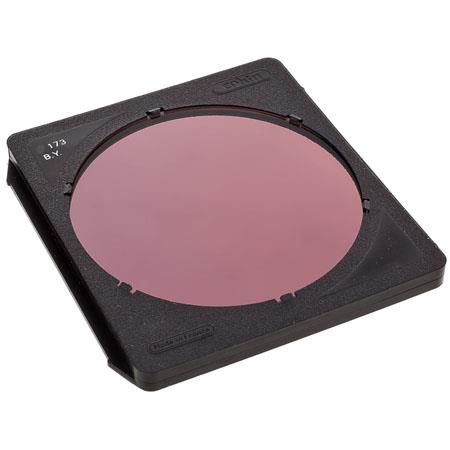
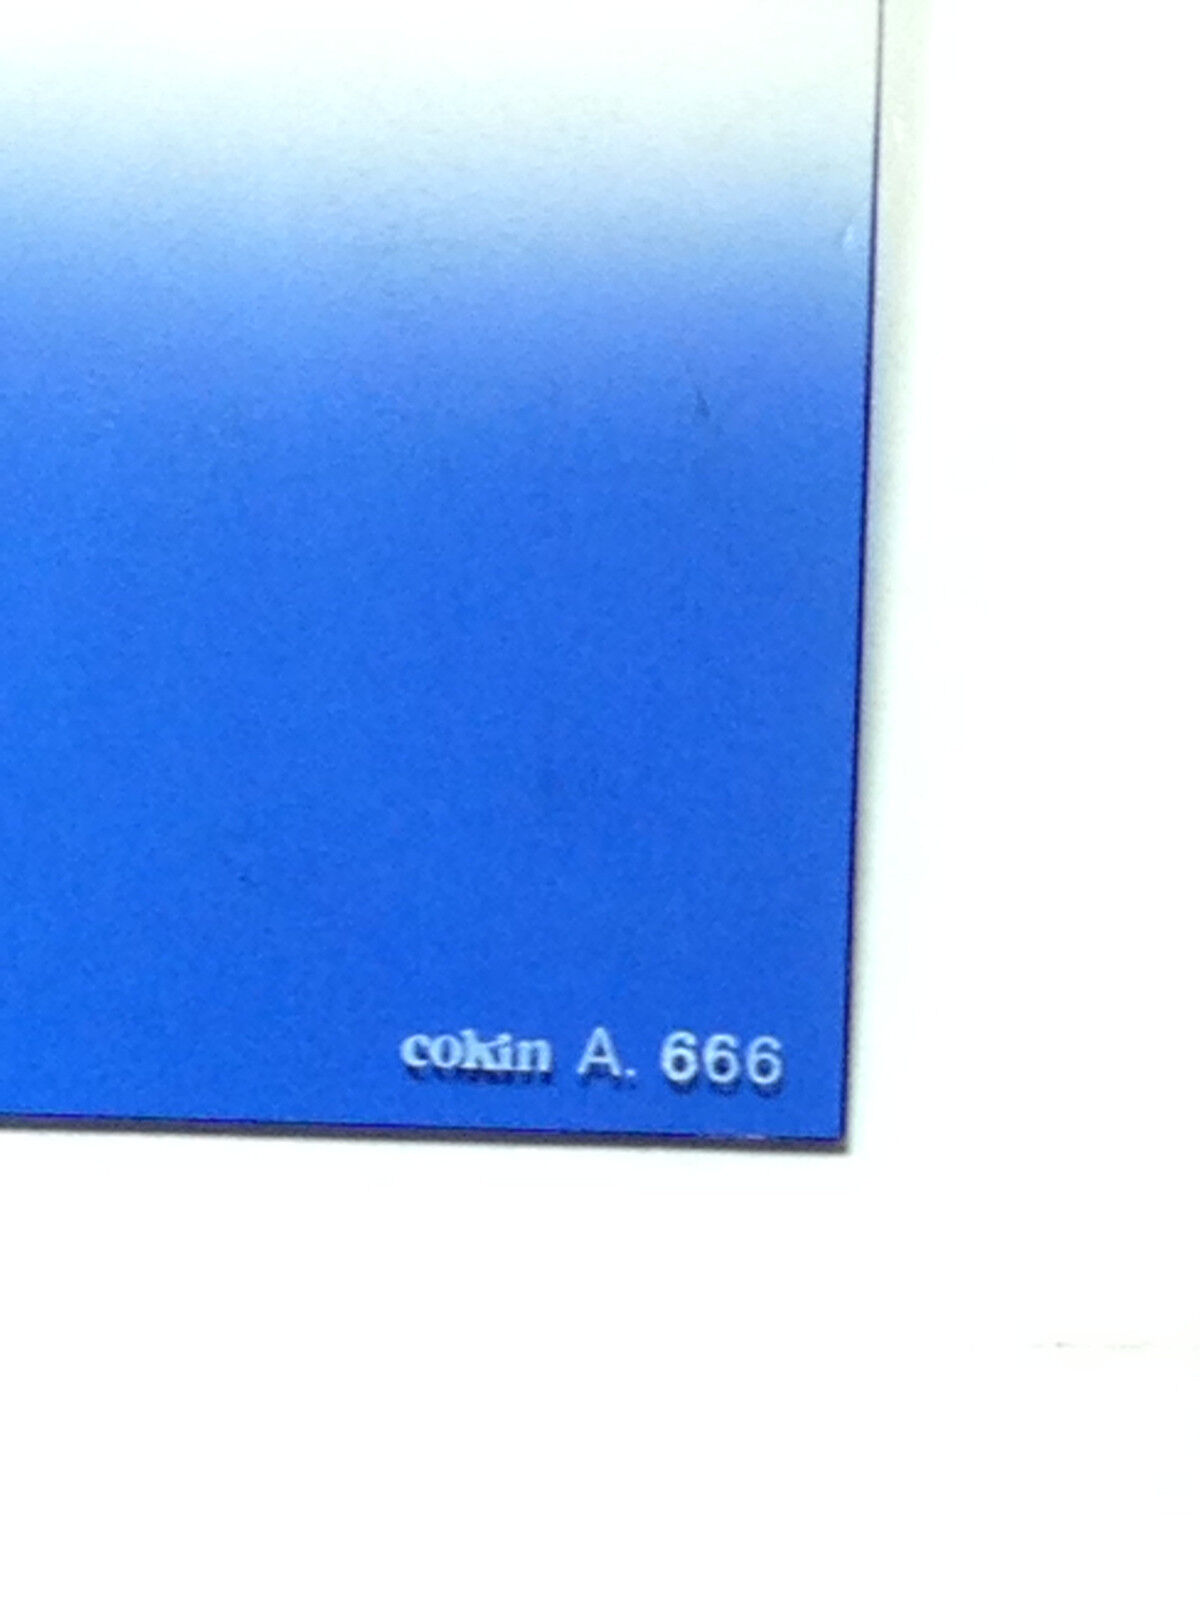
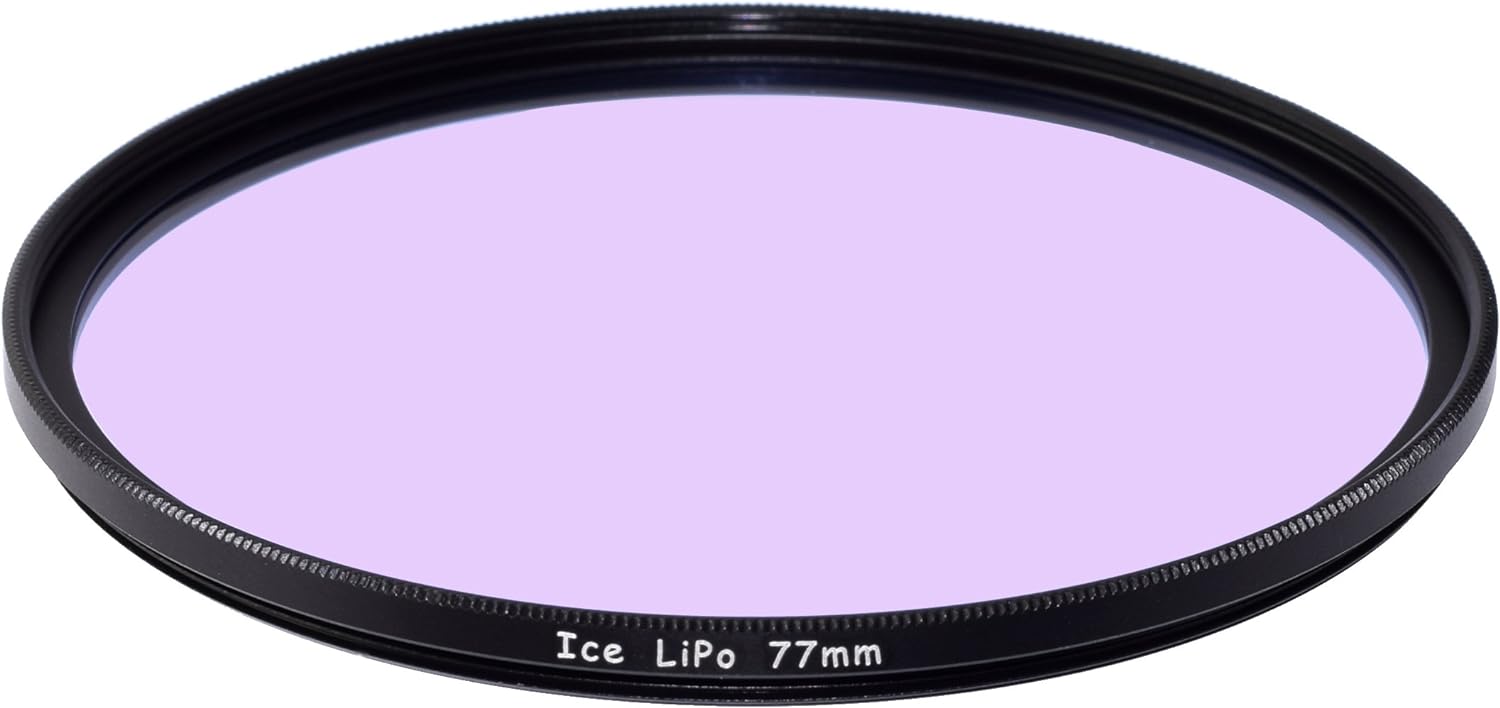
Types of Light Pollution Filters: There are different types of light pollution filters available, but the most commonly used ones are light pollution reduction (LPR) filters and light pollution suppression (LPS) filters. LPR filters work by reducing the overall brightness of the scene, while LPS filters target specific wavelengths of light that are commonly associated with artificial light sources.
Advantages of Light Pollution Filters: By using light pollution filters, photographers can significantly improve the visibility of stars, nebulae, and other celestial objects, even in areas with high light pollution. These filters help to block the unwanted light, allowing only the natural light from the night sky to pass through, resulting in clearer and more detailed images.
Camera Requirements: To achieve successful night sky photography, you’ll need a camera capable of manual settings, such as adjusting shutter speed, aperture, and ISO. A camera with good low-light performance, such as a DSLR or mirrorless camera, is ideal for this type of photography.
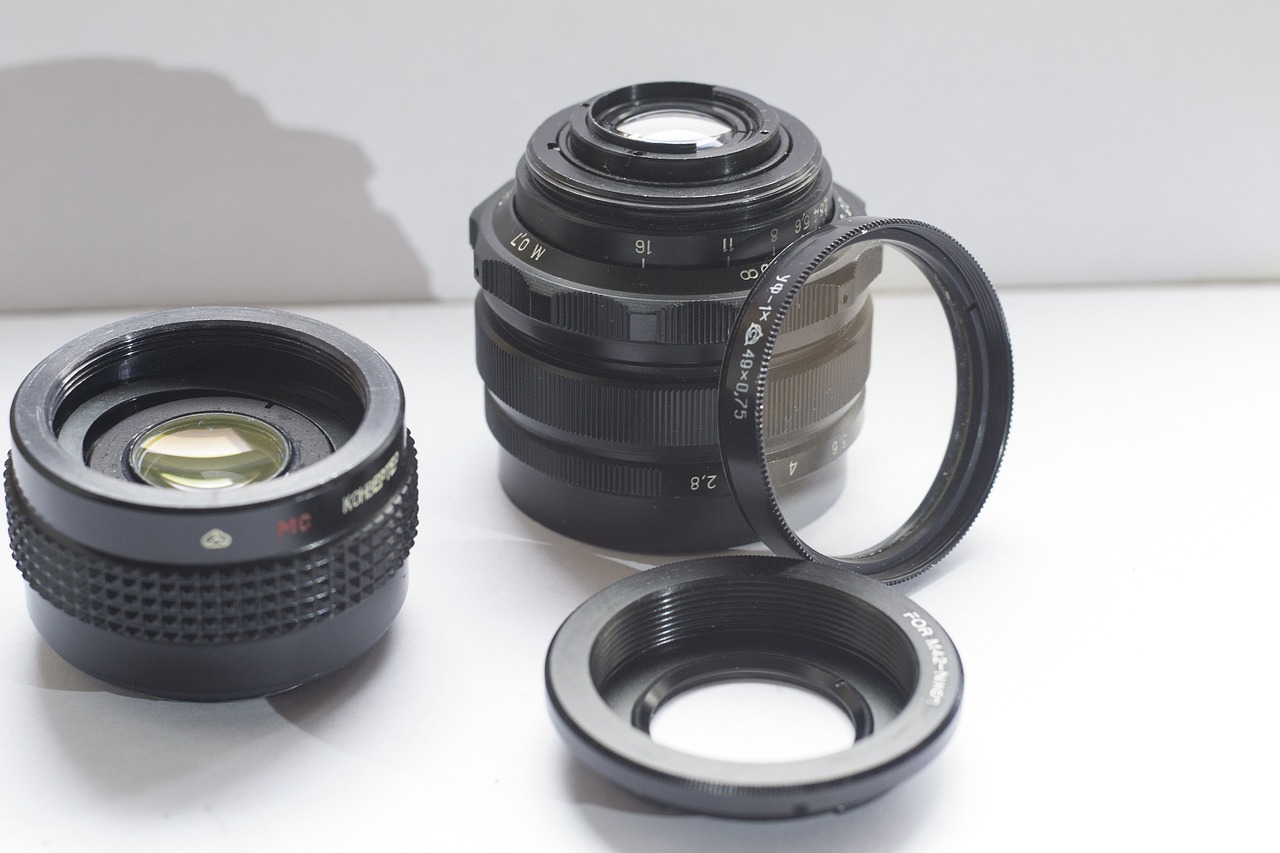
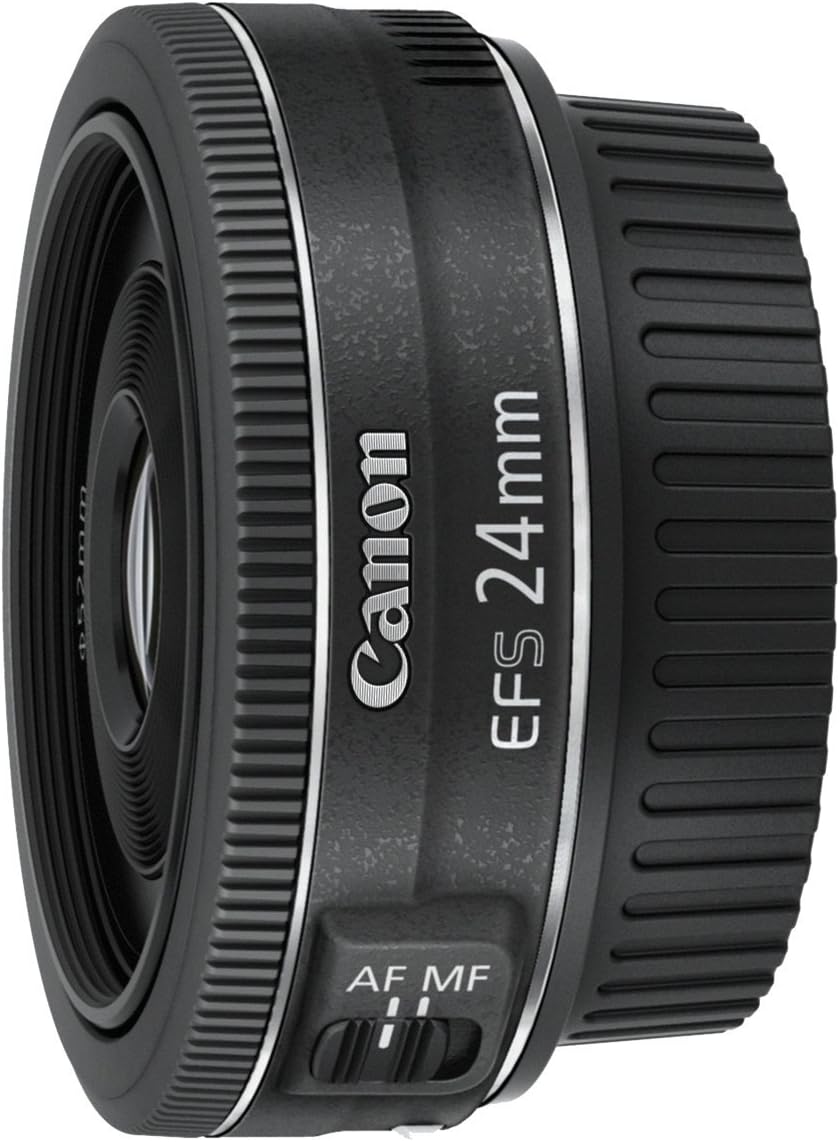
Lens Selection: A wide-angle lens with a low aperture (e.g., f/2.8 or lower) is typically used for capturing night sky scenes. Wide-angle lenses allow you to capture more of the night sky and gather more light in your images.
Tripod and Remote Shutter Release: To avoid camera shake during long exposure shots, a sturdy tripod is essential. A remote shutter release or a camera’s built-in timer can help minimize vibrations when capturing long-exposure shots.
Settings and Techniques: Night sky photography often involves long exposure times, ranging from a few seconds to several minutes. To capture the stars as pinpoints of light, use the “500 Rule” as a guideline: Divide 500 by the focal length of your lens to determine the maximum exposure time without star trailing. For example, with a 24mm lens, the maximum exposure time would be around 20 seconds (500 / 24 ≈ 20.8). Adjust your settings based on the amount of light pollution and the desired effect.
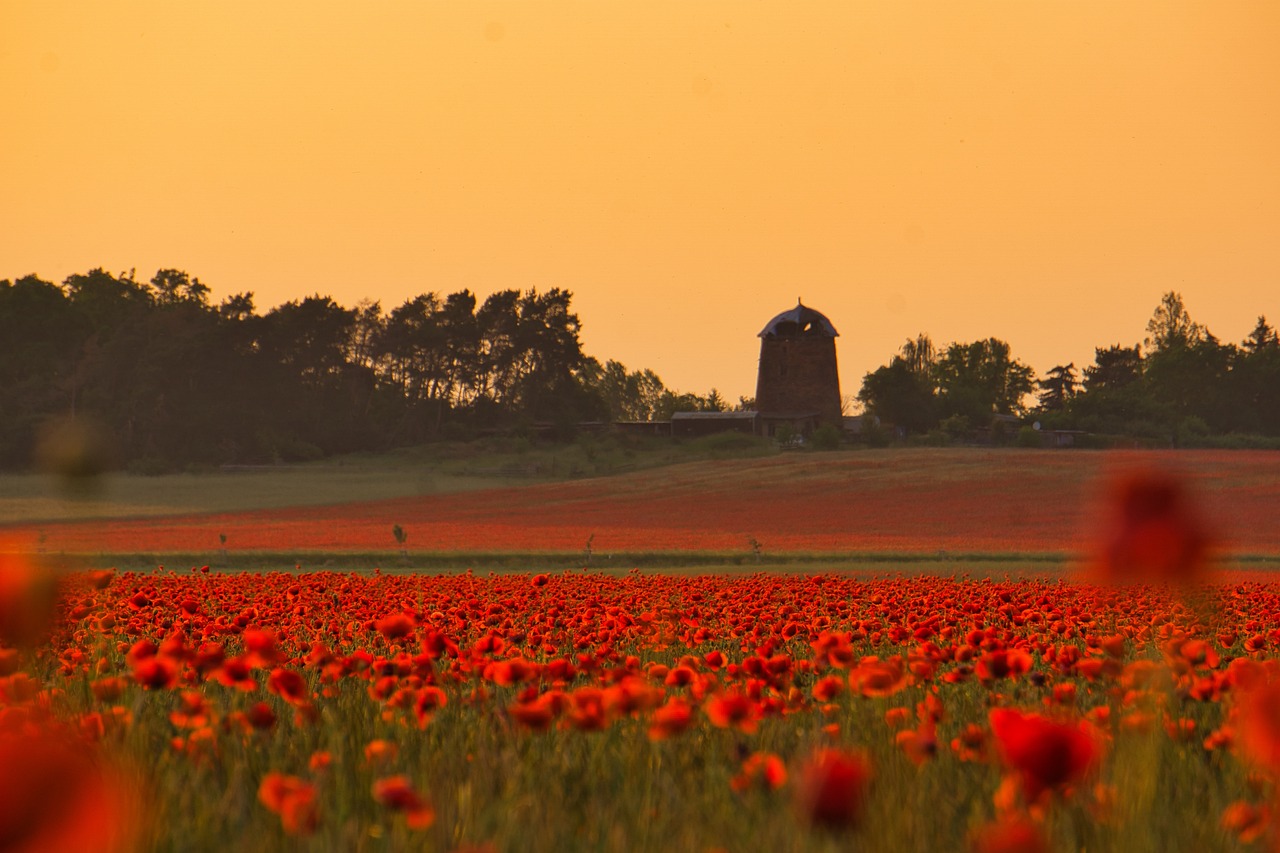
Location and Timing: To achieve the best results, choose a location away from bright urban areas. Remote places with clear skies and minimal light pollution are ideal. Additionally, shooting during the new moon phase, when the sky is darkest, will enhance the visibility of stars and the Milky Way.
Remember that night sky photography with light pollution filters requires practice and experimentation to achieve the desired results. It’s essential to be patient and adjust your camera settings and compositions to get the best shots. Happy shooting!