

Mastering Advanced Photography Techniques with Mylar Backgrounds and Star Filters

We explore the realm of advanced photography techniques that will elevate your creative vision and expand the possibilities of your imagery. In this book, we delve into the art of using Mylar for backgrounds and star filters to add a touch of magic to your photographs.
Understanding Mylar
What is Mylar?
Mylar, a brand name for biaxially-oriented polyethylene terephthalate (BoPET), is a versatile and widely-used material with unique properties that make it invaluable in various industries, including photography. Let’s delve into the definition and characteristics of Mylar.
Definition and Characteristics
Mylar Defined:
Mylar is a transparent, polyester film known for its high tensile strength, chemical stability, and exceptional clarity. Developed by DuPont in the 1950s, it has since become a popular material due to its diverse range of applications.
Characteristics of Mylar:
Transparency:
Mylar is highly transparent, allowing light to pass through with minimal distortion. This transparency makes it an excellent choice for creating backgrounds in photography.
Tensile Strength:
One of Mylar’s standout features is its impressive tensile strength. This quality ensures that the material remains durable and resistant to tearing, crucial for its use in photographic setups.
Chemical Stability:
Mylar exhibits excellent chemical stability, meaning it is resistant to degradation from exposure to various chemicals. This stability contributes to the material’s longevity and reliability in different environments.
Dimensional Stability:
Mylar maintains its shape and size, even under different temperatures and humidity levels. This dimensional stability is crucial for ensuring consistent results when using Mylar in photography setups.
Reflectivity:
While Mylar is generally transparent, it also possesses reflective qualities. This reflectivity can be harnessed in photography setups to manipulate and enhance lighting conditions.
Ease of Handling:
Mylar is a lightweight and flexible material, making it easy to handle and manipulate for various creative applications. Photographers can experiment with different setups and configurations without encountering cumbersome challenges.
Choosing the Right Mylar for Photography
Once you comprehend the basic characteristics of Mylar, the next step is to carefully select the right type of Mylar for your photography needs. In this section, we will explore key considerations such as thickness, durability, reflectivity, and diffusion properties.
Thickness:
Choosing the appropriate thickness of Mylar is crucial for achieving the desired level of durability and flexibility. Mylar films come in various thicknesses, typically measured in micrometers (microns) or mils. Thicker Mylar is generally more durable but may be less flexible. Consider the following factors when selecting the thickness:
Intended Use:
Thicker Mylar (greater than 2 mils) is suitable for durable backdrops that require minimal handling.
Thinner Mylar (around 1 mil) is ideal for more flexible applications, such as portable setups or artistic manipulations.
Handling Frequency:
For setups that remain relatively static, thicker Mylar provides longevity.
If frequent adjustments or portability are essential, opt for a thinner and more pliable option.
Durability:
The durability of Mylar is directly related to its thickness and overall quality. Consider the environmental conditions and usage demands of your photography projects:
Environmental Factors:
If shooting in challenging environments with varying temperatures and humidity, choose a Mylar with high dimensional stability.
Longevity:
For long-term installations, select a Mylar with a thicker gauge and enhanced durability to withstand wear and tear.
Reflectivity:
Mylar’s reflective properties contribute significantly to its use in photography. Understanding reflectivity is crucial for manipulating light in your shots:
High Reflectivity:
Opt for Mylar with high reflectivity for creating bright and vibrant backgrounds.
Enhance studio lighting by strategically positioning Mylar sheets to bounce and diffuse light.
Diffusion Properties:
The diffusion properties of Mylar play a role in softening and spreading light:
Diffusion Levels:
Choose Mylar with diffusion properties that align with your desired lighting effects.
Experiment with the distance between Mylar and your subject to control the degree of diffusion.
By carefully considering these factors, you can tailor your choice of Mylar to meet the specific demands of your photography projects, ensuring optimal results in both durability and visual impact.
Creating a Mylar Setup
With a solid grasp of Mylar’s characteristics and how to choose the right type, it’s time to explore the practical aspects of creating Mylar setups for your photography endeavors. This chapter will guide you through crafting DIY Mylar backgrounds and portable setups for on-location shoots.
Materials Needed:
Creating your own Mylar backgrounds is a cost-effective way to add a touch of uniqueness to your studio. Here’s what you’ll need:
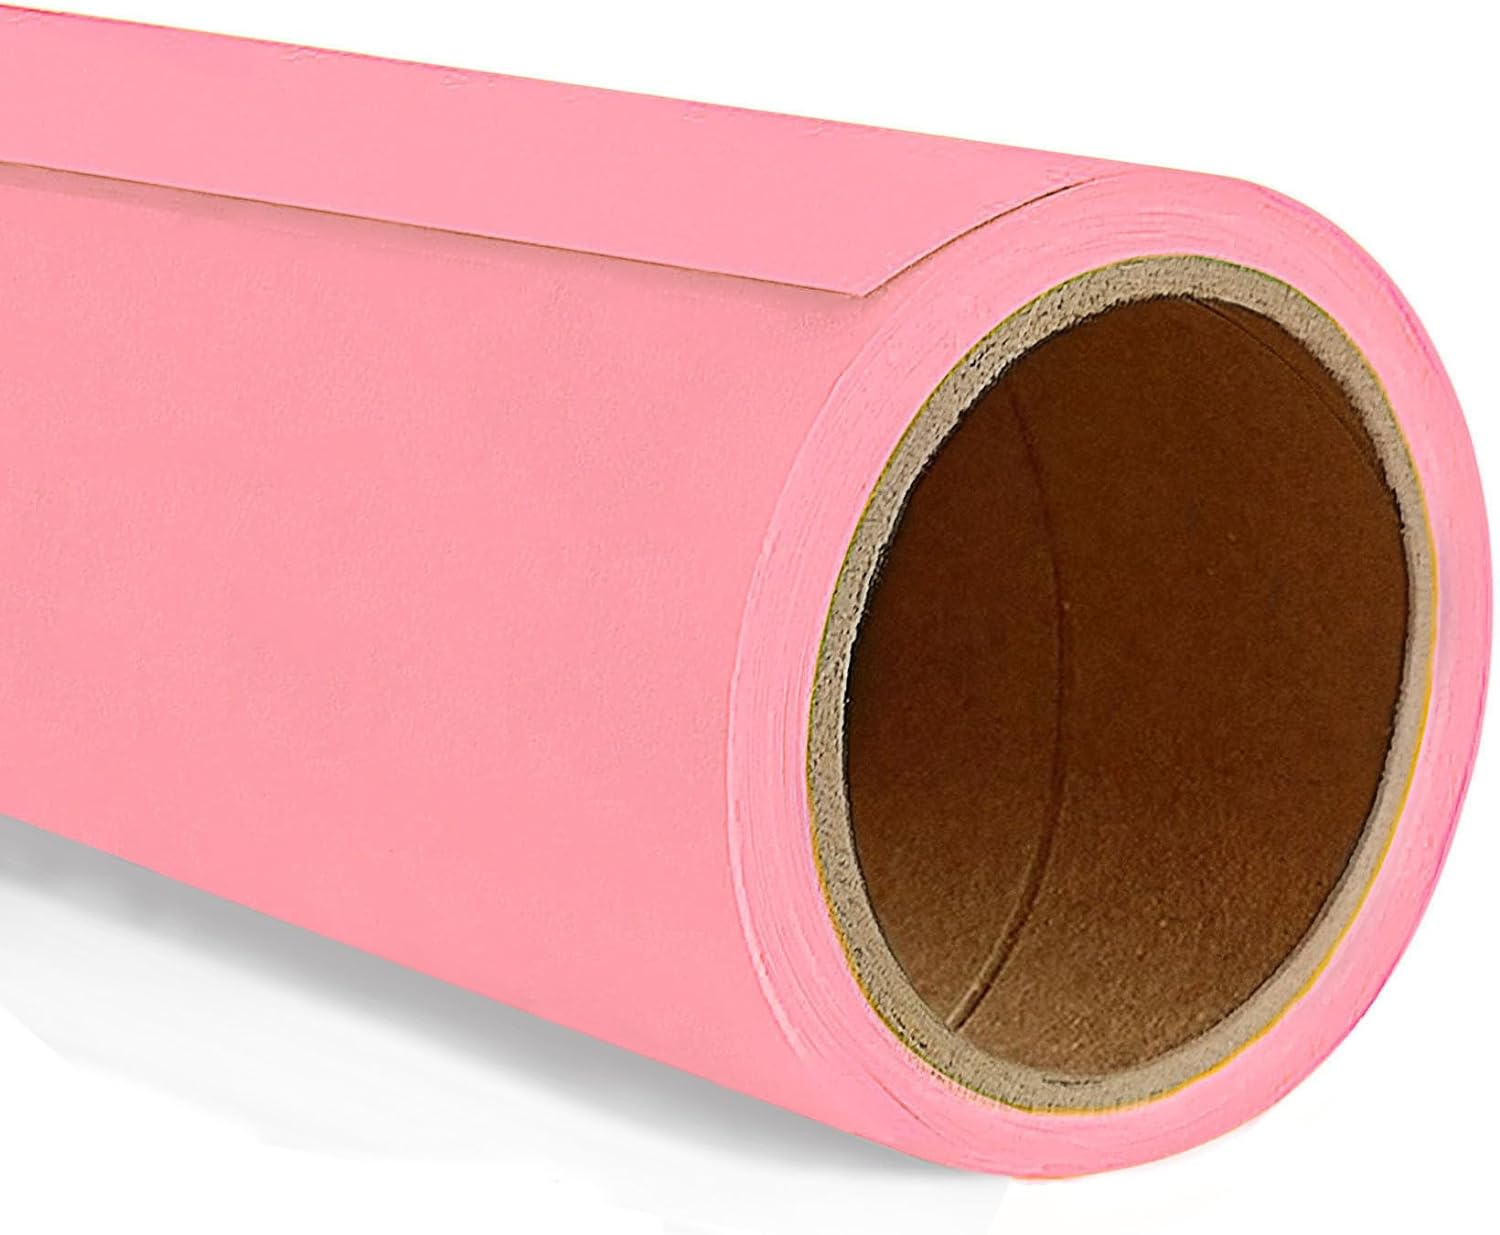
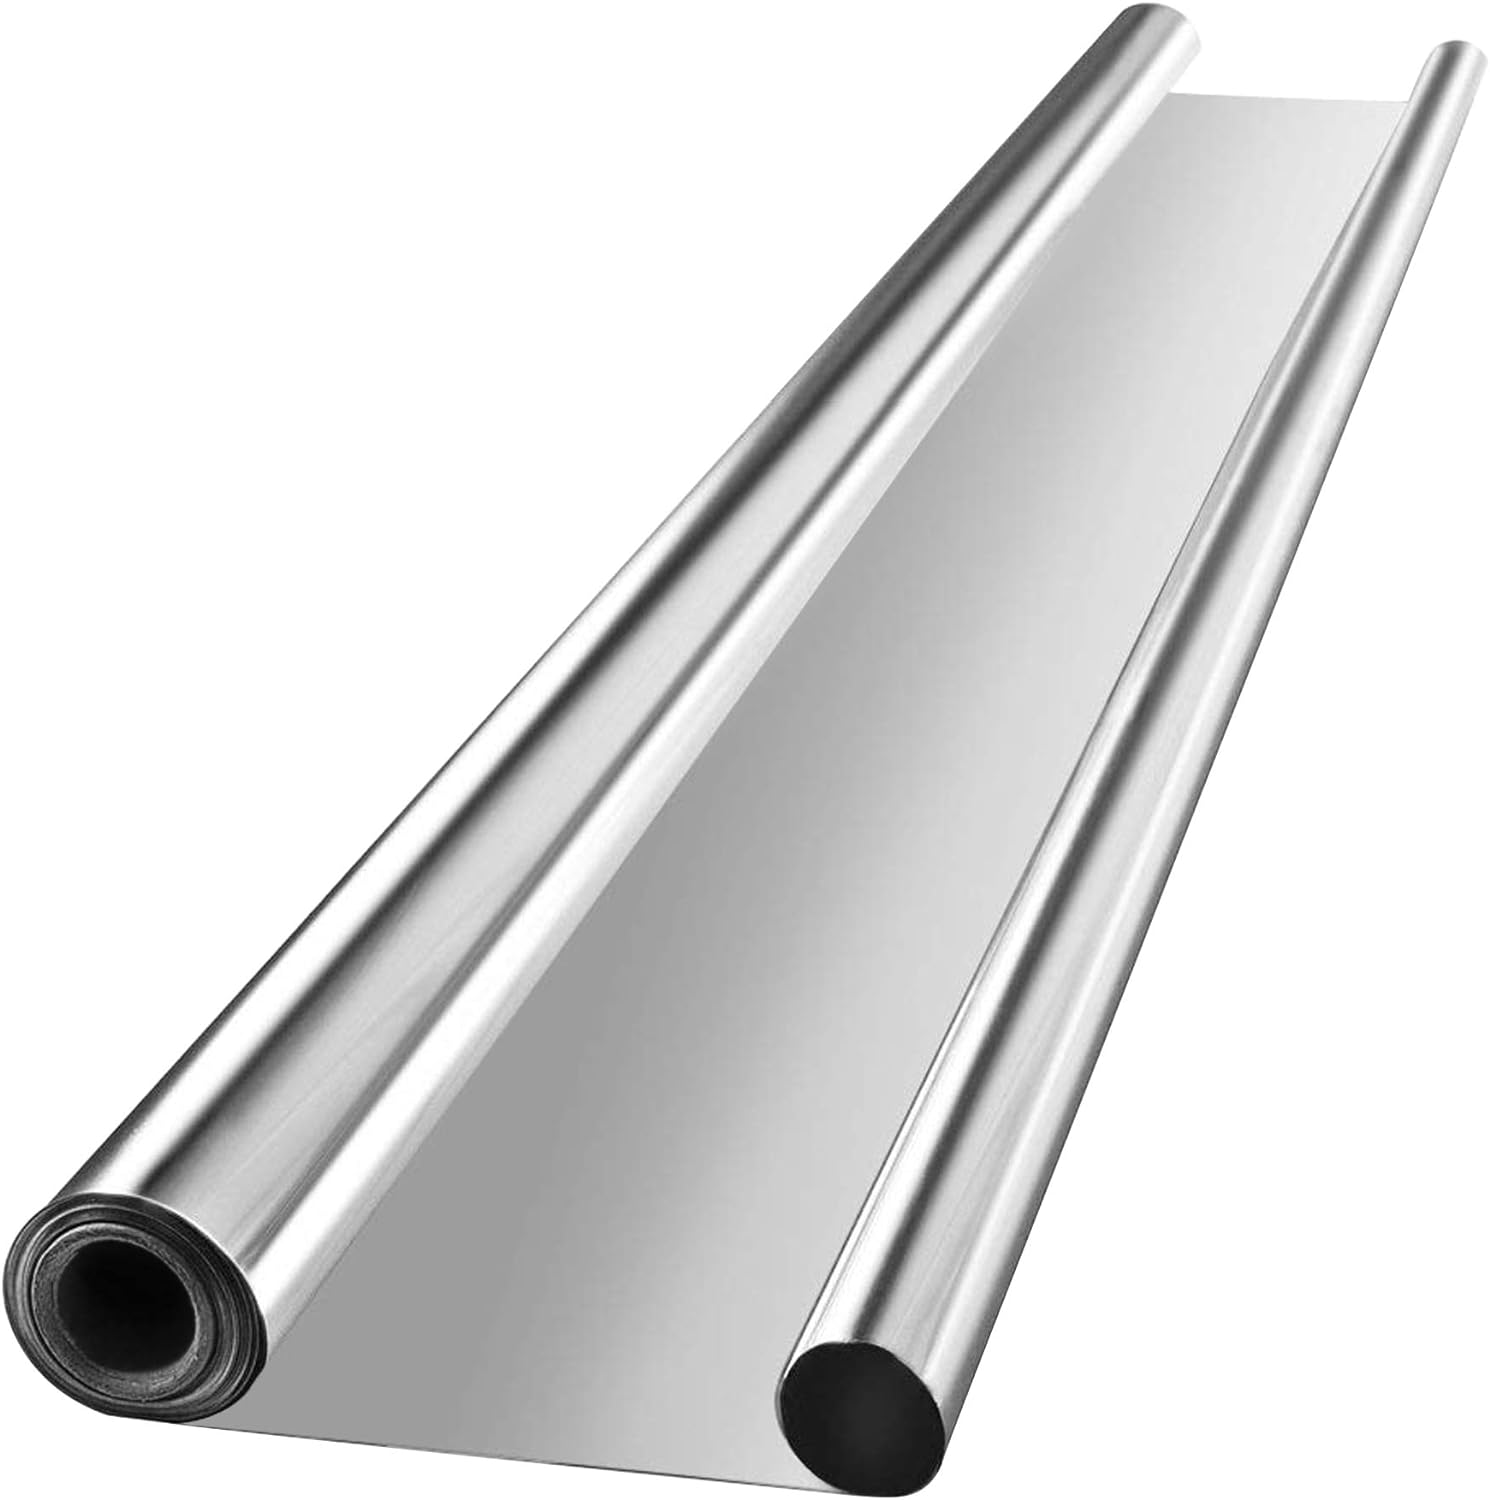
Mylar Sheets: Purchase Mylar sheets in the desired thickness and size.
Frame or Support Structure: Choose a lightweight and sturdy frame to attach the Mylar sheets.
Clamps or Adhesive: Use clamps for temporary setups or adhesive for more permanent installations.
Lighting Equipment: Plan your lighting setup to maximize the reflective properties of Mylar.
DIY Steps:
Attach the Mylar sheets to the frame, ensuring they are smooth and free from wrinkles.
Experiment with the distance between the Mylar background and your subject to control reflectivity.
Secure the frame in place using clamps or adhesive.
Fine-tune the lighting to achieve the desired effects, taking advantage of Mylar’s reflective qualities.
Portable Mylar Setups for On-location Shoots
Foldable Support Structure:
When shooting on location, portability is key. Create a foldable support structure for your Mylar background:
Collapsible Frame: Choose a frame that can be easily assembled and disassembled.
Hinges or Connectors: Use hinges or connectors to make the frame foldable.
Compact Mylar Sheets: Opt for Mylar sheets that can be rolled or folded without damage.
Lightweight Support Options:
Set up your foldable frame and secure Mylar sheets to it.
Ensure the support structure is stable, even in outdoor conditions.
Use sandbags or weights to anchor the setup in windy conditions.
Experiment with different angles and orientations to capture the best lighting effects.
By mastering the art of creating DIY Mylar backgrounds and portable setups, you empower yourself to bring the enchanting qualities of Mylar to a variety of photography settings, whether within the controlled environment of a studio or out in the dynamic world of on-location shoots.
Lighting Techniques with Mylar
Harnessing Reflective Qualities
Mylar’s reflective qualities can transform your photography, adding depth and vibrancy to your images. Mastering the art of harnessing these reflective properties involves strategic positioning of the light source and careful control of reflections.
Positioning the Light Source
Understanding Angles:
Experiment with different angles of light to find the most flattering and dynamic reflections.
Consider placing the light source behind the camera for a frontal illumination that minimizes shadows and emphasizes reflective surfaces.
Directional Lighting:
Use directional lighting to create interesting patterns and highlights on the Mylar surface.
Experiment with side lighting to accentuate textures and details in the reflective background.
Backlighting Techniques:
Employ backlighting to emphasize the outline of your subject against the reflective Mylar.
Adjust the intensity to create a halo effect or a subtle glow around the subject.
Controlling Reflections for Desired Effects
Distance and Intensity:
Control the distance between the Mylar background and the subject to modulate the intensity of reflections.
Experiment with varying distances to achieve different levels of luminosity and sparkle.
Diffusing Reflections:
Introduce diffusers between the light source and the Mylar to soften reflections and create a more ethereal atmosphere.
Use modifiers such as softboxes or umbrellas to control the spread of light, reducing harsh reflections.
Multiple Light Sources:
Employ multiple light sources to create complex reflections and highlights.
Experiment with the interplay of lights from different angles to add dimension and depth to your images.
Controlled Chaos:
Embrace controlled chaos by intentionally introducing reflective surfaces at various angles.
Encourage spontaneous reflections for a dynamic and visually compelling composition.
By strategically positioning your light source and mastering the control of reflections, you unlock the full potential of Mylar’s reflective qualities. These techniques allow you to craft images that go beyond the ordinary, infusing your photography with a captivating interplay of light and reflections. As we delve deeper into Mylar’s applications, remember that experimentation is key to discovering the unique signature of your photographic style.
Diffusing Light with Mylar
In this section, we’ll explore how Mylar can be used not just for its reflective qualities but also for its ability to diffuse light, allowing you to soften harsh illumination and create ethereal, dreamy atmospheres in your photographs.
Creating a Diffusion Layer:
Position the Mylar sheet between the light source and the subject to act as a diffusion layer.
Adjust the distance and angle to control the degree of softening, reducing the harshness of direct light.
Reflection Diffusion:
Utilize Mylar’s reflective properties to diffuse light indirectly.
Bounce light off the Mylar surface onto your subject, creating a softer and more flattering illumination.
Mylar and Softboxes:
Combine Mylar with softboxes or other diffusers to achieve a double diffusion effect.
This layered approach helps to further soften and evenly spread the light.
Achieving Ethereal and Dreamy Looks
Creating Haze and Glow:
Introduce Mylar sheets in front of the lens or around the subject to create a hazy, dreamy effect.
This technique adds a soft glow to the overall image, evoking a sense of enchantment.
Layering Mylar for Depth:
Experiment with layering Mylar sheets to add depth and complexity to the diffused light.
Vary the distances and angles to create a multi-dimensional, otherworldly ambiance.
Colorful Dreams:
Combine Mylar with colored gels on your light source to introduce subtle hues to the diffused light.
This adds a touch of color to your images, enhancing the dreamlike quality.
Controlled Flare:
Position the light source behind Mylar to create controlled flares that add a whimsical and surreal aspect to your photographs.
Experiment with different angles and distances to achieve the desired level of flare.
By exploring the ways Mylar can be used to diffuse light, you open up a realm of creative possibilities in your photography. Whether you seek to soften harsh light for flattering portraits or create dreamy, ethereal scenes, Mylar becomes a versatile tool in your lighting arsenal. As you experiment with these techniques, allow your imagination to guide you toward unique and captivating visual expressions.
Lighting Techniques with Mylar
Color Play with Mylar
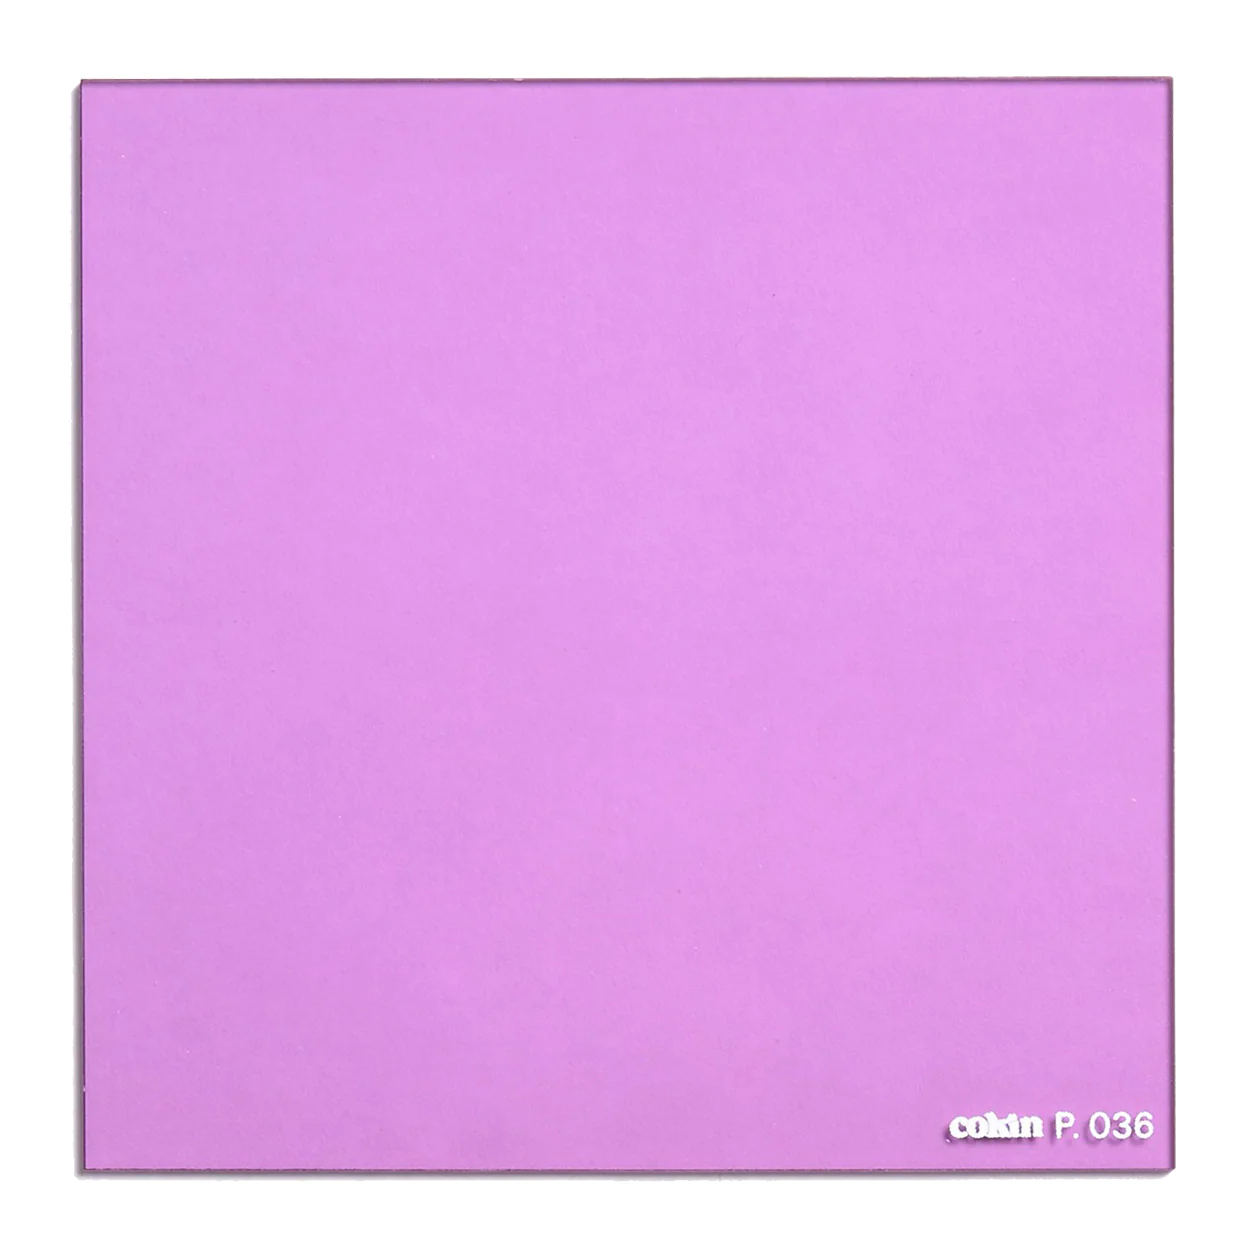
Beyond its reflective and diffusive qualities, Mylar can also be a canvas for creative color manipulation. In this section, we’ll explore how to infuse your photography with vibrant hues and dynamic backgrounds by incorporating colored gels with Mylar.
Selecting Colored Gels:
Choose a variety of colored gels to experiment with, considering the mood and atmosphere you wish to convey.
Gels are available in a spectrum of colors, allowing for endless possibilities in color combinations.
Attaching Colored Gels:
Affix the colored gel to your light source, ensuring it is secure and evenly placed.
Use gels of different colors on multiple light sources for a diverse and visually compelling effect.
Controlling Intensity:
Experiment with the distance between the colored gel and the Mylar surface to control the intensity of the color.
Closer proximity may result in a more saturated effect, while increased distance can produce a subtler hue.
Layering Colors:
Combine multiple colored gels to create layered and blended effects.
This technique adds complexity and richness to the color palette, contributing to a visually stunning composition.
Creating Vibrant and Dynamic Backgrounds
Creating a colorful canvas with Mylar involves strategic positioning and thoughtful use of colored light sources. This technique can add vibrancy and dynamism to your photographs, making the background an integral part of the visual narrative.
Positioning Mylar Sheets:
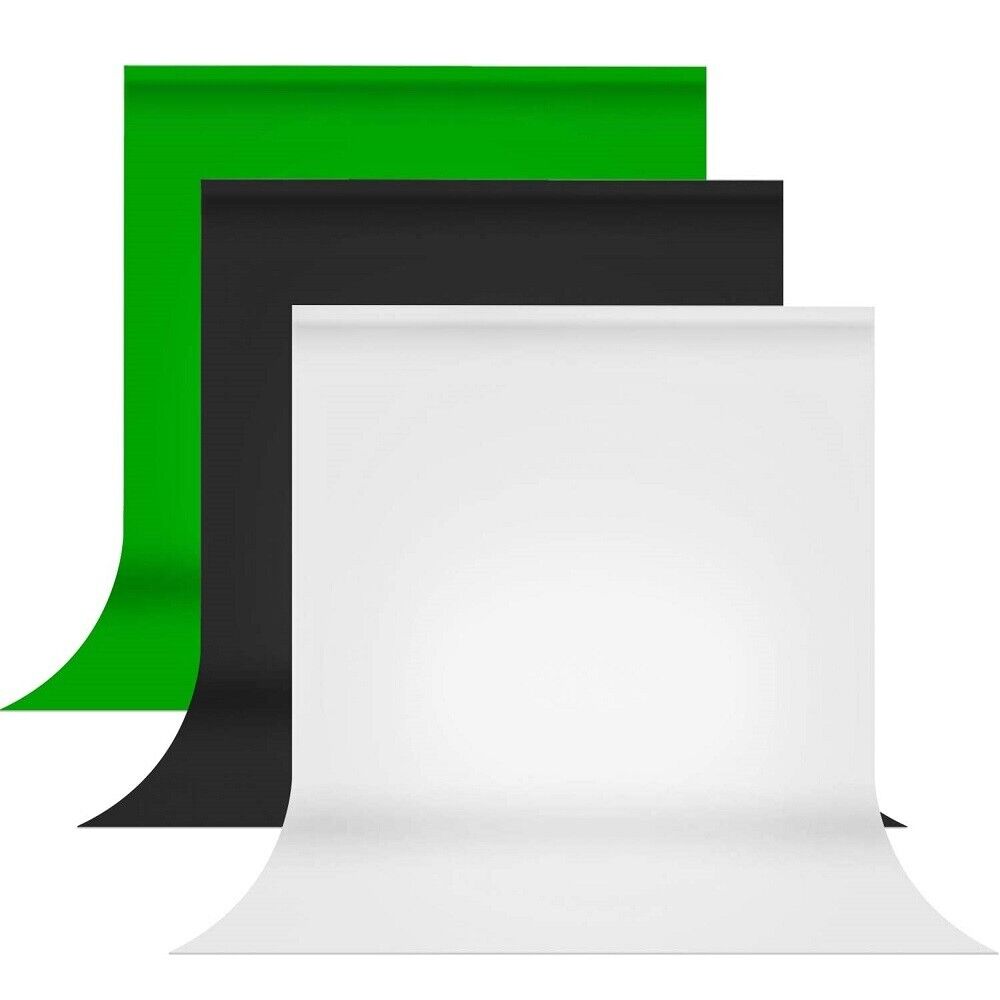
Selecting the Right Mylar: Choose Mylar sheets with high reflectivity to maximize the impact of colored light.
Securing the Mylar: Ensure the Mylar sheets are smooth, wrinkle-free, and securely positioned in the background.
Distance and Angles: Experiment with the distance between the Mylar and your subject to control the intensity of reflections. Varying angles can create different effects.
Reflecting Colored Light:
Using Colored Gels: Affix colored gels to your light sources, selecting hues that complement your subject or convey a specific mood.
Positioning Lights: Place lights strategically to cast colored light onto the Mylar surface. Experiment with different angles to achieve the desired reflection.
Creating a Dynamic Backdrop:
Adjusting Intensity: Control the intensity of the colored light by adjusting the power of your light sources.
Combining Colors: Experiment with combinations of colored gels to create a dynamic and visually appealing backdrop.
Photographing Subjects:
Subject Placement: Position your subjects in front of the Mylar canvas, taking into account the direction of light and reflections.
Controlling Shadows: Use additional lighting or reflectors to control shadows and ensure your subjects are well-illuminated.
Experimenting with Composition:
Changing Perspectives: Explore different angles and perspectives to capture the play of colors and reflections.
Dynamic Poses: Encourage dynamic poses from your subjects to complement the vibrant backdrop.
By treating Mylar as a colorful canvas, you transform the background into an active participant in your composition. The interplay of colored light and reflective surfaces opens up a realm of creative possibilities, allowing you to craft visually stunning images that evoke emotion and captivate the viewer’s attention.
Light Painting with Mylar:
Light painting with Mylar introduces a dynamic and artistic element to your photography, allowing you to craft unique and visually compelling backgrounds. This technique involves using handheld light sources with colored gels to paint directly onto the Mylar surface, creating a canvas of light that adds depth and intrigue to your images.
Setting the Stage:
Preparation: Ensure a controlled and dark environment to maximize the impact of light painting. This can be done in a studio setting or outdoors during the evening.
Tools and Materials:
Colored Gels: Select a variety of colored gels to add diversity and vibrancy to your light painting.
Handheld Lights: Choose handheld lights with adjustable intensity to have control over the brightness of your strokes.
Mylar Background: Use a Mylar sheet as your canvas, positioning it according to your composition.
Techniques for Light Painting:
Strokes and Patterns: Experiment with different strokes, patterns, and movements to create dynamic and abstract designs on the Mylar.
Layering Colors: Combine multiple colored gels in a single light painting session to layer colors and add complexity to the background.
Crafting Unique and Dynamic Backgrounds:
Creating Texture: Vary the distance between the light source and the Mylar to create texture and dimension in your light paintings.
Emphasizing Shapes: Use the light to emphasize specific shapes or elements in the composition, adding interest and focal points.
Capturing the Light Painting:
Long Exposures: Set your camera to a long exposure to capture the entire duration of your light painting session.
Tripod Stability: Use a tripod to keep your camera stable during long exposures, preventing unwanted motion blur.
Experimenting and Iterating:
Iterative Process: Light painting with Mylar is an iterative process. Experiment with different techniques, colors, and movements to refine your approach.
Review and Adjust: Regularly review your results on the camera’s display and adjust your technique accordingly.
By incorporating light painting with Mylar into your photography, you add a touch of artistic flair to your backgrounds. This technique not only allows for creative expression but also introduces an element of spontaneity, ensuring that each light-painted composition is a unique work of art.
Colorful Reflections:
Combining colored gels with Mylar’s reflective properties opens up a realm of creative possibilities, allowing you to cast colorful reflections onto your subjects. This technique adds a harmonious and immersive element to your images, enriching the visual experience for your viewers.
Materials and Setup:
Colored Gels: Select a variety of colored gels to achieve the desired color palette for your reflections.
Mylar Background: Position Mylar sheets strategically in the background, ensuring a smooth and reflective surface.
Positioning the Lights:
Light Source Placement: Position colored lights with gels at different angles to cast reflections onto the Mylar surface.
Experiment with Angles: Try varying the angles and distances of the lights to achieve different reflection patterns.
Creating Harmonious Reflections:
Soft and Subtle Reflections: Adjust the intensity of the lights to create soft and subtle reflections for a gentle and immersive effect.
Introducing Movement: Experiment with moving the lights during the exposure to introduce dynamic and flowing reflections.
Enhancing the Subject:
Positioning the Subject: Place your subject strategically in the frame to capture the colorful reflections.
Experiment with Poses: Encourage dynamic poses that complement the reflections and enhance the overall composition.
Capturing the Moment:
Camera Settings: Set your camera to capture the reflections while maintaining proper exposure for your subject.
Continuous Shooting Mode: If your subject is moving, use continuous shooting mode to capture a sequence of images and select the best reflection.
Post-Processing Considerations:
Color Correction: Fine-tune the colors in post-processing to achieve the desired color balance and vibrancy.
Enhancing Reflections: Experiment with contrast and saturation to enhance the reflections in the final image.
Storytelling with Colorful Reflections:
Narrative Elements: Consider how the colorful reflections contribute to the narrative of your image.
Emotional Impact: Use color psychology to evoke specific emotions or moods through the reflected hues.
By combining colored gels with Mylar’s reflective properties, you transform your background into a canvas of vibrant and dynamic reflections. This technique not only adds visual interest but also allows you to infuse your images with a sense of immersion and enchantment. As you explore this creative approach, let your imagination guide you in crafting images that resonate with color, light, and narrative depth.
Color Temperature Contrast:
Play with the contrast between warm and cool colors to evoke different emotions.
Experiment with the juxtaposition of contrasting colors to create visually striking and dynamic compositions.
As you explore the interplay of colored gels and Mylar, you’ll discover endless possibilities for injecting vibrancy and creativity into your photography. Whether you aim to create a bold and dramatic atmosphere or a subtle and nuanced background, the combination of Mylar and colored gels opens up a spectrum of artistic expression within your imagery.
Star Filters Unveiled
Welcome to the enchanting world of star filters, a captivating tool that can add a touch of magic to your photographs. In this chapter, we will delve into the fundamentals of star filters, providing an introduction to their use and exploring the various types available, each offering unique effects to elevate your imagery.
Definition:
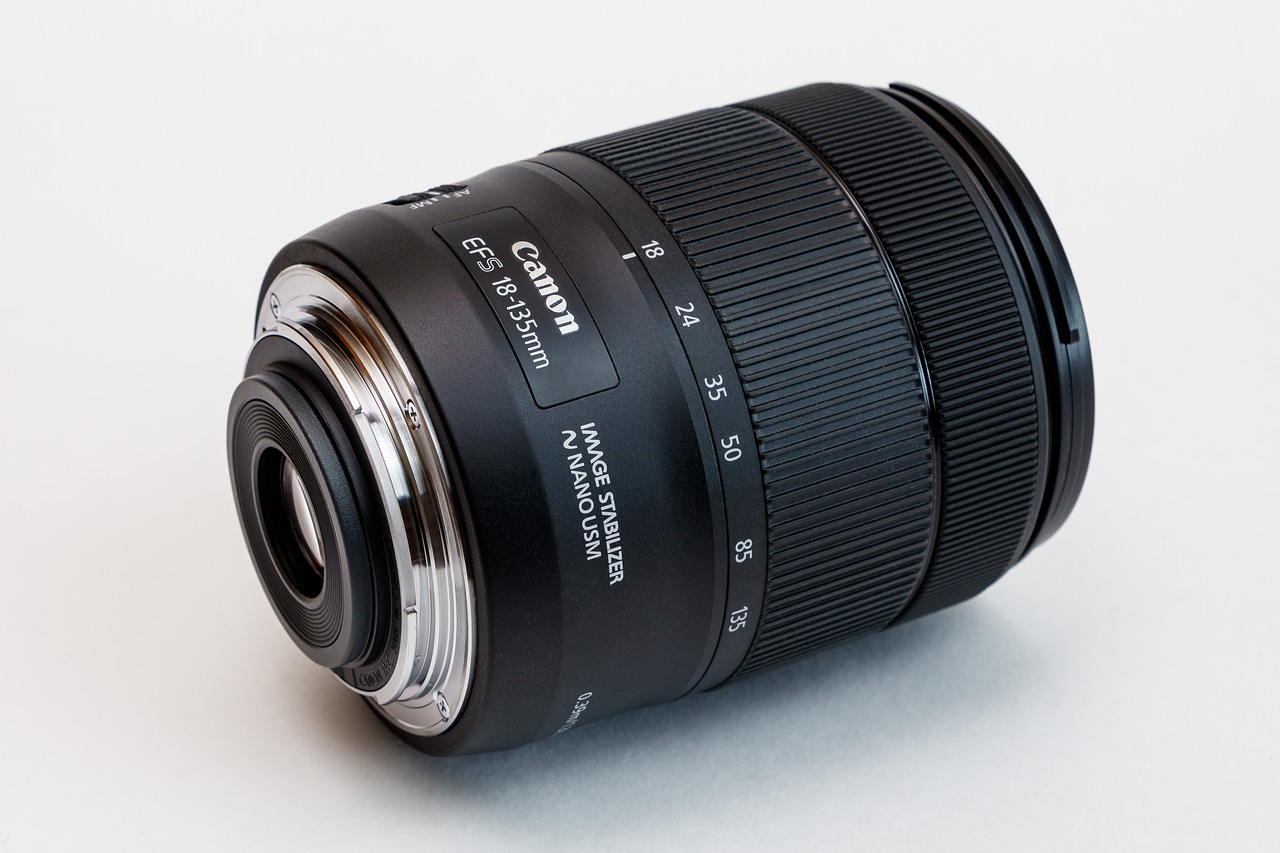
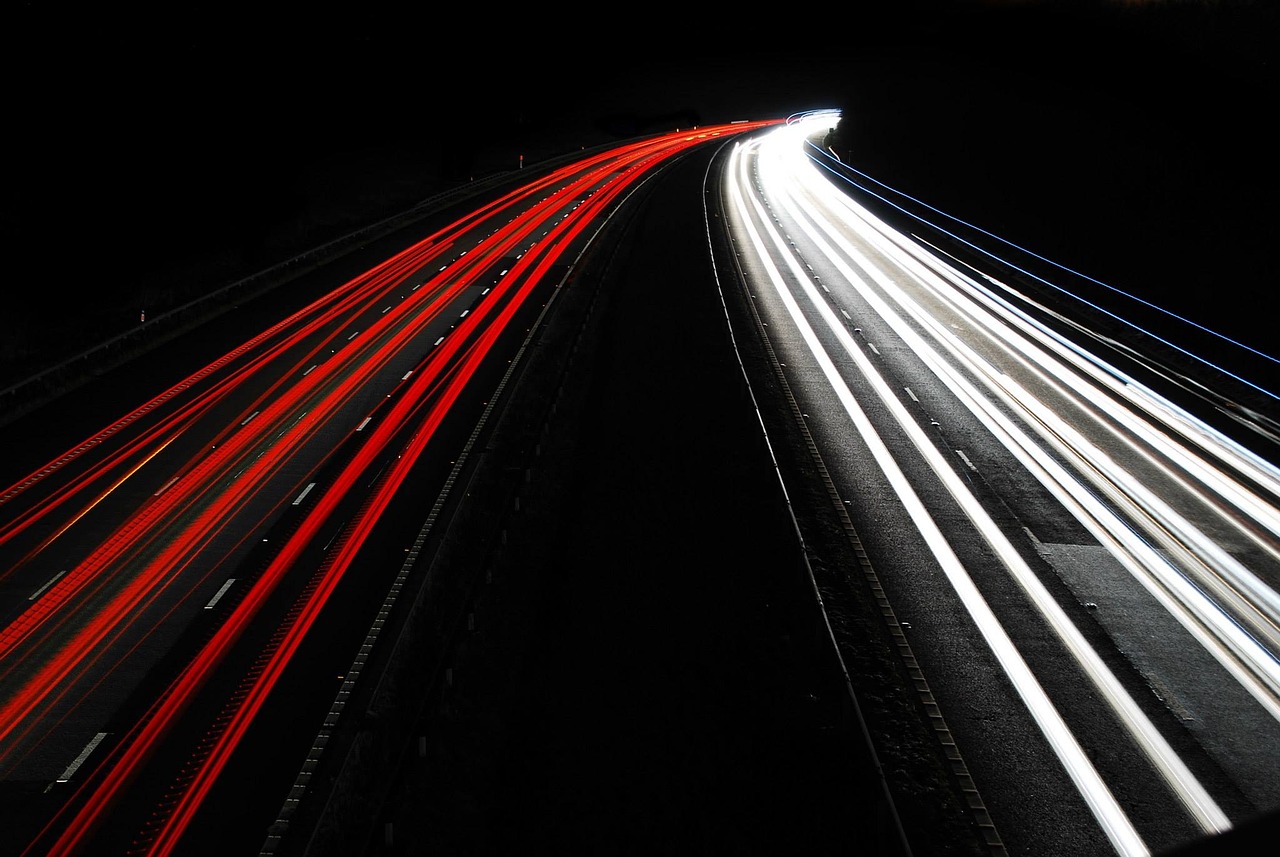
Star filters are optical accessories that, when attached to the front of a camera lens, create dazzling star-shaped flares around bright points of light in a scene. These filters achieve their effect by diffracting light, causing it to spread and form starbursts.
Historical Significance:
The use of star filters harks back to the film era, where they were employed to enhance the visual appeal of night scenes and illuminate point light sources, such as streetlights and city lights.
Modern Applications:
In the digital age, star filters continue to be a popular creative tool, providing photographers with the means to infuse scenes with a sense of wonder, especially during nighttime or low-light situations.
Cross Screen Filters:
Cross screen filters are designed with etched lines that radiate from bright light sources.
They produce starbursts with a cross-shaped pattern, adding a unique and eye-catching element to your images.
Point Star Filters:
Point star filters create starbursts with a specific number of rays emanating from bright points of light.
Common variations include 4, 6, or 8 rays, allowing for creative flexibility and control over the visual effect.
Soft Focus Star Filters:
Combining the effects of a soft focus filter with a star filter, soft focus star filters produce dreamy and ethereal starbursts around light sources.
This type is ideal for creating a romantic and whimsical ambiance.
Variable Star Filters:
Variable star filters enable the adjustment of the number of rays, offering versatility in achieving different starburst effects.
Photographers can experiment with various configurations to suit the mood and composition of the scene.
Understanding the diverse types of star filters and their effects provides you with the knowledge to choose the right filter for your creative vision. As we continue, we’ll explore how to integrate star filters seamlessly into your photography, unlocking their potential to transform ordinary scenes into mesmerizing works of art.
Choosing the Right Star Filter
Selecting the right star filter is a crucial step in achieving the desired visual impact in your photographs. In this section, we’ll explore considerations such as the number of points, size variations, and the creative possibilities that arise from combining different star filters.
Number of Points:
Choose a star filter with an appropriate number of points based on your creative goals.
Four, six, and eight-point star filters are common, each producing starbursts with a distinct visual character.
Size Variations:
Consider the size of the starburst effect, as this can vary based on the design and construction of the star filter.
Larger sizes may be more suitable for bold and dramatic effects, while smaller sizes can impart subtlety and elegance.
Experimentation:
Experiment with different star filters to understand how the number of points and size variations impact the overall aesthetics of your images.
Test each filter in various lighting conditions to gauge their versatility.
Layering Filters:
Experiment with layering multiple star filters to create complex and unique effects.
Combining filters with different numbers of points or sizes can result in a visually rich and dynamic composition.
3.2.2.2 Colorful Combinations:
Combine star filters with colored gels to introduce a spectrum of hues to your starbursts.
This technique not only adds color but also enhances the surreal and magical quality of the images.
Soft Focus Integration:
Integrate soft focus star filters with traditional star filters for a dreamy and romantic atmosphere.
This combination creates a balance between sharp starbursts and a soft, glowing background.
Varying Intensity:
Experiment with using star filters of different intensities in the same composition.
This approach allows you to highlight specific light sources while creating a nuanced and engaging visual experience.
By understanding the nuances of the number of points, size variations, and the creative potential of combining different star filters, you empower yourself to craft images that go beyond the ordinary. The ability to choose and layer star filters opens up a realm of possibilities, allowing you to tailor your approach to suit the mood, subject, and narrative of each unique photographic scenario. As we progress, we’ll explore techniques to seamlessly integrate star filters into your photography workflow, ensuring a harmonious blend of creativity and technical mastery.
Shooting Techniques with Star Filters
Now that you’ve selected the right star filter and explored creative combinations, let’s delve into shooting techniques that will help you maximize the impact of star filters in your photography. We’ll explore how to control starburst intensity and capture compelling night scenes that enchant viewers with their celestial beauty.
Aperture Selection:
Adjust your camera’s aperture to control the intensity of the starbursts.
Smaller apertures (larger f-numbers) create more pronounced and defined starbursts, while larger apertures soften the effect.
Focusing Techniques:
Achieve critical focus on your subject, as star filters can accentuate details.
Experiment with focusing at different distances to vary the size and intensity of the starbursts.
Distance to Light Sources:
The proximity of the light source to the star filter affects the intensity of the starburst.
Experiment with varying distances to find the balance between subtle bursts and bold, radiant effects.
Bracketing Exposures:
Use exposure bracketing to capture a range of images with different starburst intensities.
This technique provides flexibility in post-processing, allowing you to choose the optimal intensity for your final image.
Long Exposure Techniques:
Embrace long exposure photography to capture stunning night scenes with starbursts.
Set your camera on a stable surface or tripod to avoid camera shake during the longer exposure.
Choosing the Right Light Sources:
Identify and frame scenes with compelling light sources such as streetlights, city lights, or celestial bodies.
Star filters work exceptionally well when there are numerous bright points of light in the scene.
Manual Mode Mastery:
Take control of your camera settings in manual mode to optimize exposure for the night environment.
Experiment with different shutter speeds, apertures, and ISO settings to achieve the desired balance between ambient light and starbursts.
Planning and Patience:
Plan your night photography sessions, considering the location, time of day, and available ambient light.
Be patient and allow for longer exposure times, ensuring you capture the subtle details of the night sky.
By mastering the art of controlling starburst intensity and capturing compelling night scenes, you’ll unlock the full potential of star filters in enhancing your photographic storytelling. Whether you’re creating celestial landscapes or adding a touch of magic to urban environments, these shooting techniques will empower you to create images that captivate and inspire. As we conclude our exploration of star filters, we’ll dive into post-processing tips to polish and refine your starry creations.
Mylar as a Dynamic Background
As we embark on the synergy between Mylar and star filters, we explore how Mylar can serve as a dynamic background, transforming your photographic compositions into captivating works of art.
Subtle Reflections:
Position Mylar sheets strategically to introduce subtle reflections in the background of your portrait shots.
Experiment with different angles and distances to achieve the perfect balance between the subject and the reflective Mylar surface.
Softening Light:
Use Mylar as a diffuser in portrait setups, creating a soft and flattering light.
Combine Mylar with natural light or studio lighting to achieve a beautifully diffused and reflective backdrop for your subjects.
Color Play:
Introduce colored gels in combination with Mylar to add a touch of color to your portrait backgrounds.
Experiment with different color combinations to evoke moods and enhance the visual appeal of your portraits.
Nighttime Marvels:
Take advantage of Mylar’s reflective properties to capture starlit landscapes at night.
Combine Mylar with star filters to infuse the scene with a dreamlike quality, turning ordinary landscapes into otherworldly marvels.
Fantasy Elements:
Integrate Mylar into landscape compositions to add a fantastical element to your scenes.
Experiment with different Mylar setups to create illusions, reflections, and unique visual effects that transport viewers to a magical realm.
Layered Realities:
Use Mylar sheets to create layered compositions in your landscapes.
Experiment with placing Mylar at different distances to the camera to add depth and intrigue to the foreground and background.
By seamlessly incorporating Mylar into your portrait photography and using it to create otherworldly landscapes, you elevate your creative expressions to new heights. Mylar’s dynamic qualities can enhance the visual appeal of your subjects, whether human or natural, and contribute to the overall narrative of your images.
As we continue our exploration, we’ll delve into specific techniques for harmoniously combining Mylar and star filters, allowing you to create images that resonate with a sense of wonder and imagination. These techniques will enable you to weave together the reflective magic of Mylar with the celestial allure of star filters in a symphony of visual storytelling.
Blending Mylar and Star Filters for Celestial Effects
In this section, we’ll delve into the magical combination of Mylar and star filters, unlocking the potential for celestial effects that transport your viewers to a realm of enchantment and wonder.
Starry Bokeh Backgrounds:
Position Mylar sheets behind your subject and employ star filters to create a captivating bokeh filled with starbursts.
This technique adds a celestial and dreamy quality to your portrait compositions.
Soft Focus and Starry Glow:
Integrate Mylar for soft focus and introduce star filters to create a starry glow around your subject.
This ethereal effect imparts a sense of magic, making your portraits appear as if they were captured in a celestial dimension.
Starlit Reflections:
Position Mylar sheets near water surfaces or open fields to capture reflections of starlit skies.
Integrate star filters to enhance the celestial ambiance, creating a harmonious interplay between the reflective Mylar and the starry heavens.
Galactic Blurs:
Combine Mylar’s reflective qualities with star filters for long exposure shots of the night sky.
Capture the movement of stars and create mesmerizing galactic blurs that evoke a sense of timelessness and cosmic grandeur.
Multi-Layered Celestial Scenes:
Experiment with layering Mylar at different distances in your landscape compositions.
Use star filters to accentuate bright points of light, creating multi-layered celestial scenes that convey a sense of depth and mystery.
Patience and Precision:
Celestial photography requires careful planning and patience. Monitor celestial events, such as meteor showers or clear nights, to capture optimal conditions.
Manual Focus and Exposure:
Set your camera to manual focus to ensure precision in capturing celestial details.
Experiment with exposure settings to find the perfect balance between the starlit sky and the reflective Mylar elements.
Experiment with Filters:
Combine various star filters with Mylar to experiment with different celestial effects.
Consider using different Mylar setups for each shot to create a diverse and visually stunning series.
By blending Mylar and star filters in celestial compositions, you create images that transcend the ordinary, transporting your viewers into realms of imagination and wonder. These celestial effects add a touch of magic to your photography, inviting viewers to explore the enchanting intersection of the cosmic and the reflective. As we conclude our journey through the harmony of Mylar and star filters, remember that the true art lies in your creativity and willingness to explore the limitless possibilities of these captivating elements.
Creative Projects and Inspirations
Mylar and Star Filter Combinations
In this final chapter, let’s explore various creative projects and inspirations that showcase the harmonious combination of Mylar and star filters. These projects are designed to spark your imagination and encourage experimentation, allowing you to express your unique style and artistic vision.
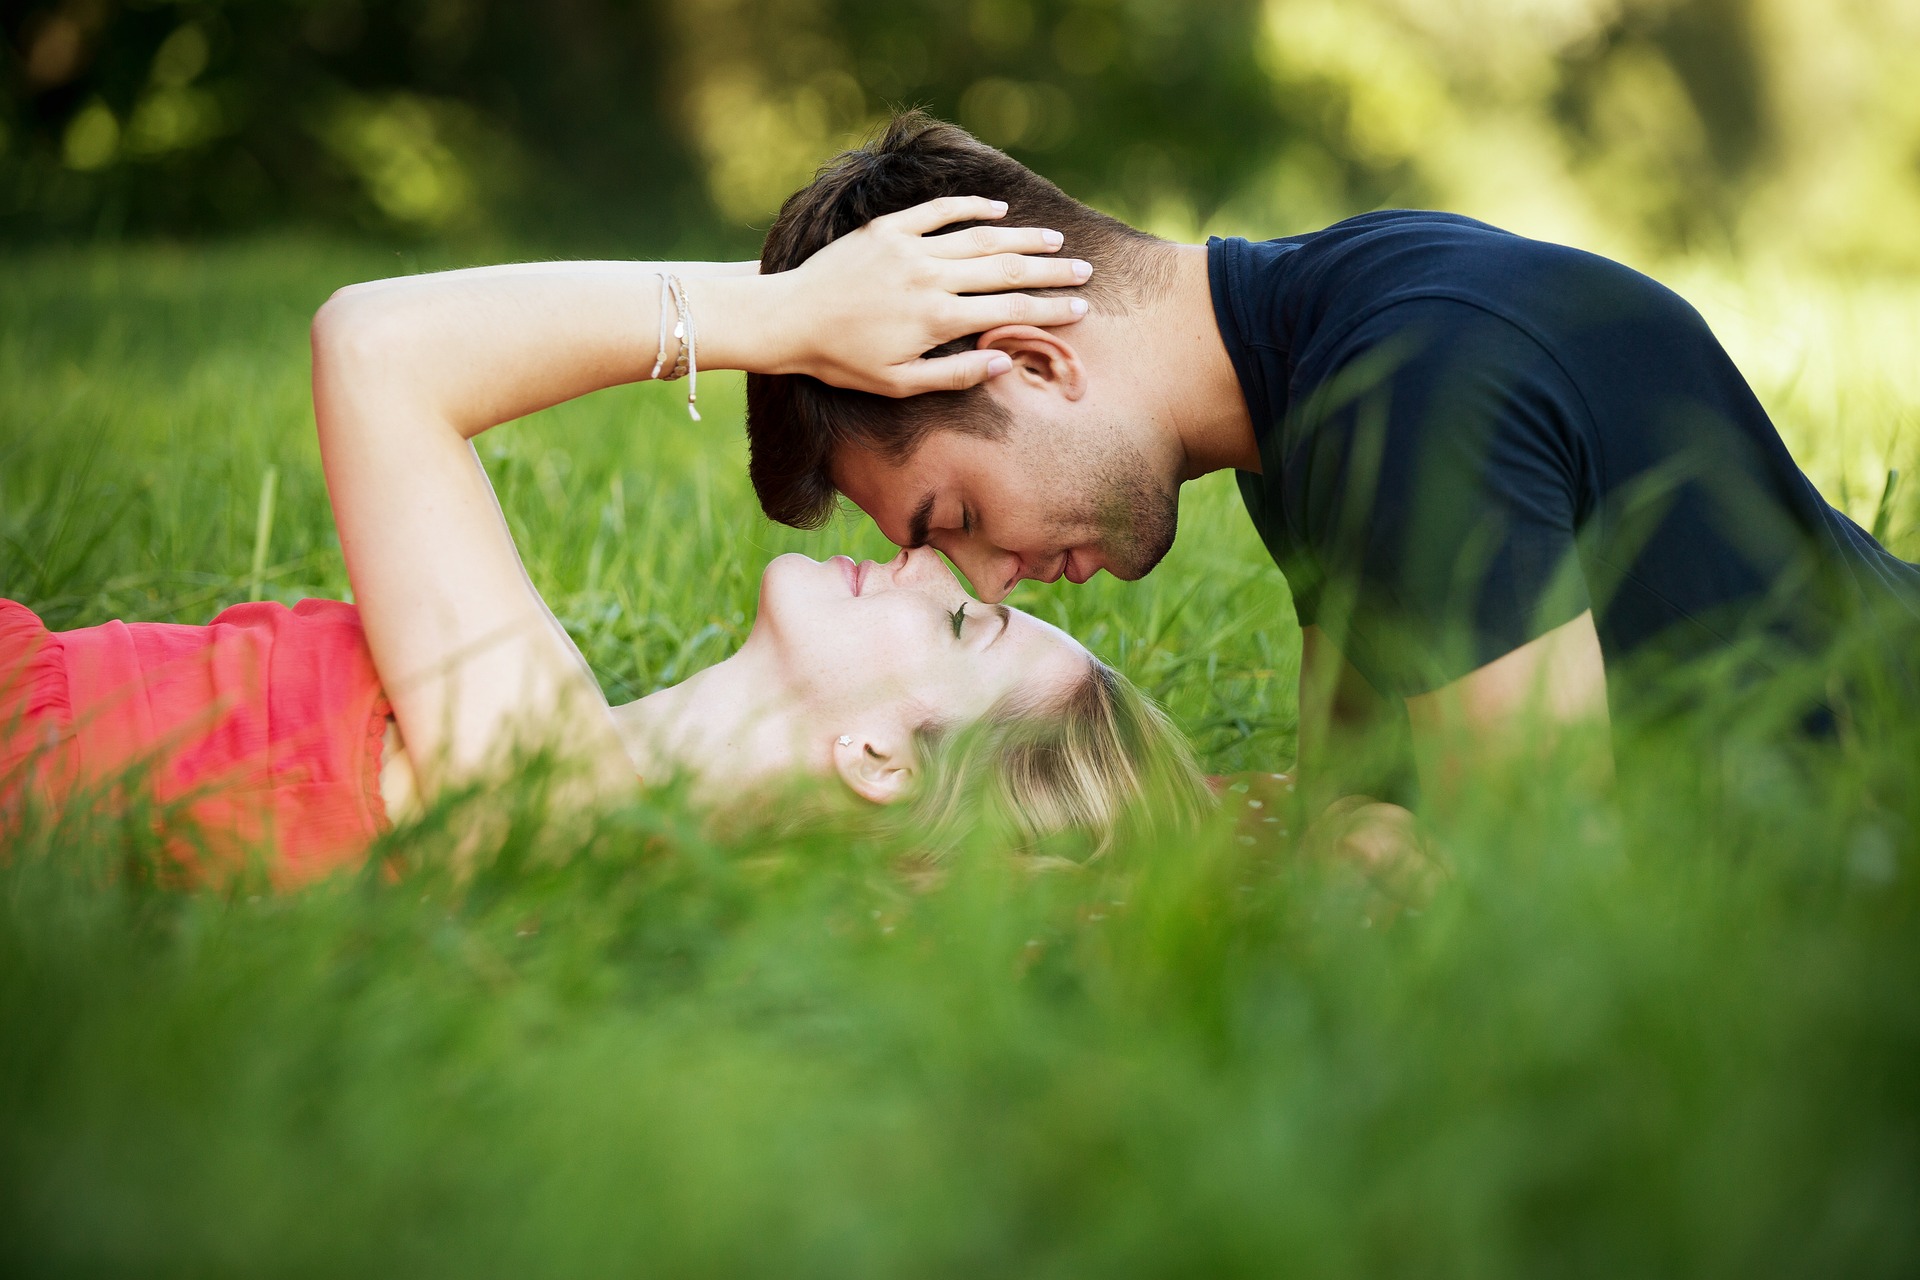
Celestial Portraits Series:
Create a series of portraits where Mylar and star filters collaborate to form celestial backgrounds.
Experiment with different poses, lighting setups, and Mylar placements to capture a range of ethereal and otherworldly portraits.
Mylar and Light Painting:
Combine Mylar sheets with star filters in a light painting project.
Use handheld light sources to paint directly onto the Mylar surface, creating a dazzling display of reflections and starbursts.
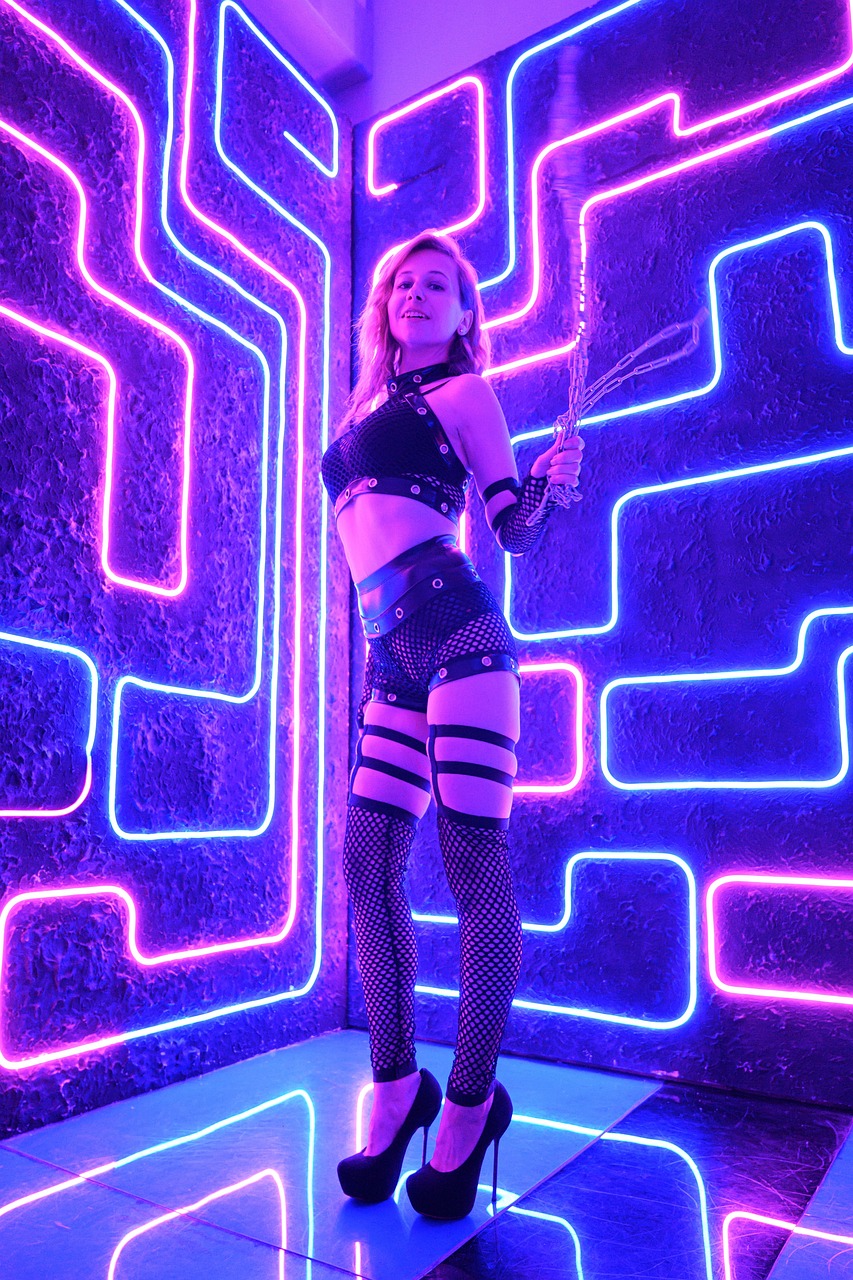
Dynamic Fashion Editorials:
Integrate Mylar and star filters into a fashion editorial shoot.
Experiment with bold poses, vibrant clothing, and dynamic lighting to create visually stunning and avant-garde fashion imagery.
Personalized Starry Nightscapes:
Develop a series of nightscapes that reflect your personal style.
Infuse elements of storytelling, such as silhouettes or props, to create narratives within the celestial landscapes.
Mylar as Artistic Canvas:
Use Mylar sheets as an artistic canvas for creative projects.
Apply paints, dyes, or other artistic mediums to Mylar, transforming it into a unique and dynamic background for your photography.
Surreal Double Exposure Creations:
Experiment with double exposure techniques, combining Mylar reflections with starry nightscapes.
This project allows you to create surreal and dreamlike images that blend reality and imagination.
Consistency in Themes:
Establish consistency in themes across your projects to showcase a cohesive and recognizable style.
Whether it’s a celestial series or a fashion editorial, maintain a thread that ties your work together.
Signature Techniques:
Develop signature techniques that become synonymous with your work.
Whether it’s a unique way of using star filters or a particular approach to Mylar setups, these signature elements add a distinctive touch to your images.
Storytelling through Imagery:
Infuse storytelling into your projects, allowing viewers to connect with the narrative within each photograph.
Use Mylar and star filters as tools to enhance and amplify the visual storytelling aspect of your projects.
Embark on these creative projects and let your imagination run wild. Use Mylar and star filters as your artistic allies to bring your unique vision to life. As you explore and create, remember that the journey of experimentation is as important as the final result. Your ability to push boundaries, discover new possibilities, and showcase your distinctive style will leave a lasting imprint on your audience and the world of photography.
Congratulations on embarking on this journey to master advanced photography techniques with Mylar backgrounds and star filters. As you experiment with these elements, remember that the true essence of photography lies in expressing your creativity and capturing the world in a way that is uniquely yours. Let your imagination soar beyond the lens, and may your photographs tell stories that resonate with viewers around the globe.