

Low Light Photography: Optimizing Camera Settings for Dark Scenes

Low light photography involves capturing images in conditions where there is limited available light. This could be during the evening, indoors with minimal lighting, or in any situation where the ambient light is not sufficient for conventional photography. To achieve good results in such scenarios, photographers need to optimize their camera settings to compensate for the lack of light. Here are some essential tips for optimizing camera settings for low light photography:
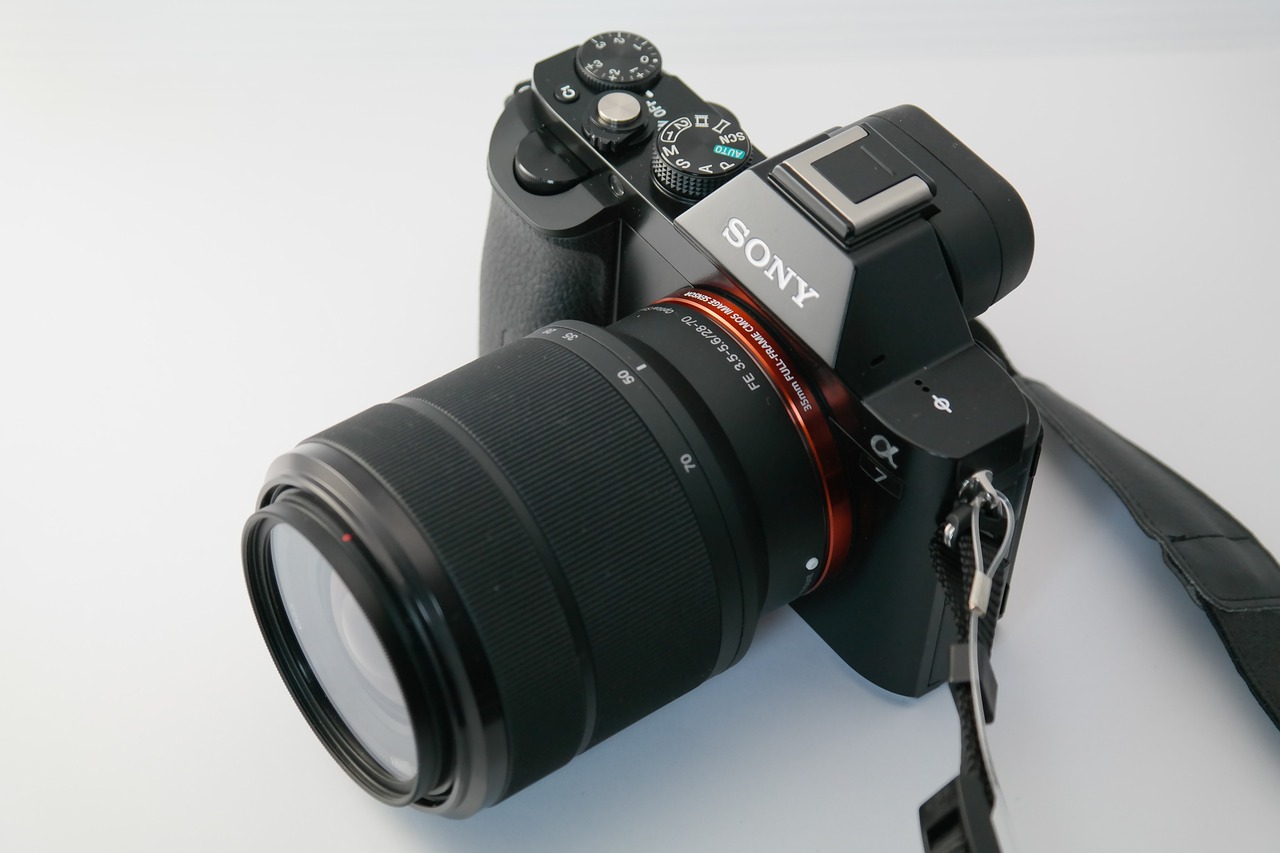
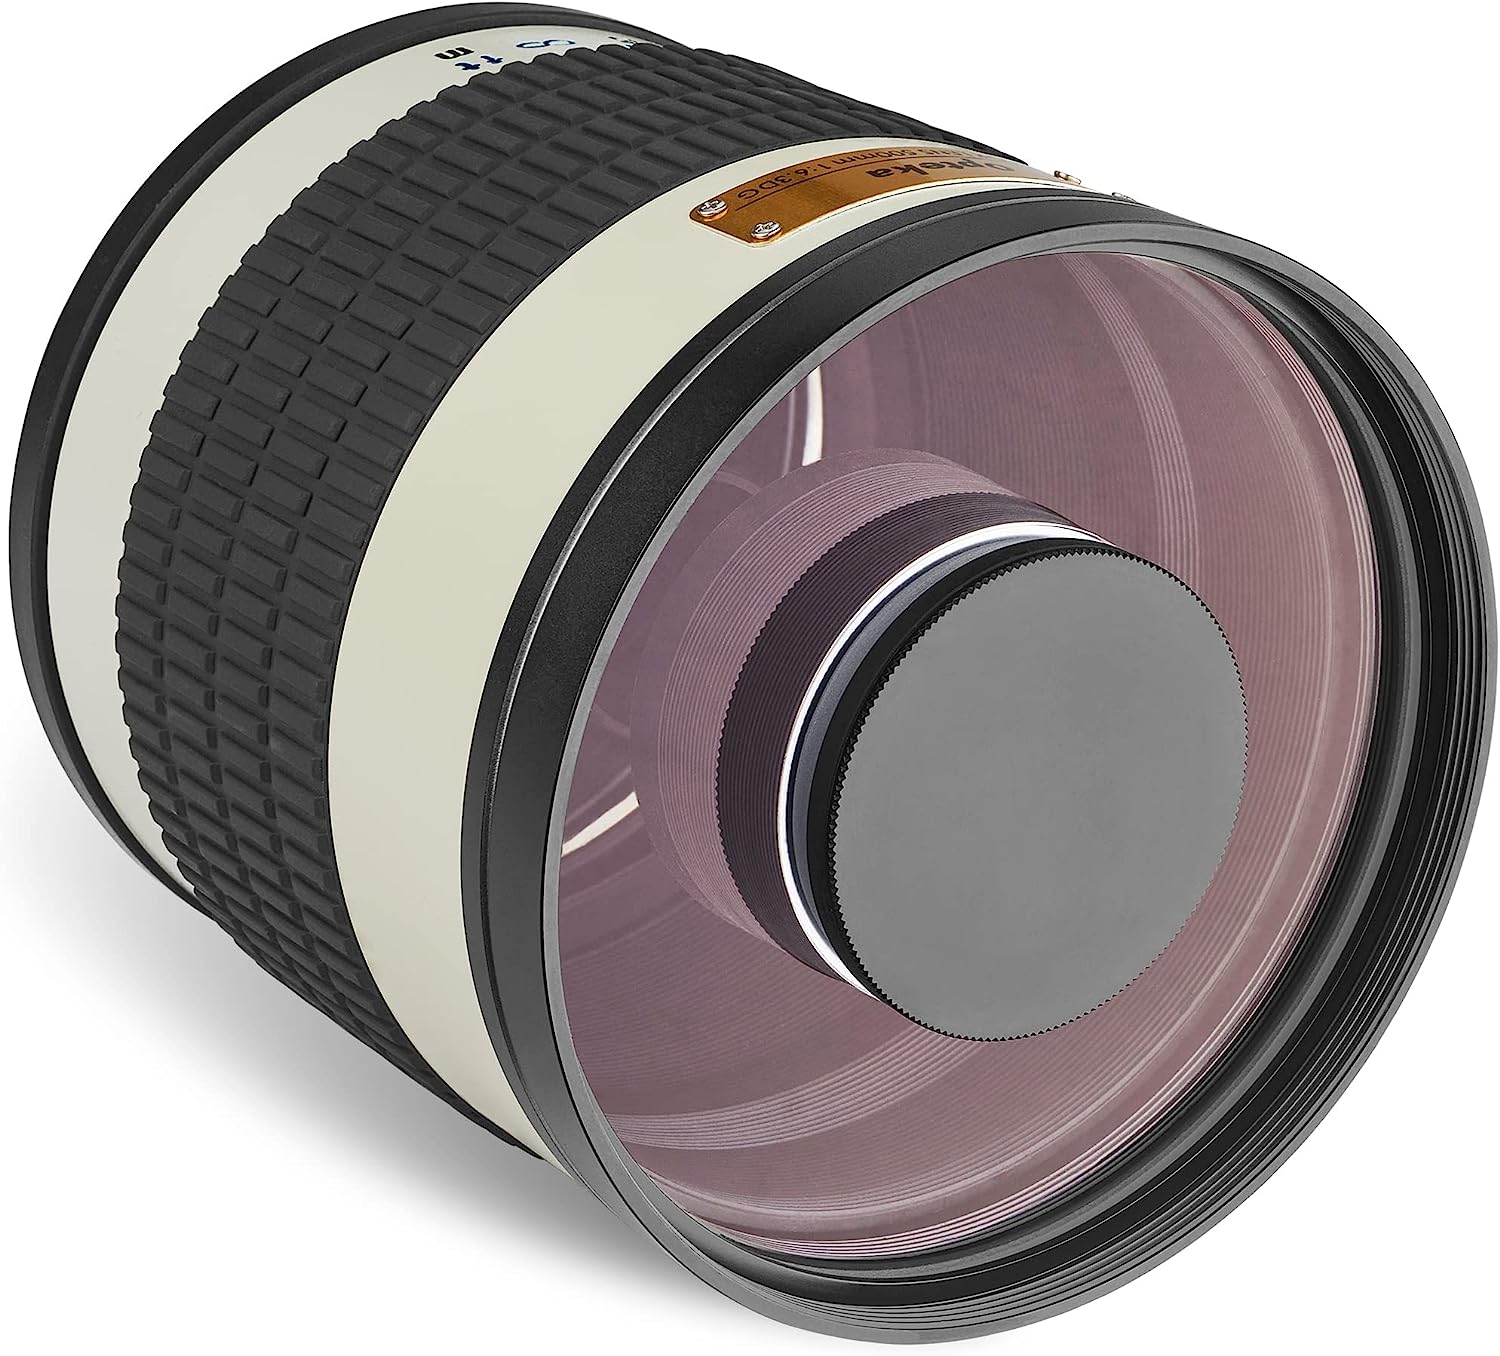
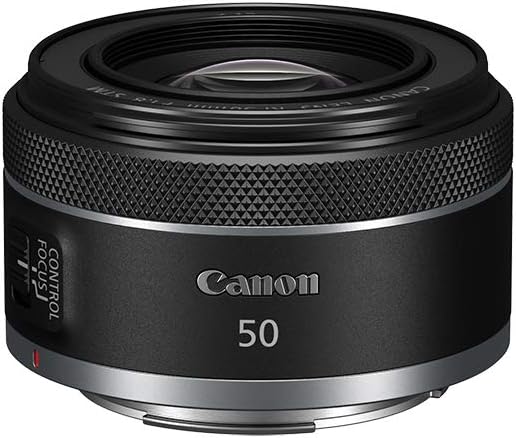
- Use a Fast Lens: A fast lens refers to one with a wide maximum aperture, typically f/2.8 or wider. A larger aperture allows more light to reach the camera sensor, which is crucial in low light conditions. Prime lenses (fixed focal length) often have wider apertures and are preferred for low light photography.
- Increase ISO: ISO determines your camera sensor’s sensitivity to light. In low light, you’ll need to increase the ISO to make the sensor more responsive to the available light. However, keep in mind that higher ISO values can introduce digital noise, which can degrade image quality. Finding the right balance between ISO and noise reduction is essential.
- Slow Shutter Speed (with Stability): In low light, you may need to use a slower shutter speed to allow enough light to reach the sensor. However, this can lead to motion blur if the camera or subject moves during the exposure. To counter this, use a tripod or stabilize the camera against a steady surface. Additionally, using image stabilization (if your lens or camera has it) can help reduce blur caused by hand movements.
- Shoot in RAW: When shooting in low light, capturing images in RAW format gives you more flexibility during post-processing. RAW files contain more data and allow for better adjustments to exposure, white balance, and noise reduction without losing image quality.
- Manual Focus: In dim lighting, autofocus systems may struggle to lock onto a subject. Consider using manual focus to ensure the subject is sharp and in focus.
- Bracketing: If you’re uncertain about the ideal exposure settings, use exposure bracketing. This involves taking multiple shots at different exposures (underexposed, correctly exposed, and overexposed). It increases your chances of capturing a well-exposed image in challenging lighting conditions.
- Avoid Using Flash: While it might be tempting to use the camera’s built-in flash, it often creates harsh and unflattering lighting. Instead, try to work with available light or use an external flash with bounce or diffuser attachments for a more natural look.
- Long Exposure Noise Reduction: Some cameras offer long exposure noise reduction, which takes a second exposure with the shutter closed to capture and subtract noise. This can be useful for longer exposures, but it also doubles the time needed for each shot.
- Test and Adjust: Experiment with different combinations of aperture, shutter speed, and ISO to find the optimal settings for the specific low light situation you are in. Different scenarios may require different adjustments.
Remember that every low light scenario is unique, and there’s no one-size-fits-all solution. Practice and experimentation are essential to mastering low light photography. As technology advances, newer camera models often offer improved low light performance, so staying updated with the latest gear can also help you achieve better results.
Let’s delve deeper into some additional techniques and tips for low light photography:
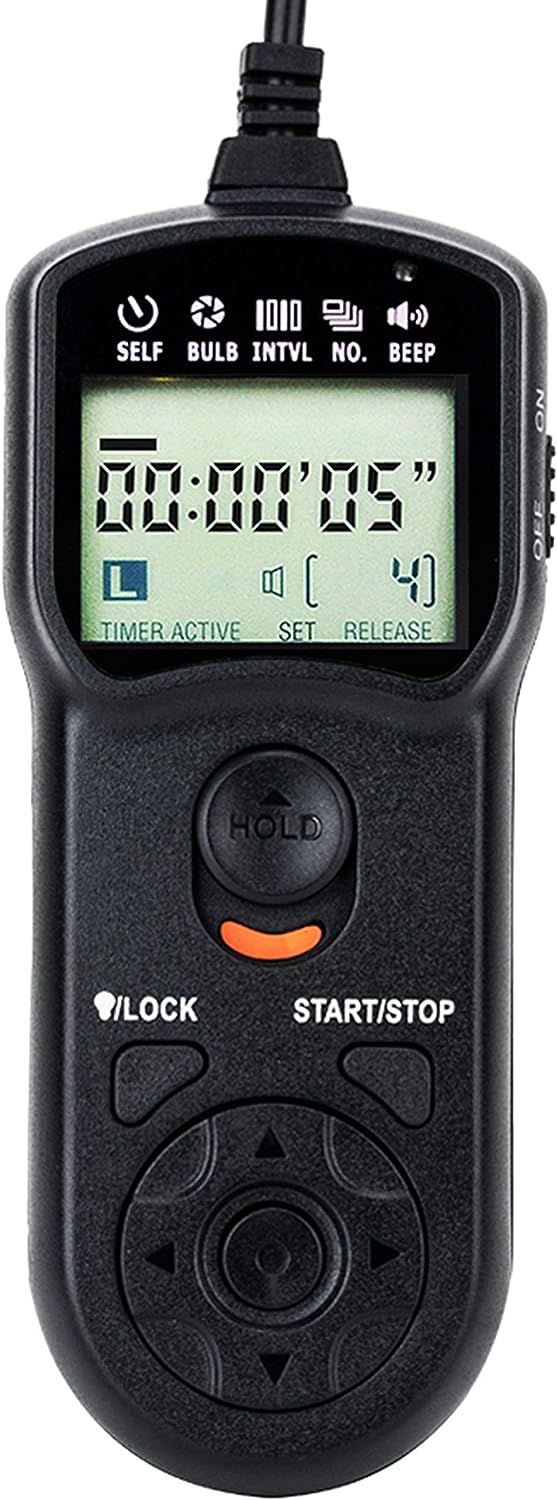
- Use a Remote Shutter Release: To further reduce camera shake during long exposures, consider using a remote shutter release or the camera’s self-timer function. This ensures that you don’t physically touch the camera while capturing the shot, minimizing the risk of introducing blur.
- Focus Peaking and Zooming: If your camera has focus peaking, use it to aid manual focusing in low light. Focus peaking highlights the areas in focus, making it easier to fine-tune your focus manually. Additionally, use the camera’s zoom function (if available) to magnify the focus area and ensure critical sharpness.
- Silent Shutter Mode: Some modern cameras offer a silent shutter mode, which can be advantageous in quiet environments where the sound of the shutter might be intrusive. It can also help to reduce vibrations caused by the mechanical movement of the camera.
- Expose for Highlights: In challenging lighting conditions, consider exposing for the highlights rather than trying to bring up the shadows later. This technique can help preserve important details and prevent overexposed areas in the final image.
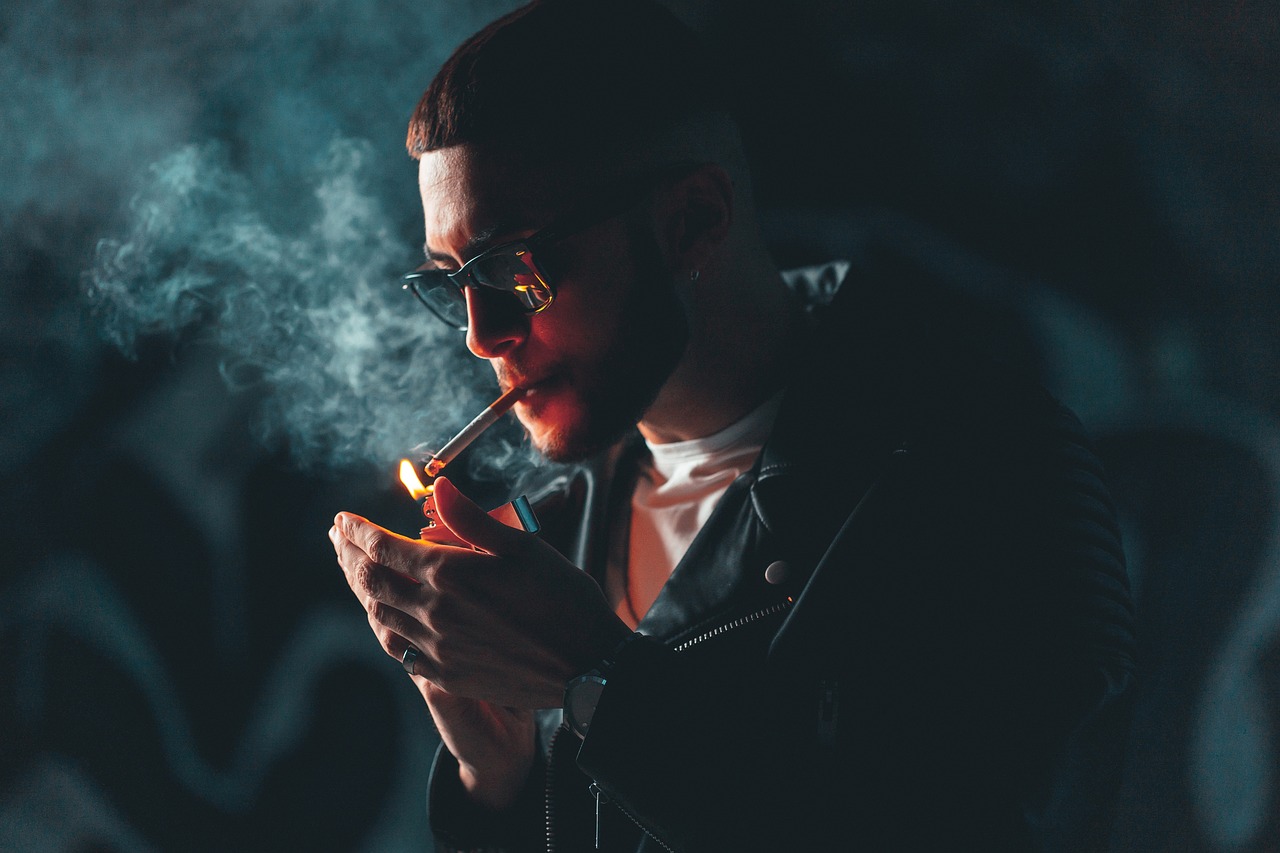
- Use Light Sources Creatively: In low light, any available light sources become crucial. Incorporate artificial lights, such as street lamps, neon signs, or candles, into your composition to add interest and create a unique atmosphere in your photos.
- Capture Light Trails: In low light conditions with moving light sources, such as car headlights or city lights, you can create stunning light trail effects. Use a tripod, a slow shutter speed, and a narrow aperture to capture the movement of lights over time.
- HDR (High Dynamic Range) Photography: In extremely challenging lighting situations, where you have both very bright and very dark areas in the frame, consider using HDR photography. HDR combines multiple images taken at different exposures to retain details in both highlight and shadow areas.
- Noise Reduction in Post-Processing: While shooting in RAW provides more flexibility for noise reduction during post-processing, it’s essential to use noise reduction techniques sparingly to avoid losing too much detail. Software tools like Adobe Lightroom and Photoshop offer various noise reduction options.
- Composite Images: For situations where you need to capture a well-exposed foreground and a well-exposed background, but the dynamic range exceeds the camera’s capabilities, consider taking multiple shots with different exposure settings and blend them together in post-processing.
- White Balance Adjustments: In low light, the color temperature can vary significantly. Be prepared to adjust the white balance settings in your camera or during post-processing to get accurate colors in your images.
- Shoot in Burst Mode: When photographing moving subjects in low light, shooting in burst mode increases your chances of capturing a sharp image. Continuous shooting allows you to take a sequence of shots rapidly, increasing the likelihood of getting a well-timed and focused shot.
Remember that low light photography can be challenging, but it also offers unique creative opportunities. Don’t be afraid to experiment, and be patient while adjusting your camera settings to achieve the desired results. As you practice and gain experience, you’ll develop a better understanding of how to optimize camera settings for various low light scenarios.