


Introduction to Photography Lighting: Understanding the Basics
Photography lighting is a fundamental aspect of creating stunning and impactful images. Understanding the basics of lighting is essential for photographers of all levels, as it can greatly influence the mood, composition, and overall quality of the photograph. In this introduction to photography lighting, we’ll cover some of the key concepts and techniques to get you started on your journey to becoming a master of light.
Natural Light vs. Artificial Light:
Lighting in photography can be broadly categorized into two types: natural light and artificial light. Natural light comes from the sun or other natural sources and can vary in intensity, direction, and color temperature depending on the time of day, weather conditions, and geographical location. On the other hand, artificial light is generated using artificial sources like flash units, studio lights, and other lighting equipment. Each type of light has its unique characteristics and can be used creatively to achieve different effects.
Quality of Light:
The quality of light refers to how harsh or soft the light is. Harsh light creates well-defined shadows and strong contrasts, while soft light produces gentle shadows and smoother transitions between light and shadow. Natural light tends to be softer during overcast days or when diffused through clouds, while direct sunlight can create harsher shadows. In artificial lighting, using diffusers or bouncing the light off reflective surfaces can help soften the light source.
Direction of Light:
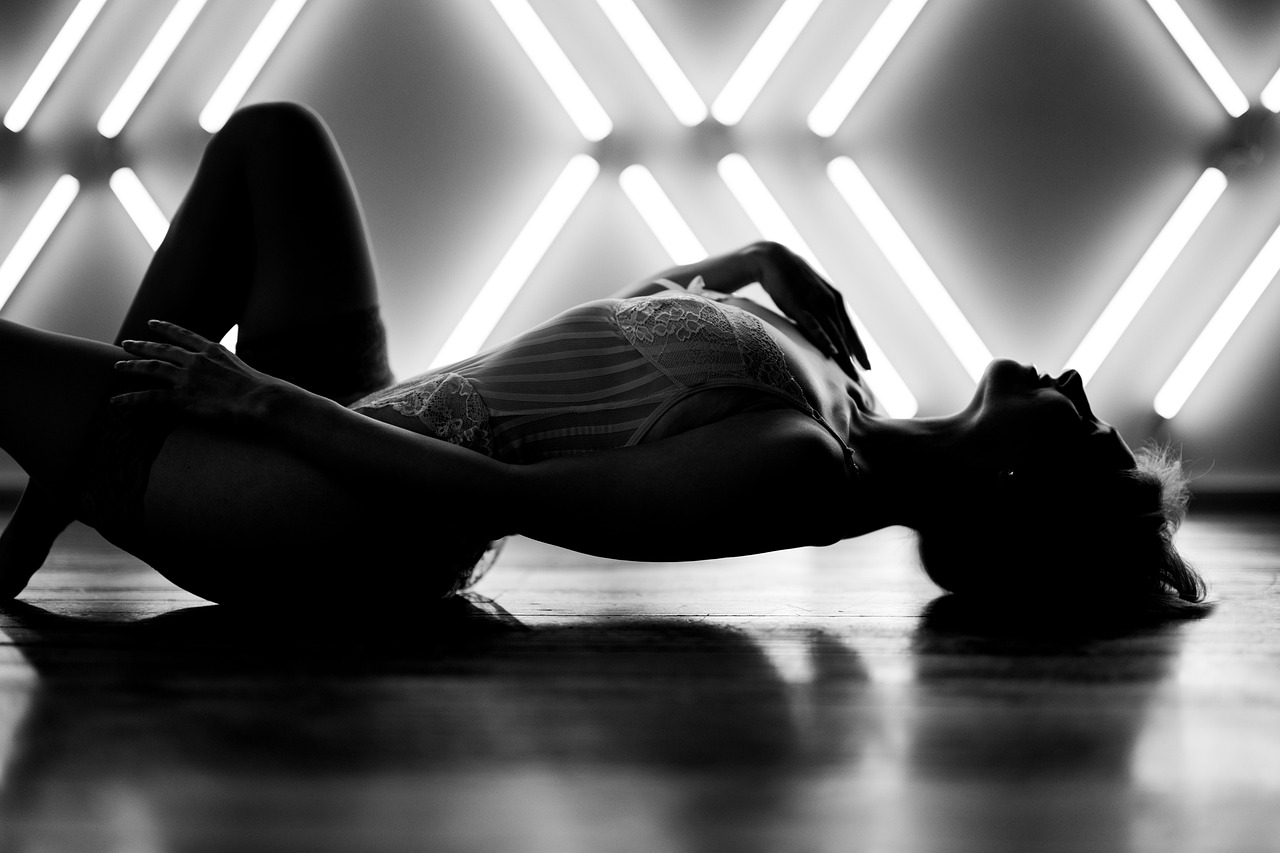
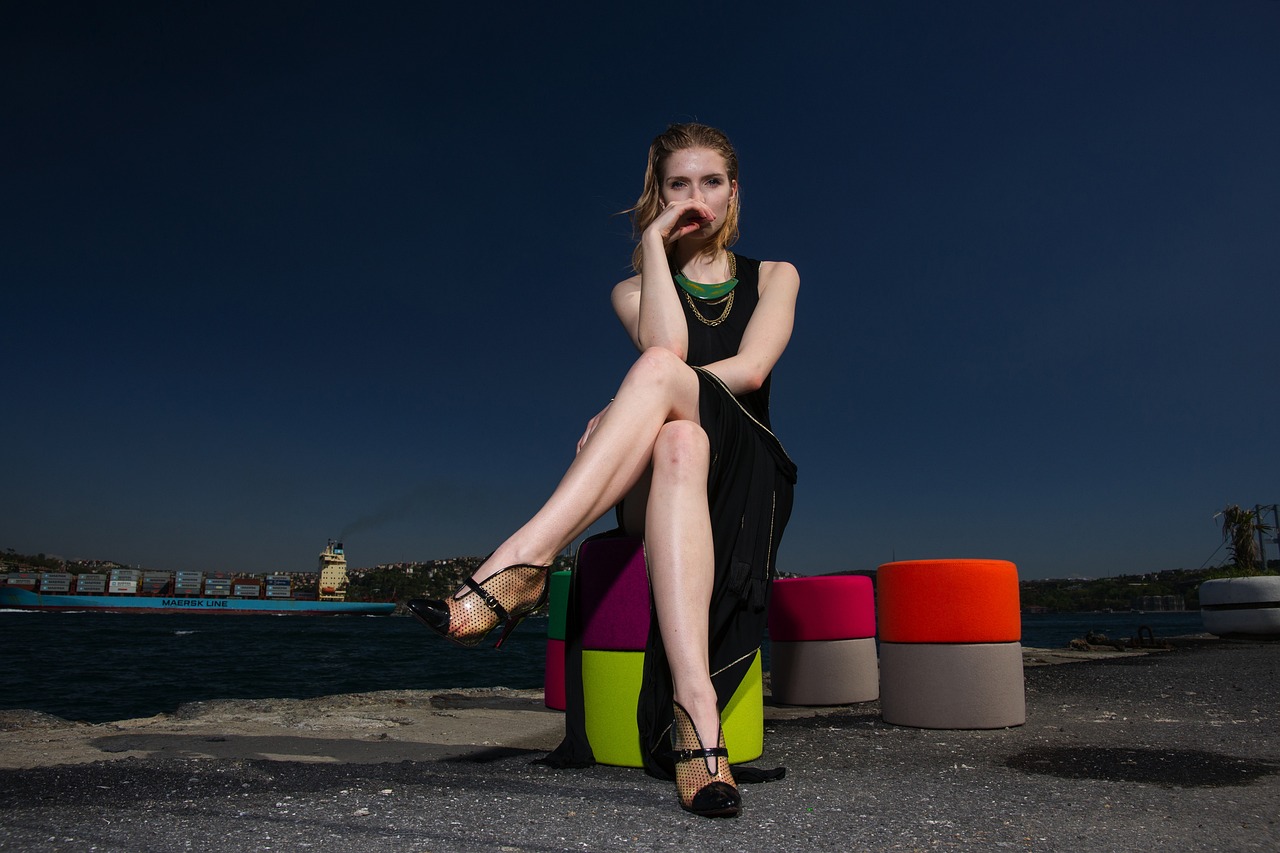
The direction of light refers to where the light is coming from relative to your subject. Front lighting, where the light source is behind the photographer, illuminates the subject evenly and reduces shadows. Backlighting, where the light is behind the subject, can create a striking silhouette effect. Side lighting, as the name suggests, comes from the side and can add depth and texture to the subject.
Color Temperature:
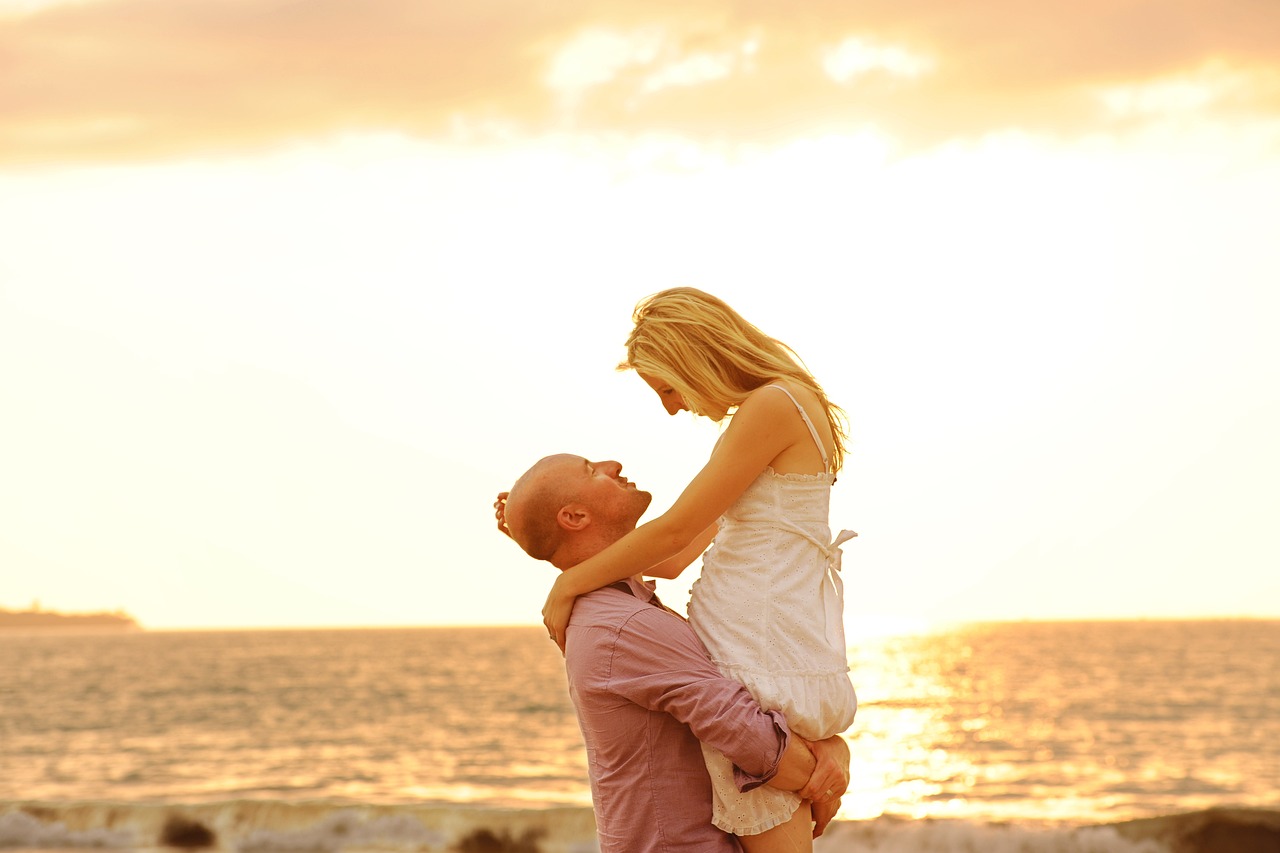
Light has different color temperatures, measured in Kelvin (K). Lower color temperatures, around 3000K, produce warm, yellowish light, often seen during sunset. Higher color temperatures, around 5500K to 6500K, produce cooler, bluish light, typical of overcast days or electronic flash. Understanding color temperature is crucial for achieving accurate white balance in your photographs.
White Balance:
White balance is the process of adjusting the colors in your photograph to render white accurately. This ensures that other colors in the image appear natural and true to life. Different light sources have different color temperatures, which can result in color casts in your images. Most modern cameras have automatic white balance settings, but you can also manually adjust it to achieve the desired color effect.
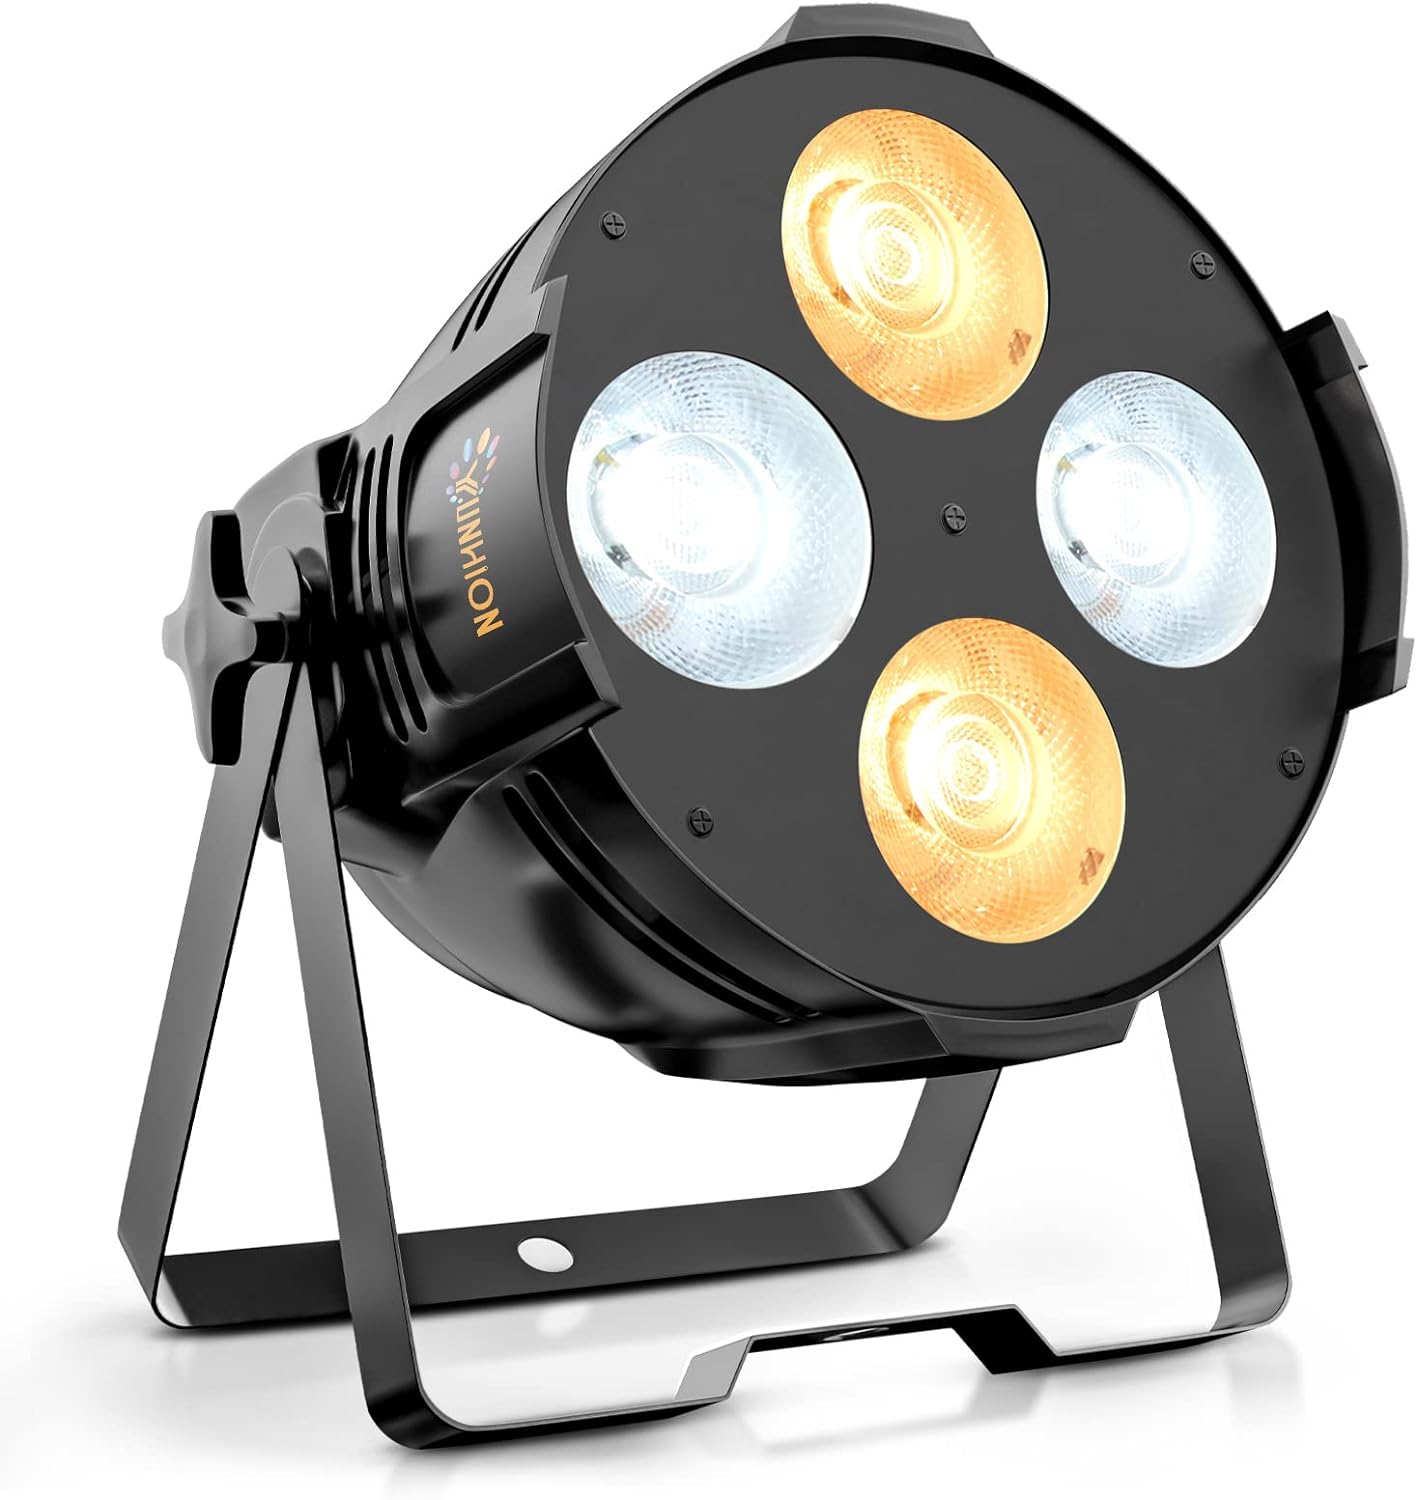
Lighting Equipment:
For more controlled and consistent lighting, photographers often use lighting equipment such as:
External Flash: Provides additional light when natural light is insufficient or to add creative lighting effects.
Continuous Lights: Lighting units that remain on constantly, like LED panels or studio lights.
Softboxes: Large, fabric boxes that diffuse light, creating soft and even lighting.
Reflectors: Surfaces that bounce light back onto the subject to fill in shadows or adjust lighting ratios.
Umbrellas: Used to soften and spread the light, commonly used in portrait photography.
Lighting Setups:
There are numerous lighting setups used in photography, such as:
Three-point lighting: A classic portrait setup involving a key light, a fill light, and a backlight.
Rembrandt lighting: Named after the famous painter, it creates a small triangle of light on the subject’s cheek.
Butterfly lighting: Placing the key light directly in front and above the subject’s face, creating a butterfly-shaped shadow under the nose.
High key and low key lighting: High key is bright and mostly shadowless, while low key creates a moody and darker atmosphere.
Lighting Ratios:
Lighting ratios refer to the contrast between the brightest and darkest areas of your photograph. By adjusting the intensity of your light sources, you can control the lighting ratios and create different moods and effects. For example, a high lighting ratio (strong contrast) can add drama and impact to an image, while a low lighting ratio (soft contrast) creates a more even and balanced look.
Hard Light vs. Soft Light:
Hard light is produced when the light source is relatively small and close to the subject. It creates well-defined, sharp-edged shadows and emphasizes texture. Hard light is commonly found in direct sunlight or when using small, undiffused artificial light sources. On the other hand, soft light is achieved when the light source is large or diffused, resulting in gentle, gradual transitions between light and shadow. Soft light is flattering for portraits and still life photography, as it minimizes skin imperfections and creates a more pleasing look.
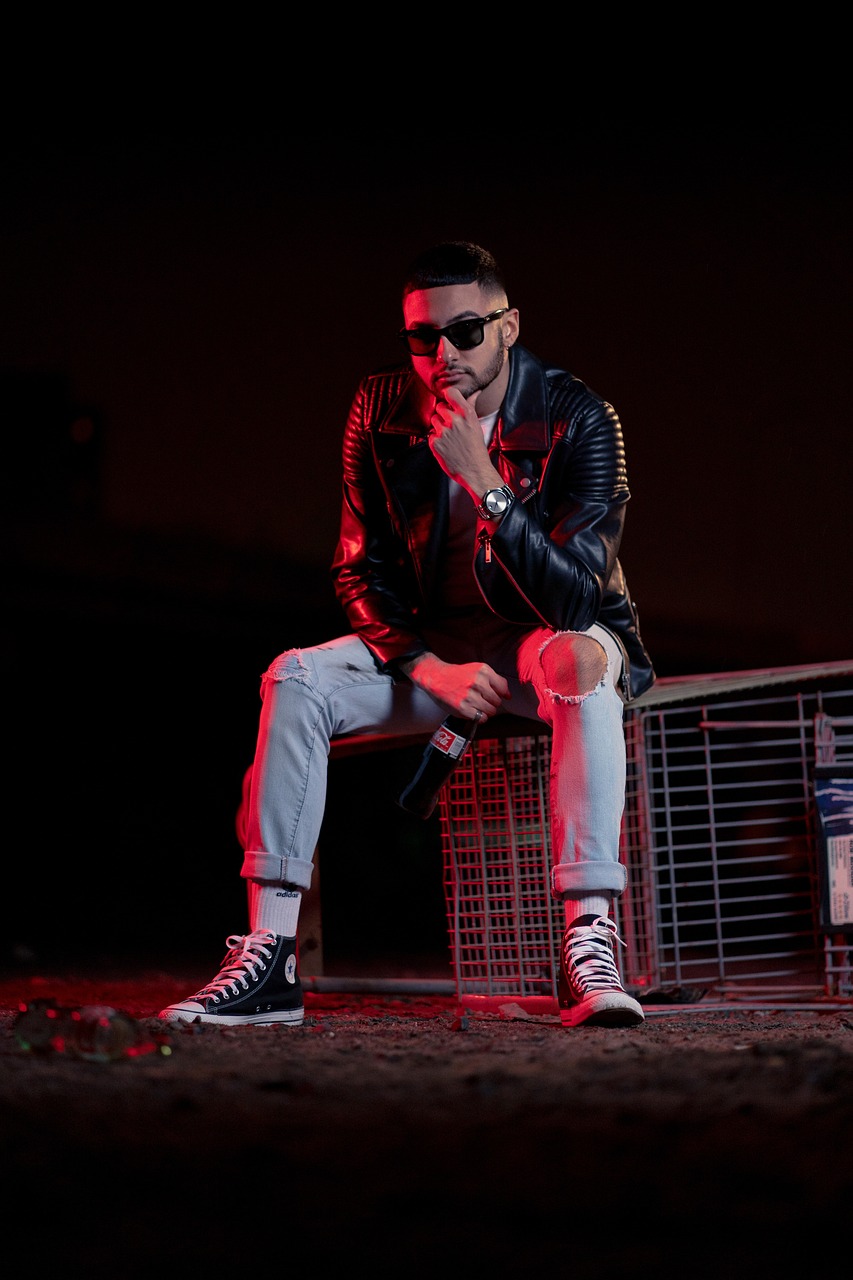
Color Gels:
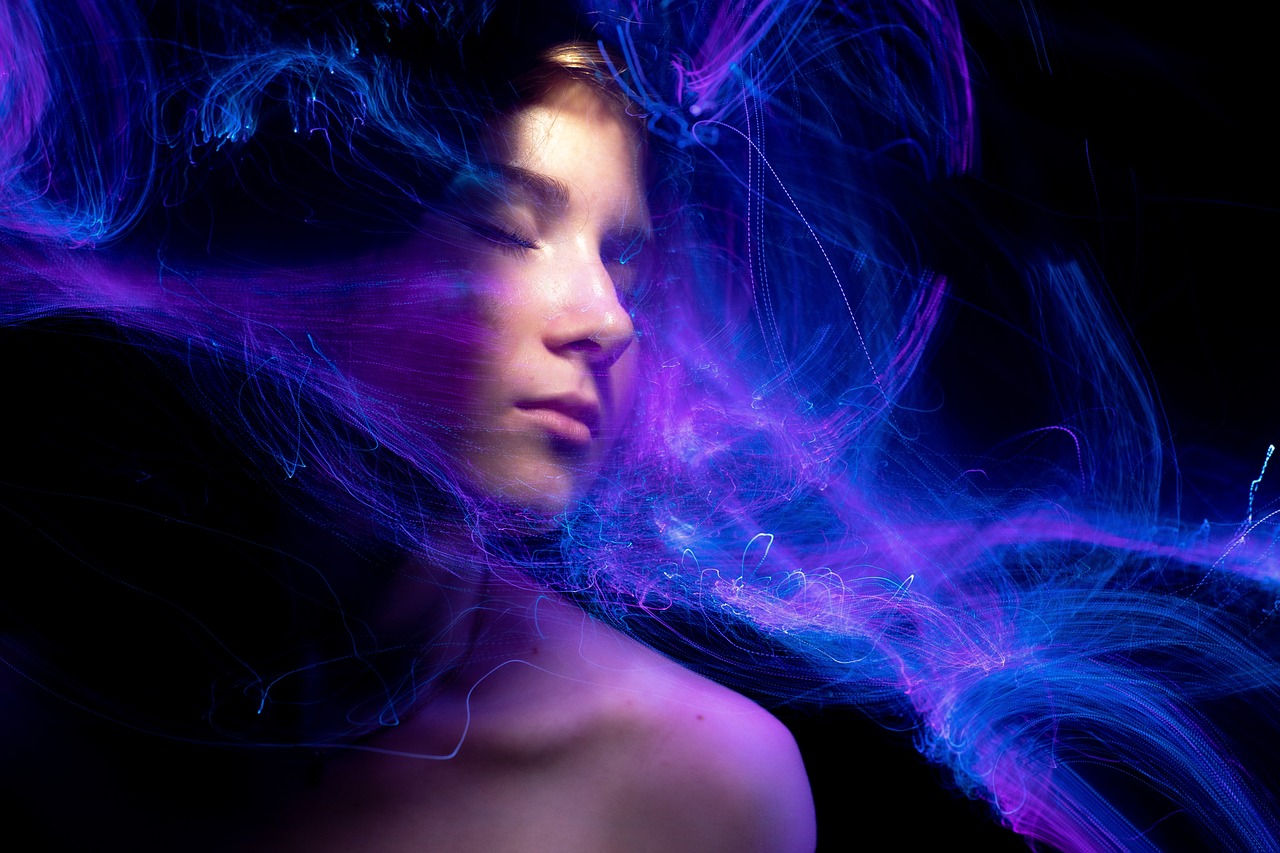
Color gels are transparent colored sheets placed over lights to add a tint of color to the scene. They are commonly used in portrait, fashion, and creative photography to create artistic effects or match the lighting with the overall mood of the image. For example, using a blue gel can simulate moonlight, while a red gel can add warmth and drama.
Controlling Shadows:
Understanding how to control shadows is crucial in photography. Shadows can add depth, dimension, and interest to an image, but they can also become distracting or overpowering if not managed properly. Reflectors and fill lights are often used to fill in shadows and reduce their intensity, while using black flags or gobos can help create more defined and deliberate shadows.
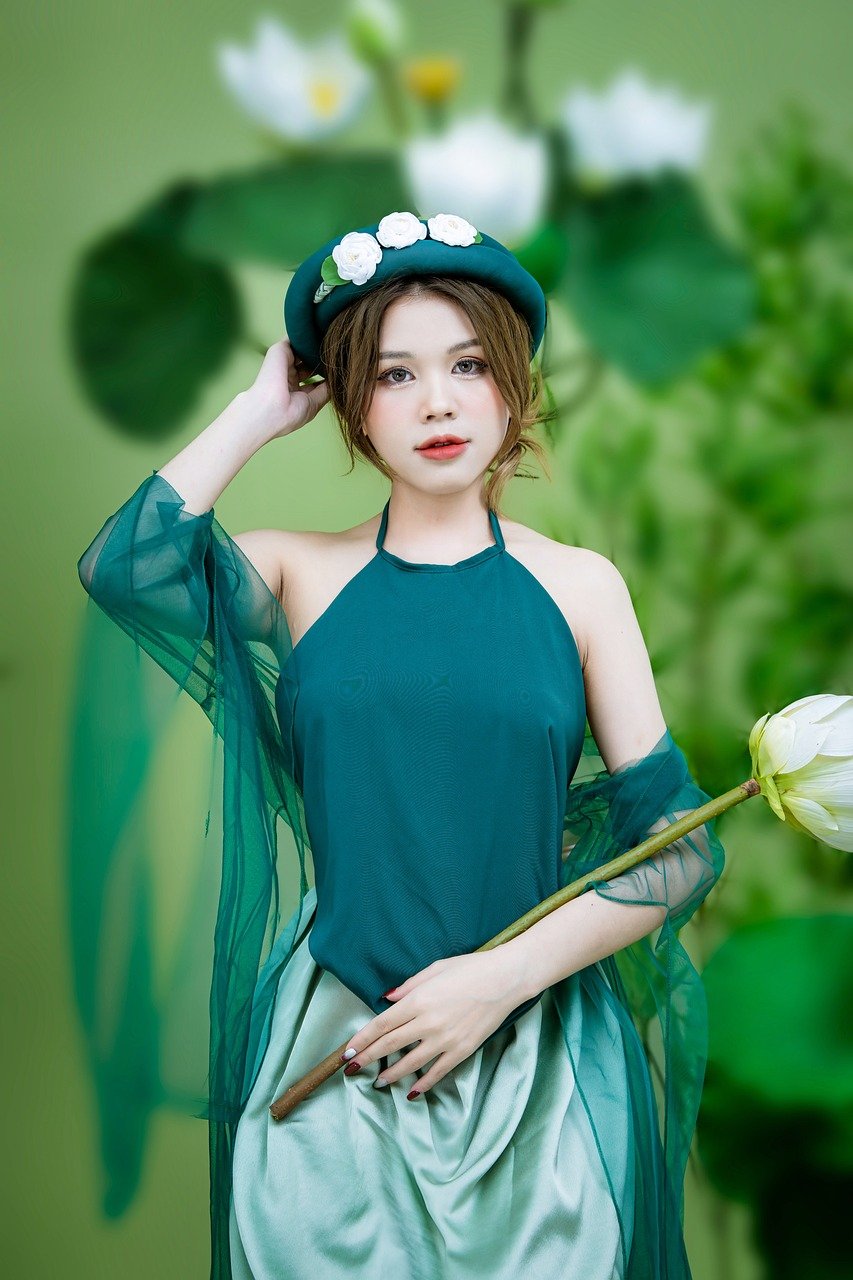
Natural Light Portraits:
In portrait photography, natural light can be incredibly flattering if used correctly. Photographers often use techniques like shooting during golden hour (the hour after sunrise and before sunset) when the sun is low on the horizon, providing soft, warm light. Additionally, shooting in open shade, such as under a tree or building overhang, can create even and diffused lighting, avoiding harsh shadows on the subject’s face.
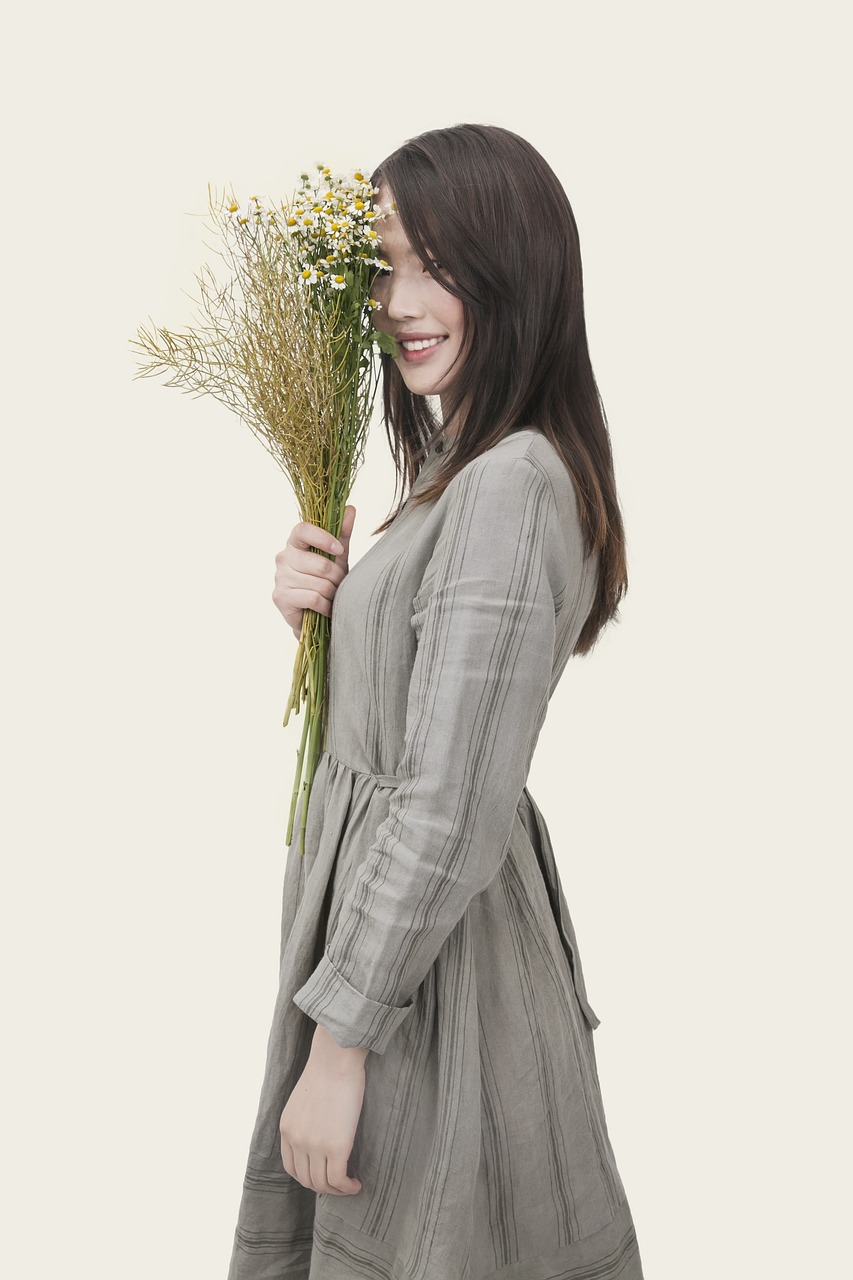
Studio Lighting:
In a studio setting, photographers have complete control over lighting conditions, making it an ideal environment for experimenting with different setups and achieving consistent results. Many photographers use a variety of studio lighting equipment, such as softboxes, umbrellas, and strobes, to create the desired look. Studio lighting is commonly used in portrait, fashion, product, and commercial photography.
Environmental Lighting:
Photographers often use existing light sources in their surroundings to enhance their images. This could be anything from city lights at night to candlelight, neon signs, or the warm glow of a fireplace. Understanding how to incorporate and manipulate environmental lighting can add a unique and atmospheric element to your photographs.
Balancing Multiple Light Sources:
In certain situations, you might need to use a combination of natural and artificial light sources or multiple artificial lights to achieve your desired effect. It’s essential to learn how to balance these different light sources to avoid color imbalances and harsh shadows. Understanding the color temperature of each light source and using gels or adjusting white balance settings can help harmonize the overall lighting in your composition.
Remember, photography lighting is an art form in itself, and there’s no one-size-fits-all approach. As you gain experience and knowledge, you’ll develop your style and preferences for lighting setups that best suit your creative vision. The key is to keep experimenting, observing, and learning from your results and the work of other photographers. Happy exploring!