


Flash Photography: Mastering On-Camera and Off-Camera Flash

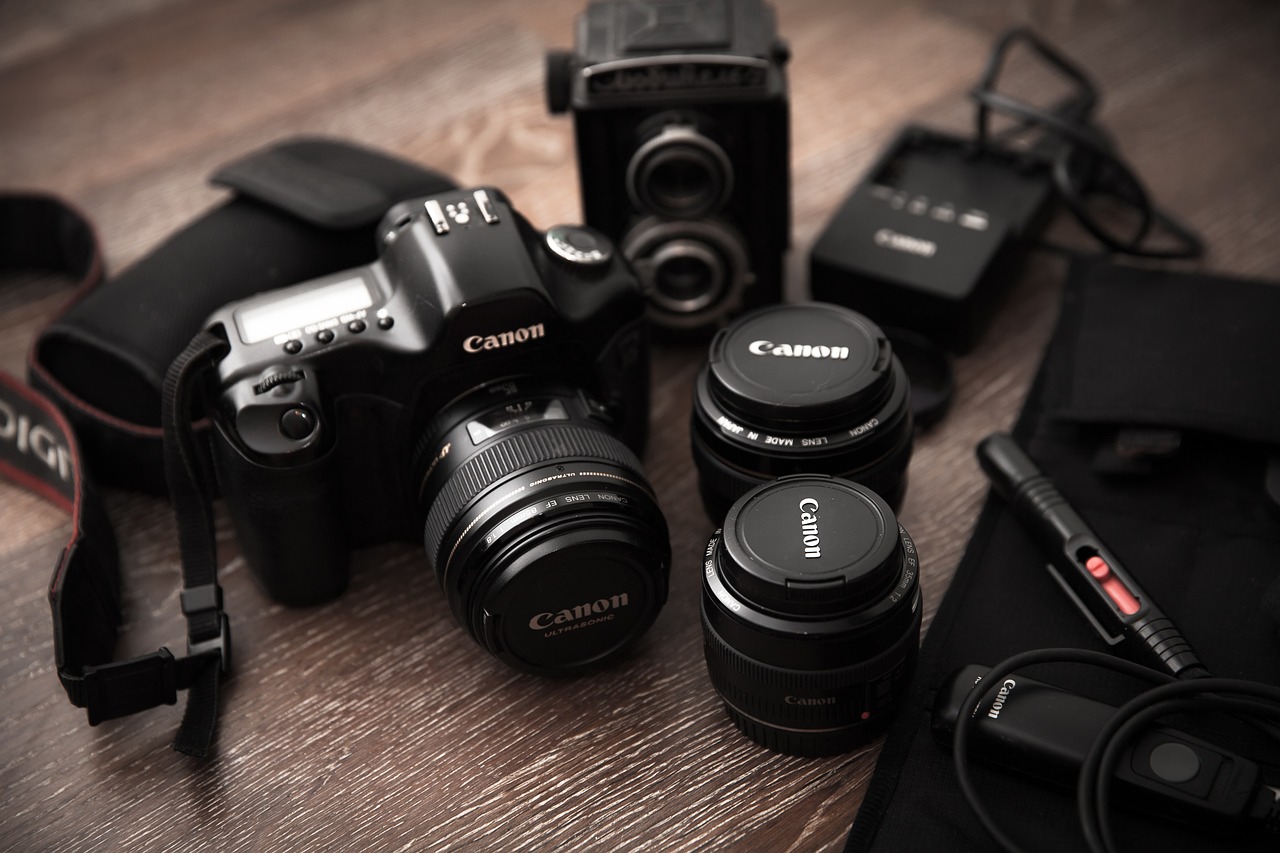
Flash photography is a technique in which a burst of artificial light, typically from a camera-mounted flash unit or external flash, is used to illuminate a subject or scene. It is a versatile and essential skill for photographers, as it allows them to capture well-exposed images in various lighting conditions, especially in low-light situations or when the ambient light is insufficient.
Mastering on-camera and off-camera flash involves understanding the principles of light, flash equipment, and the relationship between flash and ambient light. Here’s an overview of both on-camera and off-camera flash techniques:
- On-Camera Flash: On-camera flash refers to using the built-in flash unit on your camera or attaching an external flash directly to the camera’s hot shoe. It is the simplest way to add light to a scene, but it can also lead to harsh and unflattering results if not used correctly. Some tips for using on-camera flash effectively include:
- Bounce Flash: If your flash unit allows, try bouncing the flash off a ceiling or wall to create a softer and more diffused light, which helps reduce harsh shadows.
- Flash Exposure Compensation: Adjust the flash power using flash exposure compensation to control the flash’s intensity and avoid overexposure or underexposure.
- Fill Flash: Use the flash to fill in shadows on your subject when the ambient light creates strong contrasts. This helps balance the exposure and make the subject more visible.
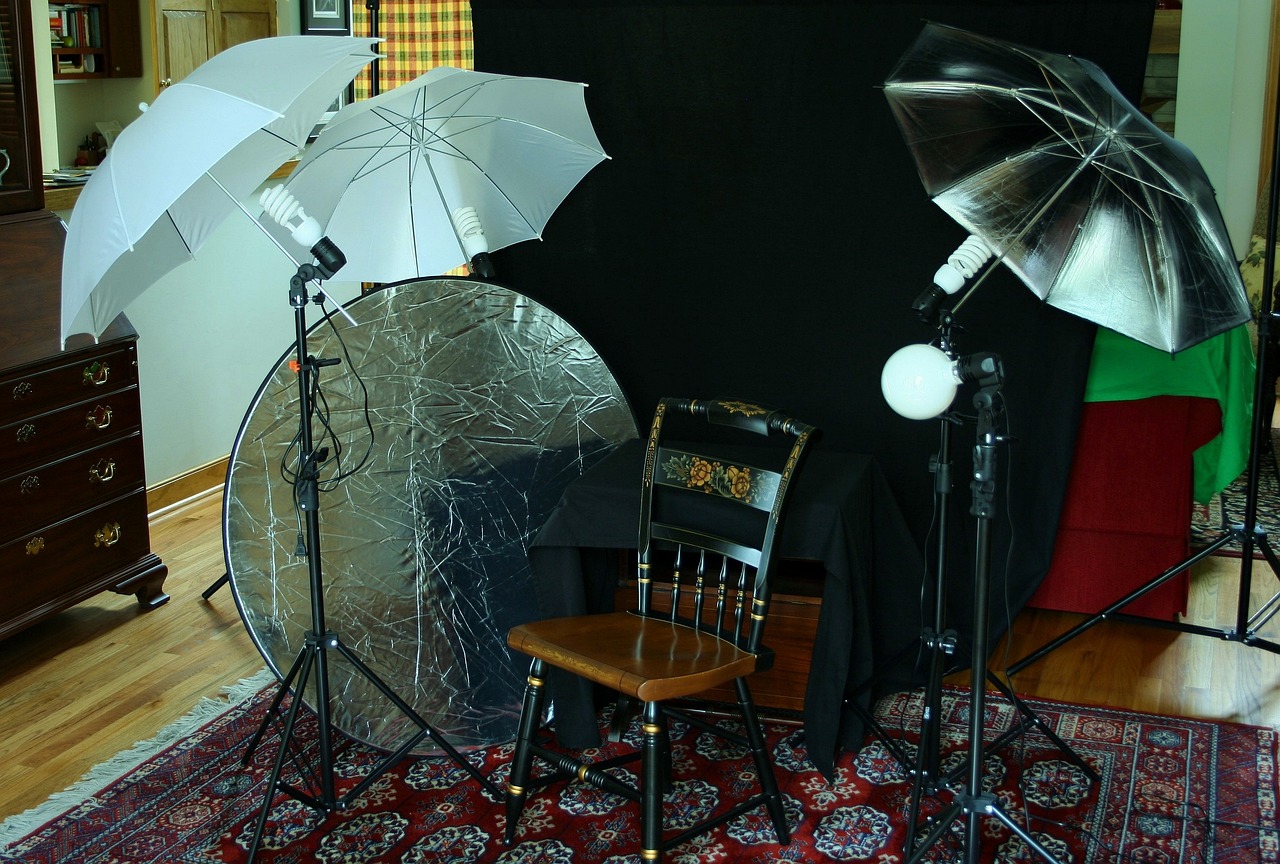
- Off-Camera Flash: Off-camera flash involves removing the flash unit from the camera and placing it in different positions around the subject to create more natural and dynamic lighting. This technique allows for greater control over the direction and quality of light. Off-camera flash opens up a wide range of creative possibilities, but it requires additional equipment such as wireless triggers or cables to fire the flash remotely. Some tips for using off-camera flash effectively include:
- Lighting Ratios: Understanding lighting ratios is essential when using multiple off-camera flash units. Adjusting the power of each flash helps control the contrast and mood of the image.
- Light Modifiers: Use light modifiers like softboxes, umbrellas, or grids to shape and control the light, creating a more flattering and professional look.
- Key and Fill Lighting: Employ the key light as the primary light source and a fill light to soften shadows and reduce contrast.
Flash Sync Speed: The flash sync speed is the fastest shutter speed that allows the camera’s sensor to be fully exposed when the flash fires. It’s essential to understand this limitation, especially with on-camera flash. If you set your shutter speed faster than the sync speed, you may end up with a partially blacked-out image since the shutter curtains will obstruct the sensor before the flash has a chance to fully illuminate the scene.
High-Speed Sync (HSS) and Flash Duration: For situations where you need to use a faster shutter speed to control ambient light or achieve a specific creative effect, you can use High-Speed Sync (HSS) mode available on certain flash units. HSS allows you to use flash at shutter speeds higher than the regular sync speed, but keep in mind that it reduces the flash power and may require more flash units to achieve the desired effect. Additionally, be aware of the flash duration, which is the length of time the flash emits light. Shorter flash durations can freeze fast-moving subjects and reduce motion blur.
White Balance and Flash Color Temperature: Flashes emit light with a different color temperature than ambient light sources, which can lead to color casts in your images. It’s crucial to set the white balance appropriately to match the flash’s color temperature. Many cameras have a specific “Flash” white balance setting, but you can also use custom white balance to fine-tune the color temperature for your specific flash unit.
Balancing Ambient Light and Flash: Learning to balance ambient light and flash is a key skill in flash photography. The ambient light contributes to the overall exposure, while the flash illuminates your subject. For a natural-looking result, avoid overpowering the ambient light with your flash, especially in low-light situations. Instead, adjust your camera settings and flash power to blend the two light sources seamlessly.
Inverse Square Law: Understanding the inverse square law is crucial when using off-camera flash. It states that the intensity of light falls off rapidly as you move the light source away from the subject. As a result, small changes in the distance between the flash and the subject can significantly affect the light’s quality and quantity. By adjusting the flash-to-subject distance, you can control the light’s softness and avoid uneven lighting.
Flash Bracketing and Test Shots: When working with challenging lighting conditions or experimenting with flash setups, consider using flash bracketing. This involves taking multiple shots at different flash power settings to ensure you capture the desired exposure. Additionally, use test shots to preview how the flash affects the scene before capturing the final image.
Practice and Experimentation: Flash photography can be a complex and creative field, so practice is key. Experiment with various lighting setups, positions, and modifiers to understand how they influence the final image. Don’t be afraid to make mistakes, as they often lead to valuable learning experiences.
Remember, flash photography is an art form, and mastering it takes time and dedication. By continually learning, practicing, and refining your skills, you’ll become more confident and proficient in using both on-camera and off-camera flash to capture stunning and impactful photographs in any situation.