


Guide to shooting product photos with a smartphone

Clean your product and setup area: Before you start, ensure that your product is clean and free from dust or smudges. Also, clean the area where you’ll be shooting to eliminate any distracting elements.
Use proper lighting: Good lighting is crucial for capturing high-quality product photos. Natural light is generally the best option. Set up near a window or shoot outdoors during daylight hours. Avoid using the phone’s flash as it can create harsh shadows and distort colors.
Consider a backdrop: Choose a clean and simple backdrop to make your product stand out. You can use a white poster board, a solid-colored fabric, or a specialized backdrop. Avoid busy or distracting backgrounds that might divert attention from your product.
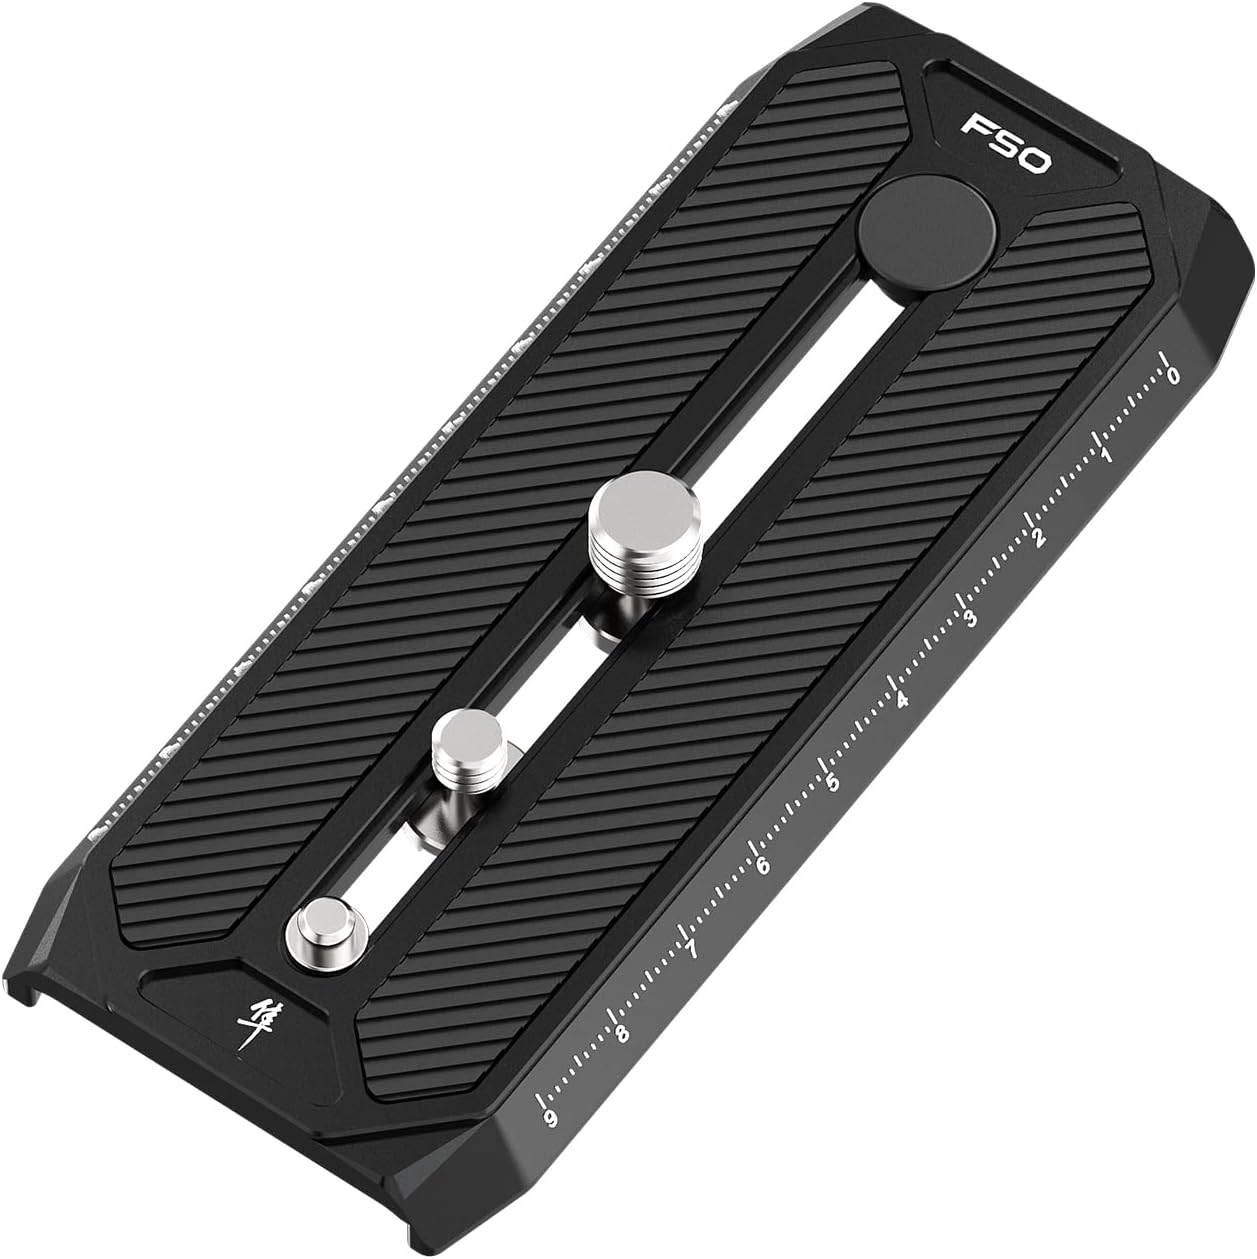
Stabilize your phone: Use a tripod or any stable surface to minimize camera shake and ensure sharp images. A tripod specifically designed for smartphones can help you achieve steady shots and allows for more precise composition.
Set up your composition: Arrange your product in an appealing and visually pleasing manner. Consider the rule of thirds, where you divide your frame into a 3×3 grid and place your subject along the intersecting lines. Experiment with different angles and perspectives to find the most flattering shots.
Adjust focus and exposure: Tap on the screen of your smartphone to set the focus and exposure on your product. This ensures that the subject is sharp and well-exposed. Some camera apps also allow you to lock the focus and exposure for consistent results.
Use gridlines: Enable the gridlines feature in your camera app to assist with composition. Aligning your subject with the gridlines can create a balanced and visually appealing image.
Experiment with depth of field: Some smartphones have a “Portrait” or “Depth” mode that simulates a shallow depth of field, blurring the background and emphasizing the product. Explore this feature if available, but be cautious as it may not always produce perfect results.
Avoid digital zoom: Instead of using the phone’s digital zoom, physically move closer to the product or use additional lenses or macro attachments designed for smartphones. Digital zoom reduces image quality and can result in pixelated or blurry photos.
Edit and enhance: After capturing your product photos, use photo editing apps or software to make minor adjustments. You can adjust brightness, contrast, color balance, and crop the image if necessary. Avoid excessive editing, as it can make the product look unnatural.
Capture multiple angles and details: Take multiple shots from different angles, including close-ups of product details. This provides versatility when promoting your product and allows customers to see different perspectives.
Maintain consistency: If you’re shooting multiple product photos for a catalog or website, strive for consistency in lighting, composition, and editing. This creates a cohesive look and helps customers compare products easily.
Use natural light modifiers: If the natural light is too harsh or creates strong shadows, you can use diffusers or reflectors to soften the light. Diffusers can be made from materials like white fabric or tracing paper, while reflectors bounce light back onto the product to fill in shadows. You can use white foam boards, aluminum foil, or specialized reflectors for this purpose.
Experiment with different backgrounds: While a clean and simple backdrop works well for most products, you can also experiment with different textures, colors, or props to add visual interest. Just ensure that the background doesn’t overpower or distract from the product itself.
Consider using a lightbox: A lightbox is a portable, enclosed space with diffused lighting, designed specifically for product photography. It helps eliminate shadows and creates an evenly lit environment. You can purchase a lightbox or even make one yourself using a cardboard box, tissue paper, and a light source.
Use the exposure lock feature: The exposure lock allows you to lock the exposure settings for consistent results, especially when shooting in different lighting conditions. It prevents the camera from automatically adjusting the exposure when you move the phone. This feature is usually available in camera apps and is represented by an icon like AE/AF lock or a padlock symbol.
Experiment with different camera apps: While the default camera app on your smartphone works well, there are several third-party camera apps available that offer additional features and manual controls. These apps allow you to adjust settings like ISO, shutter speed, and white balance, giving you more control over your photos. Some popular camera apps for smartphones include ProCamera, Camera+, and Adobe Lightroom.
Utilize editing apps: There are numerous photo editing apps available that can help enhance your product photos further. These apps offer a range of tools and filters to adjust brightness, contrast, saturation, and more. Some popular options include Adobe Lightroom Mobile, Snapseed, VSCO, and Pixlr.
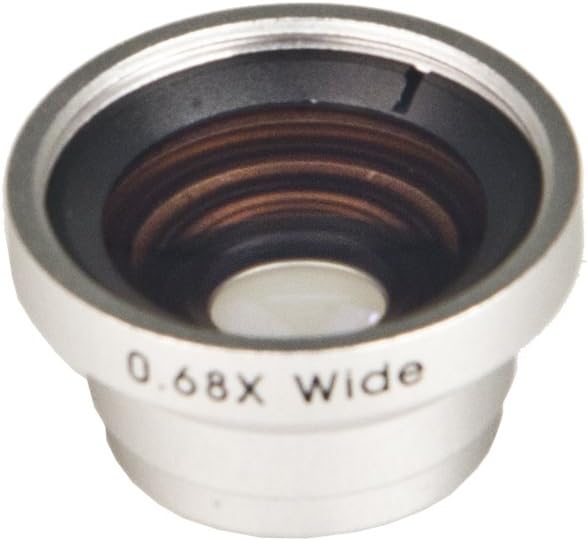
Consider using external lenses: Smartphone lenses can expand the capabilities of your phone’s camera and allow you to capture different types of shots. Macro lenses are great for capturing intricate details, wide-angle lenses can help you capture a broader scene, and telephoto lenses allow you to zoom in closer to the subject. Various external lenses are available in the market that can be attached to your smartphone.
Use a remote shutter release or self-timer: To avoid any camera shake caused by pressing the shutter button on your phone, use a remote shutter release or the self-timer function. This ensures sharper photos, especially when shooting in low light conditions or with slower shutter speeds.
Take advantage of editing presets: Many photo editing apps offer presets or filters that can instantly enhance your product photos with a single tap. These presets provide a consistent and professional look to your images and can be customized to suit your style and branding.
Show product functionality: Capture images that showcase how the product can be used or demonstrate its features. For example, if you’re photographing a kitchen appliance, show it in action with ingredients or food items.
Highlight unique selling points: Identify the unique aspects or selling points of your product and emphasize them in your photos. Whether it’s a special texture, intricate details, or innovative design, make sure to capture those elements that set your product apart from others.
Use props and context: Incorporate props or contextual elements that complement your product and tell a story. For example, if you’re photographing a book, include a cozy reading nook with a cup of tea to create an atmosphere.
Utilize negative space: Negative space refers to the empty areas surrounding your subject. Embracing negative space can help draw attention to the product and create a clean and minimalist composition.
Experiment with different angles: Don’t limit yourself to shooting from eye level. Try shooting from various angles, such as overhead, at a low angle, or from a unique perspective, to add visual interest and capture attention-grabbing shots.
Capture close-up details: Zoom in or get close to the product to capture its intricate details. This is especially important for products like jewelry, textiles, or small accessories, where customers want to see the quality and craftsmanship up close.
Incorporate lifestyle shots: Show your product being used in real-life situations or integrated into a person’s daily routine. Lifestyle shots can help customers envision themselves using the product and make a more informed purchasing decision.
Consider the product’s target audience: Think about who your target audience is and what would resonate with them. Customize your photography style, props, and settings accordingly to appeal to your specific demographic.
Keep the product in focus: Ensure that the product is the primary focus of the photo and remains sharp and clear. Use the smartphone’s autofocus feature or tap on the product in the frame to ensure accurate focus.
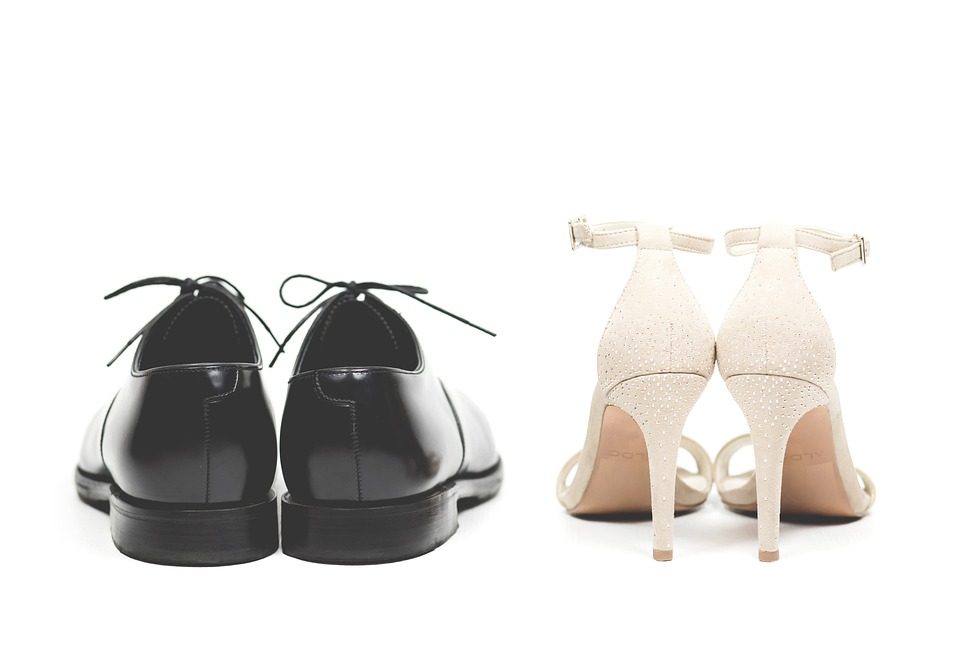
Capture different product variations: If you offer the product in multiple colors, sizes, or variations, include photos of each option to provide a comprehensive view for potential customers.
Maintain a consistent style: Consistency is key when creating a cohesive brand image. Use consistent lighting, composition, and editing style across your product photos to create a professional and recognizable look.
Solicit feedback: Don’t hesitate to seek feedback from others, especially from your target audience or fellow photographers. Constructive criticism can help you improve and refine your product photography skills.
Remember, practice and experimentation are essential in product photography. Don’t be afraid to try new techniques, learn from your results, and continue to refine your approach.