

Guide to Lighting for Macro Photography

Macro photography involves capturing small subjects up close, revealing intricate details that may not be visible to the naked eye. Proper lighting is crucial in macro photography to highlight these fine details and create stunning images. Here’s a guide to lighting for macro photography:
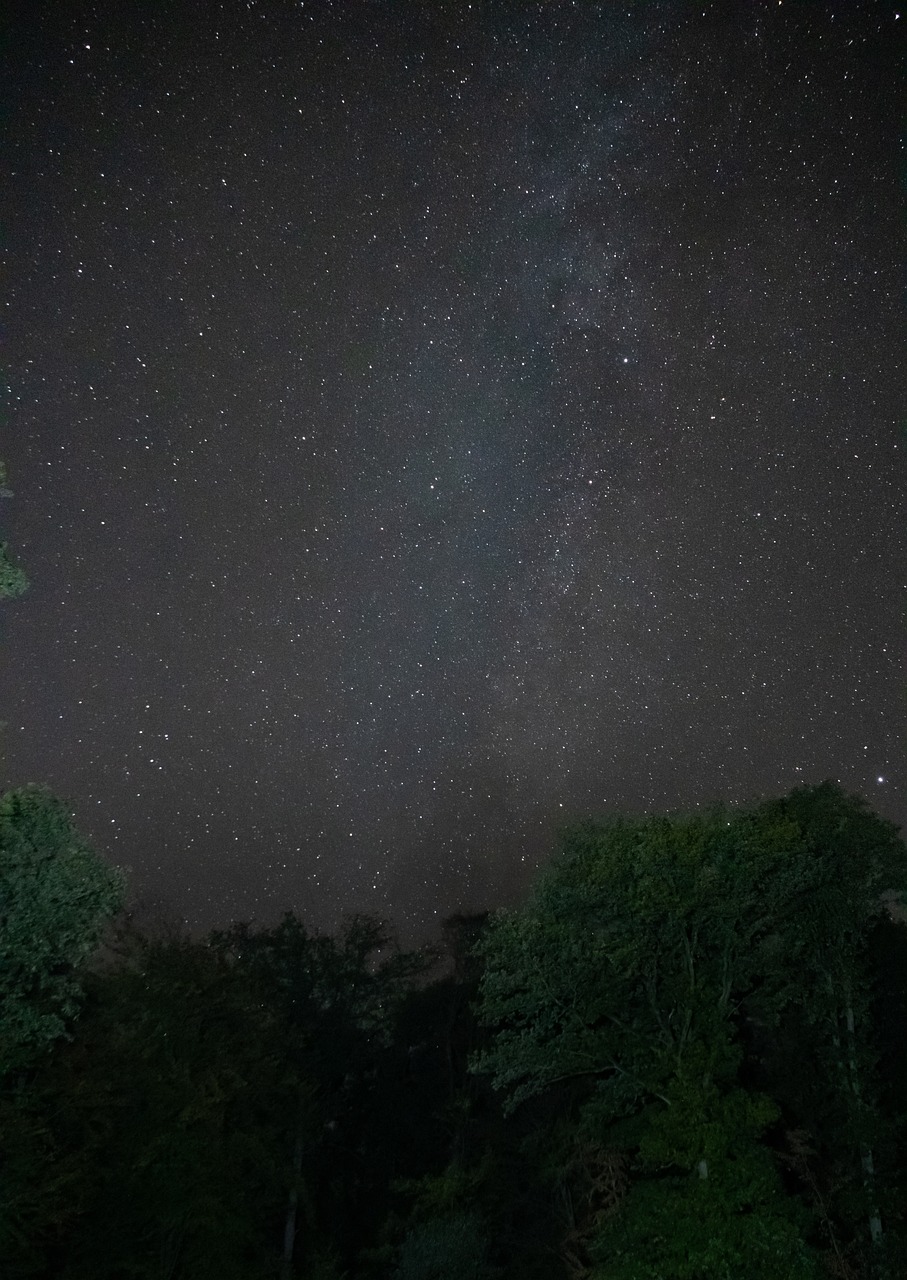
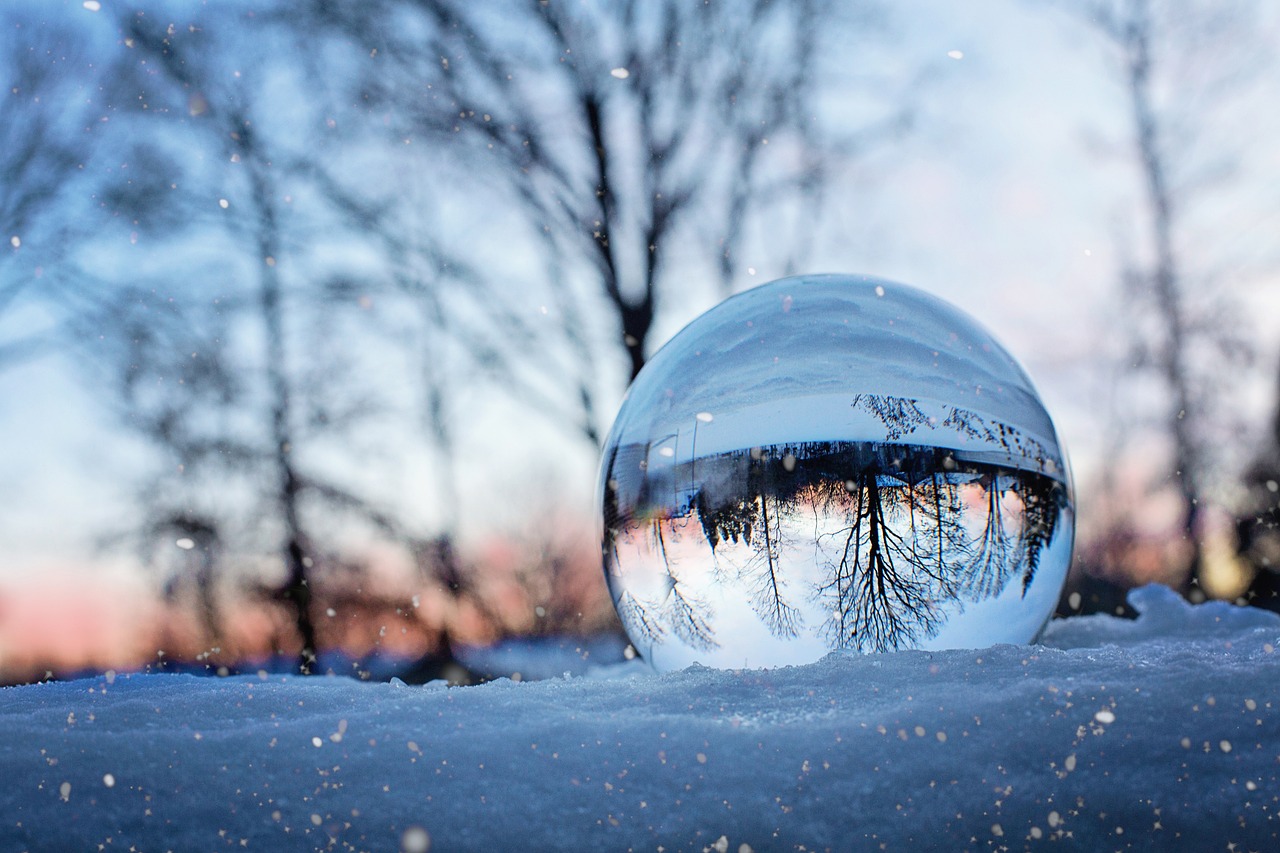
Natural Light: When shooting outdoors, natural light can be your best friend. It provides a soft and diffused illumination that works well for capturing the delicate features of small subjects. Overcast days are particularly favorable for macro photography as they offer even lighting without harsh shadows.
Avoid Harsh Sunlight: Direct sunlight can create harsh shadows and blow out highlights in your macro shots. If shooting in sunlight is unavoidable, consider using a diffuser or find a way to block some of the light to soften its effect on your subject.
Use Reflectors: Reflectors can be handy in macro photography to bounce light onto your subject and fill in shadows. They come in various colors like silver, gold, white, and black, each producing a different effect. Experiment with different reflectors to achieve the desired lighting.
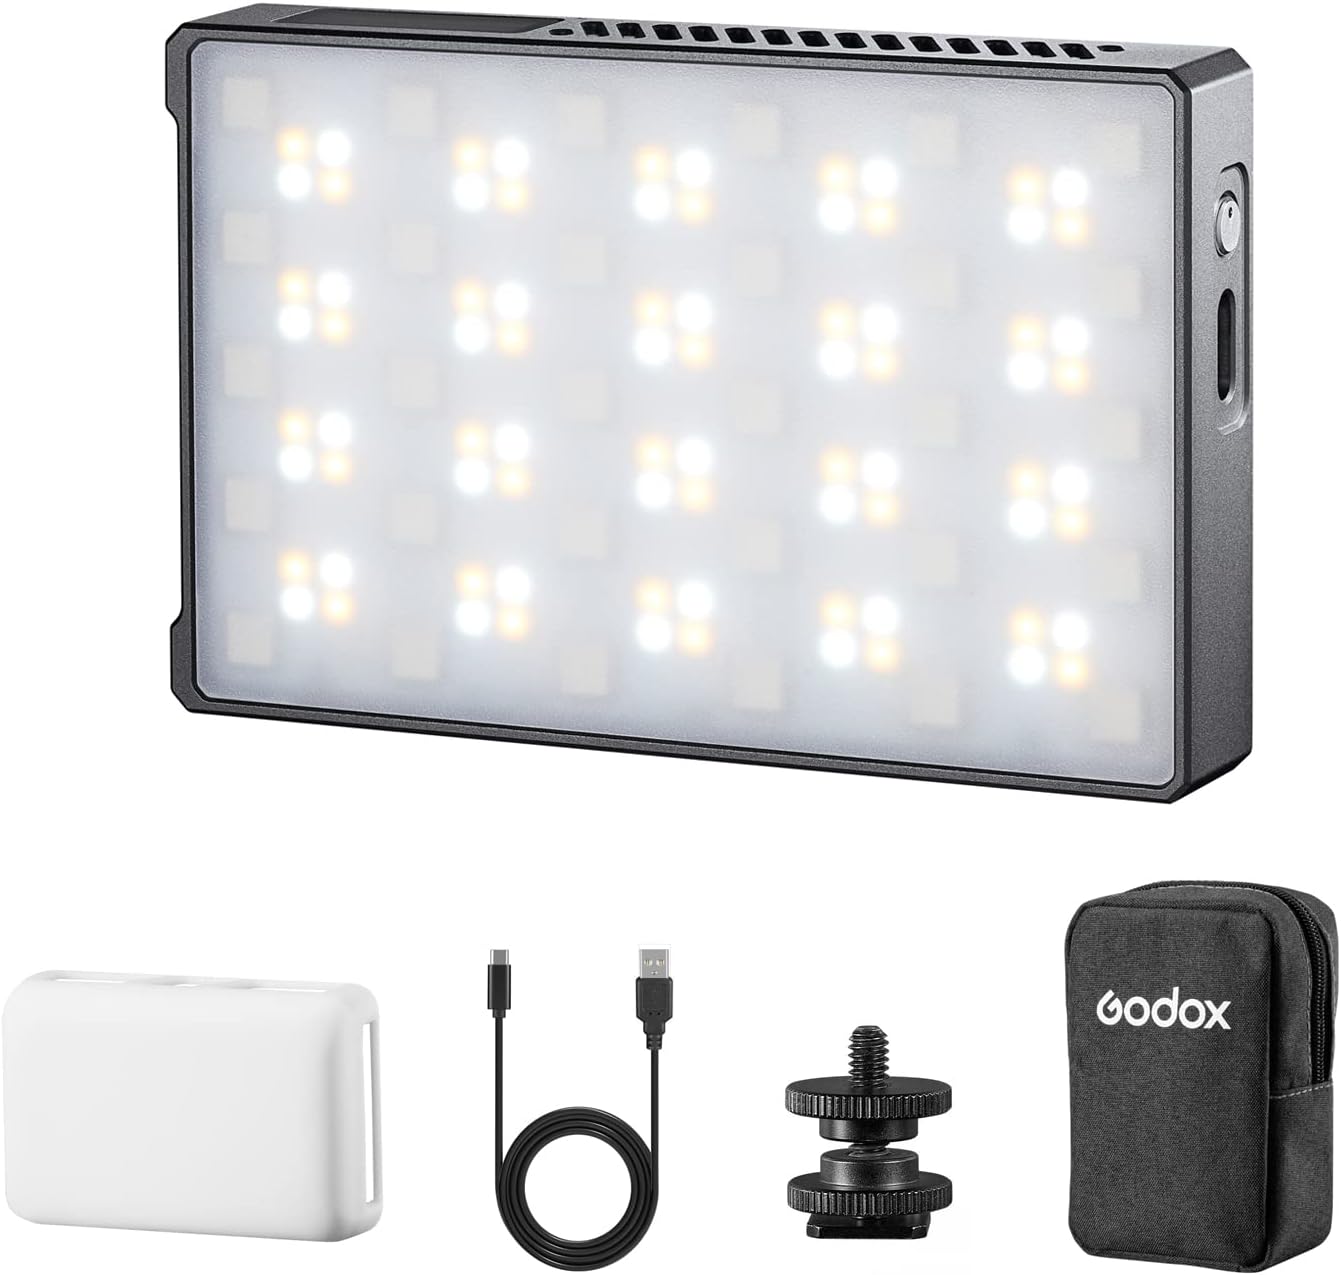
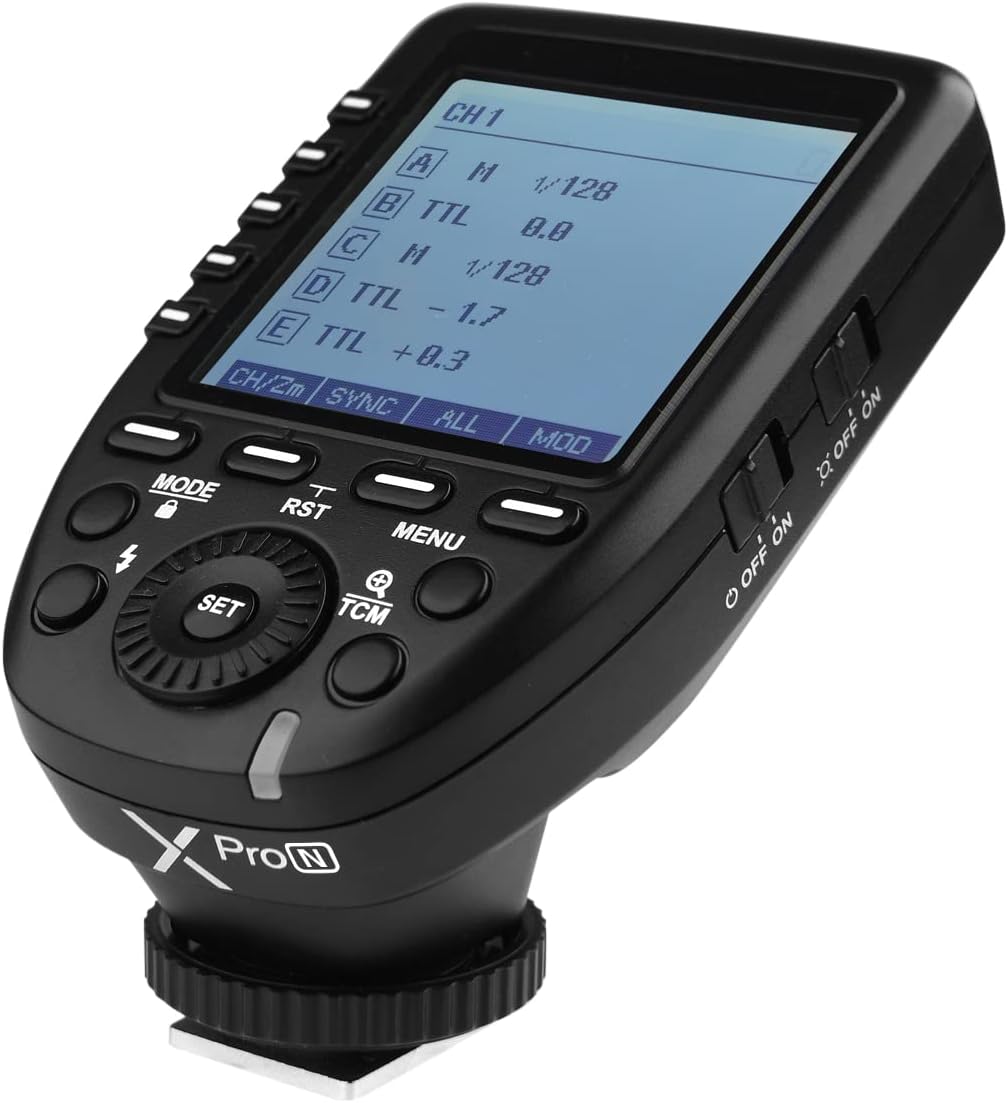
Ring Lights and Macro Flashes: Dedicated macro flashes or ring lights are popular choices for macro photography. They provide direct and even illumination around the subject, reducing shadows and allowing you to shoot in low-light conditions. Some flashes are designed to be mounted on the lens itself, encircling the front element.
Off-Camera Flash: If you prefer more control over your lighting, consider using off-camera flash units. You can position the flash at different angles to create interesting lighting effects, highlighting specific areas of your subject.
Diffusers and Softboxes: To soften the light from a flash or artificial source, use diffusers or softboxes. These accessories help spread and diffuse the light, preventing harsh highlights and shadows.
Use a Tripod: Macro photography often requires using a narrow aperture for increased depth of field. This, in turn, means longer exposure times, making it essential to use a sturdy tripod to avoid camera shake and maintain sharpness in your images.
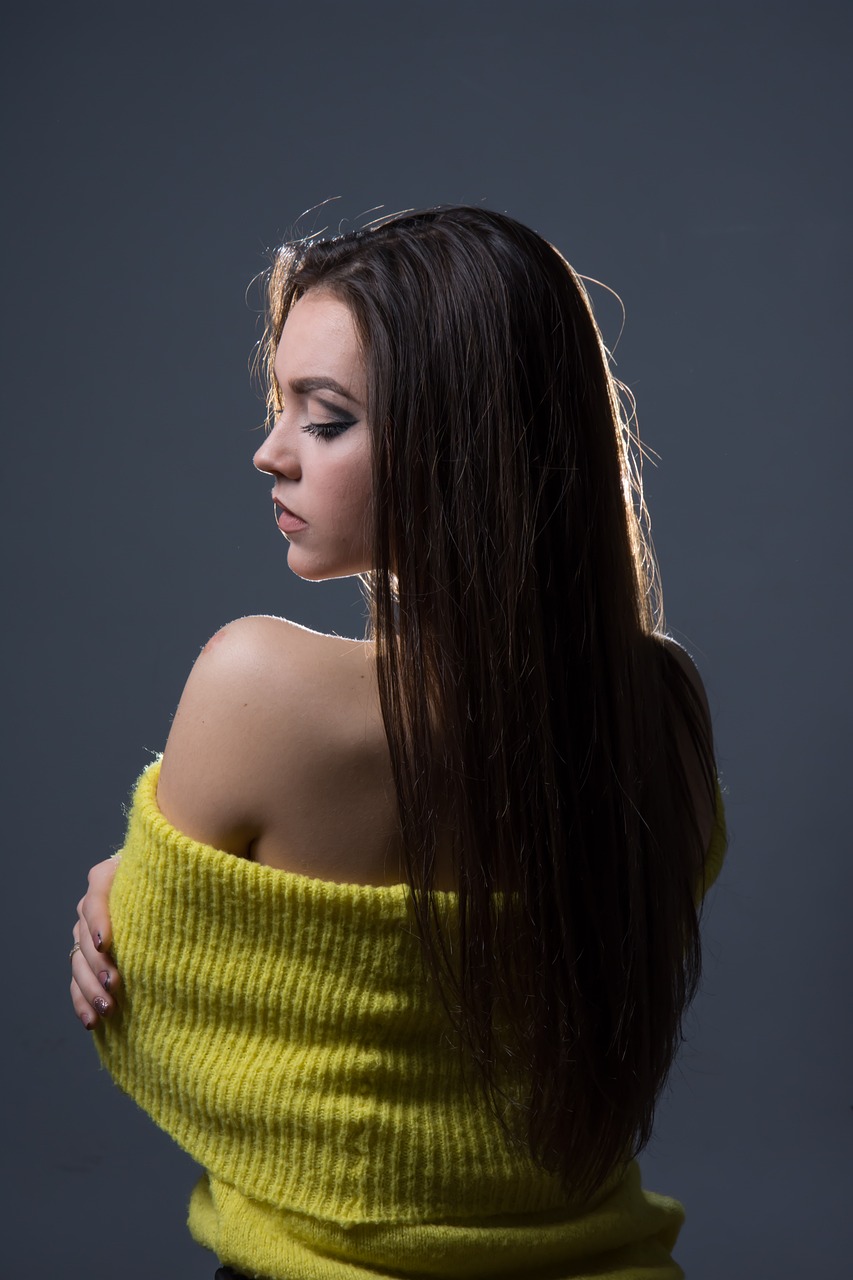
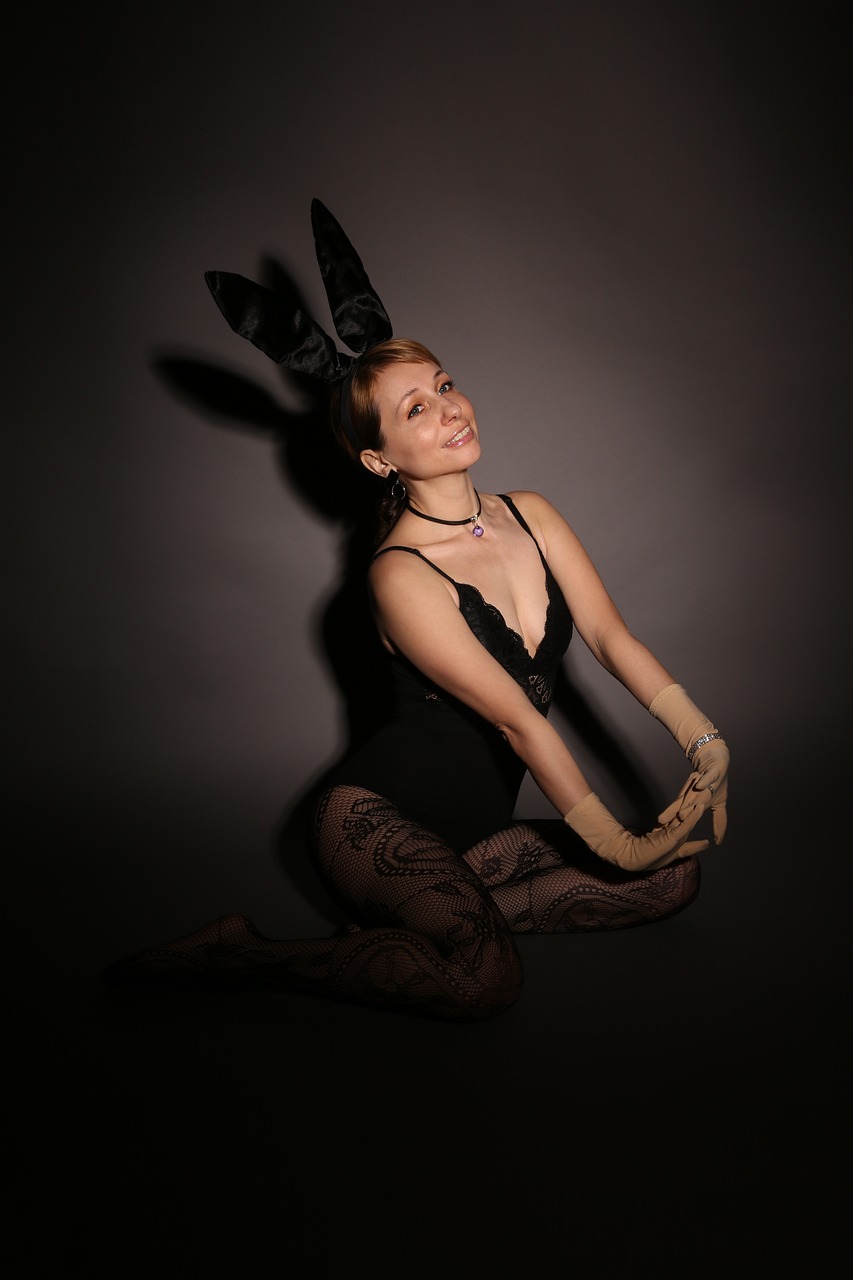
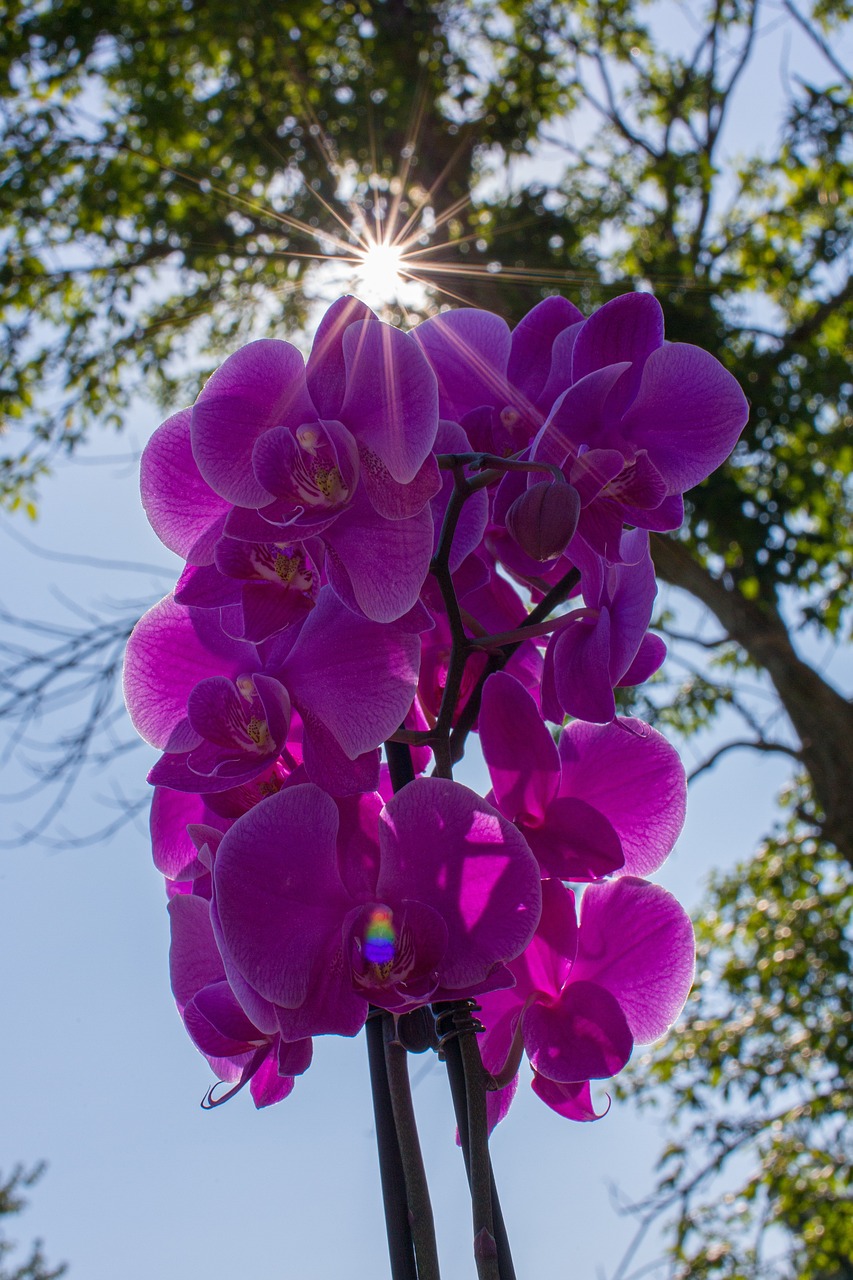
Experiment with Angles: Try different angles of light to see how they affect your subject. Side lighting can reveal texture, while backlighting can create a dramatic silhouette effect.
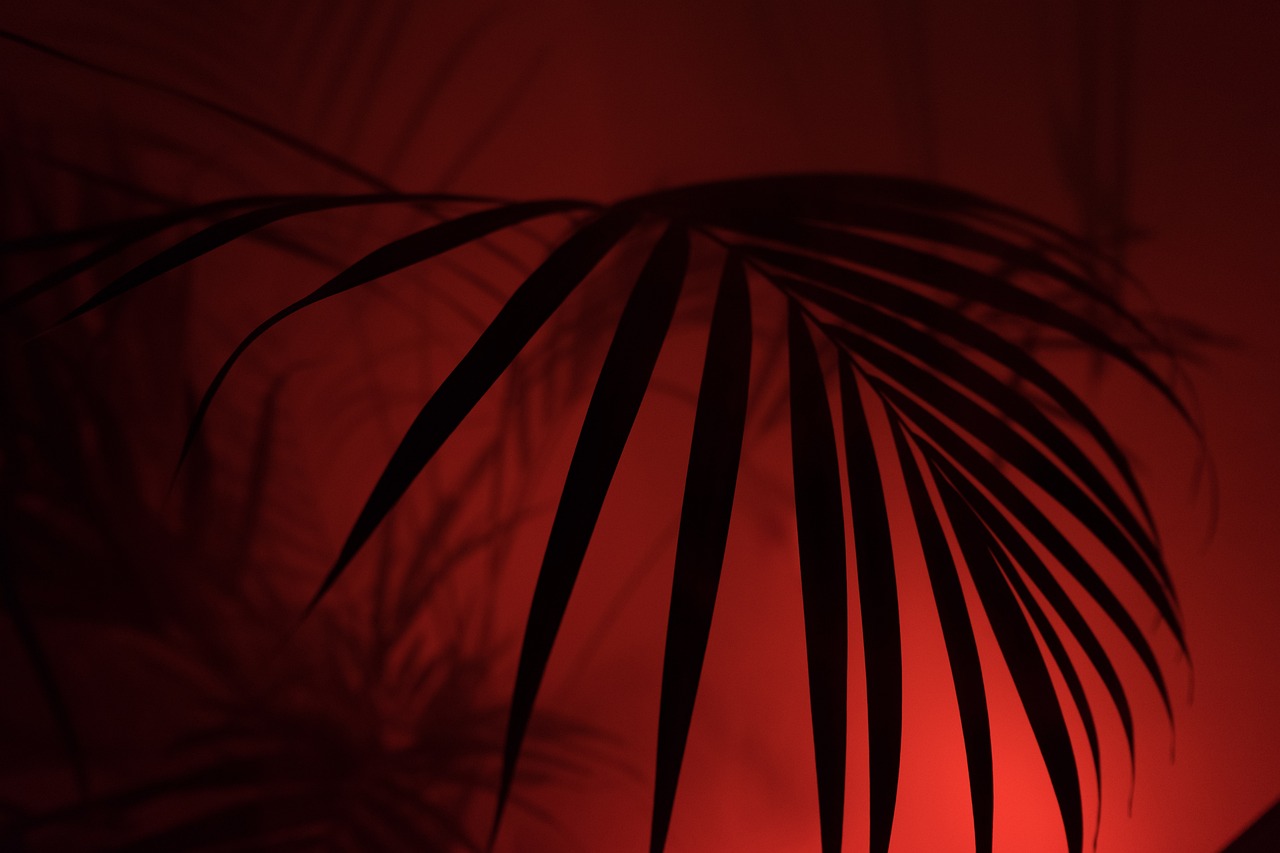
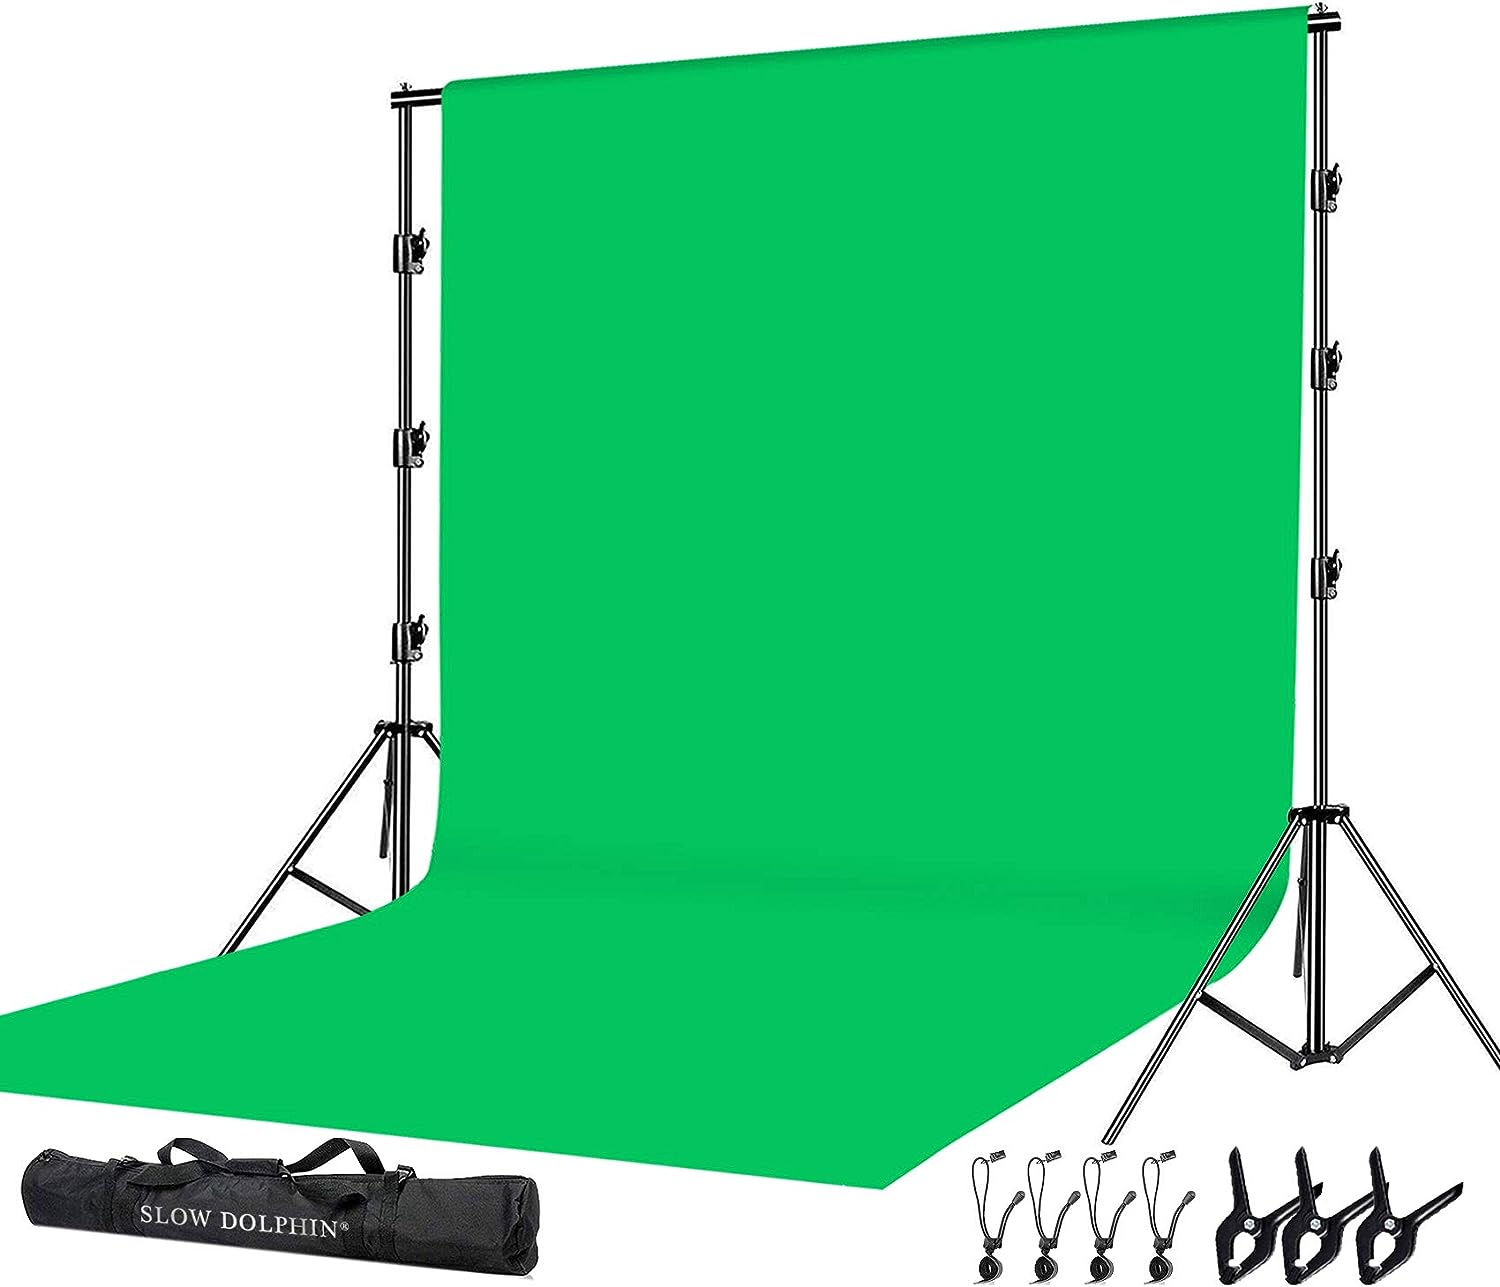
Consider Background Lighting: Background lighting can add a sense of depth and mood to your macro shots. It can be achieved by placing a light source behind your subject or by using a transparent backdrop with lighting placed behind it.
Be Mindful of Shadows: Watch out for unwanted shadows that might fall on your subject. Adjust your light source or use reflectors to eliminate or reduce these shadows.
Control the Intensity: Some macro subjects are very small and delicate, so controlling the intensity of your light source is essential. Use flashes with adjustable power settings or move artificial light sources farther away to reduce their impact.
Use Light Modifiers: Apart from diffusers and softboxes, other light modifiers like snoots, grids, and barn doors can help you control and direct the light more precisely. These accessories enable you to focus the light on specific areas of your subject, adding drama and emphasizing important details.
Avoid Glare and Hotspots: Watch out for glare and hotspots caused by direct light hitting reflective surfaces. To prevent this, adjust the angle of your light source or use matte materials for your subject or backdrop.
Experiment with Colored Gels: Introducing colored gels in front of your light source can create unique and creative effects in your macro shots. Gels can add a splash of color or create mood and atmosphere in your images.
Combine Natural and Artificial Light: Don’t be afraid to use both natural and artificial light sources together. You can use natural light as your primary source and supplement it with off-camera flash or LED panels to add fill light or highlight specific areas.
Focus Stacking for Increased Depth of Field: In macro photography, achieving a sufficient depth of field can be challenging due to the close proximity to your subject. Consider using focus stacking, where you capture multiple images at different focus points and then blend them in post-processing to achieve a larger depth of field while maintaining sharpness.
Avoid Camera Shadows: As you get in close to your subject for macro shots, your camera and lens might cast shadows on it. To avoid this, use shorter macro lenses or lens extension tubes to create more distance between the camera and subject.
Use Light to Create Abstracts: Macro photography offers an excellent opportunity to create abstract images by focusing on colors, shapes, and textures. Experiment with different lighting techniques to produce captivating abstract compositions.
Backlighting for Translucent Subjects: When photographing subjects with translucent or semi-transparent elements (e.g., leaves, petals), backlighting can beautifully illuminate the subject and reveal its intricate details.
Edit with Care: While lighting plays a significant role in macro photography, post-processing can also enhance your images. Use editing software to fine-tune exposure, contrast, and color balance, but be cautious not to overprocess and lose the natural feel of your macro shots.
Remember that macro photography is an art form, and there’s no single “correct” way to light your subjects. Each subject may require different approaches, so feel free to experiment and develop your style. The more you practice, the better you’ll become at mastering the art of lighting in macro photography. Enjoy the process, and have fun capturing the hidden world of small wonders!