


Exploring Rembrandt Lighting with Off Camera Flash

Photography is a remarkable art form that allows us to capture moments, emotions, and stories with a single click of a button. Lighting plays a pivotal role in photography, shaping the mood, depth, and overall aesthetic of an image. One classic lighting technique that has stood the test of time and continues to captivate photographers and viewers alike is Rembrandt lighting. When combined with the versatility of off-camera flash, Rembrandt lighting can elevate your portrait photography to new heights, adding a touch of drama and elegance to your images.
Understanding Rembrandt Lighting
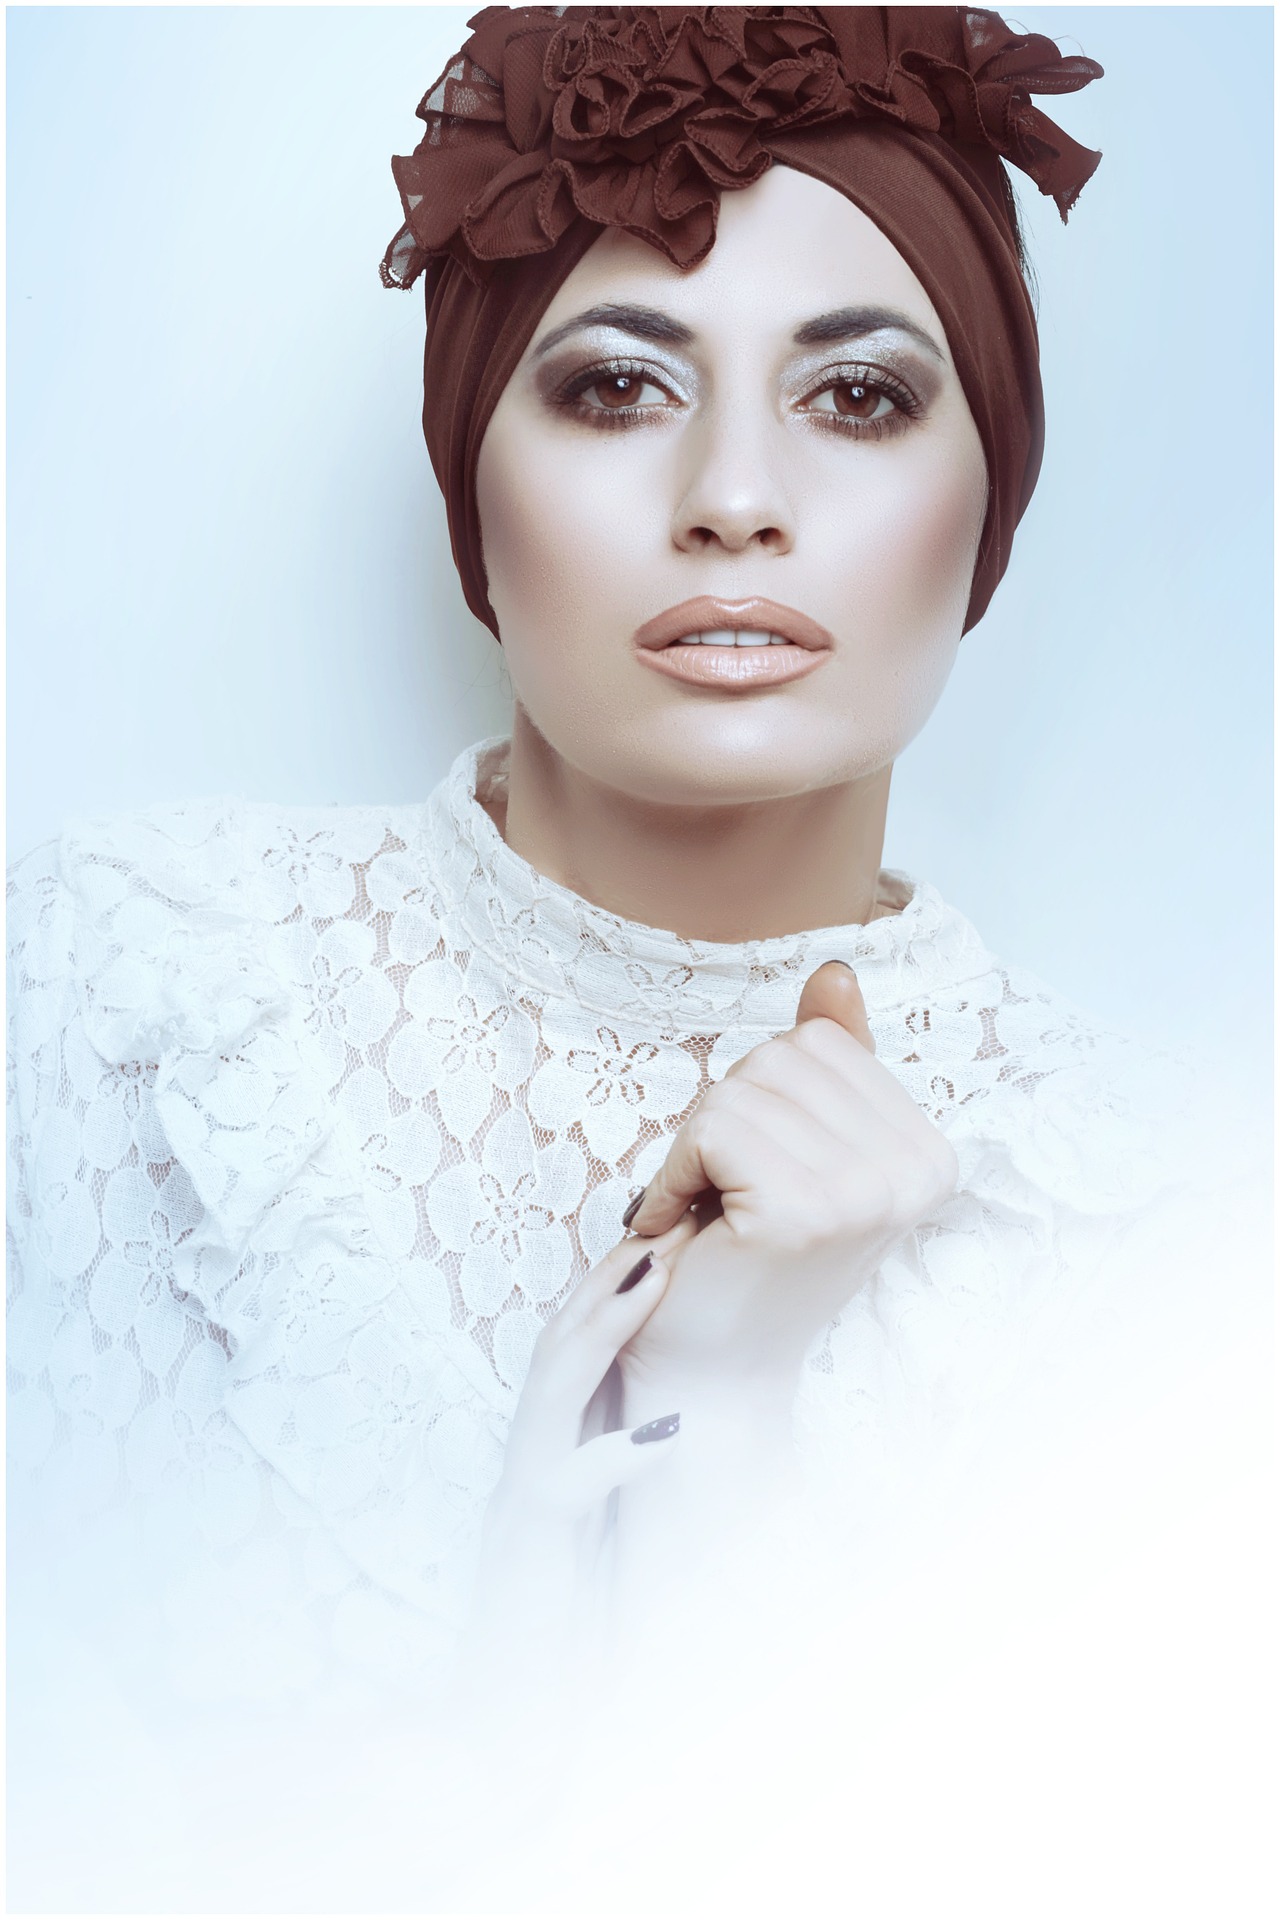
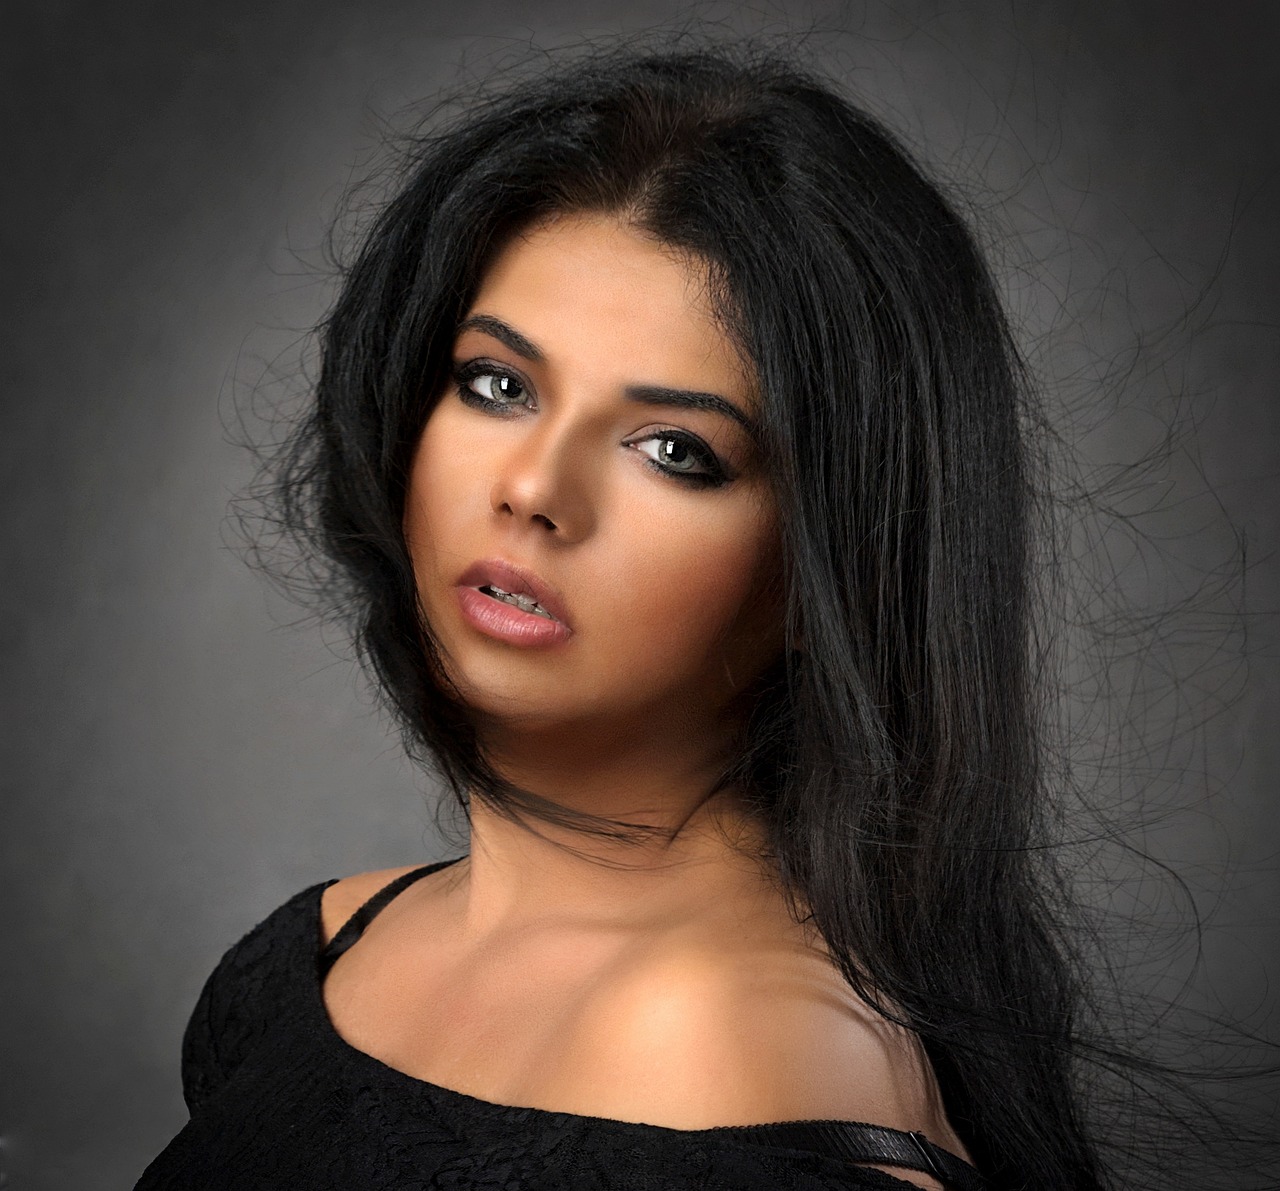
Rembrandt lighting is a style characterized by a small triangle of light that forms under the subject’s eye on the side of their face opposite the main light source. It’s named after the Dutch painter Rembrandt Harmenszoon van Rijn, who often used this technique in his paintings to create a sense of depth and drama. This lighting technique is achieved by placing the main light source at a 45-degree angle from the subject and slightly above their eye level. The light source should be positioned in a way that it illuminates one side of the subject’s face while leaving the other side partially shadowed.
The result is a captivating interplay of light and shadow, emphasizing the subject’s facial features and creating a three-dimensional effect. The small triangle of light under the eye is the hallmark of Rembrandt lighting, and it adds a touch of mystery and sophistication to the portrait.
Enhancing with Off-Camera Flash
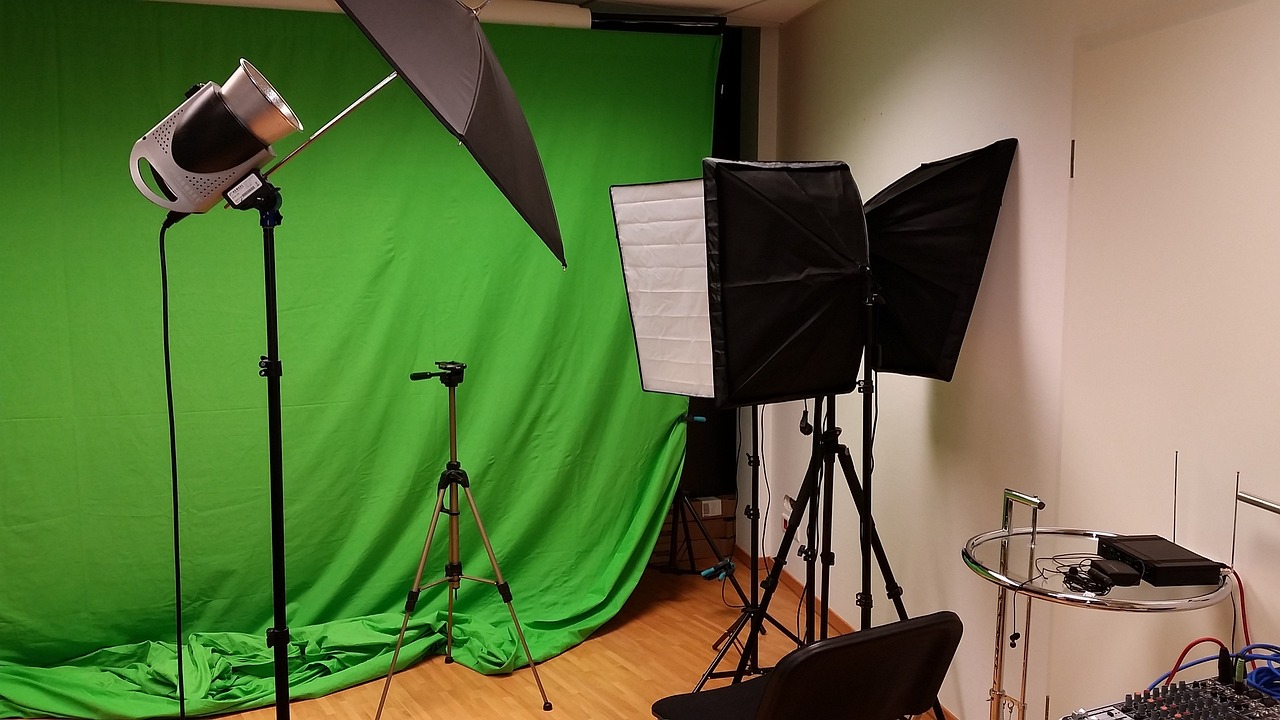
While natural light is often the preferred choice for many photographers, off-camera flash opens up a world of creative possibilities, especially when it comes to mastering Rembrandt lighting. Off-camera flash allows you to have complete control over the direction, intensity, and quality of the light, ensuring that you can achieve the exact look you desire.
To effectively use off-camera flash for Rembrandt lighting, follow these steps:
Positioning the Light: Place the flash at a 45-degree angle from your subject and slightly above eye level. This positioning will create the desired triangular light pattern on the subject’s face. Consider using a softbox or a diffuser to soften the light and avoid harsh shadows.
Adjusting the Intensity: Experiment with the flash power to achieve the right balance between the main light source and the shadow side. The goal is to maintain the highlight under the eye while keeping the shadow area defined and not too dark.
Using Reflectors: To further enhance the lighting setup, consider using reflectors on the shadow side of the subject’s face. This will bounce some of the light back onto the shadowed areas, reducing the harshness of the shadows and creating a more balanced look.
Controlling Ambient Light: Depending on the available ambient light, you might need to adjust your camera settings to properly expose both the subject and the background. Balancing the ambient light with the flash output will help you achieve a natural-looking portrait.
Experimenting with Angles: While the classic 45-degree angle setup is the foundation of Rembrandt lighting, don’t be afraid to experiment with different angles and variations. Moving the light slightly to the side or adjusting its height can create unique effects and cater to the specific characteristics of your subject.
Equipment Essentials:
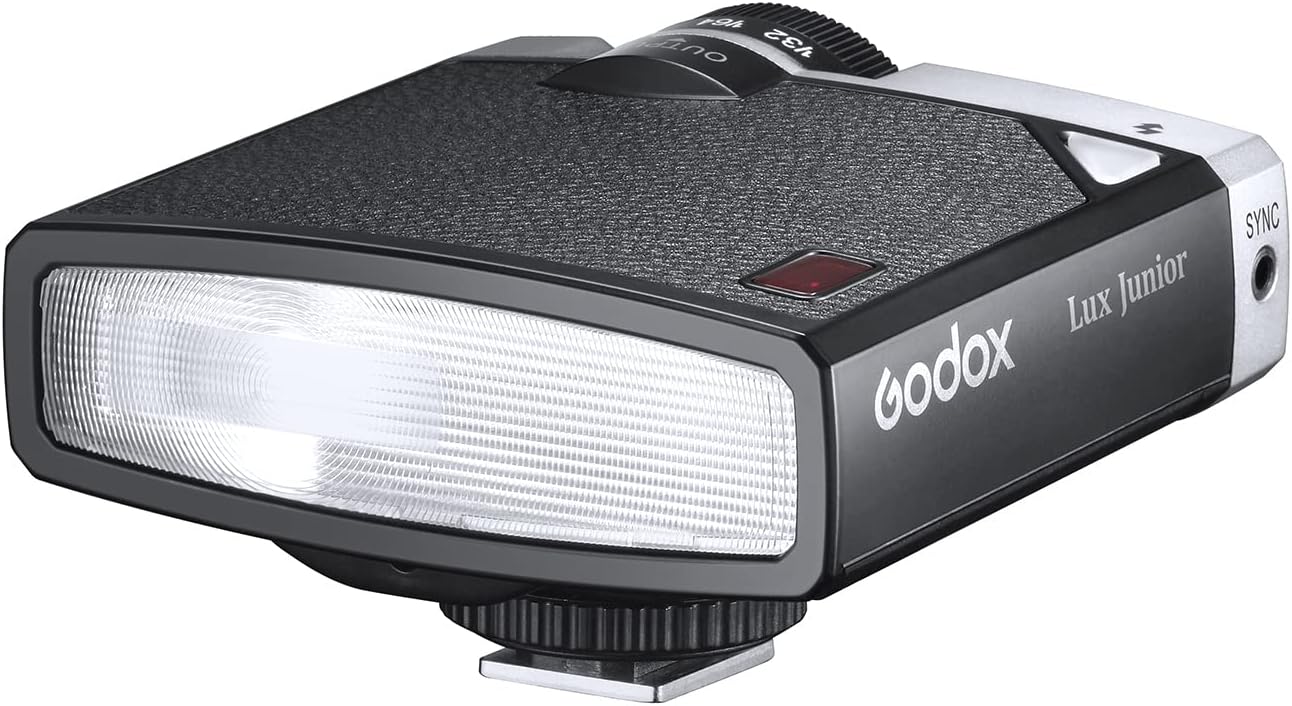
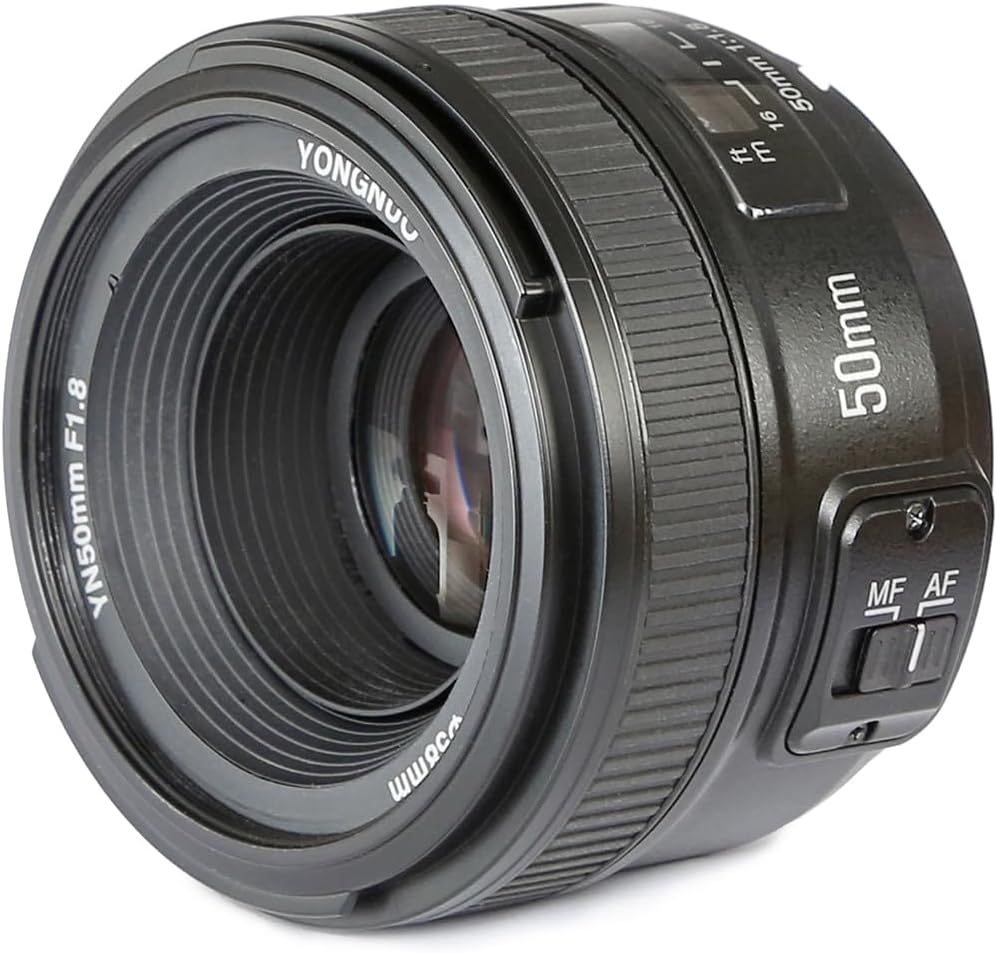
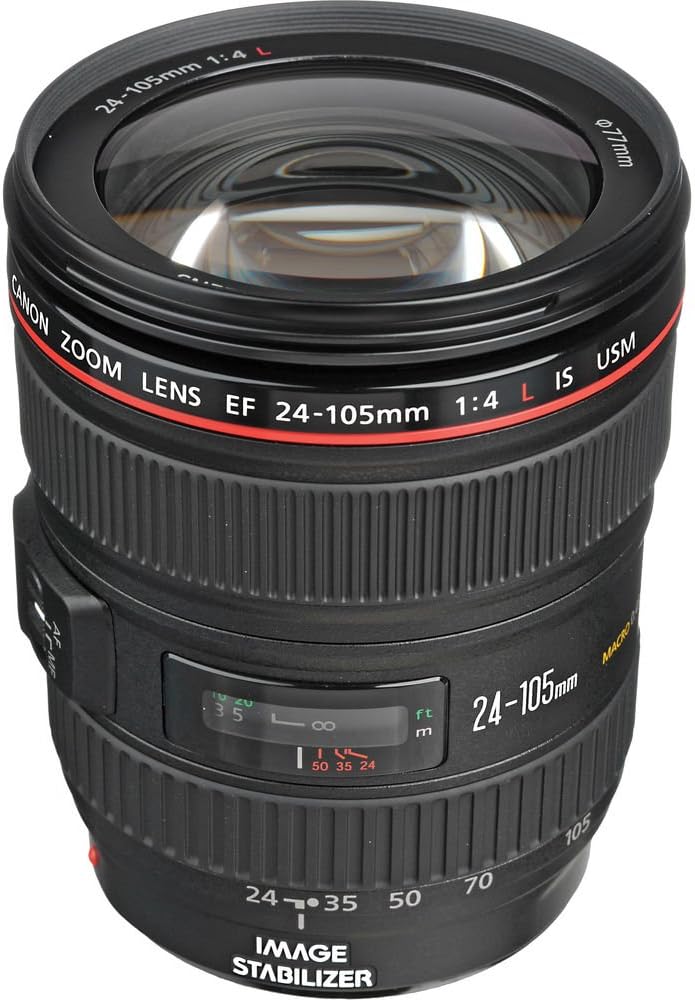
Off-Camera Flash: A powerful and adjustable off-camera flash unit is essential for controlling the intensity and direction of the light. Make sure your flash can be triggered wirelessly or remotely for easy positioning.
Modifiers: Softboxes, beauty dishes, and umbrellas can all be used to modify the light from the flash, creating softer and more diffused lighting that suits the mood of Rembrandt lighting.
Reflector: A reflector can be a game-changer when working with Rembrandt lighting. Use it to bounce light onto the shadow side of the subject’s face, filling in the shadows and creating a more balanced look.
Experiment with Lighting Ratios:
Mastering Rembrandt lighting involves finding the right balance between the illuminated side of the subject’s face and the shadowed side. Experiment with different flash power settings to achieve the desired lighting ratio. A common ratio is around 2:1 or 3:1, where the illuminated side is a stop or two brighter than the shadow side.
Play with Angles:
While the classic 45-degree angle setup is a great starting point, don’t be afraid to experiment with different angles. Moving the light source slightly to the side or adjusting its height can create unique effects. A higher light source can cast more dramatic shadows, while a lower light source can soften the shadows.
Control Light Spill:
To achieve the characteristic triangle of light under the eye, it’s important to control light spill. This means making sure that the light is well-directed onto the subject’s face without spilling onto the background or other areas. Using grids, snoots, or barn doors can help you achieve this precision.
Use Colored Gels:
Adding colored gels to your off-camera flash can introduce a creative and unique twist to your Rembrandt lighting portraits. Gels can change the mood of the image by adding a splash of color to either the main light or the background.
Pay Attention to Catchlights:
Catchlights are the reflections of the light source in the subject’s eyes. In Rembrandt lighting, the catchlight should ideally be small and positioned in the center of the eye. This adds a spark of life to the eyes and enhances the overall appeal of the portrait.
Control Ambient Light:
Balancing the off-camera flash with ambient light is crucial for achieving a natural-looking portrait. Use your camera settings to control the ambient light exposure and then adjust the flash power accordingly.