


Enhancing Macro Photography with Lens Speed Boosters

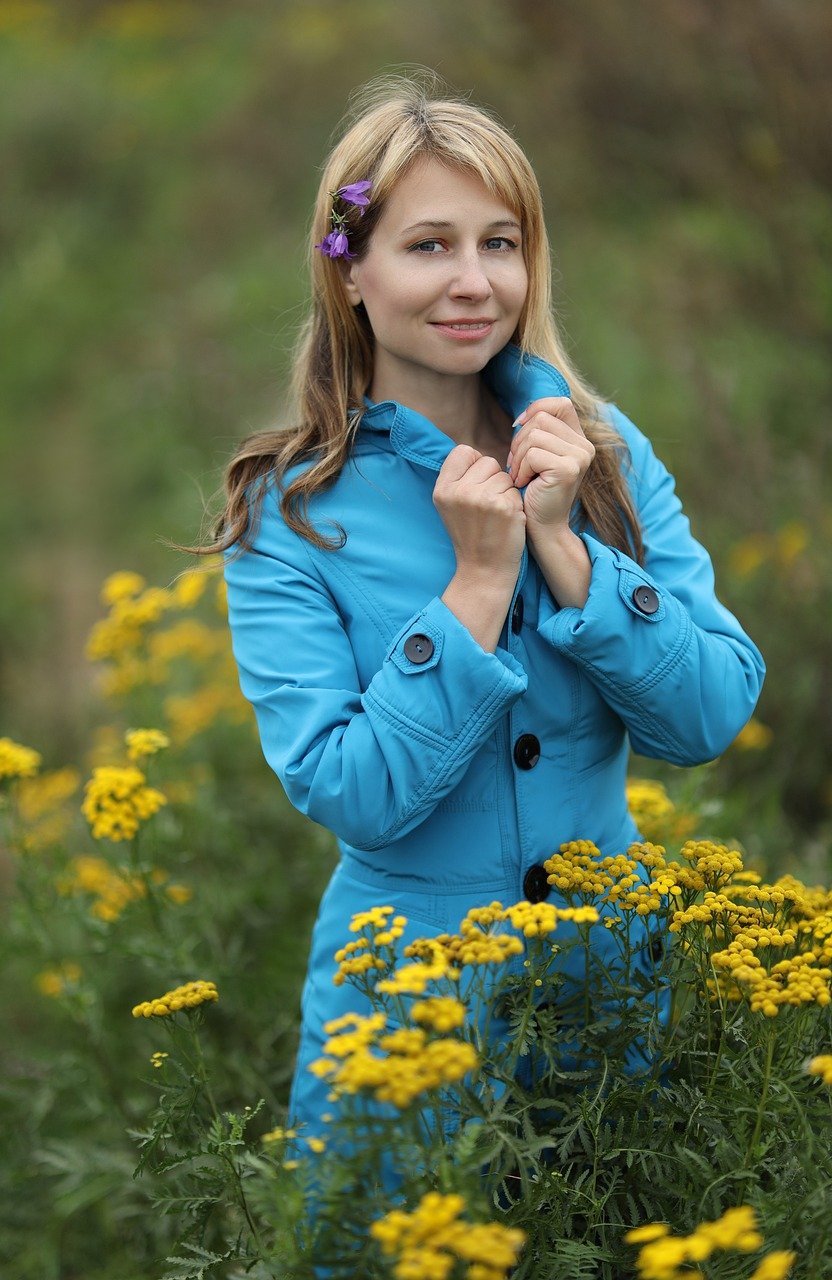
Macro photography opens up a fascinating world of capturing intricate details and showcasing the beauty of the tiniest subjects. Whether it’s capturing the delicate petals of a flower or the mesmerizing patterns on a butterfly’s wings, macro photography offers a unique perspective on the world around us. To elevate the quality of macro images and explore creative possibilities, photographers often turn to various accessories. One such accessory that has gained popularity among macro photographers is the lens speed booster. In this article, we will delve into what a lens speed booster is and how it can enhance macro photography.
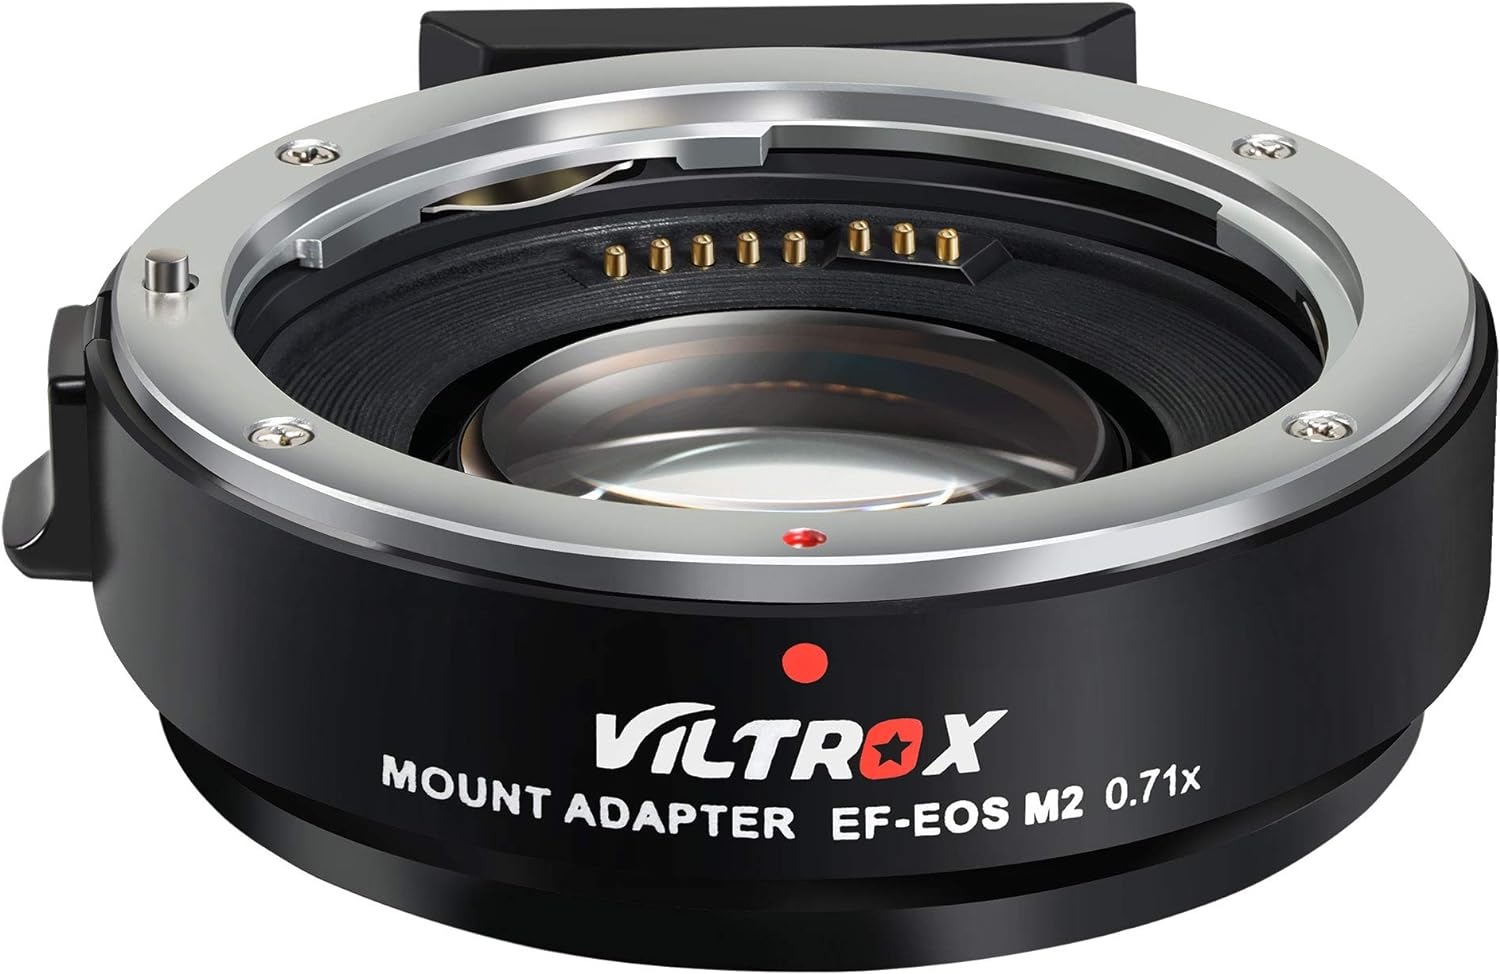
Understanding Lens Speed Boosters
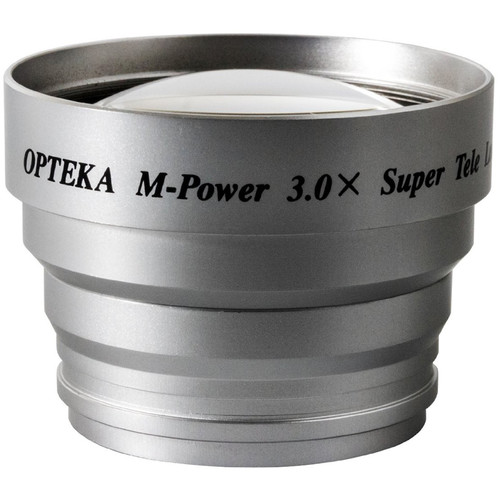
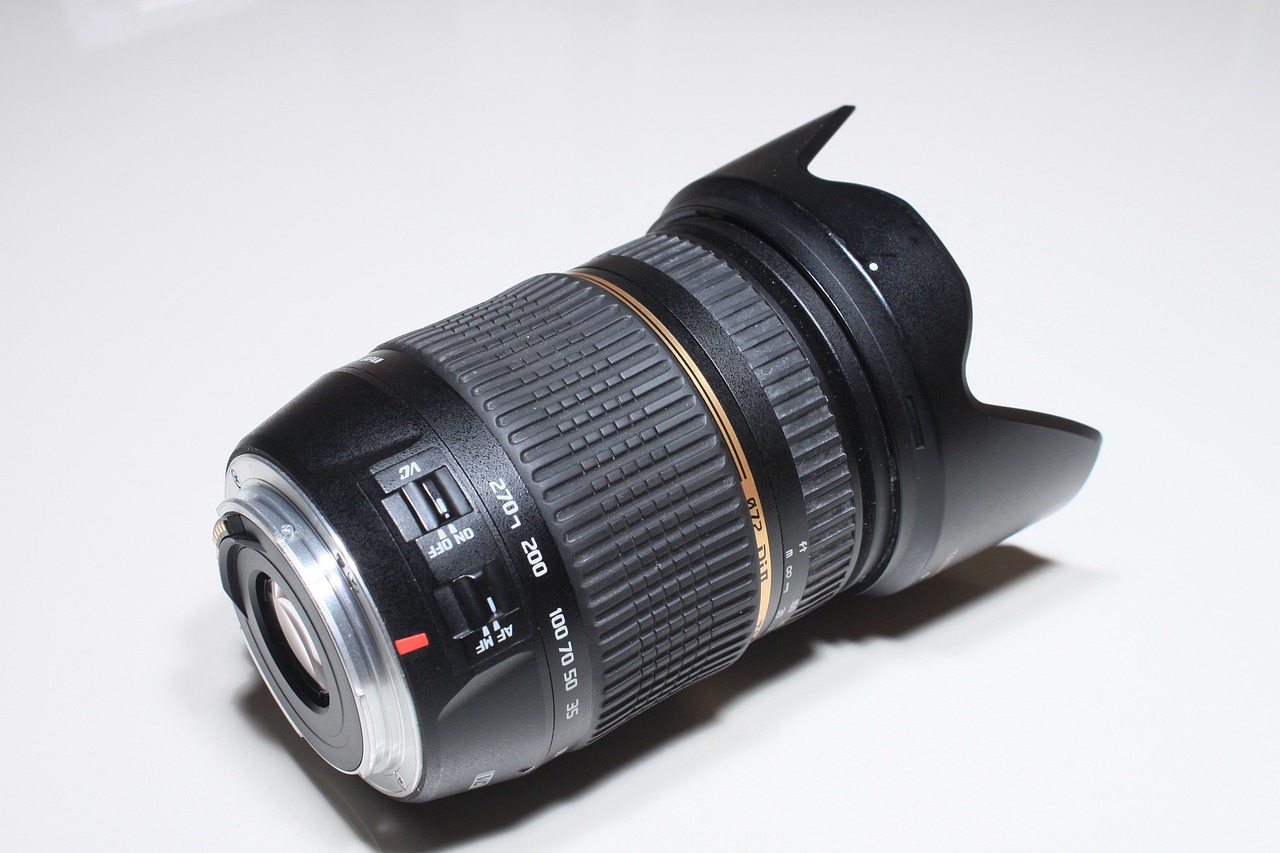
A lens speed booster, also known as a focal reducer, is a specialized optical adapter that mounts between the camera body and the lens. Its primary function is to reduce the focal length of the lens while simultaneously increasing its aperture, effectively boosting its speed. The result is a wider field of view and improved light-gathering capabilities, which can be incredibly advantageous for macro photography.
How Lens Speed Boosters Enhance Macro Photography
Increased Aperture: One of the main benefits of using a lens speed booster is the increased aperture size. A larger aperture allows more light to enter the lens, leading to better low-light performance and shallower depth of field. In macro photography, this means you can achieve stunning bokeh (the pleasing out-of-focus areas) while isolating the subject from its background. The enhanced low-light capabilities also enable you to capture sharp and detailed macro shots in challenging lighting conditions.
Magnification: Lens speed boosters can effectively magnify the subject being photographed. With a reduced focal length, the lens can get closer to the subject while maintaining focus, resulting in larger-than-life images of tiny subjects. This increased magnification is ideal for capturing intricate details that might not be visible to the naked eye and allows photographers to explore a whole new world of macro subjects.
Improved Image Quality: While the primary purpose of a lens speed booster is to reduce the focal length, it can also have positive effects on image quality. When mounted on high-quality lenses, a lens speed booster can help minimize optical aberrations and distortions, resulting in sharper and clearer macro images with improved edge-to-edge sharpness.
Versatility: Lens speed boosters are versatile tools that can be used with various lenses, making them a cost-effective option for macro photographers. By using a speed booster, you can achieve different magnification levels and angles of view without investing in an entirely new set of macro lenses.
Increased Working Distance: In macro photography, working distance (the distance between the front of the lens and the subject) is essential to avoid disturbing skittish subjects or casting shadows on the subject. The reduced focal length achieved with a speed booster allows you to maintain a more comfortable working distance while still achieving high magnification.
Use a Sturdy Tripod: Macro photography requires precise focus and stability. Invest in a sturdy tripod to eliminate camera shake and ensure sharp images, especially in low-light conditions or when using slower shutter speeds.
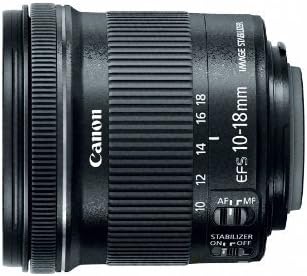
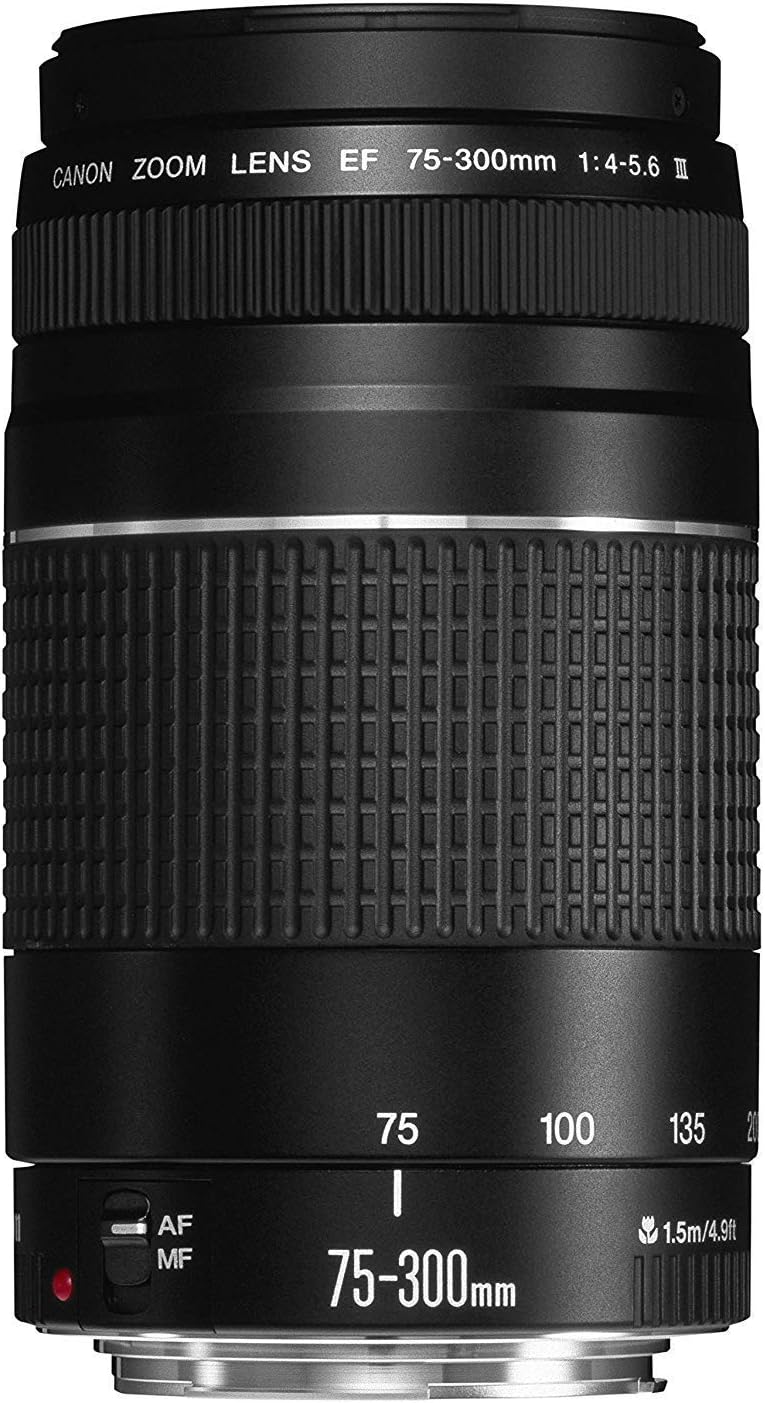
Choose the Right Lens: Invest in a dedicated macro lens if possible. These lenses are designed specifically for close-up photography and offer excellent magnification capabilities and sharpness. If you’re using a lens speed booster, pair it with a high-quality lens for better results.
Mind the Depth of Field: In macro photography, depth of field is incredibly shallow due to the close focusing distance. Use a narrow aperture (higher f-number) to increase the depth of field and ensure more of your subject is in focus. However, be cautious not to go too narrow, as it can lead to diffraction and reduced sharpness.
Focus Manually: Autofocus can struggle in macro situations, so consider using manual focus. Use focus peaking or magnification on your camera’s LCD to ensure precise focus on the most critical parts of the subject.
Pay Attention to Lighting: Proper lighting is crucial in macro photography. Natural light is excellent, but it can be challenging to control. Consider using diffusers, reflectors, or a ring flash to soften shadows and evenly illuminate your subject.
Use a Shallow Angle: Shooting at a shallow angle can add depth and dimension to your macro images. Avoid shooting straight down on the subject and experiment with different angles to find the most pleasing composition.
Mind Your Background: A distracting or cluttered background can take attention away from your subject. Look for simple, unobtrusive backgrounds that complement the subject and help it stand out.
Patience is Key: Macro photography often involves photographing small and elusive subjects. Be patient and observe your subject’s behavior to anticipate the right moment for capturing the perfect shot.
Bracket for Exposure: Since lighting conditions can be challenging in macro photography, consider bracketing your exposures to capture a range of images with different exposure settings. This will give you more options during post-processing.
Post-Processing: Don’t hesitate to do some post-processing to enhance your macro shots. Adjusting contrast, brightness, and sharpness can help bring out the fine details in your images.
Practice and Experiment: Like any form of photography, macro photography requires practice. Experiment with different settings, compositions, and techniques to find your unique style and improve your skills.