


Capturing Waterfalls with Graduated ND Filters
Capturing waterfalls can be a stunning and challenging task for photographers. One technique that can greatly enhance waterfall photography is using Graduated Neutral Density (ND) filters. These filters are semi-transparent and have a gradual transition from dark to clear, allowing you to balance the exposure between the bright sky and the darker foreground, such as the waterfall and rocks.
Here’s how to use Graduated ND filters to capture stunning waterfall shots:
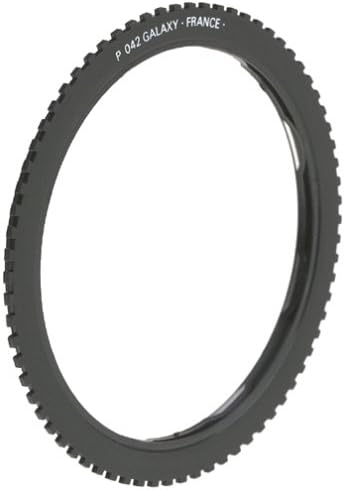
Understand the Filters:
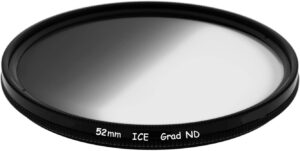
Graduated ND filters come in different strengths and sizes. They are available as rectangular or square filters that fit into a filter holder system, or as screw-on circular filters that attach to the front of your lens. The strength of the filter is denoted in “stops” (e.g., 1-stop, 2-stop, etc.), representing the amount of light it blocks.
Choose the Right Strength:
The strength of the filter you use will depend on the scene’s dynamic range. If the sky is much brighter than the waterfall and surrounding areas, you might need a stronger filter. On the other hand, a weaker filter might suffice for more balanced lighting conditions.
Mount the Filter Correctly:
If you’re using a circular screw-on filter, carefully attach it to the front of your lens. Ensure it is straight, and there are no light leaks around the edges. If you’re using a rectangular or square filter, mount it in the filter holder, ensuring the gradient aligns with the horizon.
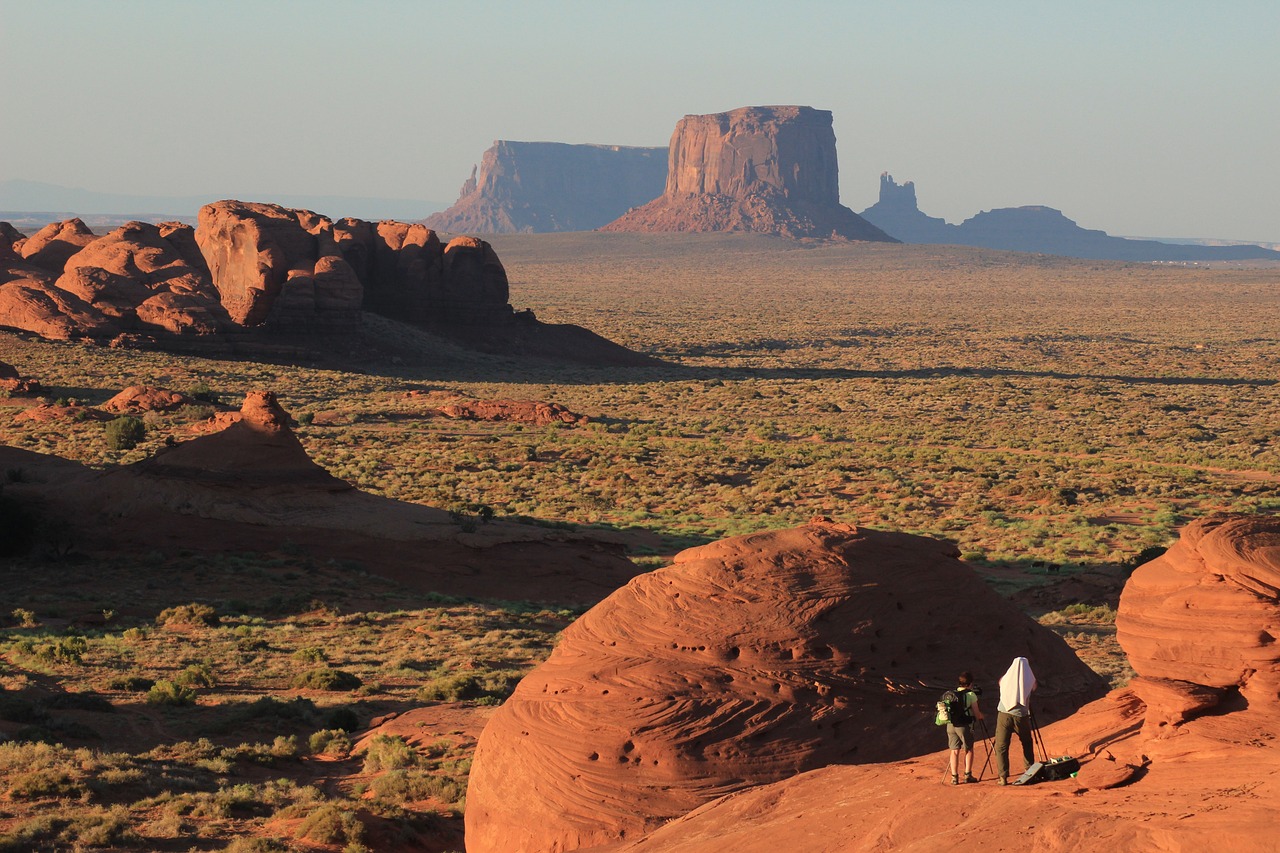
Compose Your Shot:
Set up your composition with the waterfall as the main focus. Pay attention to the framing and positioning of the elements in your scene. You can use a tripod to keep the camera steady, especially during longer exposures.
Meter the Scene:
Use your camera’s light meter to determine the exposure settings for the overall scene, focusing on the waterfall and surrounding landscape.
Adjust the Filter Position:
Position the graduated part of the filter over the bright sky, aligning the transition line with the horizon. This will help balance the exposure, preventing blown-out highlights in the sky while maintaining proper exposure for the darker waterfall area.
Take Test Shots:
Take a few test shots to ensure you have the right exposure and composition. Adjust the filter position and strength if needed. Review the histogram to check for any clipping in the highlights or shadows.
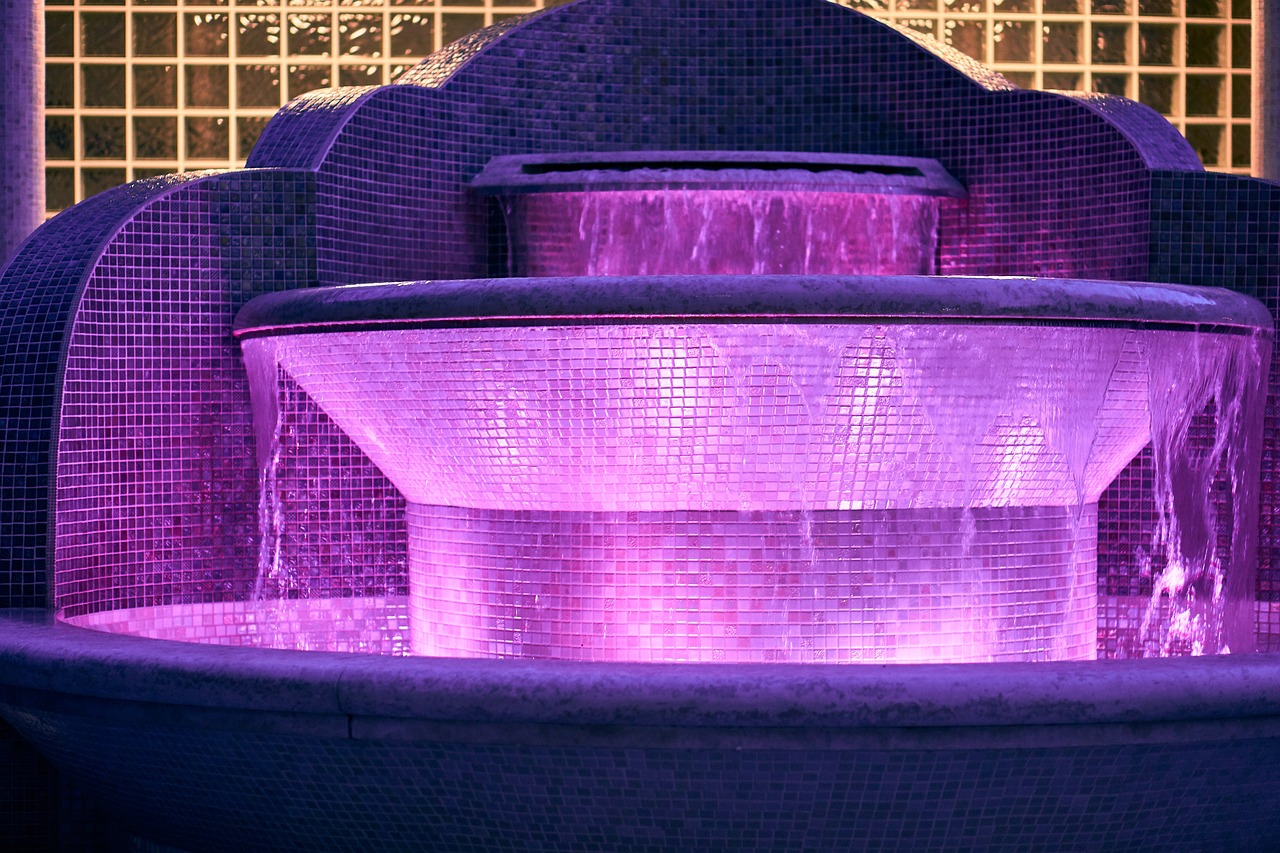
Longer Exposure Times:
Using a Graduated ND filter might reduce the amount of light reaching your camera’s sensor, resulting in longer exposure times. This can create a beautiful smooth effect on the flowing water, giving it a silky appearance.
Filter Gradation Direction:
Depending on the scene, you might need to position the graduated part of the filter differently. If the brightest part of the scene is not along the horizon, you can rotate the filter holder to match the filter’s transition line with the brightest area of the frame.
Stacking Filters:
In some situations, you may need to use multiple filters simultaneously. For instance, you might use a Graduated ND filter along with a regular ND filter to further extend the exposure time, resulting in a smoother water flow.
Use a Remote Shutter Release:
To avoid camera shake during longer exposures, especially if you’re using a tripod, use a remote shutter release or your camera’s built-in timer to trigger the shot without touching the camera directly.
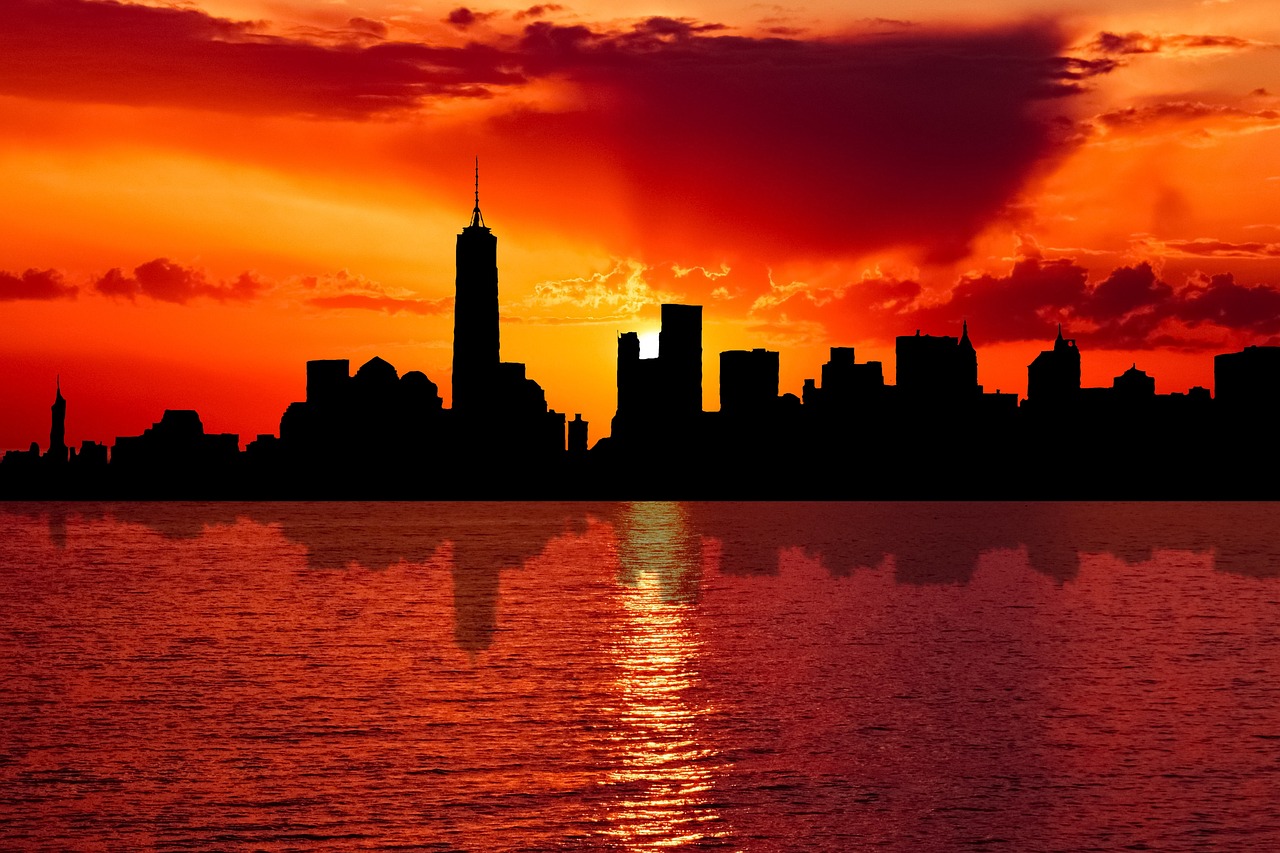
Shoot During Golden Hours:
The soft, warm light during the golden hours (just after sunrise and just before sunset) can add a magical touch to your waterfall photos. The balanced lighting conditions during these times might also reduce the need for strong Graduated ND filters.
Polarizer Filters and Reflections:
Consider using a circular polarizer filter to reduce reflections from the water surface and increase color saturation. However, be cautious when using a polarizer with a Graduated ND filter, as it can cause uneven polarization effects across the frame.
Be Mindful of Wind and Spray:
Waterfalls can generate significant spray, especially if you’re getting close to them. Be cautious of your camera gear’s exposure to water droplets and use a lens hood or protective cover to shield the front element of your lens.
Bracketing for HDR:
In extremely high-contrast scenes where the waterfall and the sky’s brightness are drastically different, consider bracketing your shots. Take multiple exposures with different Graduated ND filter positions or strengths, then merge them later in post-processing using High Dynamic Range (HDR) techniques.
Focus Stacking:
For scenes with close-up elements in the foreground and the waterfall in the background, you might encounter depth of field challenges. In such cases, use focus stacking to capture multiple images at different focus points and blend them in post-processing for a sharp overall image.
Experiment with Shutter Speeds:
Vary your exposure times to see how different shutter speeds impact the appearance of the flowing water. Shorter exposures can capture more detail in the water, while longer exposures create a smooth and ethereal effect.
Be Patient and Observant:
Waterfalls can be popular photography spots, and it might take some patience to wait for crowds to clear. Take your time to observe the surroundings and wait for the best lighting conditions and water flow.
Remember, waterfall photography is an art, and there’s no one-size-fits-all approach. Use these tips as a starting point, but feel free to experiment and develop your style. Over time, you’ll refine your technique and capture breathtaking waterfall images with Graduated ND filters. Happy shooting!