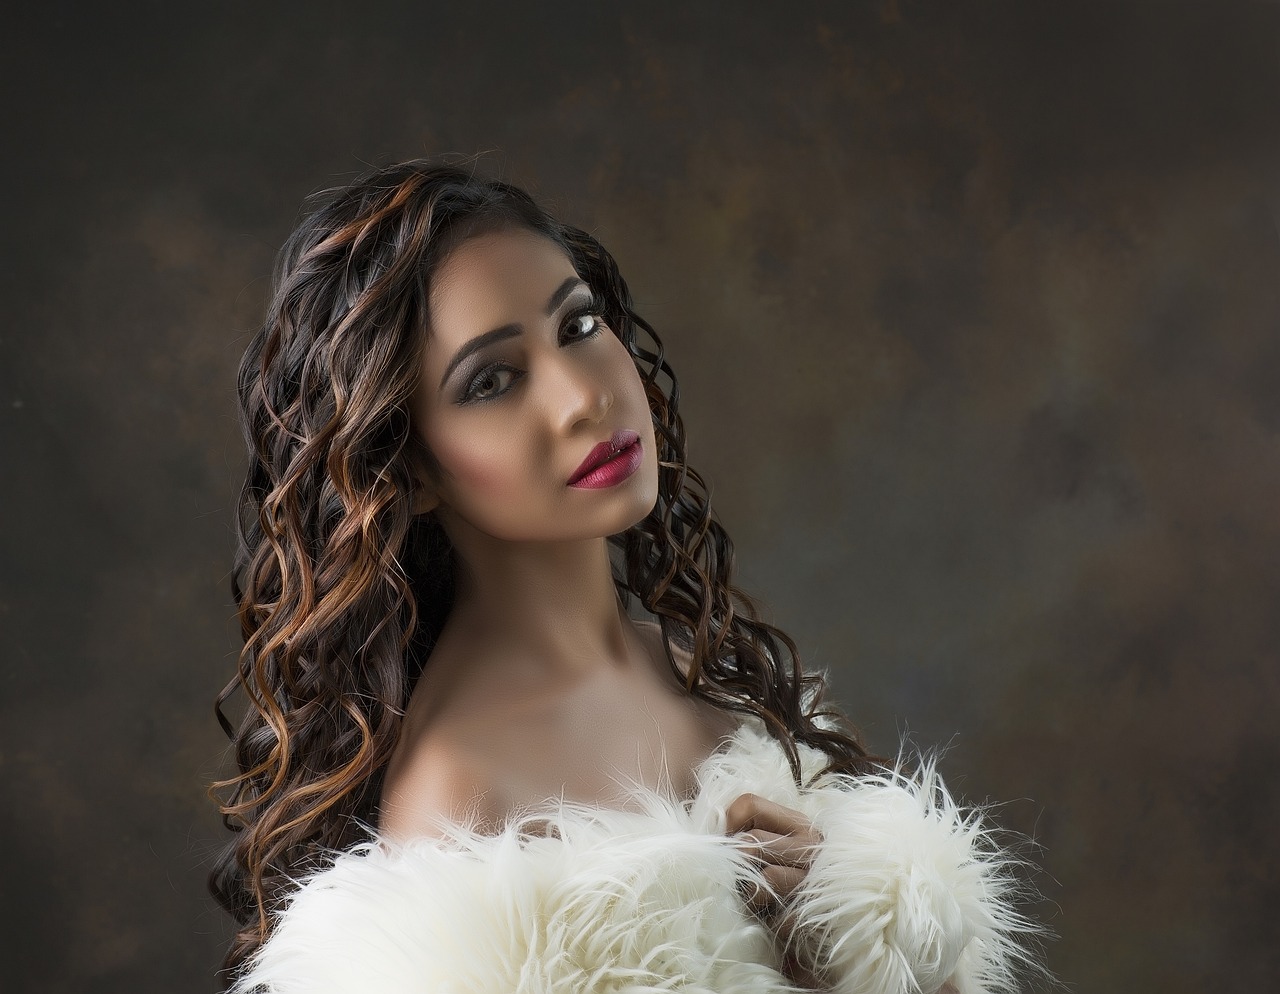


Arms Crossed Modeling Poses
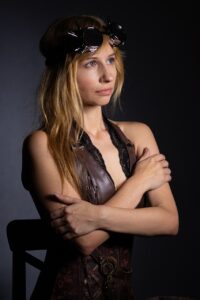
When it comes to portrait photography, the pose and body language of the model can significantly impact the overall look and feel of the image. One pose that often conveys confidence and a relaxed demeanor is the “Arms Crossed” pose. In this pose, the model crosses their arms either at the chest or waist level, creating a strong and self-assured stance. Here’s some information about the “Arms Crossed” pose in photography:
Confidence and Relaxed Demeanor: Crossing the arms can create a sense of confidence and self-assurance. It can project a strong and secure presence, conveying that the subject is comfortable and in control. The pose can also indicate a relaxed and casual attitude, depending on the context and expression of the model.
Symbolism and Body Language: Body language plays a crucial role in visual storytelling. When a model crosses their arms, it can signify a range of messages, such as being guarded, protective, or even contemplative. The interpretation can vary based on other factors like facial expression and context. It’s important to consider the overall narrative and mood you want to convey with the pose.
Framing and Composition: When framing the shot, consider how the crossed arms fit within the overall composition. The arms and hands can create strong diagonal or horizontal lines that add visual interest to the image. Experiment with different angles and framing techniques to find the most visually pleasing composition.
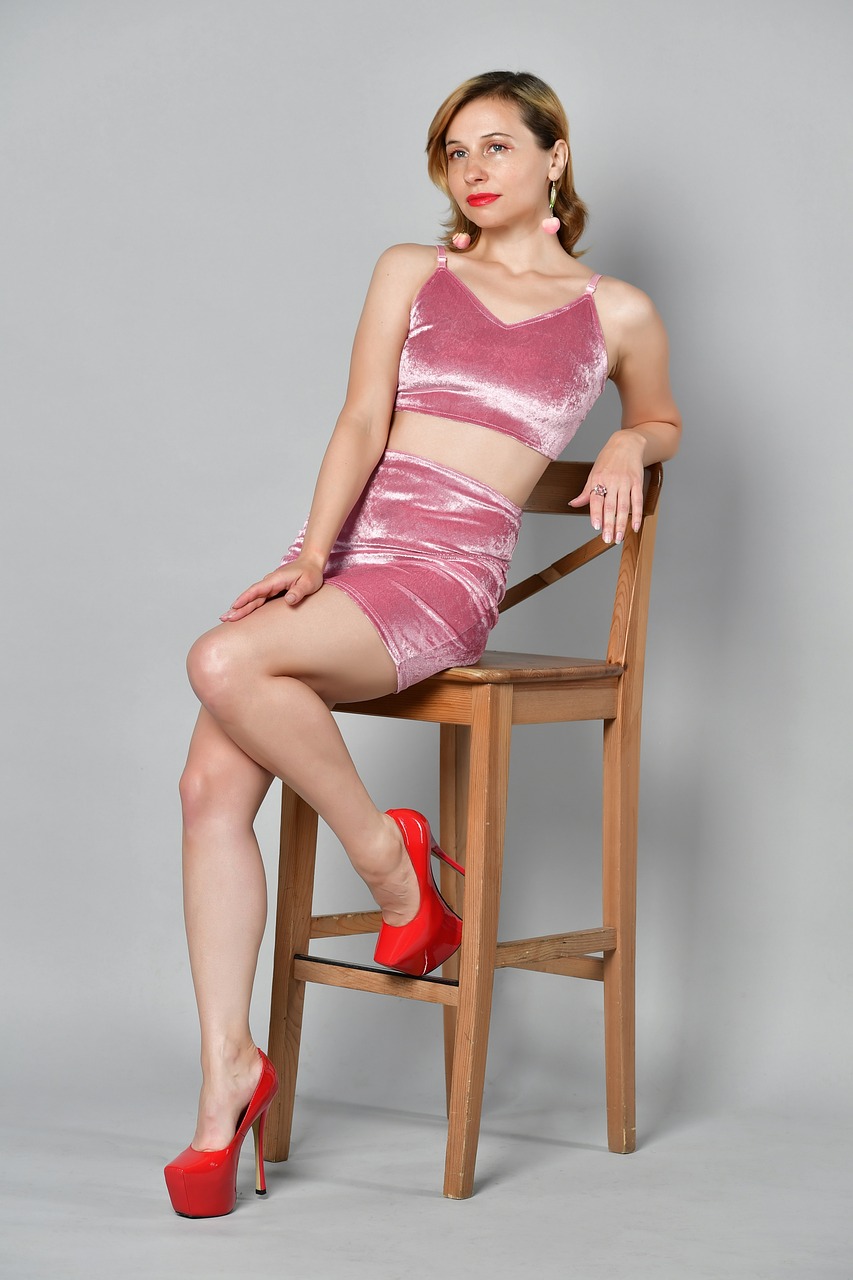
Variations and Positioning: There are various ways to execute the “Arms Crossed” pose. The model can cross their arms at the chest, with hands resting on opposite shoulders, or they can cross their arms at the waist, with hands resting on opposite hips. Each variation can convey a slightly different mood or message, so it’s worth exploring which one works best for the desired outcome.
Expression and Engagement: While the pose itself can suggest confidence and relaxation, the model’s facial expression and engagement with the camera are equally important. Encourage the model to maintain eye contact, adopt a pleasant expression, and radiate confidence through their gaze and smile.
Context and Style: Consider the context in which you’re capturing the image. The “Arms Crossed” pose can work well in both formal and casual settings, but it’s essential to align the pose with the overall style and theme of the shoot. For example, in corporate or business-oriented photography, the pose can convey professionalism and authority, while in lifestyle or fashion photography, it can evoke a more relaxed and effortless vibe.
Posing Tips: To make the “Arms Crossed” pose appear natural and comfortable, encourage the model to keep their shoulders relaxed and not tense up. It’s also essential to maintain good posture and balance throughout the body. Communicate with the model and provide guidance to ensure they feel at ease and confident during the shoot.
Here are some tips for capturing great photographs with the “Arms Crossed” pose:
Communication and Comfort: Ensure that the model feels comfortable and relaxed during the shoot. Establish clear communication and provide guidance on how to execute the pose naturally. Encourage them to find a position that feels natural and confident.
Adjust Arm Placement: Experiment with different arm positions to find the most flattering and visually appealing placement. The model can cross their arms at the chest, with hands resting on opposite shoulders, or at the waist, with hands resting on opposite hips. Adjust the angle and position of the arms to create balance and symmetry in the composition.
Facial Expression: Encourage the model to maintain a confident and relaxed facial expression that complements the pose. A subtle smile or a neutral expression can work well, depending on the desired mood and style of the photograph. The eyes should also convey engagement and connection with the camera.
Posture and Body Alignment: Emphasize the importance of good posture to enhance the overall look of the pose. The model should stand tall with their shoulders relaxed, back straight, and core engaged. Avoid slouching or hunching the shoulders, as it can detract from the confident appearance of the pose.
Background and Composition: Consider the background and composition when framing the shot. Ensure that the model stands out and that the crossed arms are clearly visible. Pay attention to the lines and shapes created by the arms, and how they interact with the overall composition of the image.
Lighting: Choose lighting that enhances the model’s features and adds depth to the photograph. Experiment with different lighting setups, such as side lighting or soft diffused light, to create flattering shadows and highlights. Be mindful of any potential shadows cast by the crossed arms and adjust the lighting accordingly.
Use Props or Environment: Incorporating props or elements from the environment can add interest and context to the photograph. For example, the model could lean against a wall or hold an object while maintaining the crossed arms pose. These elements can contribute to the overall storytelling and visual appeal of the image.
Shoot from Different Angles: Explore shooting from various angles to capture different perspectives of the pose. Experiment with shooting from slightly above or below the model’s eye level to add variety and create different visual effects.
Candid Moments: While the “Arms Crossed” pose can convey a confident and relaxed demeanor, don’t be afraid to capture candid moments as well. Encourage the model to shift their weight, adjust their pose slightly, or interact with the environment. These candid shots can often result in authentic and compelling images.
Experiment and Personalize: Don’t be afraid to put your own creative spin on the pose. Experiment with variations, angles, and lighting techniques to create unique and captivating photographs. Personalize the pose to suit the model’s personality and the desired mood of the shoot.
Remember, the “Arms Crossed” pose is just a starting point. Adapt it to the model’s individual characteristics and the specific context of your photography. With practice and experimentation, you’ll develop your own style and techniques for capturing stunning images with this pose.