

Camcorder Lighting Tips for Indoor and Outdoor Shooting
Camcorder lighting is crucial for capturing high-quality video footage, whether you’re shooting indoors or outdoors. Proper lighting enhances the clarity, color accuracy, and overall visual appeal of your videos. Here are some essential lighting tips for both indoor and outdoor shooting with a camcorder:
Indoor Lighting Tips:
Use Soft Lighting: Avoid harsh, direct light sources as they can create unflattering shadows and highlights. Soft lighting provides a more even and gentle illumination, reducing harsh contrasts on the subject’s face.
Natural Light is Your Friend: Whenever possible, utilize natural light from windows or doors. North-facing windows often provide soft, indirect light, which works well for indoor shooting.
Bounce Light: If you’re using artificial lighting, bounce the light off walls, ceilings, or reflective surfaces like whiteboards or foam boards. This technique diffuses the light and makes it more flattering for your subject.
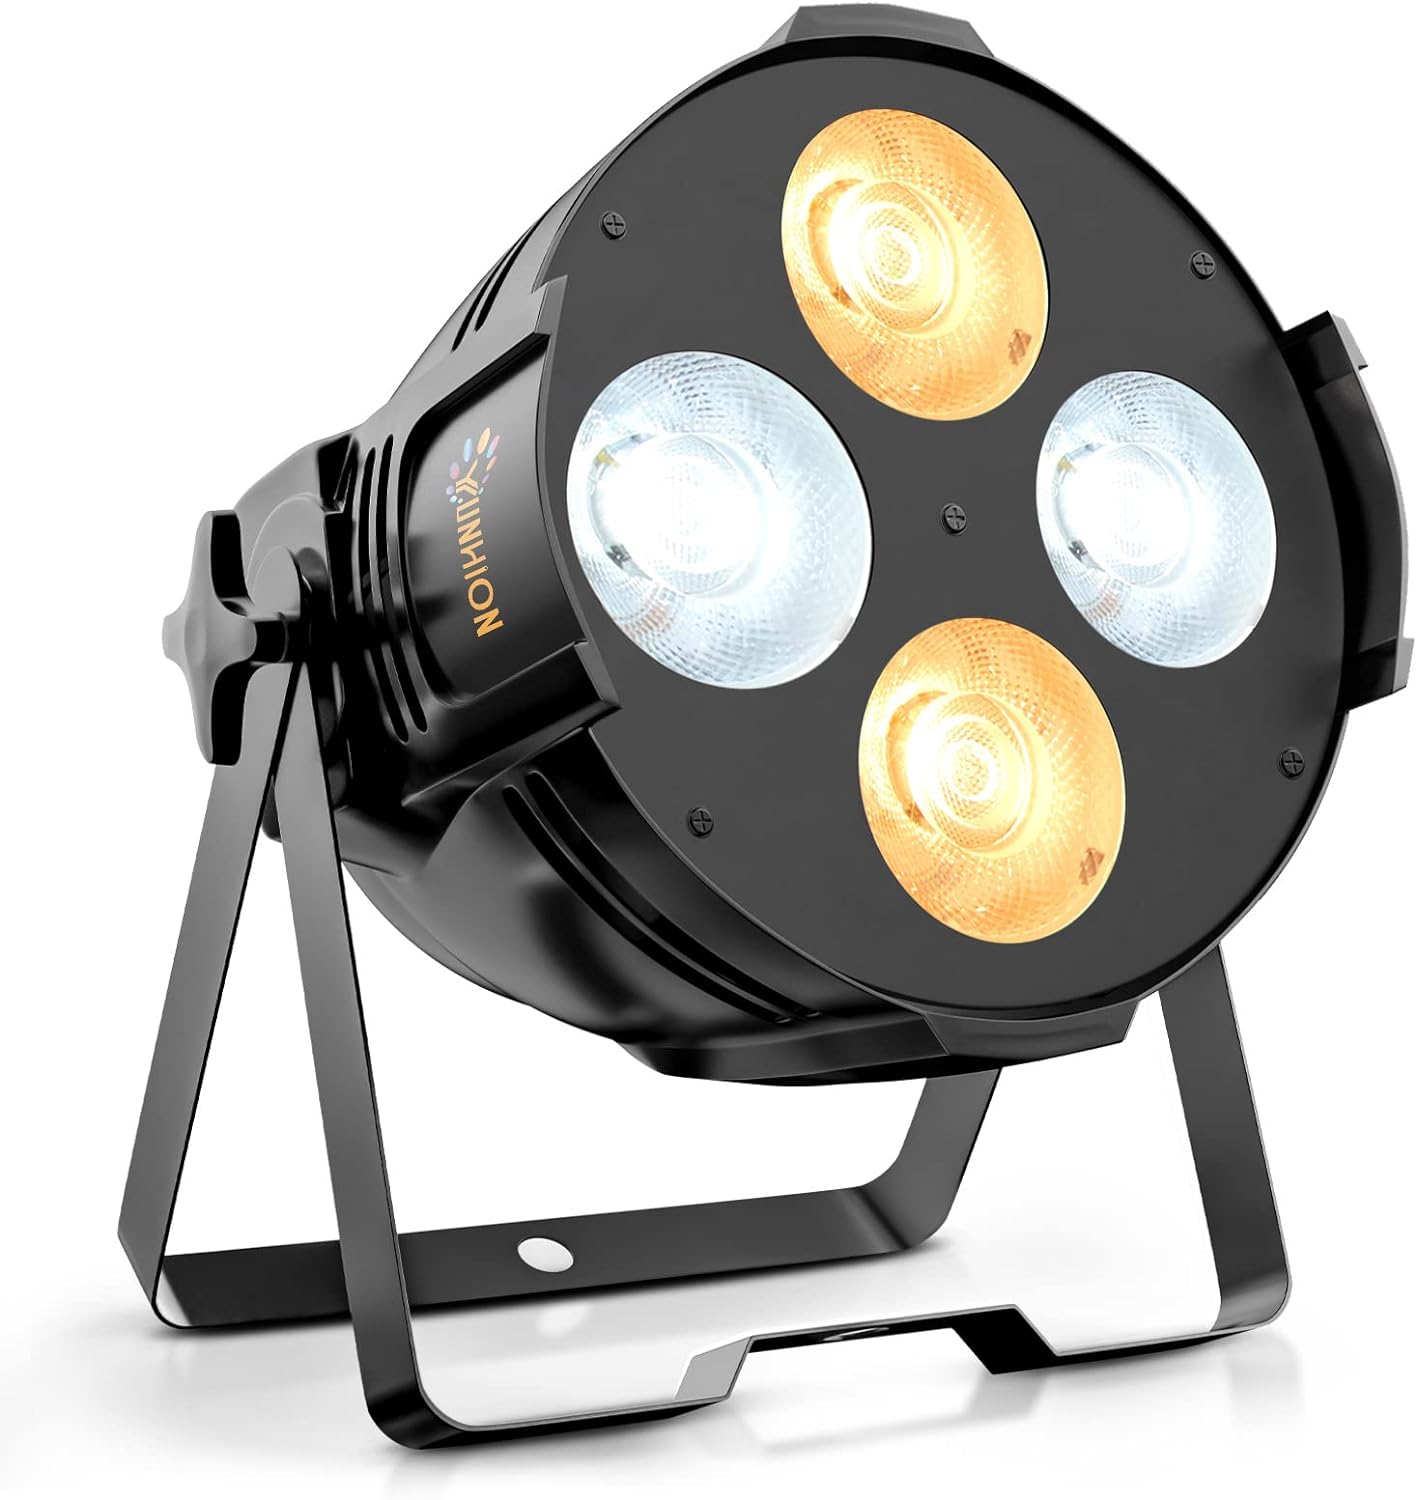
Three-Point Lighting Setup: Consider using a three-point lighting setup. This consists of a key light (main light), a fill light (to reduce shadows), and a backlight (to separate the subject from the background).
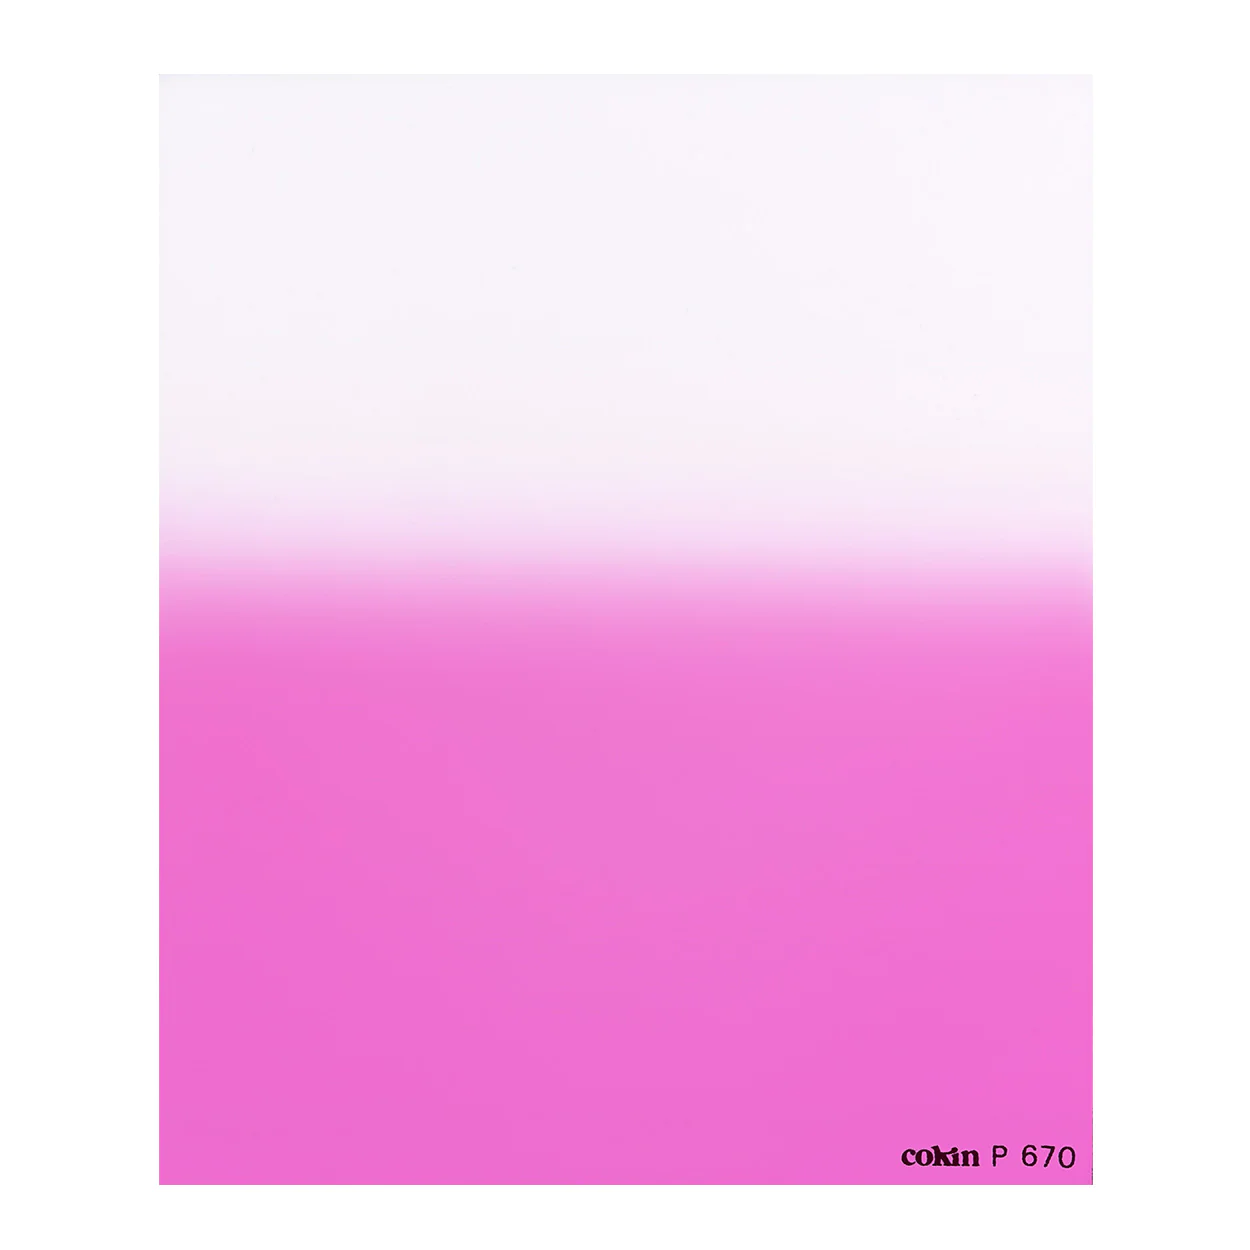
Color Temperature: Pay attention to the color temperature of your light sources. Indoor lights are typically warmer (yellowish), while daylight is cooler (bluish). Try to match the color temperature of your light sources or use color gels to adjust the lighting accordingly.
Avoid Mixed Lighting: Be cautious with mixing different light sources with varying color temperatures, as it can result in an unnatural look. Stick to one consistent light source whenever possible.
Outdoor Lighting Tips:
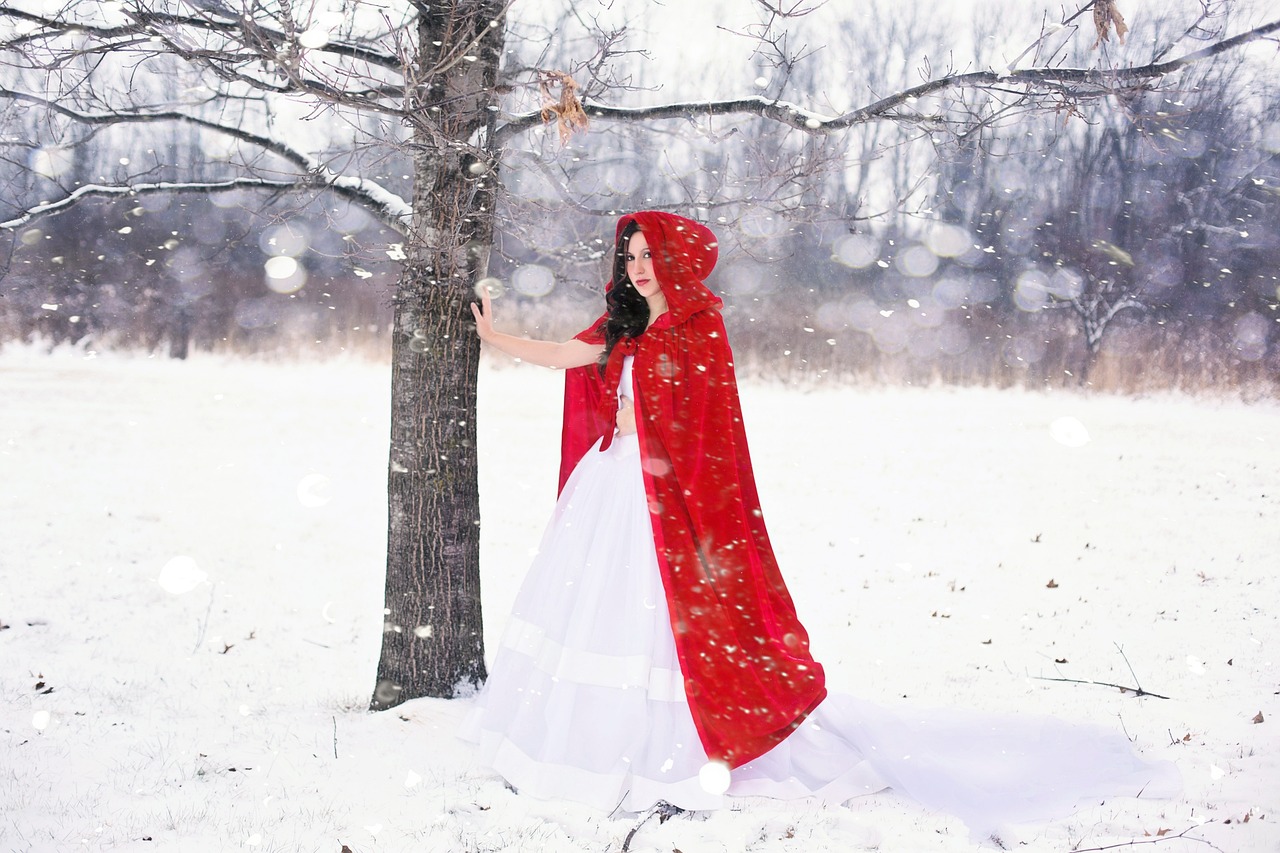
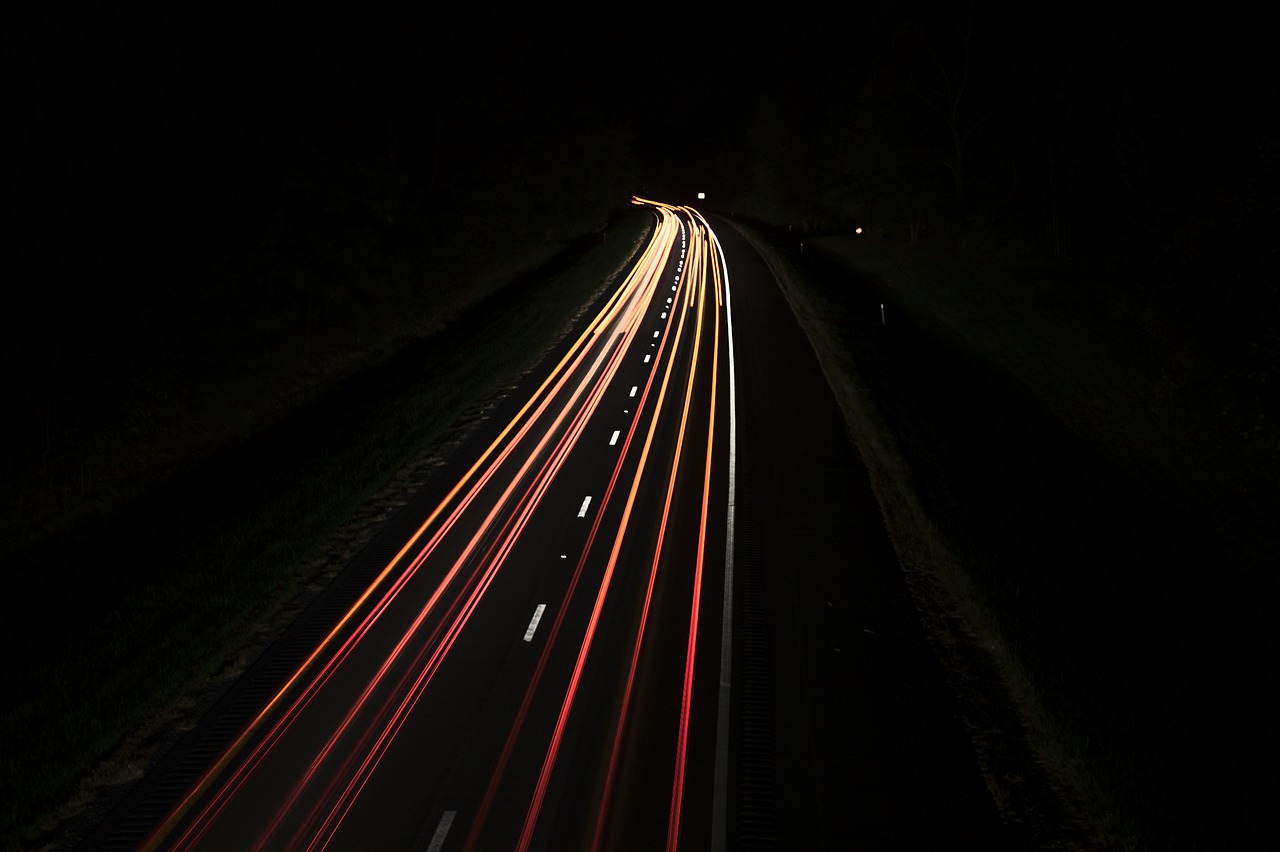
Golden Hour Magic: Take advantage of the “golden hour” – the hour after sunrise and the hour before sunset. During this time, the sunlight is soft, warm, and casts long shadows, providing a visually pleasing effect.
Use Diffusers and Reflectors: When shooting outdoors in bright sunlight, use diffusers to soften the harsh light on your subject. Reflectors can also be helpful for bouncing light onto the subject’s face and filling in shadows.
Avoid Shooting at Midday: The overhead sun at midday creates unflattering shadows and can wash out colors. Try to avoid shooting during this time if possible.
Watch the Background: Pay attention to the background when shooting outdoors. Look for distracting elements that could take the focus away from your subject.
Be Mindful of Weather Changes: Outdoor lighting can change rapidly due to weather conditions. Be prepared to adjust your camera settings or lighting setup accordingly if clouds move in or the sunlight becomes less consistent.
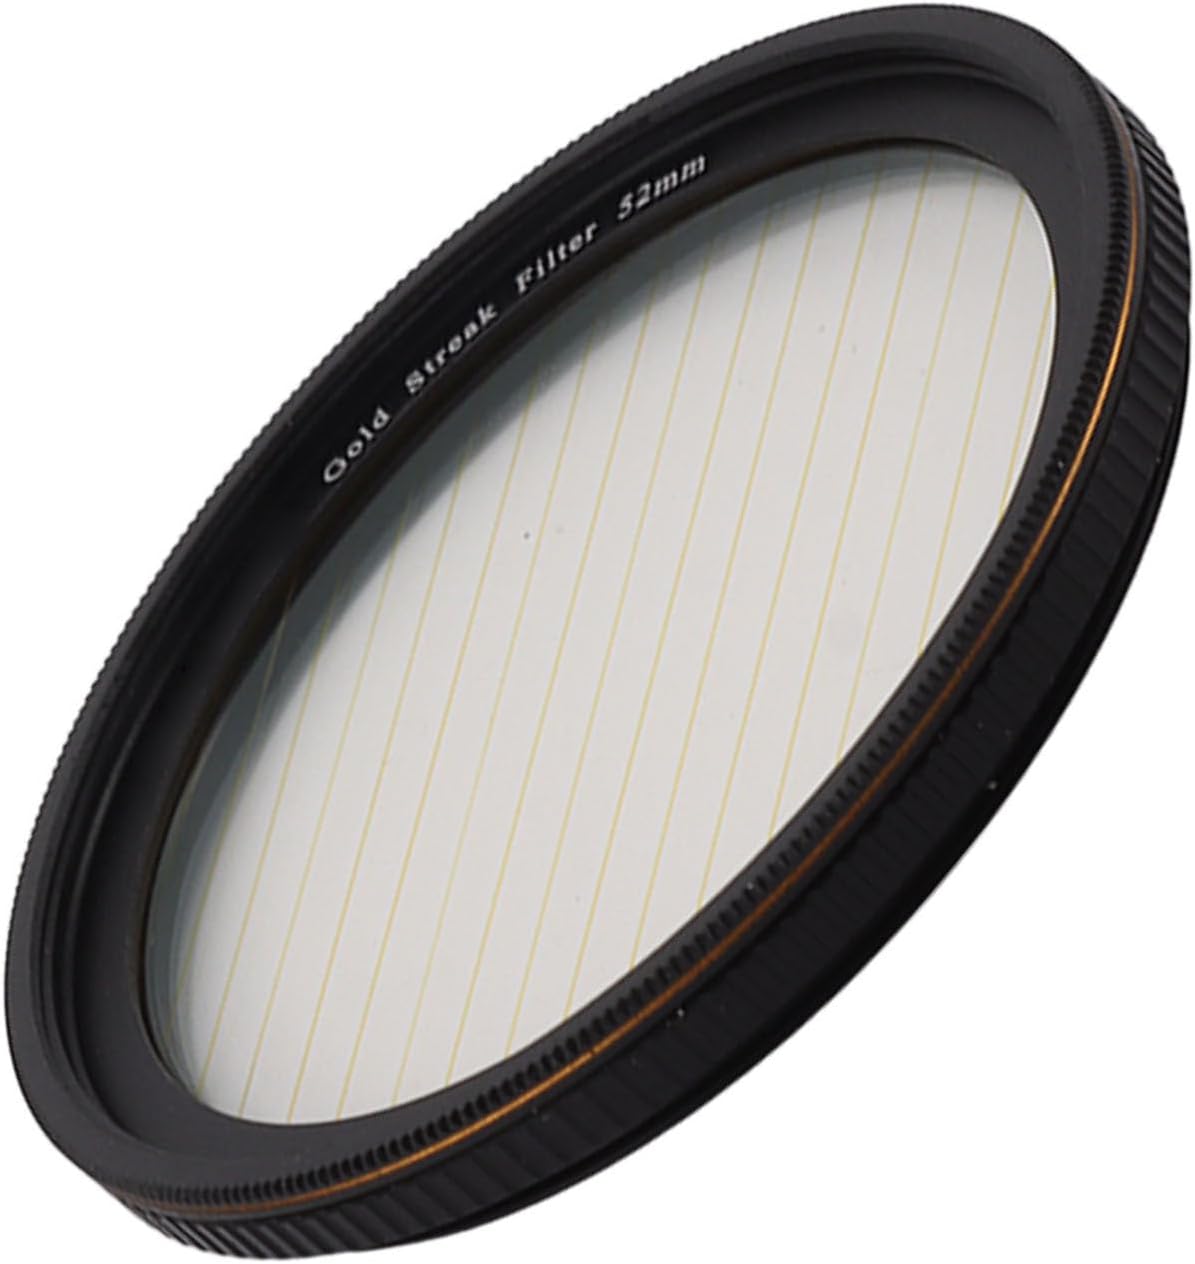
Use ND Filters: Neutral Density (ND) filters can be useful for controlling the amount of light entering the camera when shooting in bright outdoor conditions. They help maintain proper exposure without compromising on shutter speed and aperture settings.
Remember, good lighting is one of the key factors that can elevate the quality of your videos significantly. Experiment with different lighting setups and techniques to find what works best for your specific shooting environment and subject matter.
White Balance: Proper white balance is crucial for achieving accurate colors in your videos. Adjust the white balance setting on your camcorder to match the color temperature of your lighting environment. This ensures that whites appear white, and other colors are displayed correctly.
2. Avoid Overexposure and Underexposure: Exposing your footage correctly is essential for maintaining details in the highlights and shadows. Avoid overexposure (where bright areas are blown out) and underexposure (where dark areas lack detail). Use your camcorder’s exposure settings or zebra patterns to help you gauge exposure levels.
3. Use Dimmers and Filters: If you’re using artificial lights, consider using dimmers to control the intensity of the light. Dimmers allow you to fine-tune the lighting to your desired level. Additionally, filters like diffusion filters or gels can modify the quality and color of the light, creating specific moods or effects.
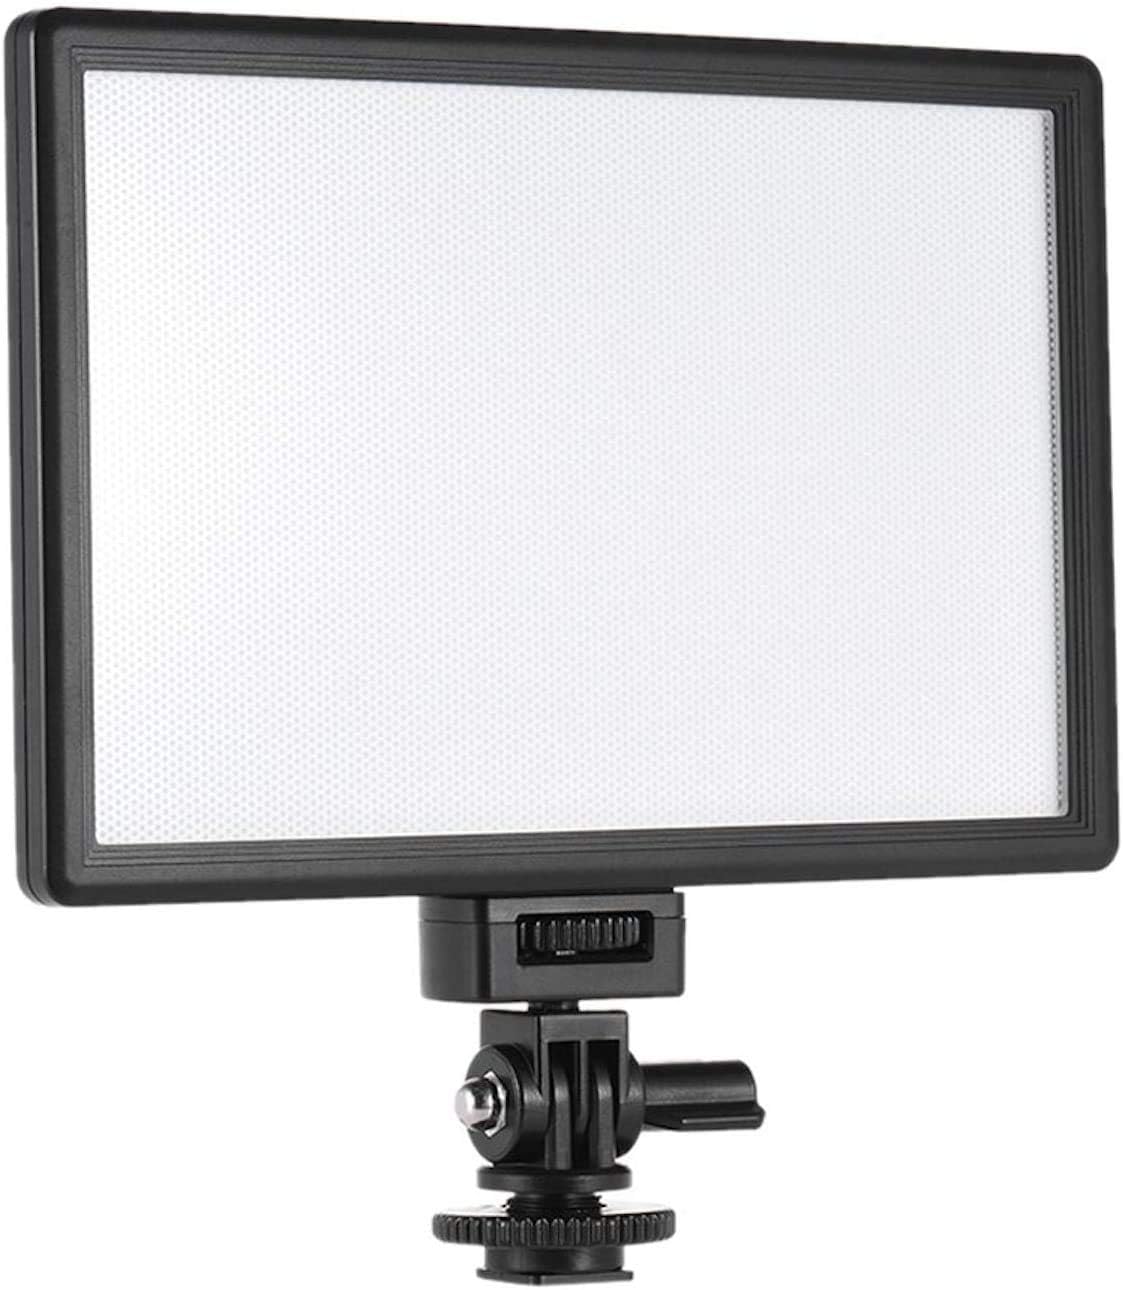
4. Be Cautious with On-Camera Lights: On-camera lights can be convenient, but they often produce harsh lighting and unflattering shadows. If you must use on-camera lighting, consider diffusing the light or using bounce techniques to soften the illumination.
5. Create Depth with Lighting: To add depth to your shots, consider using backlighting to separate your subject from the background. This creates a sense of dimensionality and visual interest in your video.
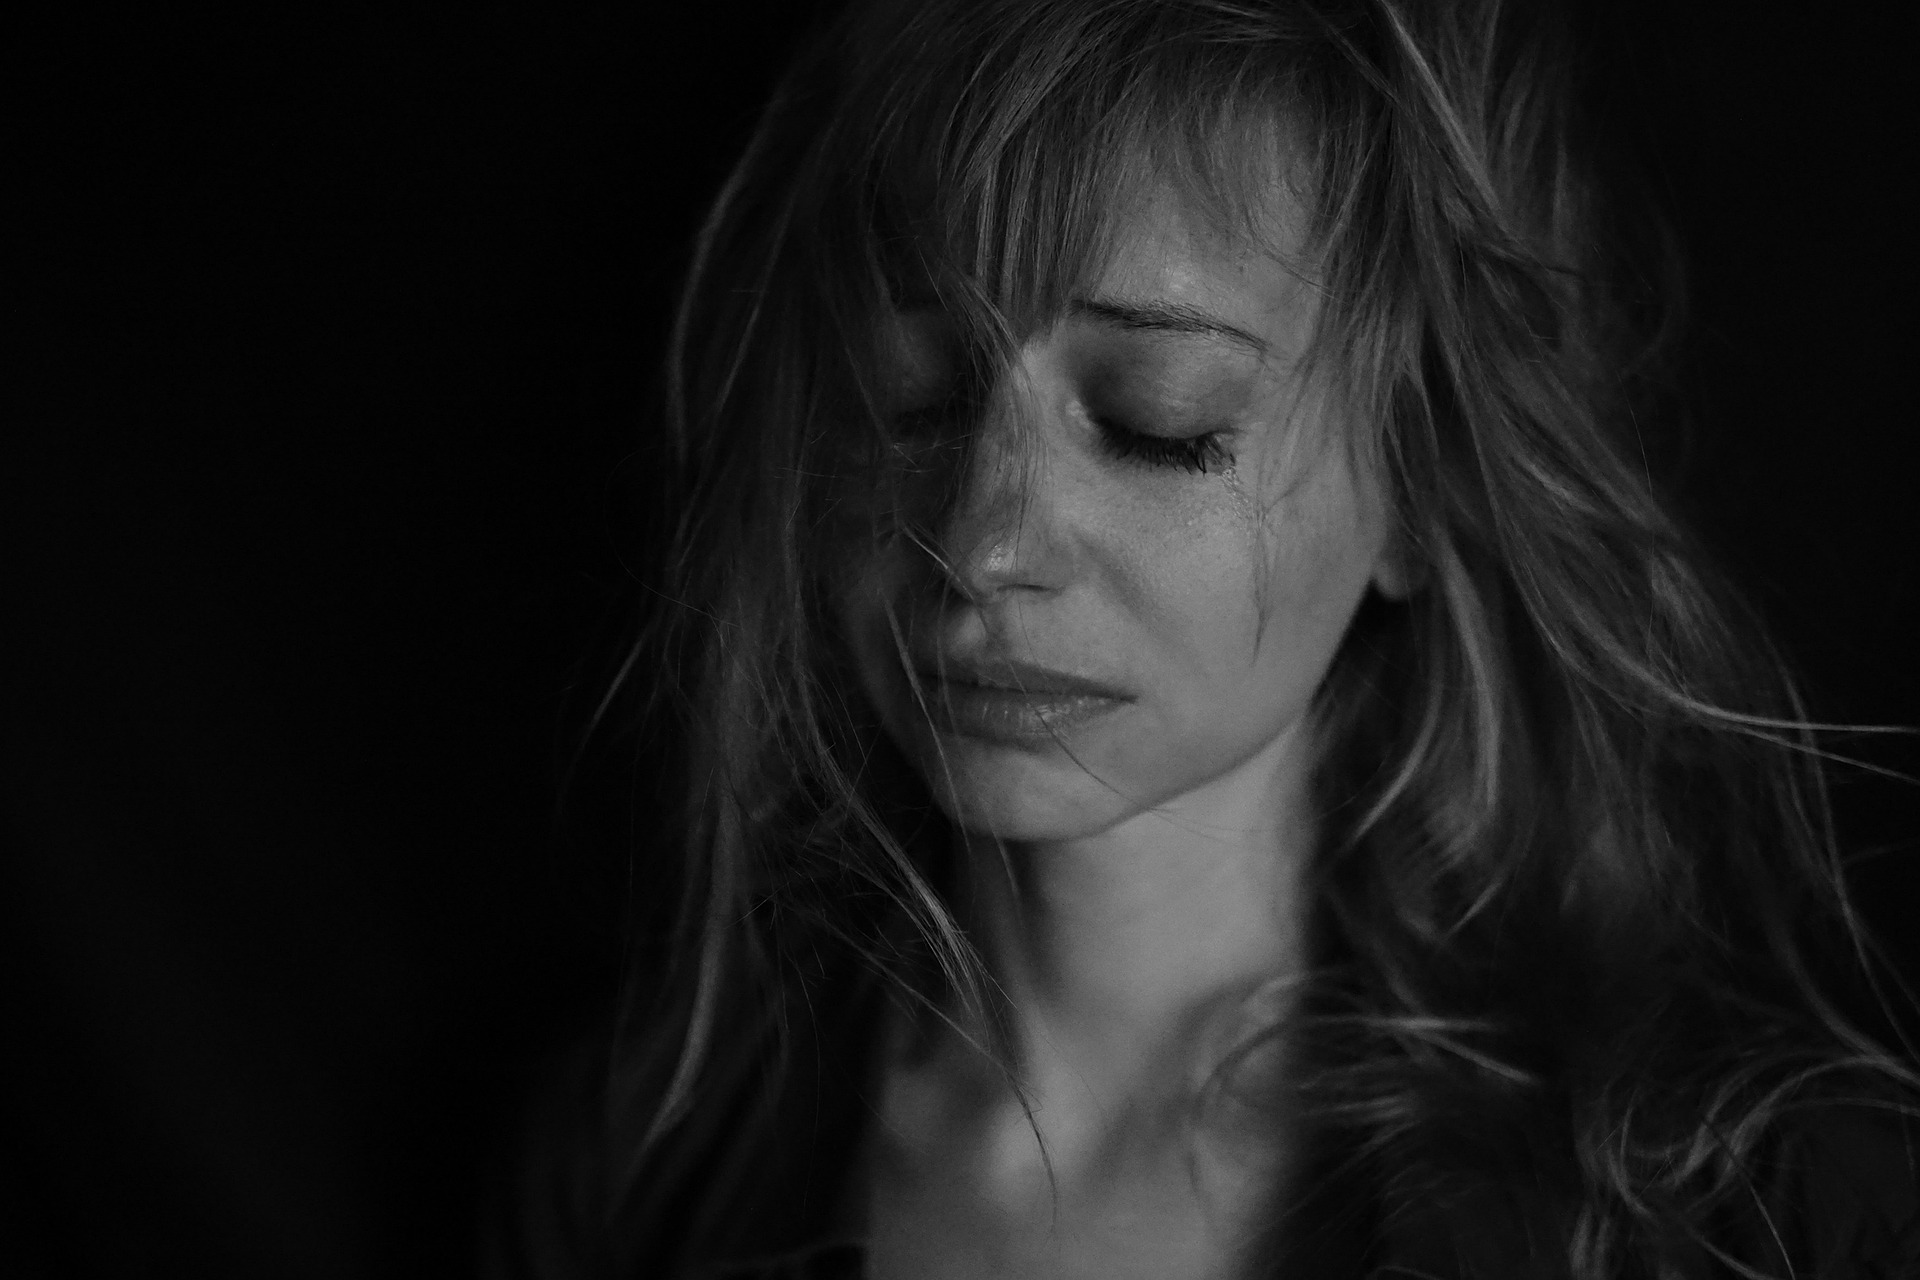
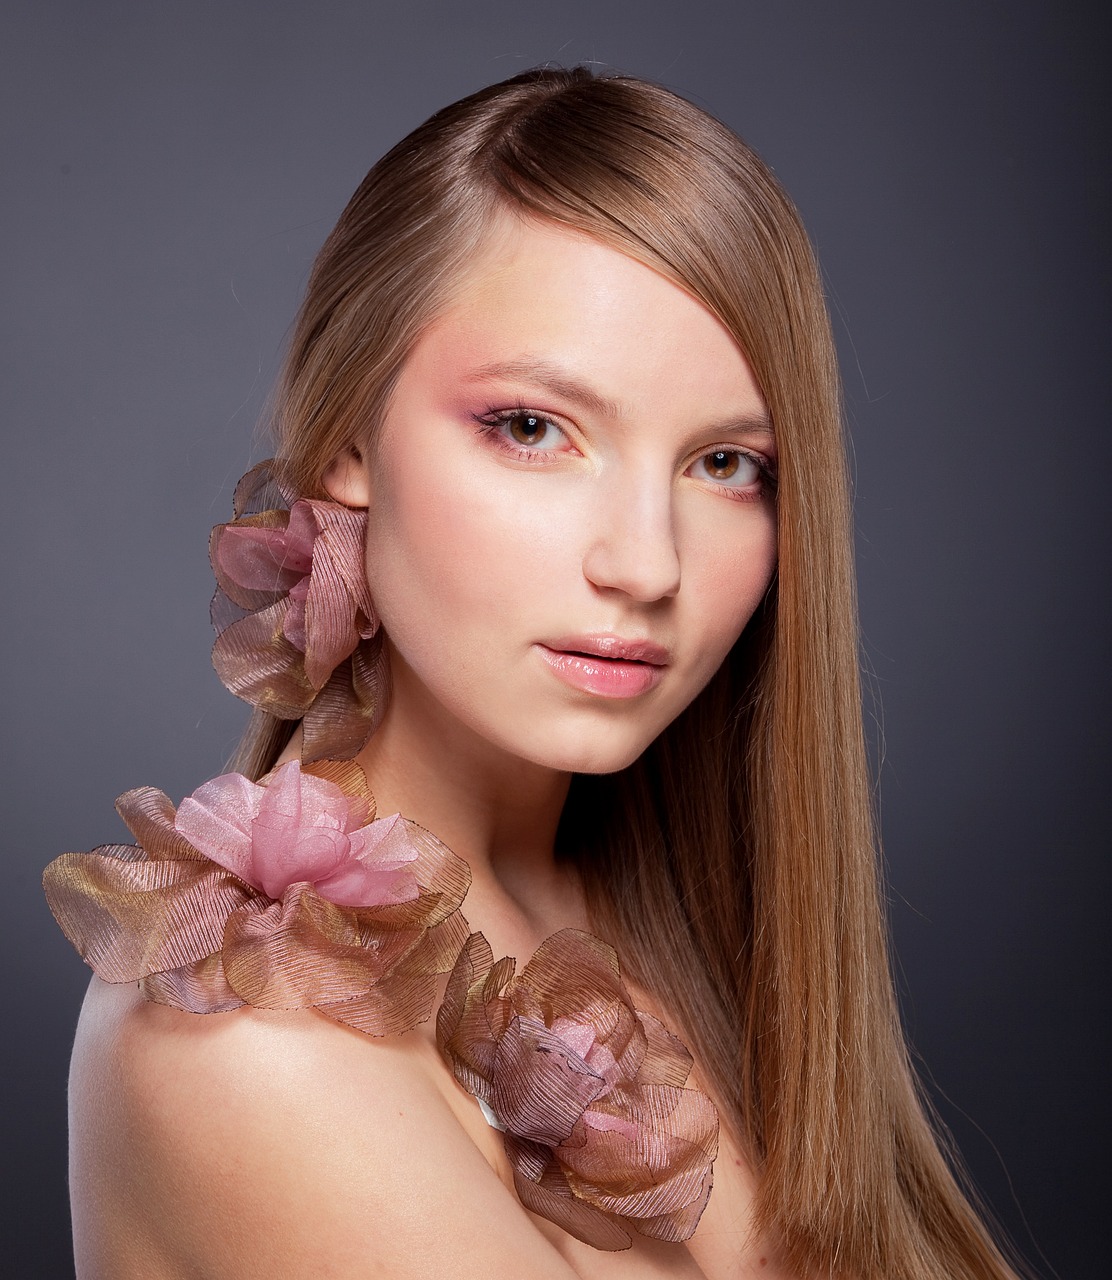
6. Consider the Subject’s Skin Tone: Different skin tones may react differently to various lighting setups. For instance, darker skin tones may require more fill light to avoid excessive shadows. Be mindful of your subject’s skin tone and adjust your lighting accordingly.
7. Plan for Continuity: If you are shooting a video that spans multiple days or sessions, try to maintain lighting consistency throughout. This is especially important for interview-style videos or narrative projects to ensure seamless editing.
8. Safety First: When working with artificial lights, be cautious of potential hazards such as trip hazards, overheating lights, or cables that could cause accidents.
9. Use Practical Lighting: Incorporate existing practical lights (e.g., lamps, household fixtures) into your scene creatively. This can add a natural and cinematic feel to your shots.
10. Embrace Shadows: Shadows can add drama and visual interest to your shots. Instead of eliminating all shadows, learn to control and embrace them to enhance the mood and atmosphere of your video.
11. Test and Practice: Lighting is a skill that improves with practice and experimentation. Take the time to test different lighting setups, understand how they affect your footage, and learn from your results.
12. Stay Flexible: Lighting conditions can change, especially when shooting outdoors. Always be ready to adapt your lighting setup based on the environment and weather conditions.