


Using Star Filters for Sparkling Night Scenes

Using star filters for sparkling night scenes is a photography technique that adds a beautiful and eye-catching effect to artificial light sources, such as streetlights, city lights, or other bright points of light. Star filters are optical filters that create a star-like pattern around these light sources, enhancing their appearance and making the night scene more magical and captivating.
Here’s how star filters work and some tips for using them effectively:
How star filters work:
Star filters are made up of thin, etched lines or grooves that are strategically placed on the surface of the filter. These lines diffract light as it passes through the filter, causing the light to spread out in a star-like pattern. The most common star filters produce four to eight-pointed stars, but you can also find filters that create more intricate patterns.
Types of star filters:
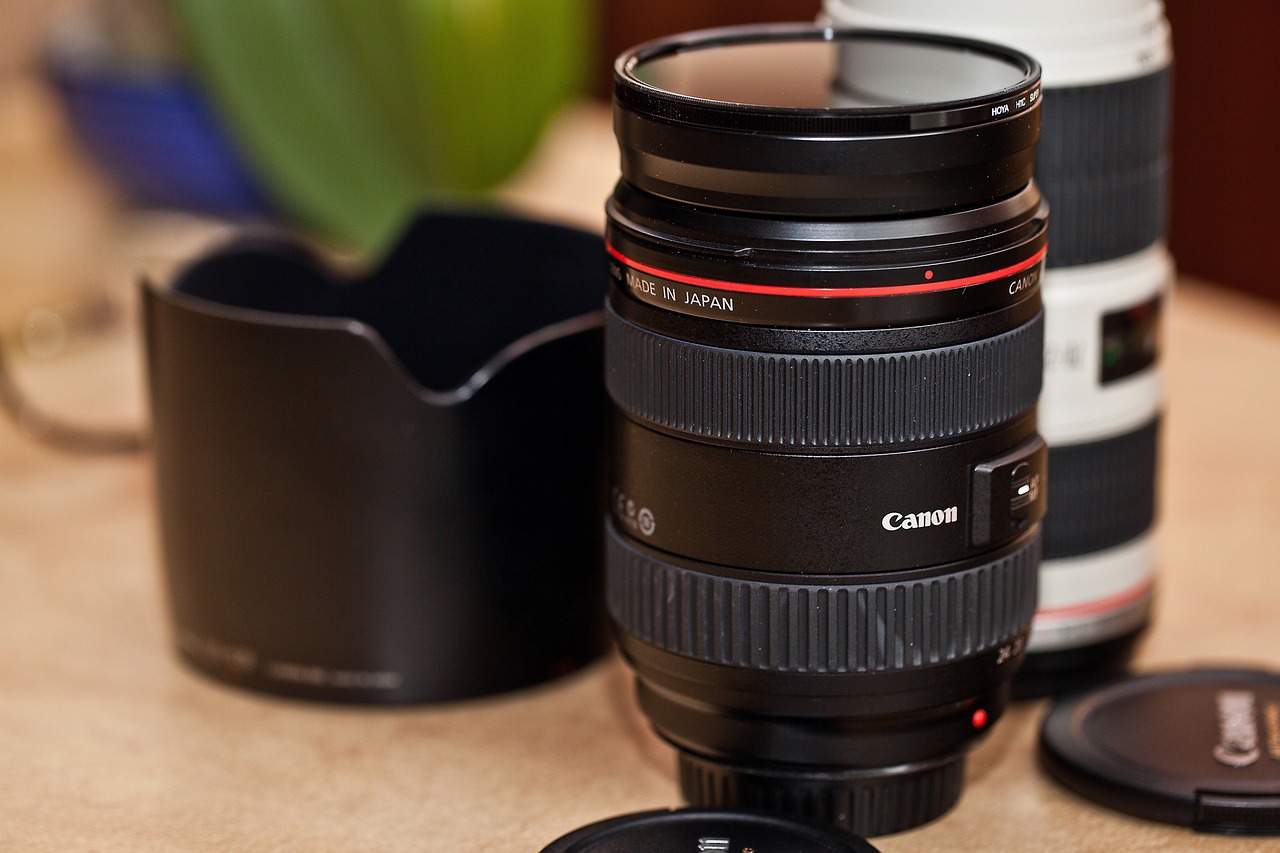
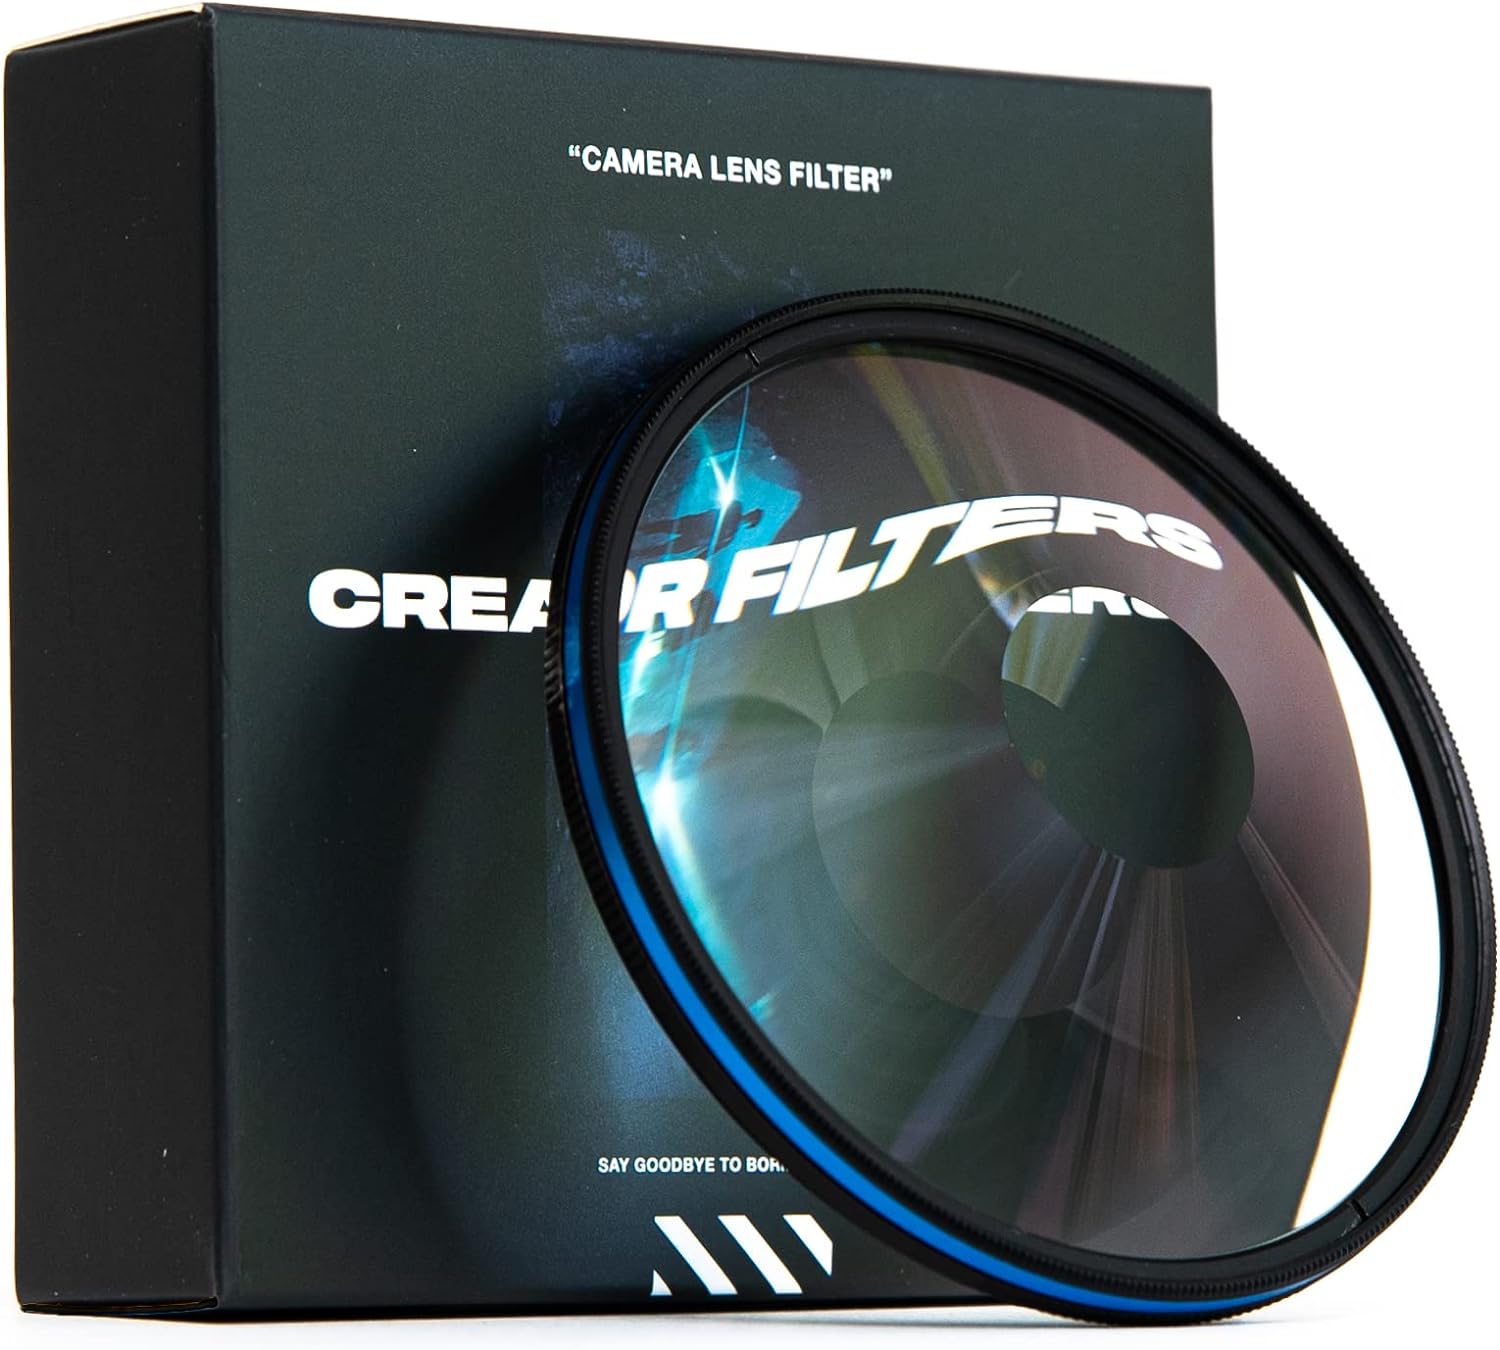
Star filters are available in different types, including screw-on filters for DSLR and mirrorless cameras, as well as clip-on or magnetic filters for smartphones. They come in various sizes to fit different lenses. Additionally, some filters may be combined with other types, such as neutral density (ND) or polarizing filters.
Best subjects for star filter effects:
Star filters work best when you have multiple bright light sources in your scene. Nighttime cityscapes, urban landscapes, street photography, or even holiday decorations with lots of lights can be great subjects for using star filters.
Choosing the right filter:
The number of points on the star effect depends on the number of lines or grooves on the filter. Four, six, and eight-point star filters are the most common and widely used. Each number of points can produce a slightly different effect, so choose the one that complements your composition best.
Aperture setting:
To achieve the starburst effect effectively, you’ll need to use a small aperture (high f-stop number) on your camera. Typically, f/16 or higher is recommended. A smaller aperture creates a narrower opening for light to pass through, interacting more with the star filter lines and producing a stronger star effect.
Manual focus:
In some cases, autofocus may not properly detect the points of light to create the starburst effect. Switching to manual focus and fine-tuning it to ensure sharpness can help you achieve better results.
Avoiding lens flare:
While star filters can enhance the beauty of artificial light sources, they can also increase the chances of lens flare. To minimize flare, use a lens hood and be cautious of the light source’s angle relative to the camera’s lens.
Experiment and creativity:
Like any photography technique, using star filters requires experimentation. Try different apertures, angles, and compositions to see how the starburst effect changes based on your settings and the scene. Use this creative tool to add a unique and artistic touch to your night photography.
Light sources for star effects:
Star filters are most effective when used with bright, pinpoint light sources. Traditional sources like streetlights, traffic lights, and city lights work great, but you can also experiment with other light-emitting objects like car headlights, reflections on water, or even holiday lights during festive seasons.
Creative compositions:
When composing your night scene, try to position the light sources strategically within your frame to create a visually appealing composition. Pay attention to the arrangement of the stars and how they interact with other elements in the scene.
Try different filter strengths:
Star filters come in various strengths, indicating the number of lines or grooves that generate the star effect. Some filters produce subtle stars, while others create more pronounced and dramatic starbursts. Experiment with different filter strengths to find the one that suits your artistic vision.
Avoid overuse:
While star filters can produce captivating effects, they should be used sparingly. Overusing them in every night shot can make your photography look gimmicky or distract from the main subject. Use them selectively to make specific elements stand out in your composition.
Custom-made star filters:
If you’re feeling adventurous and want to explore more intricate star patterns, you can even create custom-made star filters. Some photographers have experimented with crafting their own filters by using materials like fine wires or aluminum foil with carefully cut patterns.
Post-processing options:
If you don’t have a star filter or prefer to have more control over the effect, you can simulate the starburst in post-processing. Various photo editing software offers tools to create star effects by adding points of light and using filters to create the starburst pattern.
Long exposure photography:
Combining star filters with long exposure photography can produce mesmerizing results. The extended exposure time allows light from the stars to spread across the image, creating an ethereal and dreamy atmosphere.
Shoot during the blue hour:
The “blue hour” refers to the period just before sunrise or after sunset when the sky has a soft blue hue. During this time, artificial lights are more prominent and can create a magical contrast against the natural light. Using star filters during the blue hour can yield fantastic results.
Avoiding lens artifacts:
Cheaper or lower-quality star filters may introduce unwanted artifacts, such as ghosting or flares. Invest in a good quality filter to minimize these issues and maintain the overall image quality.
Experiment with different light sources:
Don’t limit yourself to urban settings only. Natural night scenes, such as capturing stars in the night sky or the moonlight filtering through trees, can also benefit from star filters, creating a mesmerizing effect on celestial bodies.
Remember, photography is an art form, and the use of star filters is just one creative tool in your arsenal. Enjoy the process of experimentation, and let your creativity guide you in capturing stunning and sparkling night scenes.