


Scanning and Printing Old Photos
In today’s digital age, where photographs are predominantly taken and stored digitally, the value of physical photographs often gets overlooked. These tangible memories have an irreplaceable charm and emotional significance that digital files can’t completely replicate. Whether it’s the sepia-tinted portraits of ancestors or the candid shots from decades ago, old photos hold stories that deserve to be cherished and preserved. Scanning and printing old photos provide an opportunity to bridge the gap between the past and the present, allowing us to relive cherished moments while safeguarding them for future generations.
The Importance of Preserving Old Photos
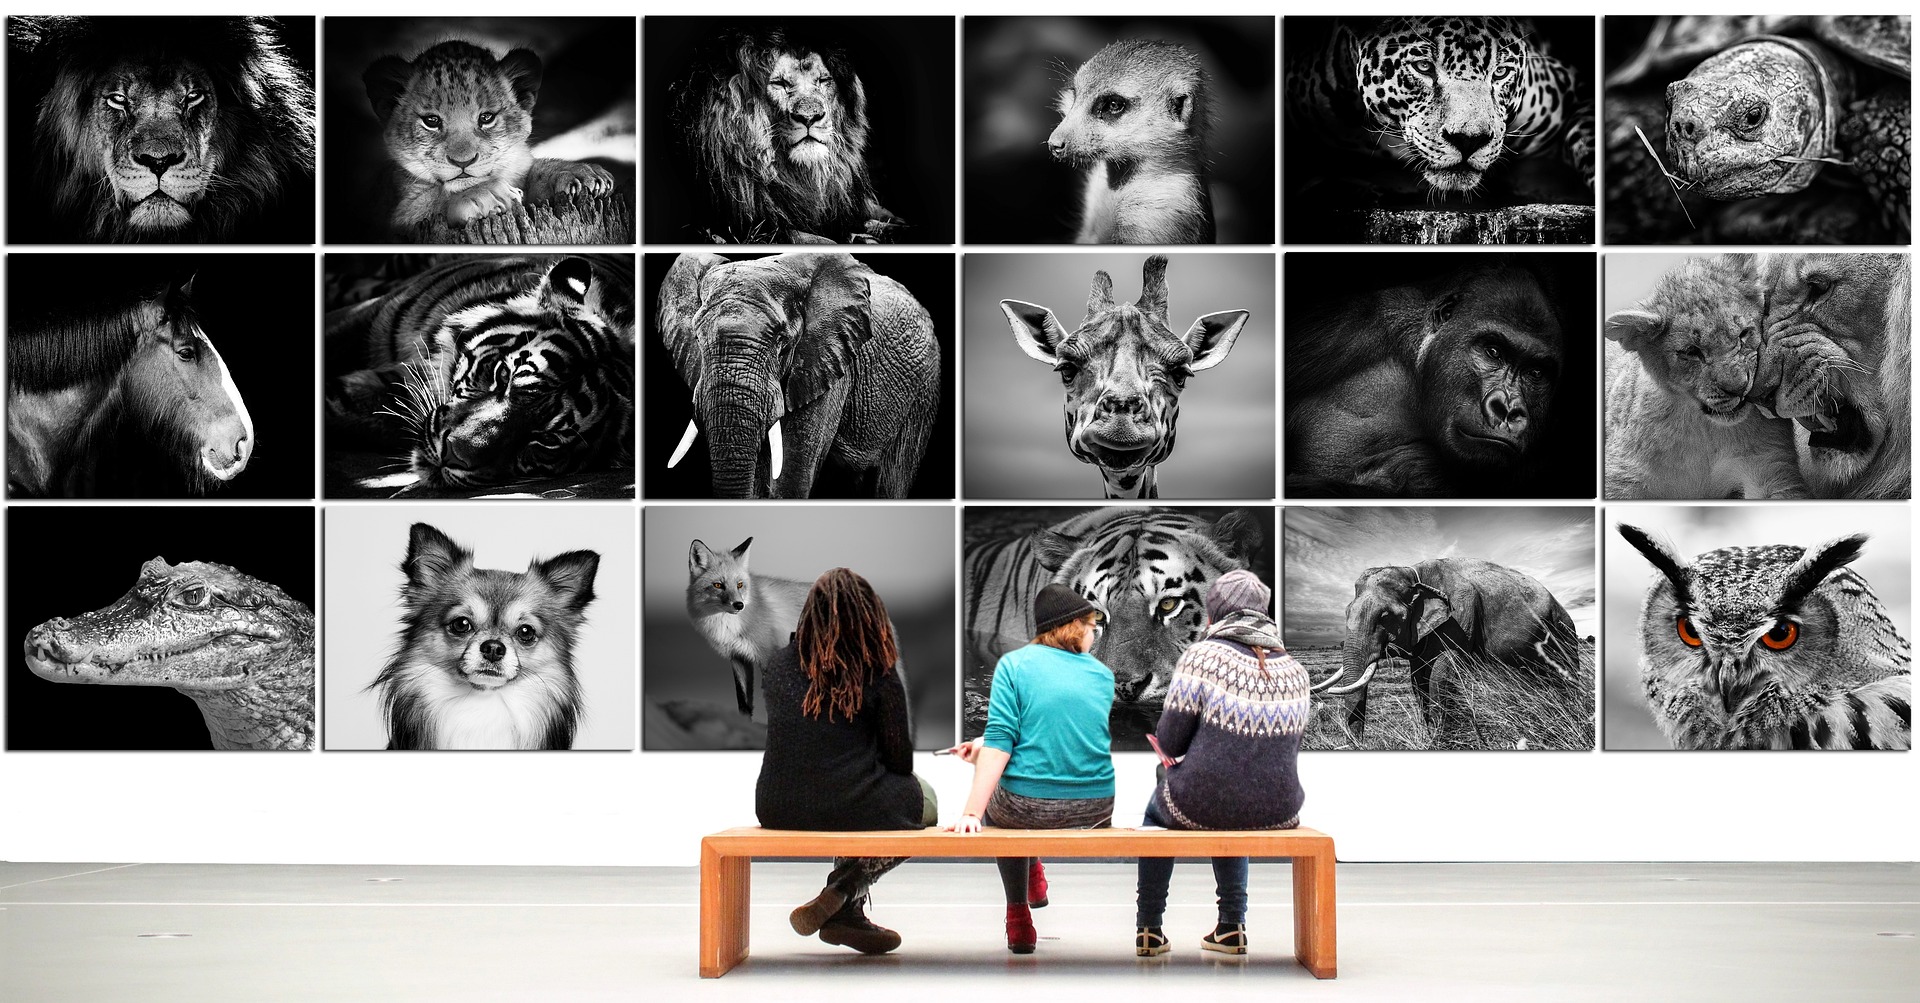
Old photos serve as windows to the past, offering a glimpse into the lives, experiences, and fashions of bygone eras. They carry an authenticity that can be felt by holding them in your hands. However, these physical photographs are susceptible to the ravages of time: fading colors, yellowing paper, and the gradual wear and tear that accompanies their journey through the years. Preserving these photographs through scanning and printing can safeguard their integrity for years to come.
The Process of Scanning
Scanning old photos involves converting physical images into digital files. This process not only helps protect the originals from further deterioration but also opens up a world of possibilities for sharing, archiving, and enhancing these images.
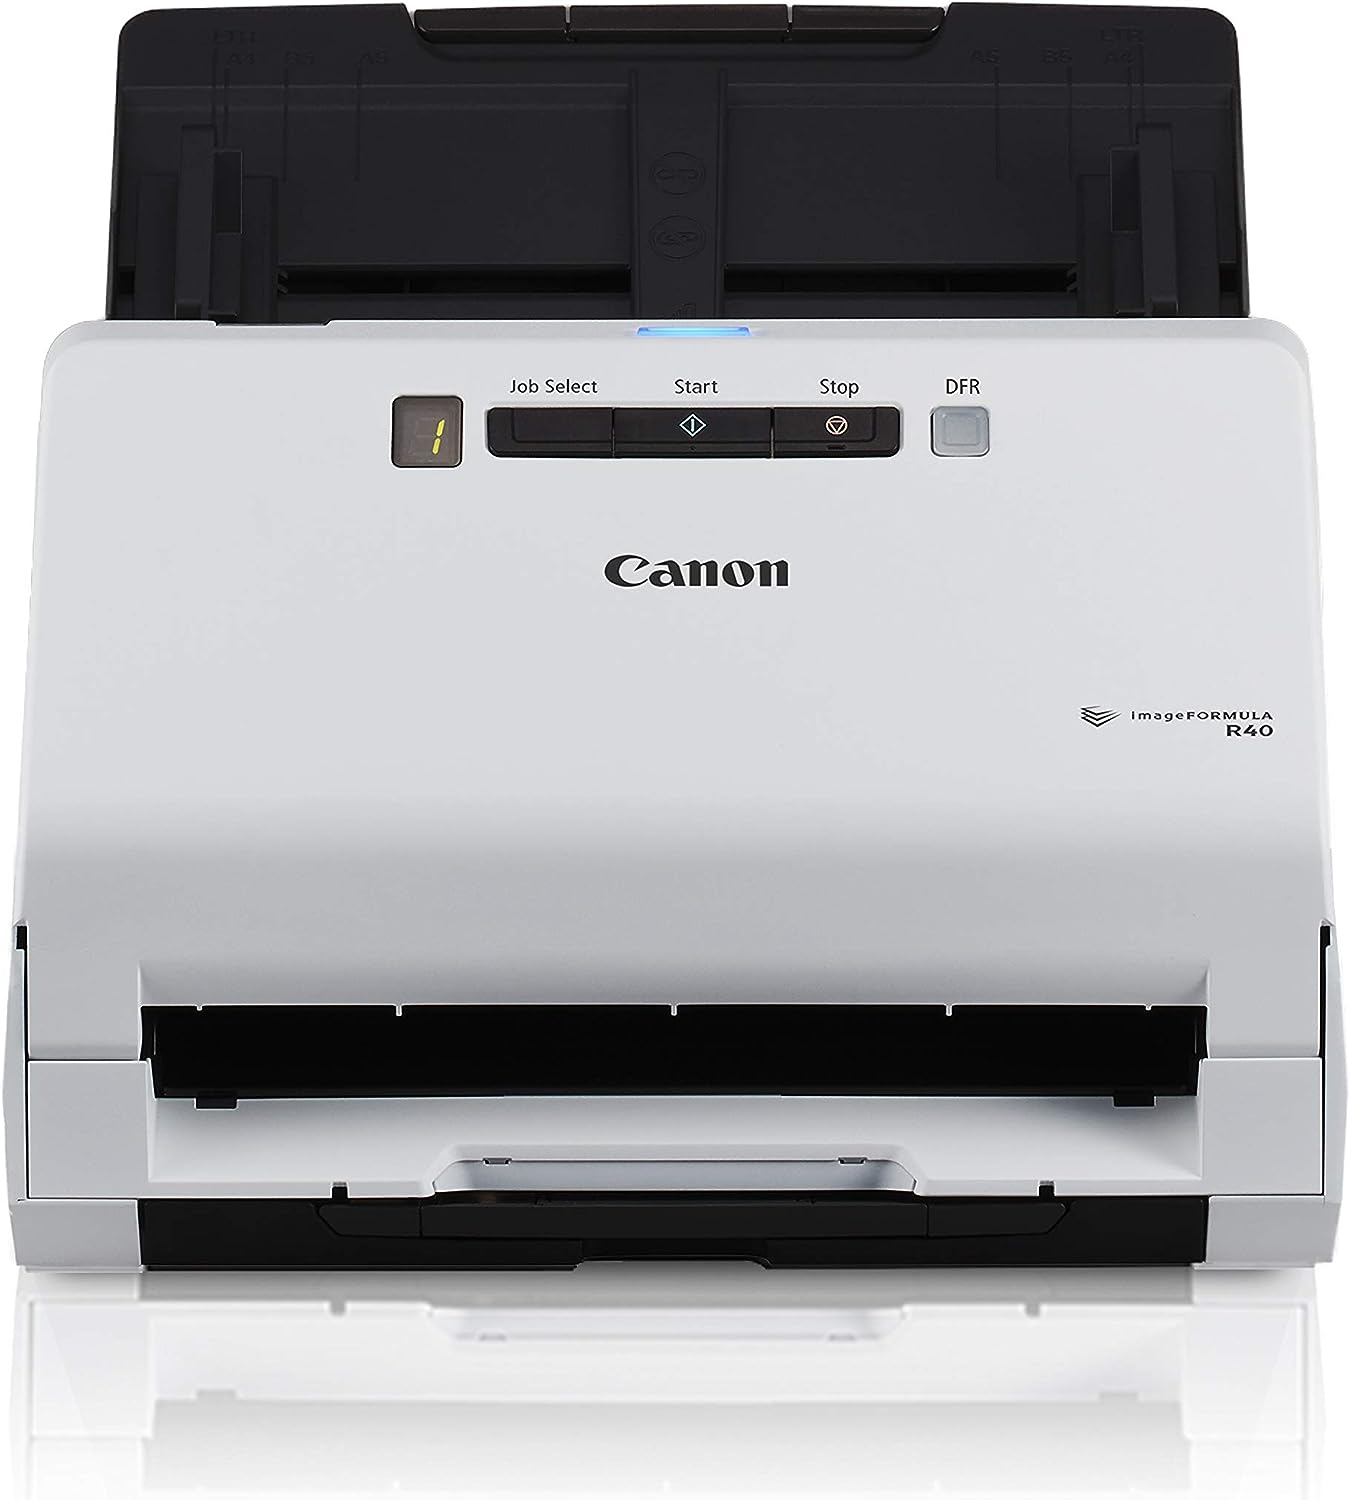
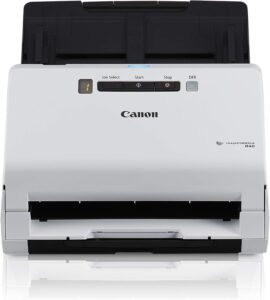
Choosing the Right Equipment: To start, you’ll need a flatbed scanner or a dedicated photo scanner. These scanners provide high-resolution scanning capabilities that capture the details and nuances of the original photographs.
Preparing the Photos: Before scanning, it’s important to handle the photos with care. Clean them gently to remove dust and debris, and handle them by their edges to avoid transferring oils from your fingers onto the images.
Setting the Parameters: Most scanning software allows you to adjust parameters such as resolution (measured in dots per inch or DPI), color mode (color, grayscale, or black and white), and file format (JPEG, TIFF, etc.). Higher DPI settings are recommended for greater detail retention.
Scanning Process: Place the photo face-down on the scanner bed, aligning it with the edges. Close the scanner lid and initiate the scan through the software interface. Depending on the scanner and settings, the process might take a few seconds to a minute.
File Management: Once scanned, organize the digital files into appropriately labeled folders for easier retrieval.
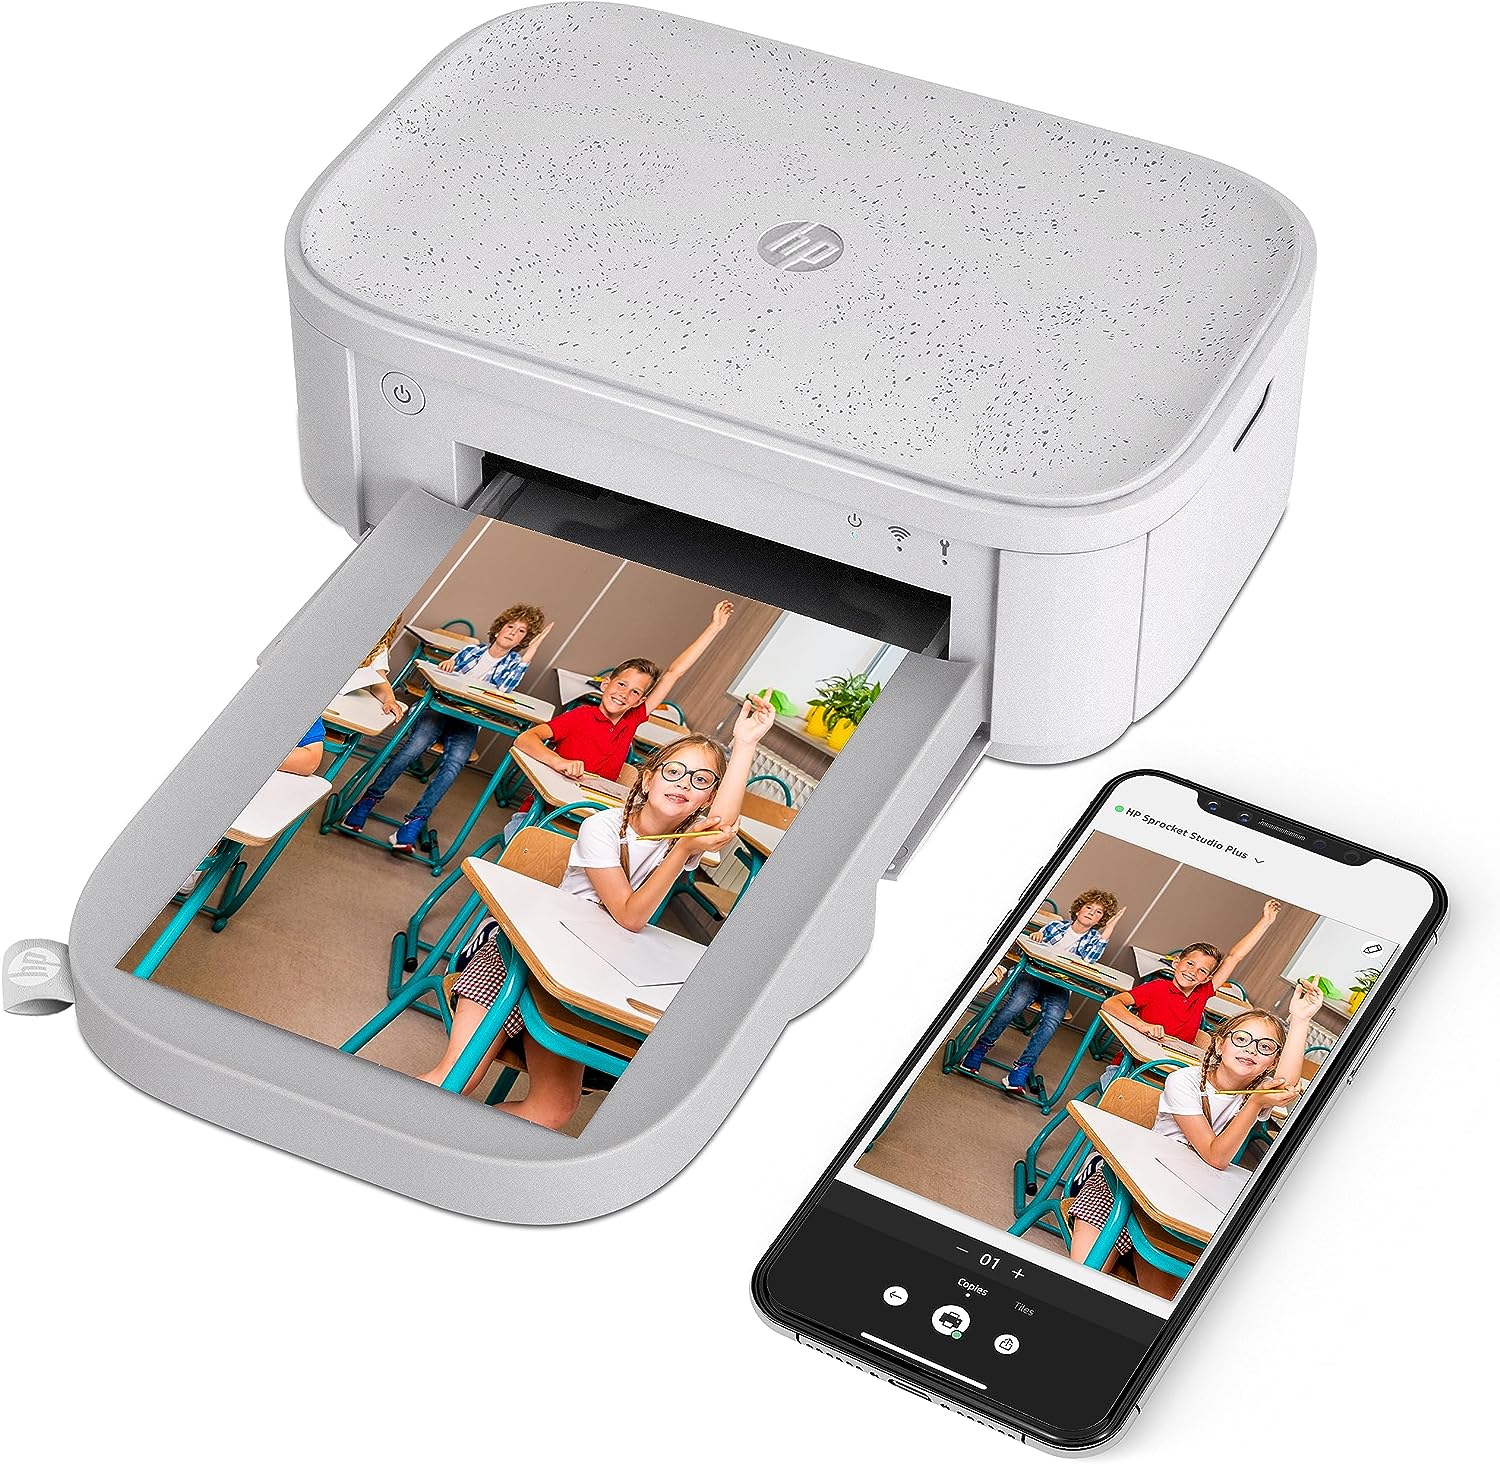
The Process of Printing
Printing old photos brings the digital files back to life in physical form, allowing you to display and share them with a sense of nostalgia.
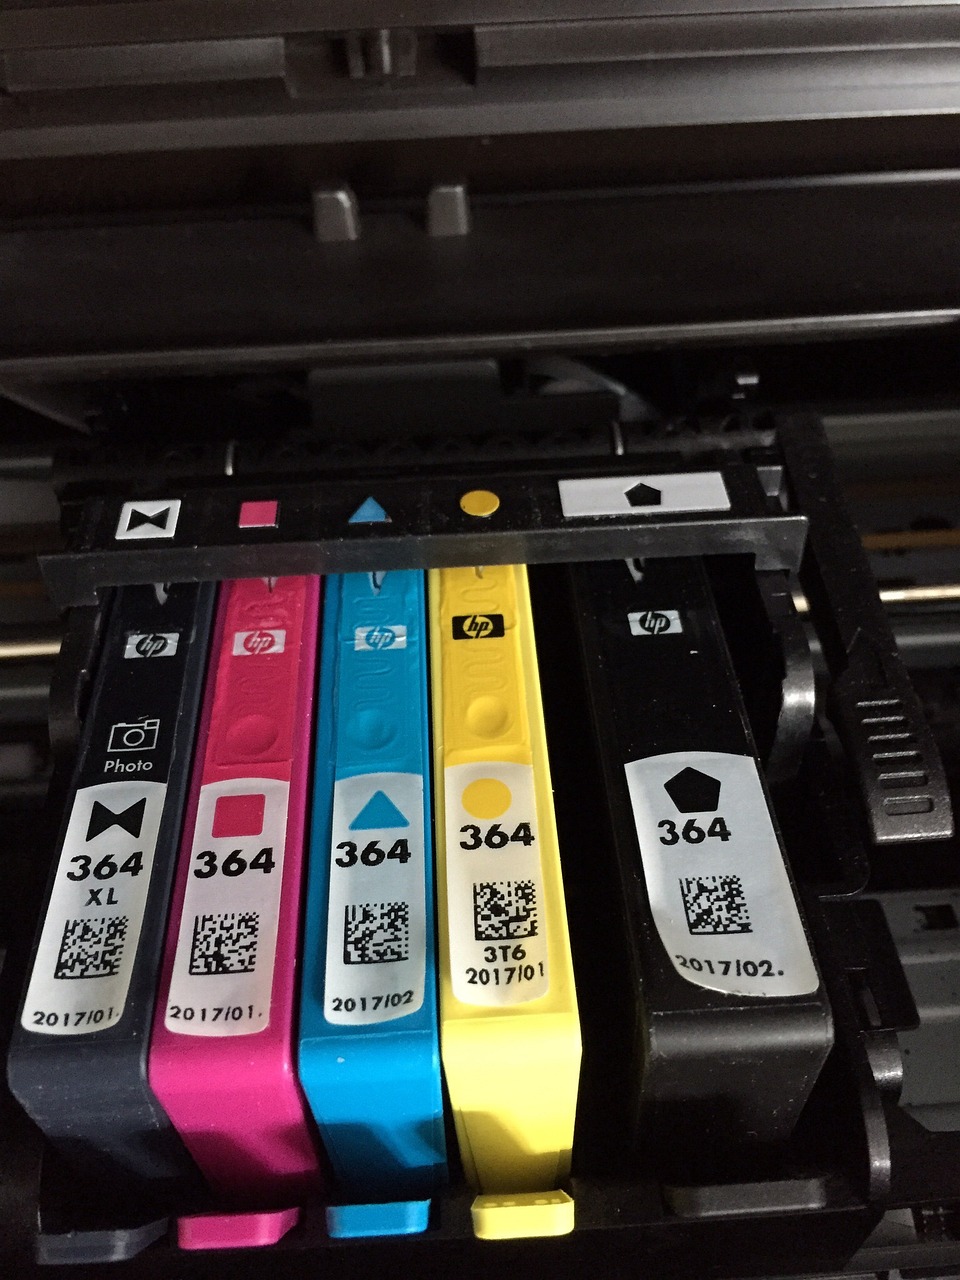
Selecting a Printer: For the best results, opt for a high-quality photo printer that’s capable of producing accurate colors and fine details.
Choosing the Right Paper: Photo paper comes in various finishes, such as glossy, matte, and satin. Each finish lends a different aesthetic to the printed image, so choose one that complements the photograph’s style.
Adjusting Print Settings: Most printers provide options for color correction and layout adjustments. Calibrate the settings based on the photograph and your preferences.
Printing Test: Before printing a large batch, perform a test print to ensure the colors, contrast, and quality meet your expectations.
Handling the Prints: Allow the prints to dry completely before touching them to prevent smudging. Handle them by the edges to minimize fingerprint marks.
Enhancing Old Photos Digitally
Scanning and printing old photos not only preserves their original state but also offers the opportunity to enhance their quality digitally:
Color Correction: Over time, old photos can lose their original vibrancy. Using photo editing software, you can restore faded colors and bring the images back to life.
Repairing Damage: Cracks, tears, and blemishes can mar old photographs. With digital tools, you can repair minor damages and imperfections.
Cropping and Framing: Adjusting the composition through cropping and adding borders can give the image a fresh look while maintaining its vintage charm.
Adding Metadata: Digitally adding metadata such as names, dates, and locations can enrich the context of the images for future generations.
Sharing and Archiving
Once your old photos are scanned and printed, the possibilities for sharing and archiving are vast:
Digital Archives: Store the scanned images on external hard drives, cloud storage, or dedicated archival platforms to ensure their preservation.
Photo Albums: Create physical photo albums that combine the best of both worlds: the tactile experience of turning pages and the modern convenience of digital scanning.
Digital Sharing: Share the scanned images with family and friends through social media, email, or online galleries.
Scanning Tips
Resolution Matters: Higher DPI settings (around 600 to 1200 DPI) are essential for capturing the intricate details and textures of old photographs. This is particularly important if you plan to enlarge the prints.
Color Calibration: Calibrate your scanner to ensure color accuracy. Some scanners come with built-in calibration tools, but you can also manually adjust settings to match the colors of the original photo.
File Formats: Save your scanned images in lossless formats like TIFF or PNG to retain the highest quality. You can then convert these to more common formats like JPEG for sharing or printing.
Printing Tips
Use High-Quality Paper: Investing in high-quality photo paper can significantly impact the final print. Different papers offer varying textures and finishes, so choose one that complements the style of the photograph.
Printer Settings: Experiment with printer settings to achieve the desired results. Consider adjusting color profiles, print quality, and paper type settings for optimal output.
Test Prints: Before printing a batch of photos, make test prints on regular paper. This allows you to fine-tune the settings and make any necessary adjustments without wasting expensive photo paper.
Creative Possibilities
Collages and Montages
Combine multiple scanned photos to create captivating collages or montages. These arrangements can showcase a series of related images or depict the evolution of a particular subject over time.
Vintage Effects
Embrace the nostalgic vibe of old photos by adding vintage effects digitally. Apply filters or adjust the color tones to recreate the look and feel of different eras.
Photo Restoration
For photos with extensive damage, consider seeking the expertise of professional photo restoration services. They specialize in repairing heavily damaged images, ensuring that cherished memories are not lost to time.
Creative Framing
Experiment with various framing techniques when printing your scanned photos. Vintage-style frames can add an extra layer of authenticity to the images, enhancing their overall aesthetic.
Challenges and Solutions
Dealing with Fading
Old photos are often plagued by fading colors. While digital restoration can help, consider scanning the image in grayscale or black and white if the colors have severely deteriorated. This can give the image a new lease on life by emphasizing its contrast and details.
Addressing Damaged Photos
Photos with tears, creases, or stains can be challenging to scan and print effectively. To address this, you might need to spend time digitally repairing the damage before printing. Alternatively, for significant damage, consult a professional restoration service.
Handling Photos with Fragile Backing
Some older photos might have fragile paper backings or adhesive residues. Use caution while scanning such photos to avoid causing further damage. If the backing is in danger of disintegrating, it might be wise to seek professional assistance.
Sharing the Stories
One of the most rewarding aspects of scanning and printing old photos is the ability to share the stories and memories they hold. Consider hosting family gatherings or events where these photos are on display, sparking conversations and encouraging storytelling across generations.