


Mastering Flash Photography: Indoor Settings and Techniques

Flash photography in indoor settings can be challenging due to the confined space, artificial lighting, and potential reflections. Here are some essential tips and techniques:
Understand Flash Modes: Most modern cameras come with different flash modes, such as TTL (Through The Lens) and manual. TTL flash meters the light based on the camera’s metering system, while manual mode allows you to set the flash power manually.
Bounce Flash: Direct flash can produce harsh and unflattering results. Bouncing the flash off a wall or ceiling can create softer and more natural-looking light. This technique also helps reduce red-eye and eliminates strong shadows.
Diffuse the Light: If you don’t have a wall or ceiling to bounce the flash off, you can use a diffuser or a softbox to soften the light. This creates more pleasing portraits and reduces harsh shadows.
Use Slow Sync Flash: When shooting in low light conditions, use slow-sync flash to combine flash with a slower shutter speed. This can help balance the exposure of the subject and the ambient background, producing more appealing results.
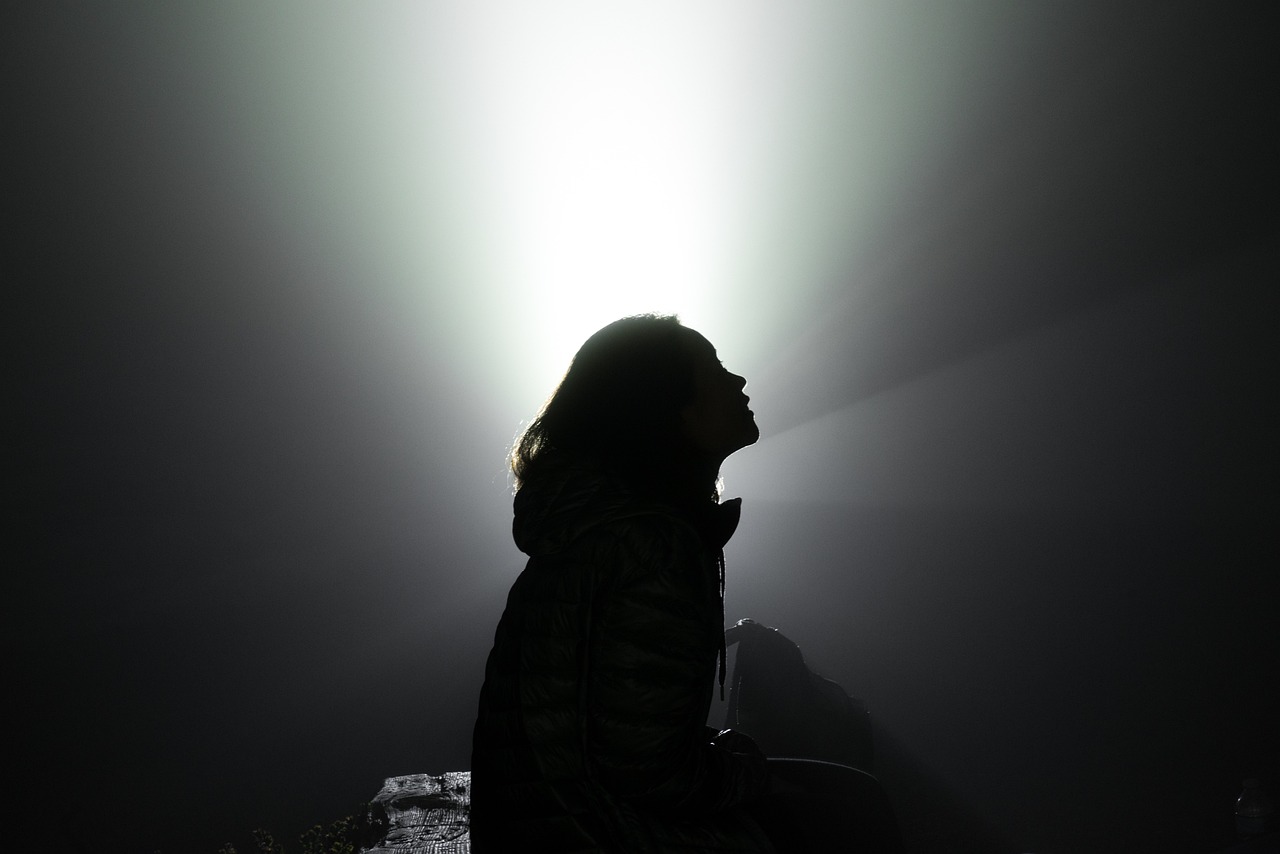
Fill Flash: In situations where there’s strong backlighting or shadows, use fill flash to illuminate the subject and balance the exposure with the background.
Use Flash Exposure Compensation: Flash exposure compensation allows you to adjust the flash power independently from the camera’s overall exposure settings. It helps fine-tune the amount of flash needed for a particular scene.
White Balance: Be mindful of the white balance when using flash indoors. The mixture of artificial light and flash can lead to color casts. Adjust the white balance accordingly to maintain accurate colors.
Control Ambient Light: Balancing the flash with the ambient light is essential in indoor photography. Experiment with different flash power settings and shutter speeds to achieve the desired balance.
Avoid Over-Flashing: Flash photography should enhance the scene, not overpower it. Be cautious not to over-flash your subject, which can result in washed-out images and loss of detail.
Practice and Experiment: Mastering flash photography takes time and practice. Experiment with different settings, angles, and techniques to find the style that suits your creative vision.
Flash Sync Speed: The flash sync speed refers to the maximum shutter speed you can use while using flash. In most cameras, this is typically around 1/200 or 1/250 of a second. If you try to use a faster shutter speed with flash, you might get a partial black frame because the shutter curtain begins to close before the flash has fully illuminated the scene. So, stay within the recommended flash sync speed to avoid any issues.
Off-Camera Flash: While using the built-in or on-camera flash can be useful in some situations, having the ability to use off-camera flash offers more creative control over lighting. Invest in a wireless flash trigger or flash sync cables to detach the flash unit from the camera and position it in different angles or locations to create more interesting and dynamic lighting effects.
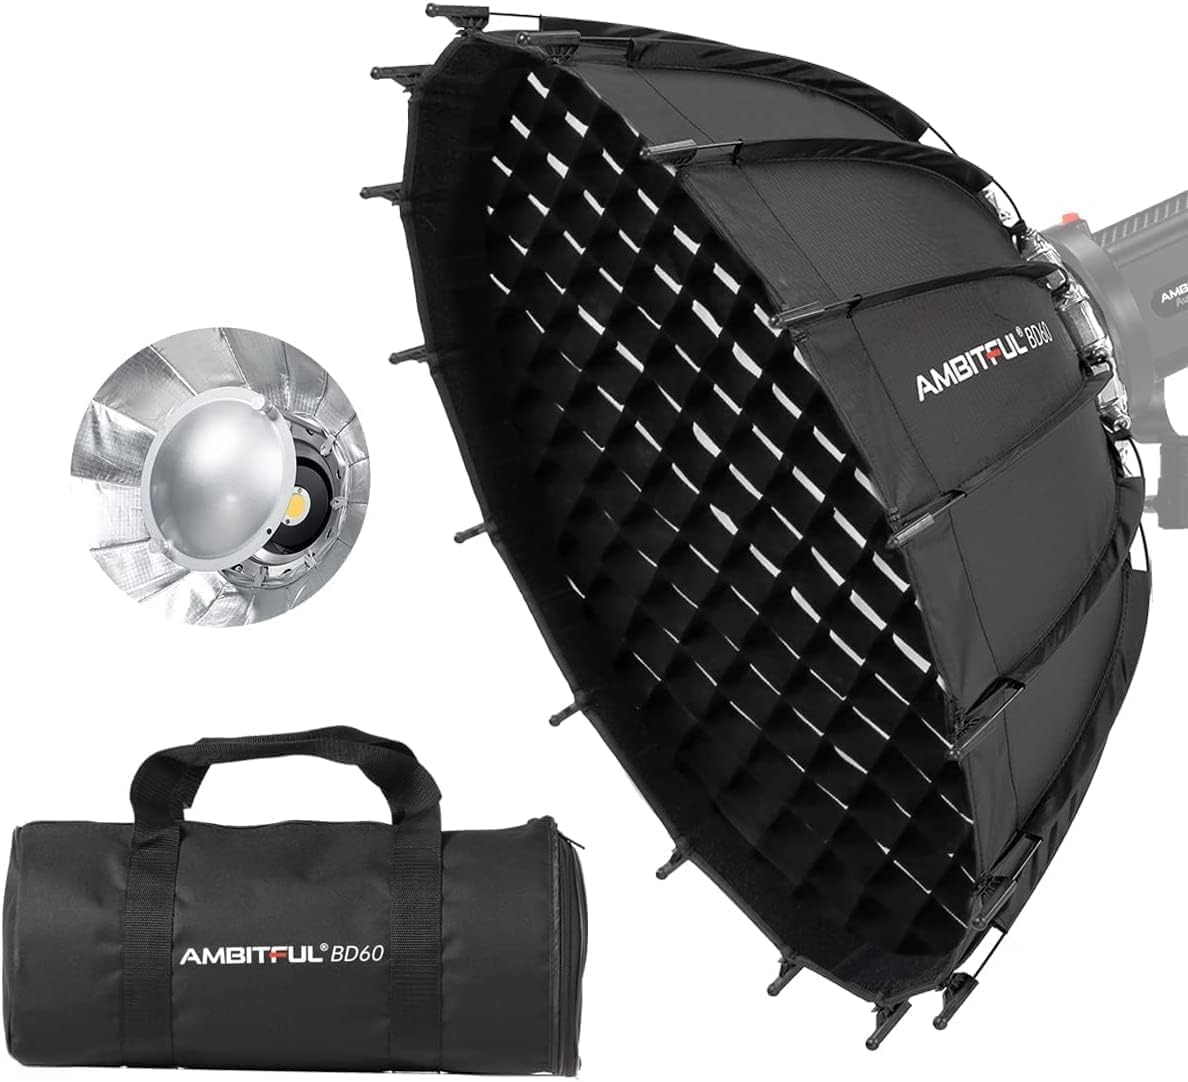
Light Modifiers: There are numerous light modifiers available that can further shape and soften the flash’s light. Diffusers, softboxes, reflectors, and grids are some common modifiers used in indoor flash photography. They help control the direction and intensity of light, providing a more flattering and professional look to your images.
High-Speed Sync (HSS): High-speed sync allows you to use a flash at shutter speeds faster than the traditional flash sync speed. It’s particularly helpful when shooting with wide apertures or in bright conditions where you need to use a fast shutter speed to control the exposure. HSS, however, typically reduces the flash’s power, so it might not be suitable for all situations.
Flash Bracket: When using an external flash mounted on your camera’s hot shoe, attaching a flash bracket can help raise the flash above the lens, reducing the likelihood of red-eye and minimizing harsh shadows that might occur when the flash is too close to the lens axis.
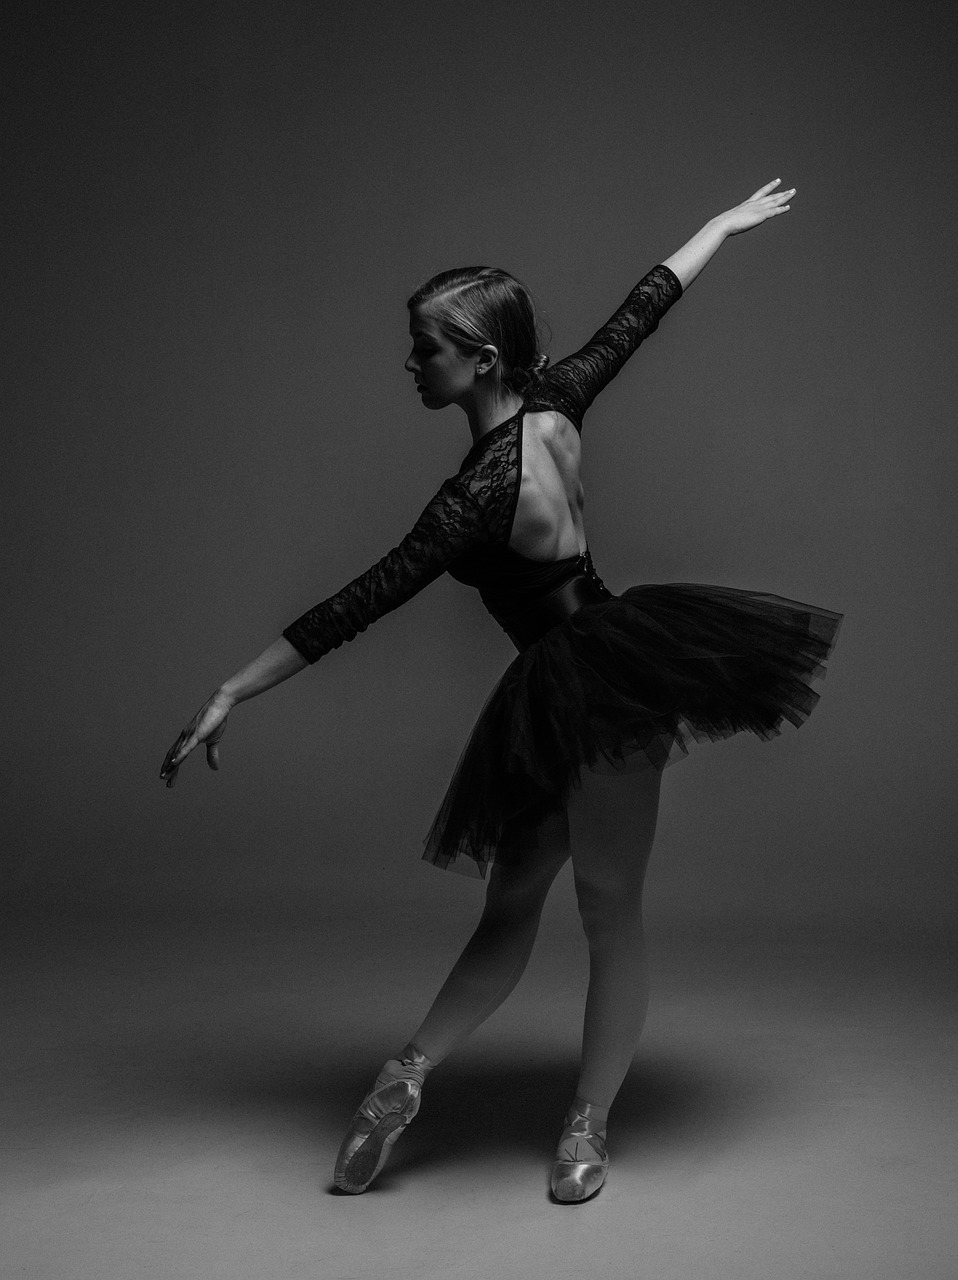
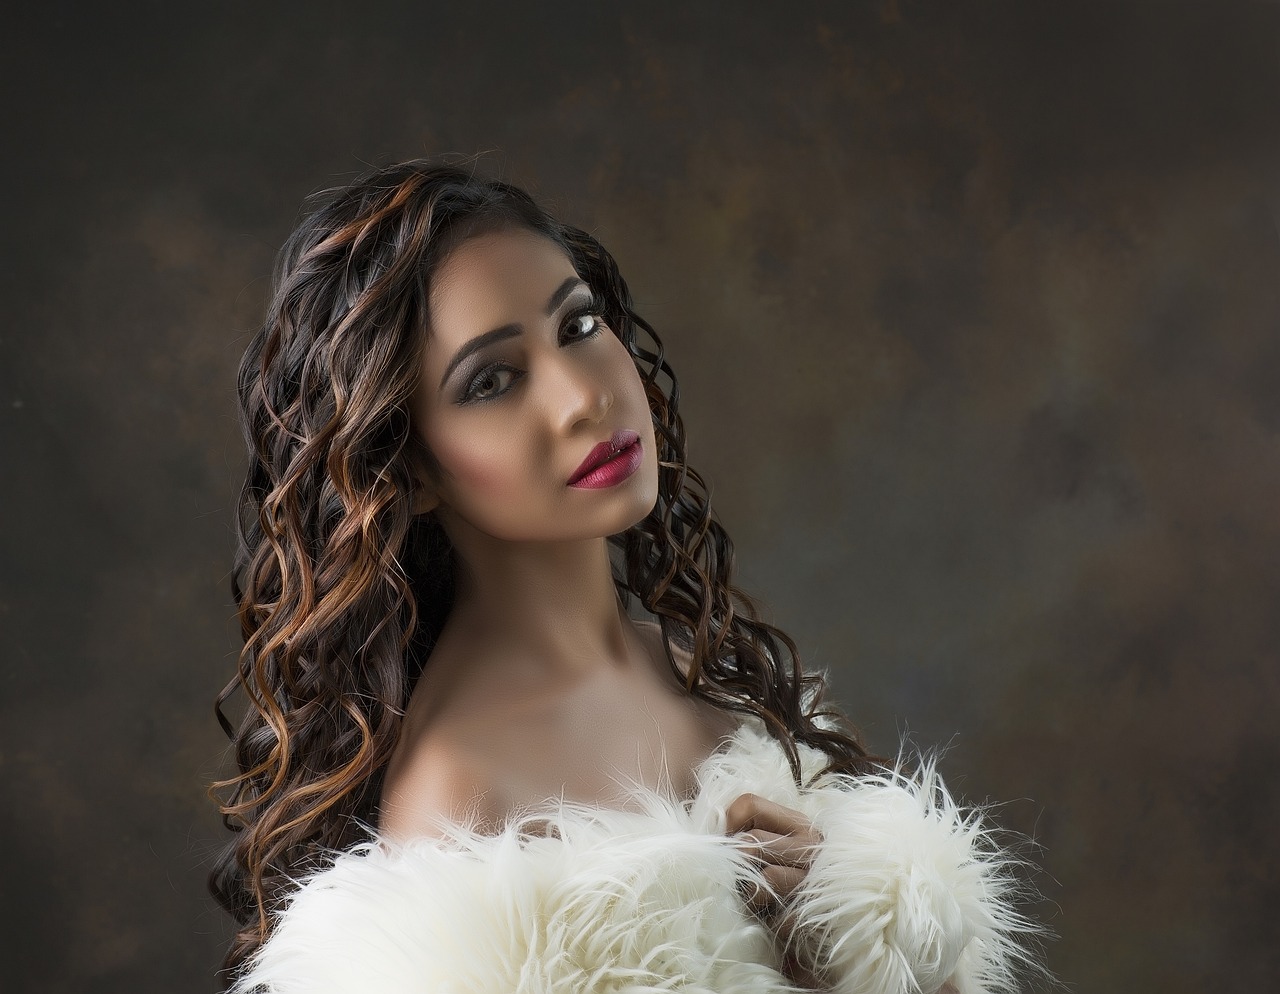
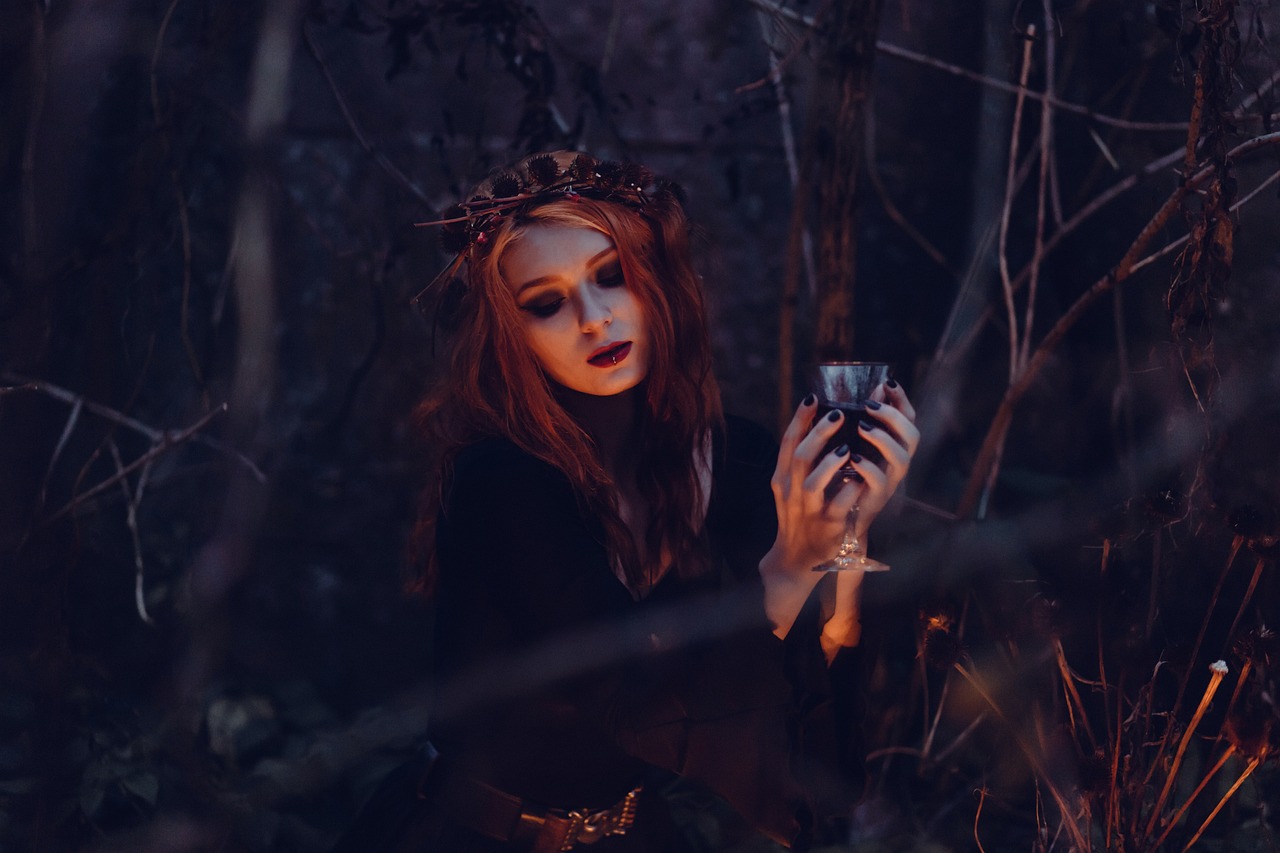
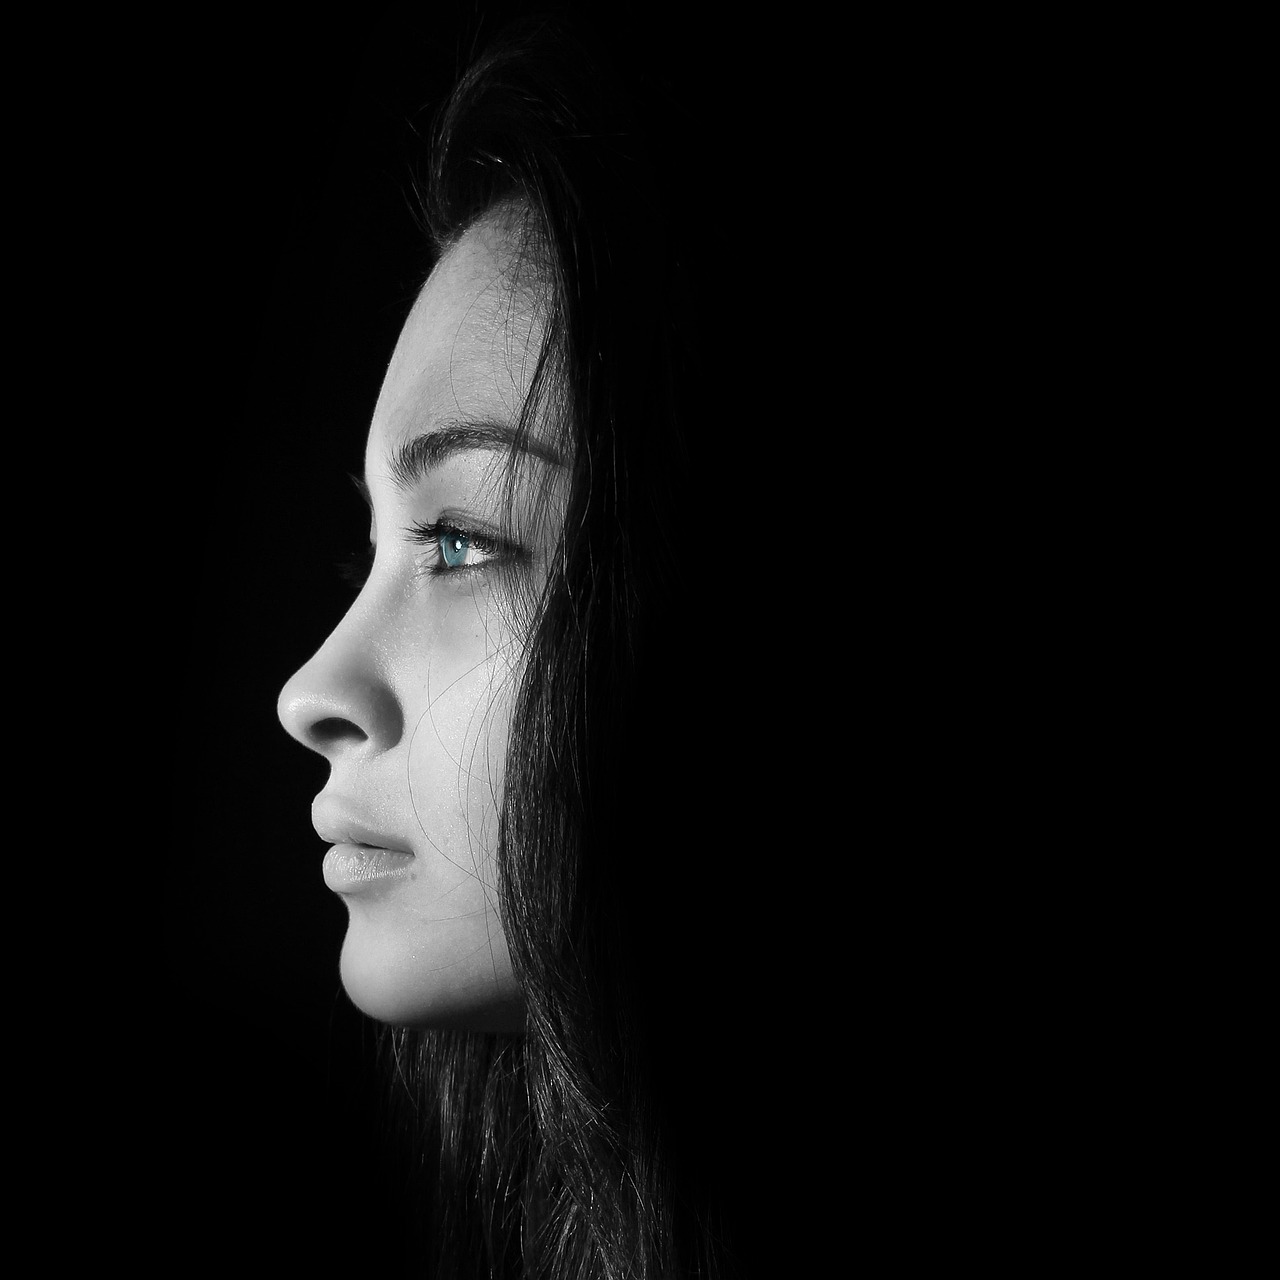
Catchlights: In portrait photography, catchlights are the reflections of the light source in the subject’s eyes. They add a sparkle and life to the eyes. When using a flash indoors, pay attention to the catchlights and adjust the position of the light source accordingly to achieve pleasing catchlights in your subject’s eyes.
White Balance Customization: Different types of artificial lighting can result in color casts in your images. If your camera supports custom white balance settings, consider creating a custom white balance for the specific indoor lighting conditions you are shooting in. Alternatively, you can adjust the white balance during post-processing to correct any color casts.
Flash Gels: Flash gels are transparent colored sheets that can be attached to the flash unit to modify the color of the light. They are especially useful when you need to match the flash’s color temperature to the ambient lighting in the scene or when you want to create dramatic color effects.
Practice with Light Ratios: When using multiple flash units, experiment with different light ratios to control the brightness of various elements in the scene. For example, a key light can be your main light source, while a fill light can be used to soften shadows or a hair light to separate the subject from the background.
Use Flash Sparingly: While flash can be a powerful tool in indoor photography, there are instances where using natural or available light might be more appropriate. Develop an understanding of when to use flash and when to rely on other lighting sources to achieve your desired effect.
Remember, practice is key to mastering flash photography. As you experiment with different techniques and lighting setups, you’ll gain a better understanding of how to use flash creatively and effectively in indoor settings.