


Making Your Own Custom Photography Backdrops

Creating custom photography backdrops with paint and stencils can be a fun and creative way to add a personal touch to your photo shoots. Whether you’re a professional photographer looking for unique backgrounds or an amateur seeking to enhance your portrait sessions, making your own backdrops can be a rewarding and cost-effective endeavor. Here’s a step-by-step guide to get you started:
Materials Needed:
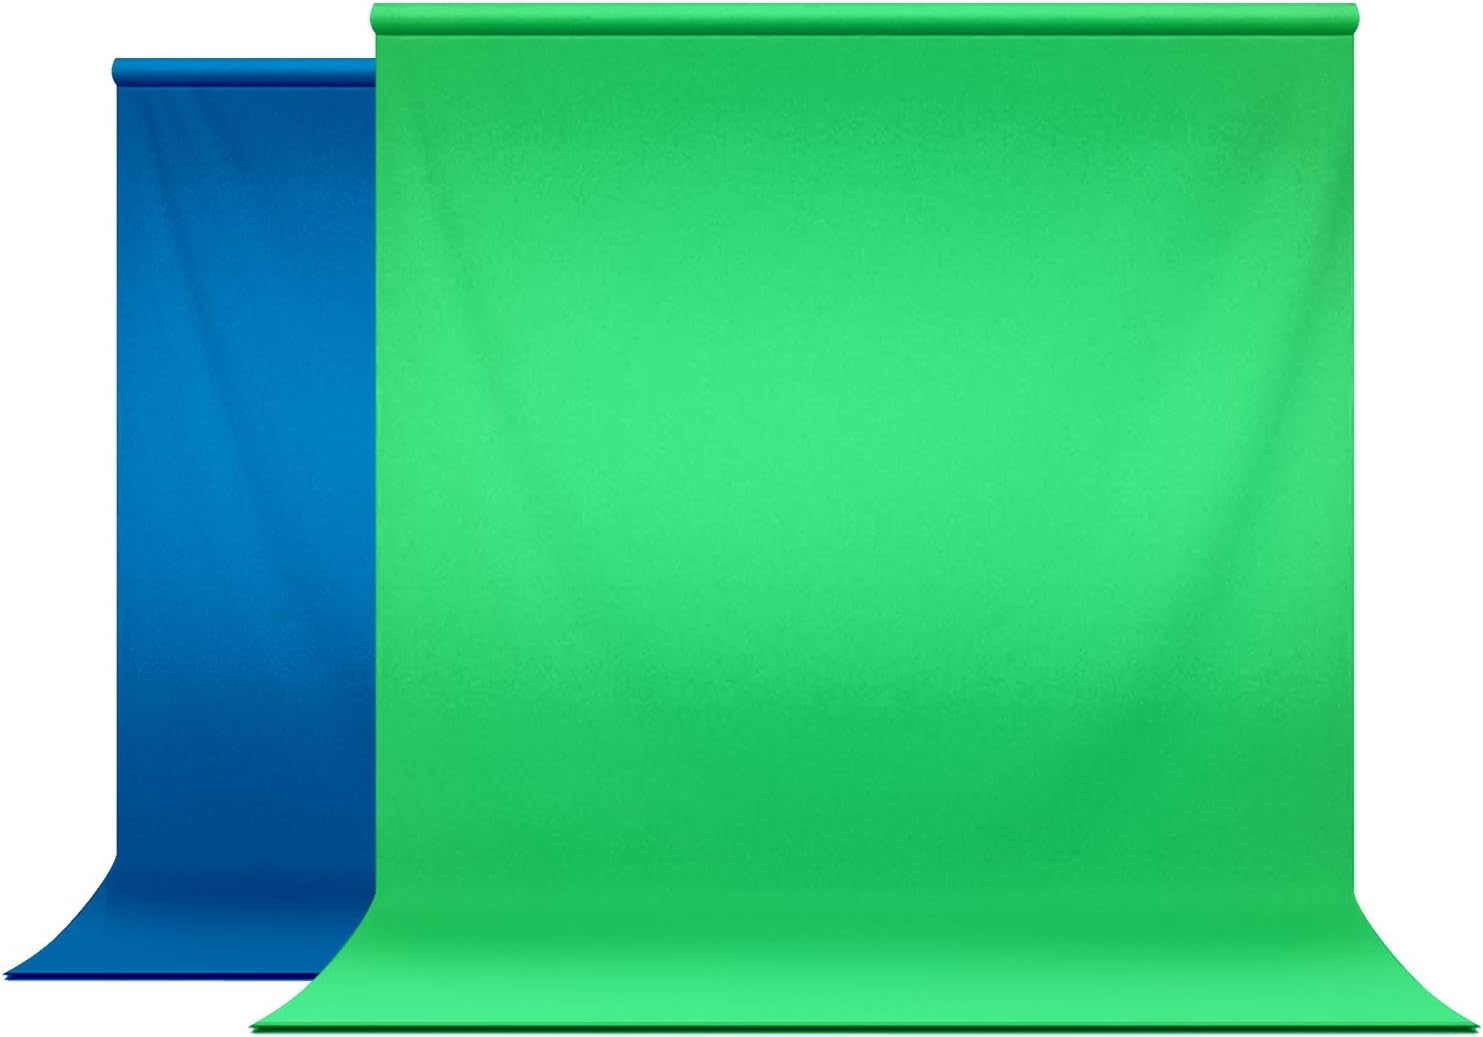
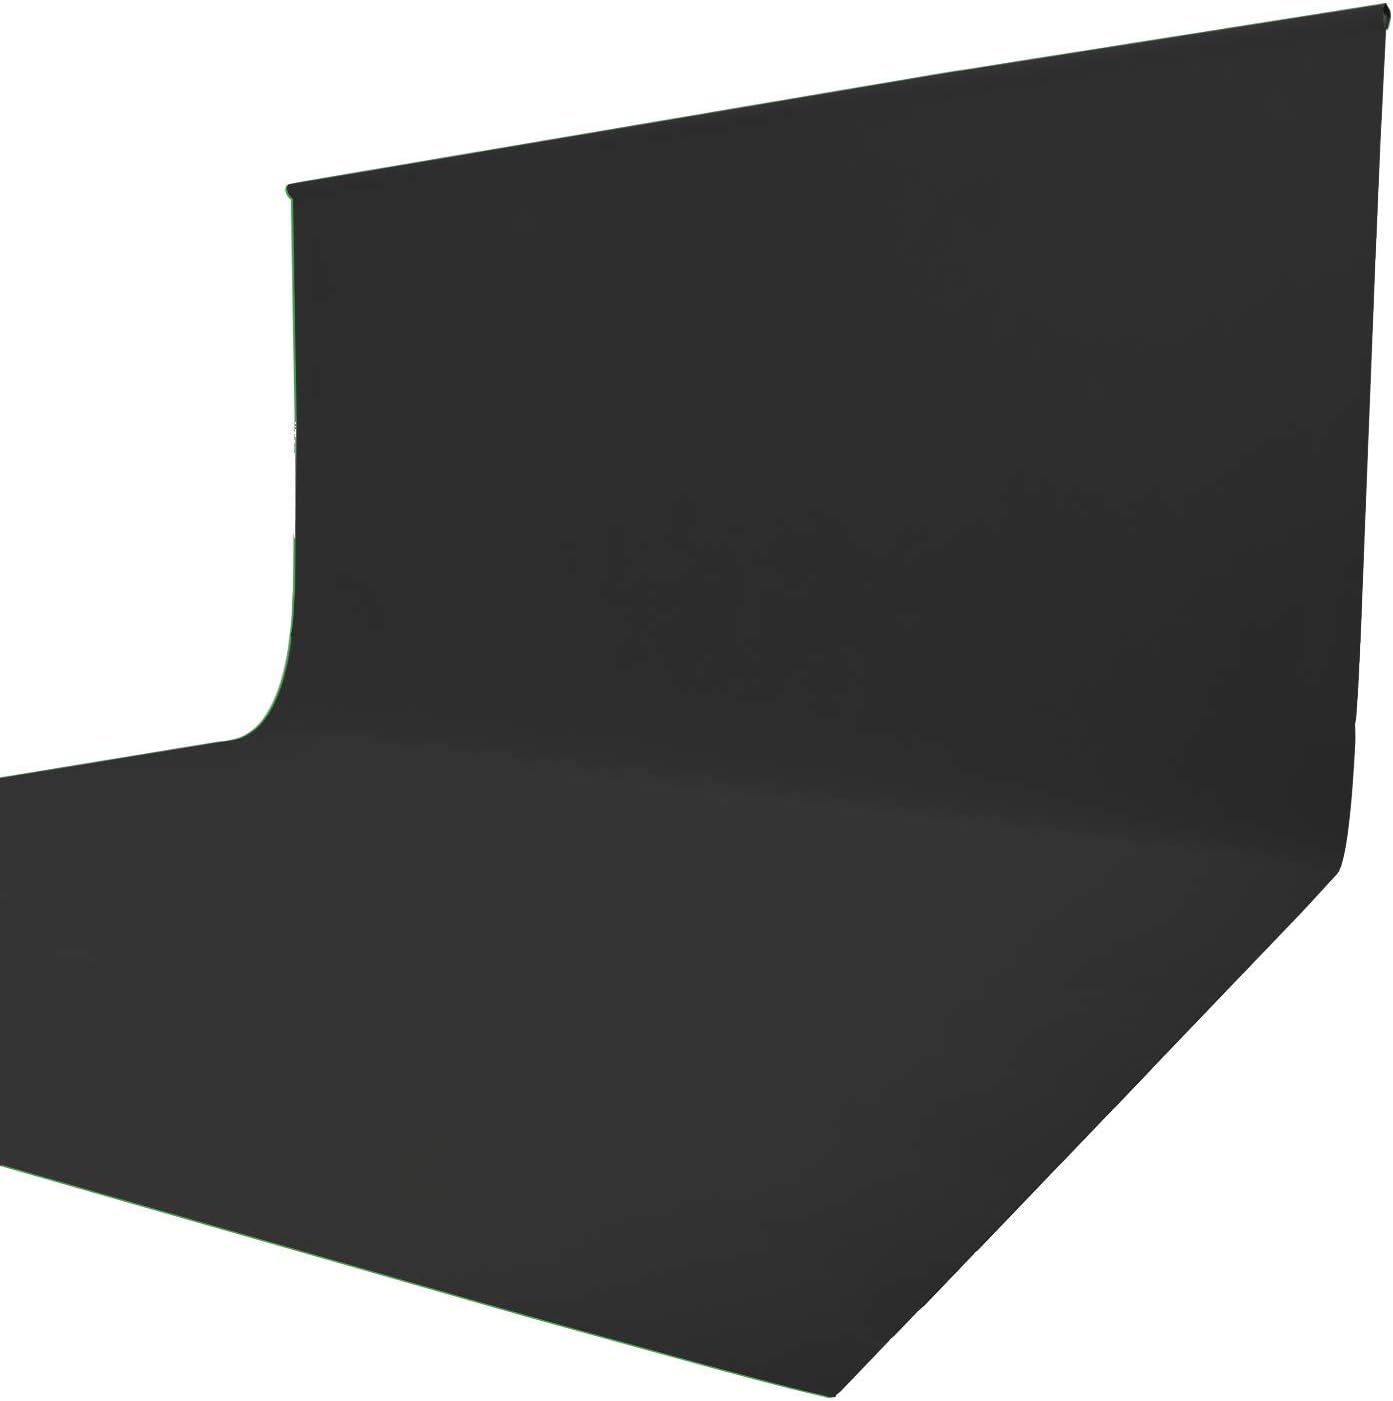
Large canvas or muslin cloth (preferably in a neutral color like white or light gray)
Acrylic paint in various colors
Paintbrushes (different sizes for different effects)
Stencils with the patterns/designs you want to use
Painter’s tape or masking tape
Plastic sheets or drop cloths to protect the working surface
Water and paper towels for cleaning brushes
Optional: sponge brushes, spray bottles for watercolor effects
Step 1: Prepare Your Workspace
Lay down the plastic sheets or drop cloths to protect your working area from paint spills and splatters. Make sure you have enough space to spread out the canvas or muslin cloth for painting.
Step 2: Choose Your Design
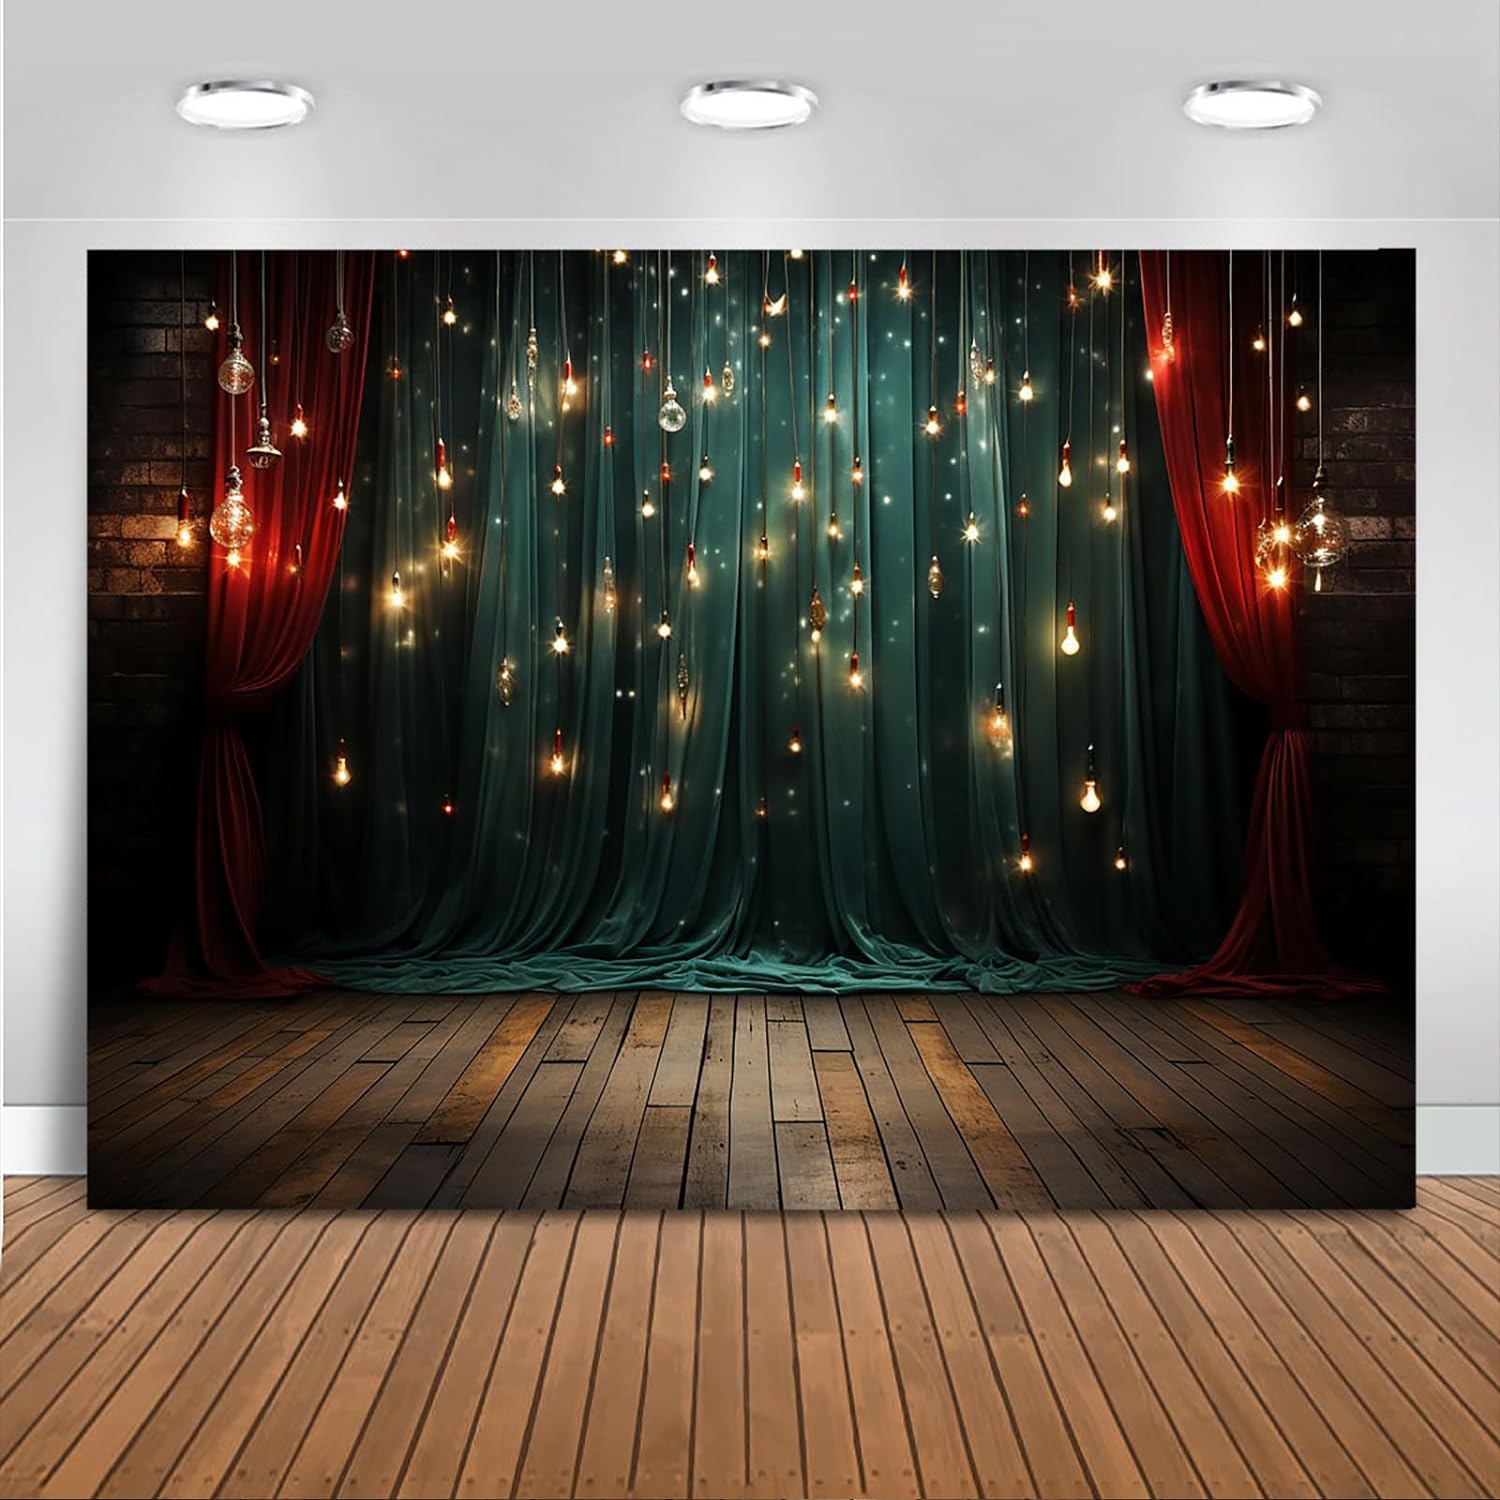
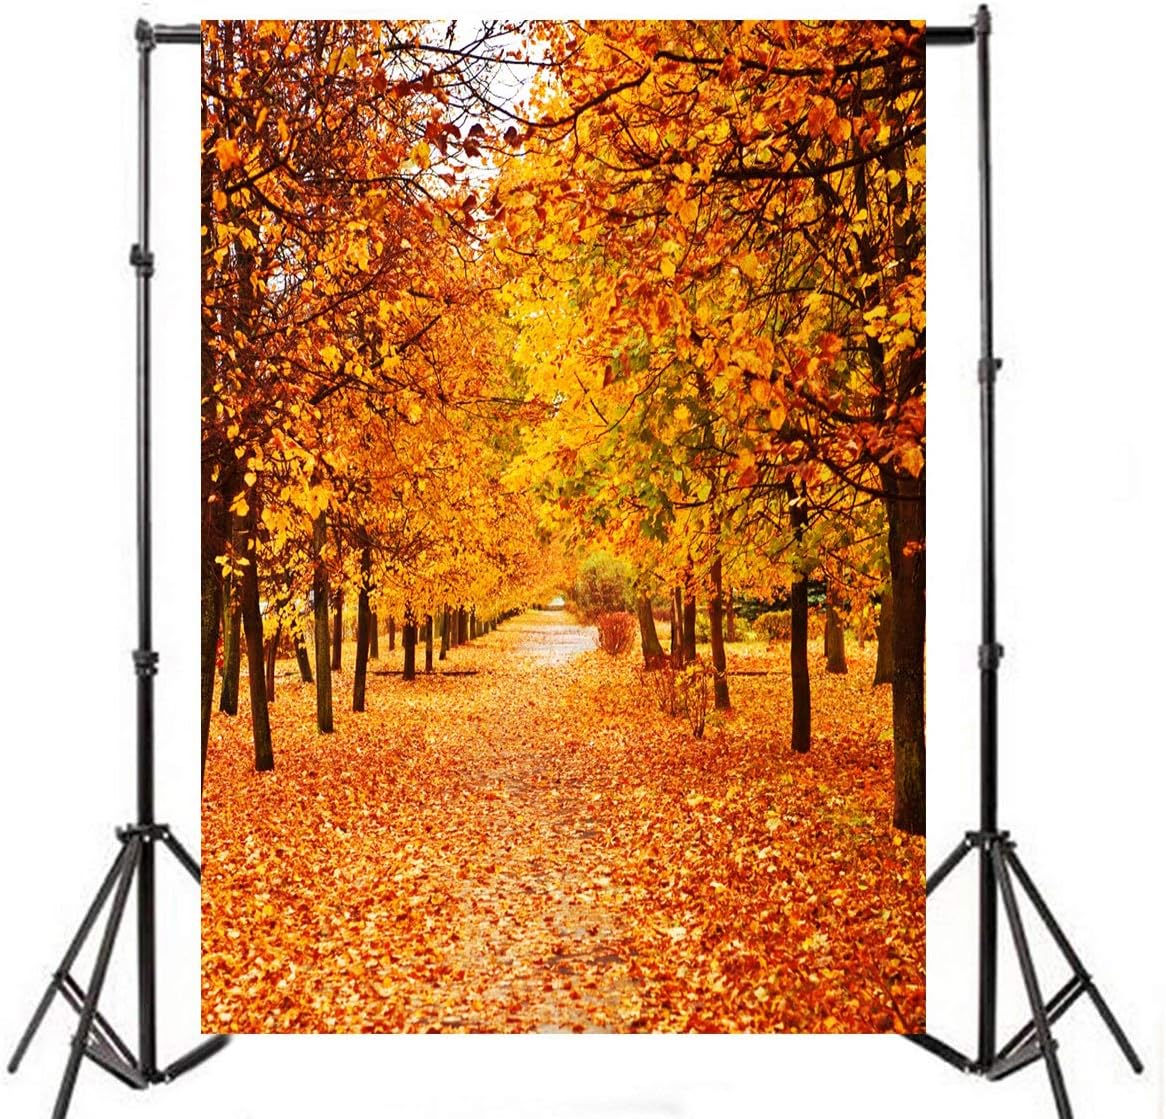
Decide on the theme or pattern you want for your backdrop. Stencils are an excellent tool for creating intricate designs and ensuring consistency across the backdrop.
Step 3: Fix the Fabric
If you’re using a muslin cloth, it’s a good idea to iron it beforehand to remove any wrinkles. Secure the canvas or muslin on a flat surface using tape or clips to prevent it from moving while you paint.
Step 4: Set Up Stencils
Place the stencils on the fabric in the desired positions. Use painter’s tape or masking tape to keep them in place. Make sure they are flat against the fabric to prevent paint from seeping underneath.
Step 5: Start Painting
Dip your paintbrush into the acrylic paint of your chosen color. If you’re using multiple colors, consider starting with lighter shades and gradually layering darker colors for a more dynamic effect. Alternatively, you can create a watercolor effect by diluting the paint with water and using sponge brushes or spray bottles.
Step 6: Apply the Paint
Carefully apply the paint to the fabric through the stencil openings. Use a gentle tapping or dabbing motion to prevent the paint from bleeding under the stencil. Take your time and be patient to ensure clean and crisp lines.
Step 7: Remove the Stencils
Once you’ve completed painting the entire design, carefully remove the stencils while the paint is still wet. This will prevent any smudging or unwanted blending of colors.
Step 8: Let it Dry
Allow the painted backdrop to dry completely before using it for photography. Acrylic paint usually dries relatively quickly, but it’s best to give it ample time to set.
Step 9: Seal the Paint (Optional)
For added protection and longevity, you may want to apply a clear acrylic sealer over the painted surface. This will safeguard the backdrop from smudging and make it easier to clean if needed.
Step 10: Store the Backdrop
Once your custom photography backdrop is fully dry, roll it up carefully and store it in a safe place to avoid damage and keep it ready for your future photo sessions.
Remember, making custom photography backdrops with paint and stencils allows you to experiment with various designs and colors, so don’t be afraid to get creative and have fun with the process!