


Lighting Techniques for Group Photos and Family Portraits

Lighting techniques for group photos and family portraits are essential for achieving flattering and professional-looking results. Proper lighting can help to highlight the subjects, reduce shadows, and create a harmonious composition. Here are some key lighting techniques to consider:
Natural Light:
Utilize natural light whenever possible, as it tends to be more flattering and softer than artificial light. Position your group or family near a large window or open door to allow soft, diffused light to illuminate their faces. Overcast days can also provide ideal lighting conditions as the clouds act as a natural diffuser.
Golden Hour:
If shooting outdoors, try to schedule the session during the “Golden Hour,” which is the hour after sunrise or before sunset. During this time, the sun is low in the sky, creating a warm, soft glow that can add a beautiful, flattering touch to your group portraits.
Fill Flash:
When shooting outdoors on a sunny day, use a fill flash to fill in the shadows and balance the exposure. This prevents harsh shadows on the subjects’ faces and ensures everyone is evenly lit.
Studio Lighting:
In a controlled indoor environment, using studio lighting setups can be highly effective. A common setup is a three-point lighting arrangement:
Key Light: The main light source that provides the primary illumination on the subjects.
Fill Light: A softer light source that helps fill in shadows created by the key light.
Hair/Back Light: Placed behind the subjects, this light separates them from the background and adds depth to the image.
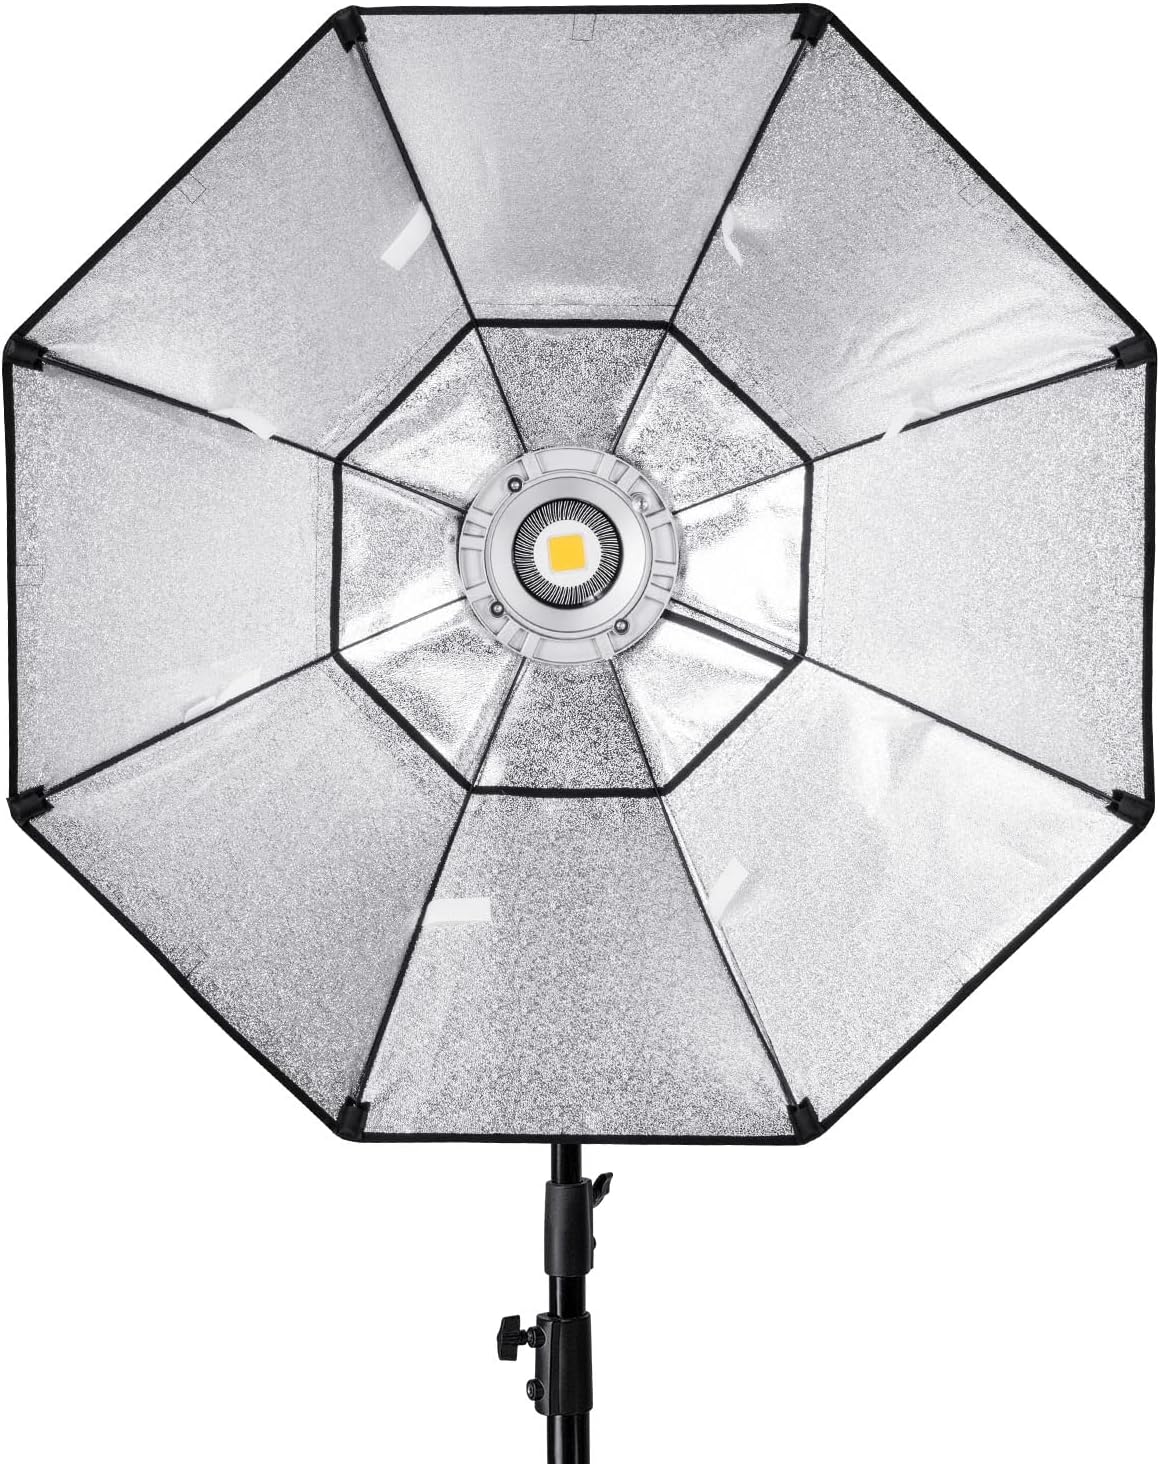
Umbrella and Softboxes:
When using artificial lights, attach umbrellas or softboxes to your light sources to diffuse the light and create a softer, more flattering look.
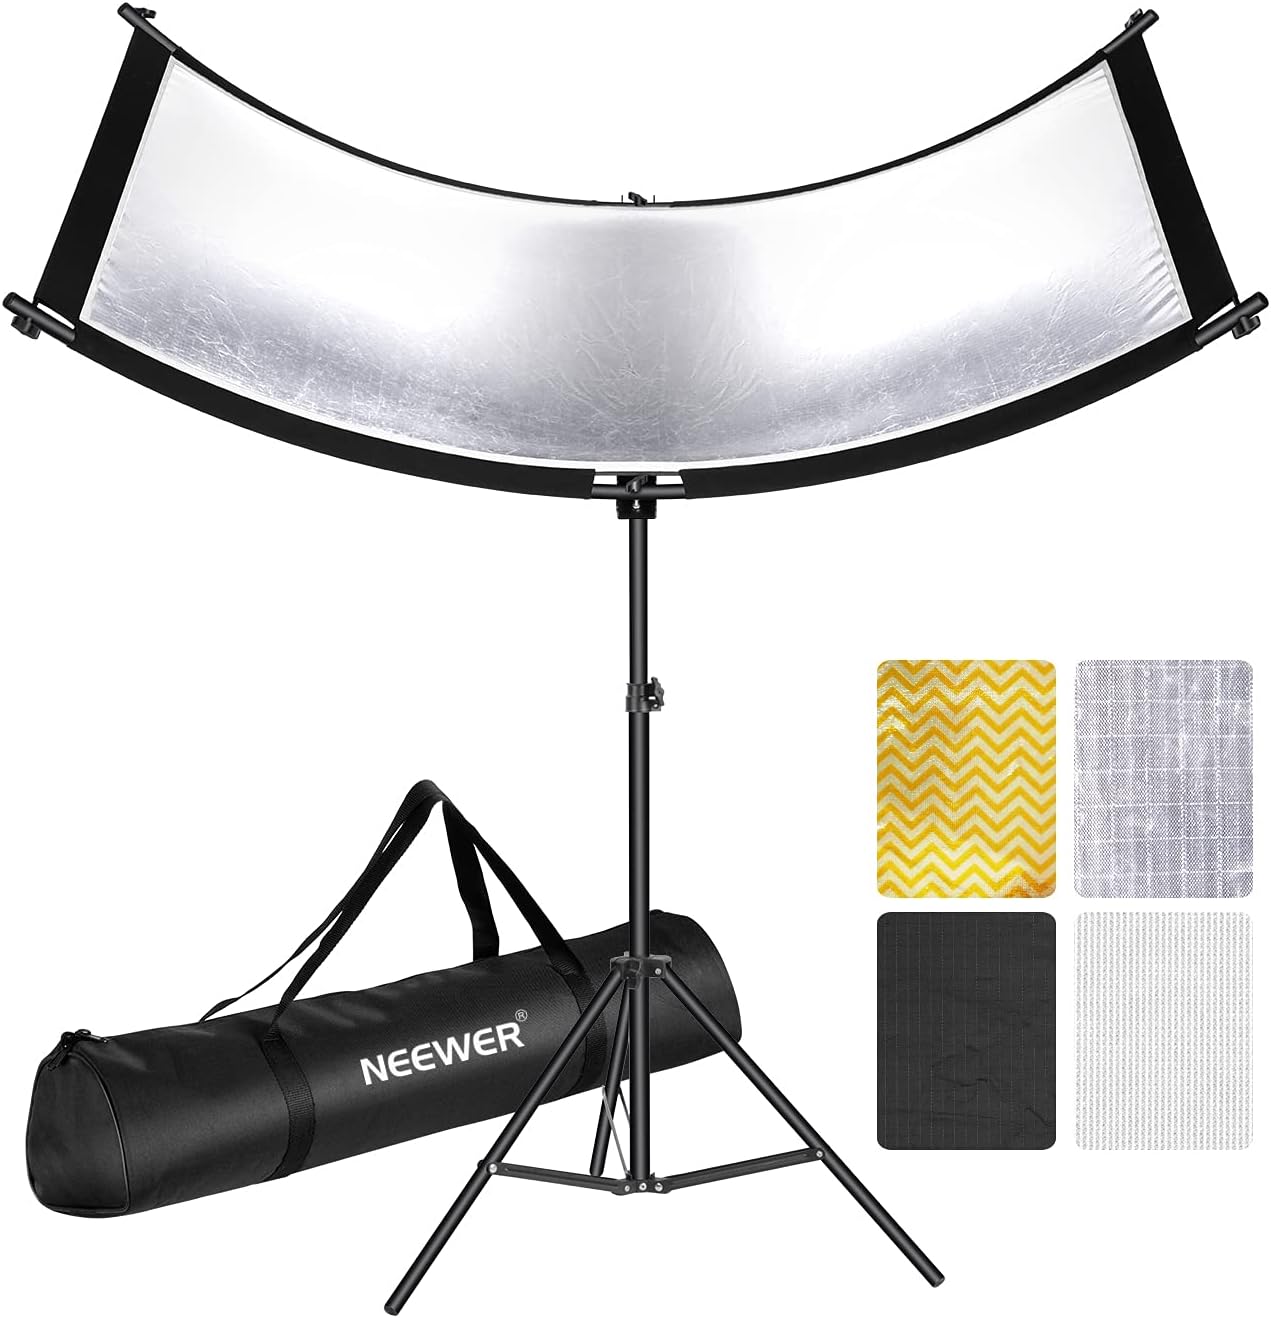
Reflectors:
Reflectors are handy tools for bouncing light back onto the subjects, filling in shadows, and adding catchlights to their eyes. They come in various colors (white, silver, gold) to create different effects.
Avoid Harsh Light:
Harsh light, such as direct sunlight on a clear day, can create unflattering shadows and cause people to squint. Whenever possible, find shaded areas or use diffusers to soften the light.
Watch for Even Lighting:
Ensure that all individuals in the group are evenly lit. Adjust the lights or the arrangement of people if necessary to achieve balanced lighting on everyone’s faces.
Consider the Background:
Pay attention to the background and how it interacts with the lighting. A well-lit group can still look unappealing if the background is distracting or cluttered.
Test Shots:
Before the actual shoot, take test shots to assess the lighting and make any necessary adjustments. This will save time and ensure you have the desired lighting setup for the final images.
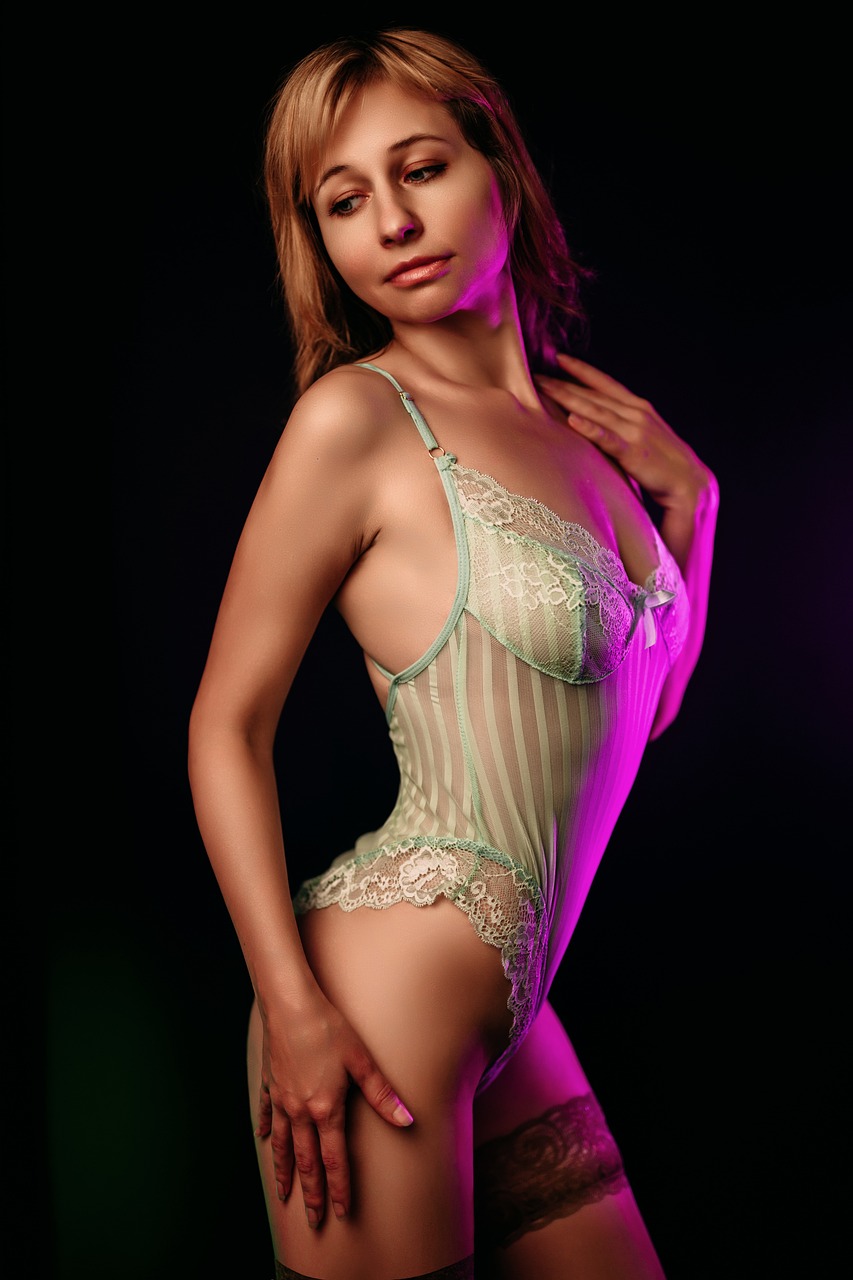
Rembrandt Lighting:
Rembrandt lighting is a classic and elegant lighting technique named after the famous Dutch painter Rembrandt. It involves creating a small triangle of light on the unlit side of the subjects’ faces. To achieve this, position the key light at a 45-degree angle to the subjects and slightly above eye level. The light should be directed downward, creating a shadow that forms the triangle on the opposite side of the subjects’ faces.
Split Lighting:
Split lighting is a dramatic technique that involves illuminating only half of the subjects’ faces while leaving the other half in shadow. This creates a striking effect and works well for adding depth and mood to the portrait. Place the key light at a 90-degree angle to the subjects, so one side of their faces is well-lit, while the other remains in shadow.
Loop Lighting:
Loop lighting is a versatile and flattering technique for group portraits. It involves positioning the key light at around a 30 to 45-degree angle to the subjects and slightly above eye level. The light creates a small, soft shadow that forms a loop on one side of the nose, connecting to the shadow of the cheek.
Short Lighting:
Short lighting is a technique that emphasizes the more prominent side of the subjects’ faces. To achieve this, position the key light at about a 90-degree angle to the subjects, aiming it toward the side of their faces that’s turned away from the camera. This technique is often used to slenderize subjects and can be especially useful for group portraits.
Broad Lighting:
Broad lighting, on the other hand, illuminates the wider side of the subjects’ faces that’s turned toward the camera. This technique is generally used to create a softer and more flattering look. Position the key light at about a 45-degree angle to the subjects, aiming it toward the side of their faces that’s closer to the camera.
Candid and Lifestyle Lighting:
For more natural and candid family portraits, consider using available light without any artificial lighting setup. Embrace the ambient light sources in the environment, such as lamps, overhead lights, or window light. Candid shots often capture the genuine emotions and interactions of the family members.
Group Posing and Lighting Ratios:
When photographing larger groups, such as extended families or large gatherings, pay attention to how you arrange the subjects. Place taller individuals towards the back and shorter ones in front, ensuring everyone is visible and well-lit. Use additional lights or reflectors to maintain consistent lighting across the entire group.
White Balance:
Be mindful of the white balance settings, especially when using artificial lighting. Different light sources can cast various color temperatures, which might affect skin tones. Adjust the white balance settings accordingly to achieve natural-looking results.
Catchlights:
Catchlights are reflections of the light source in the subjects’ eyes, which add a sparkle and liveliness to the portraits. Ensure that the catchlights are visible and well-placed to make the subjects’ eyes pop.
Safety and Comfort:
Always prioritize the safety and comfort of your subjects during the photoshoot, especially if you’re using studio lights or any other equipment. Make sure there are no tripping hazards, and maintain a relaxed and enjoyable atmosphere for the best results.
Remember, lighting is a powerful tool that can significantly impact the mood and overall quality of your group photos and family portraits. Continuously practice and experiment with different techniques to develop your skills and find the lighting styles that resonate with your artistic vision.