


How to Use a Ring Light for Flattering Portraits
Using a ring light for flattering portraits is a great way to achieve professional-looking and well-lit photographs. Ring lights are circular light sources that surround the camera lens, producing even illumination and reducing harsh shadows on the subject’s face. Here’s how to use a ring light effectively for flattering portraits:
Positioning the Ring Light:
Place the camera in the center of the ring light. This will ensure that the light evenly illuminates the subject’s face from all angles and reduces any potential shadows.
The distance between the camera and the subject should be adjusted based on the look you want to achieve. Experiment with different distances to find the one that works best for your style.
Adjust the Light Intensity:
Most ring lights come with adjustable brightness settings. Start with a lower intensity setting and gradually increase it until you achieve the desired amount of light on the subject’s face.
For a soft and flattering look, avoid using the ring light at its highest brightness setting, as it may create harsh highlights on the subject’s skin.
Combine with Other Lighting:
While a ring light can be the primary light source, combining it with other light sources can add depth and dimension to the portrait. You can use a reflector or additional soft lights to fill in shadows created by the ring light.
Eye Placement and Catchlights:
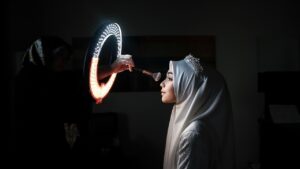
When using a ring light, ensure that the subject’s eyes are positioned correctly in the center of the ring. This will create attractive circular catchlights in the subject’s eyes, giving them a lively and engaging look.
Consider the Subject’s Skin Tone:
Different skin tones may react differently to the ring light. For subjects with lighter skin, you can use a slightly brighter setting. Conversely, for subjects with darker skin tones, you might want to use a slightly lower intensity setting to avoid overexposure.
Experiment with Angles:
Don’t be afraid to experiment with different angles and positions of the ring light. Changing the angle slightly can dramatically alter the lighting and the mood of the portrait.
Use Diffusers and Color Filters:
Some ring lights come with diffusers that help soften the light and reduce glare. Consider using these to achieve a more flattering and natural look.
Additionally, you can experiment with color filters or gels to add creative effects to your portraits. Warm tones can create a cozy atmosphere, while cooler tones can evoke a more ethereal feel.
Control the Background:
Pay attention to the background when using a ring light. A clean and uncluttered background will keep the focus on the subject, making for a more flattering portrait.
Create Beautiful Catchlights:
Catchlights are the reflections of the light source in the subject’s eyes. With a ring light, you can achieve attractive circular catchlights, but you can also experiment with other shapes by using different ring light modifiers, like heart-shaped or star-shaped cutouts.
Shoot Through the Ring Light:
For a dreamy and ethereal effect, you can try shooting through the center of the ring light. This technique can soften the subject and add a unique look to your portraits.
Use Ring Light Angles for Different Looks:
Adjusting the angle of the ring light can produce various results. For example, positioning the ring light above the camera and tilting it downward can create a more dramatic look with shadows under the subject’s eyes. Conversely, placing the ring light below the camera and tilting it upward can produce a softer, more flattering glow.
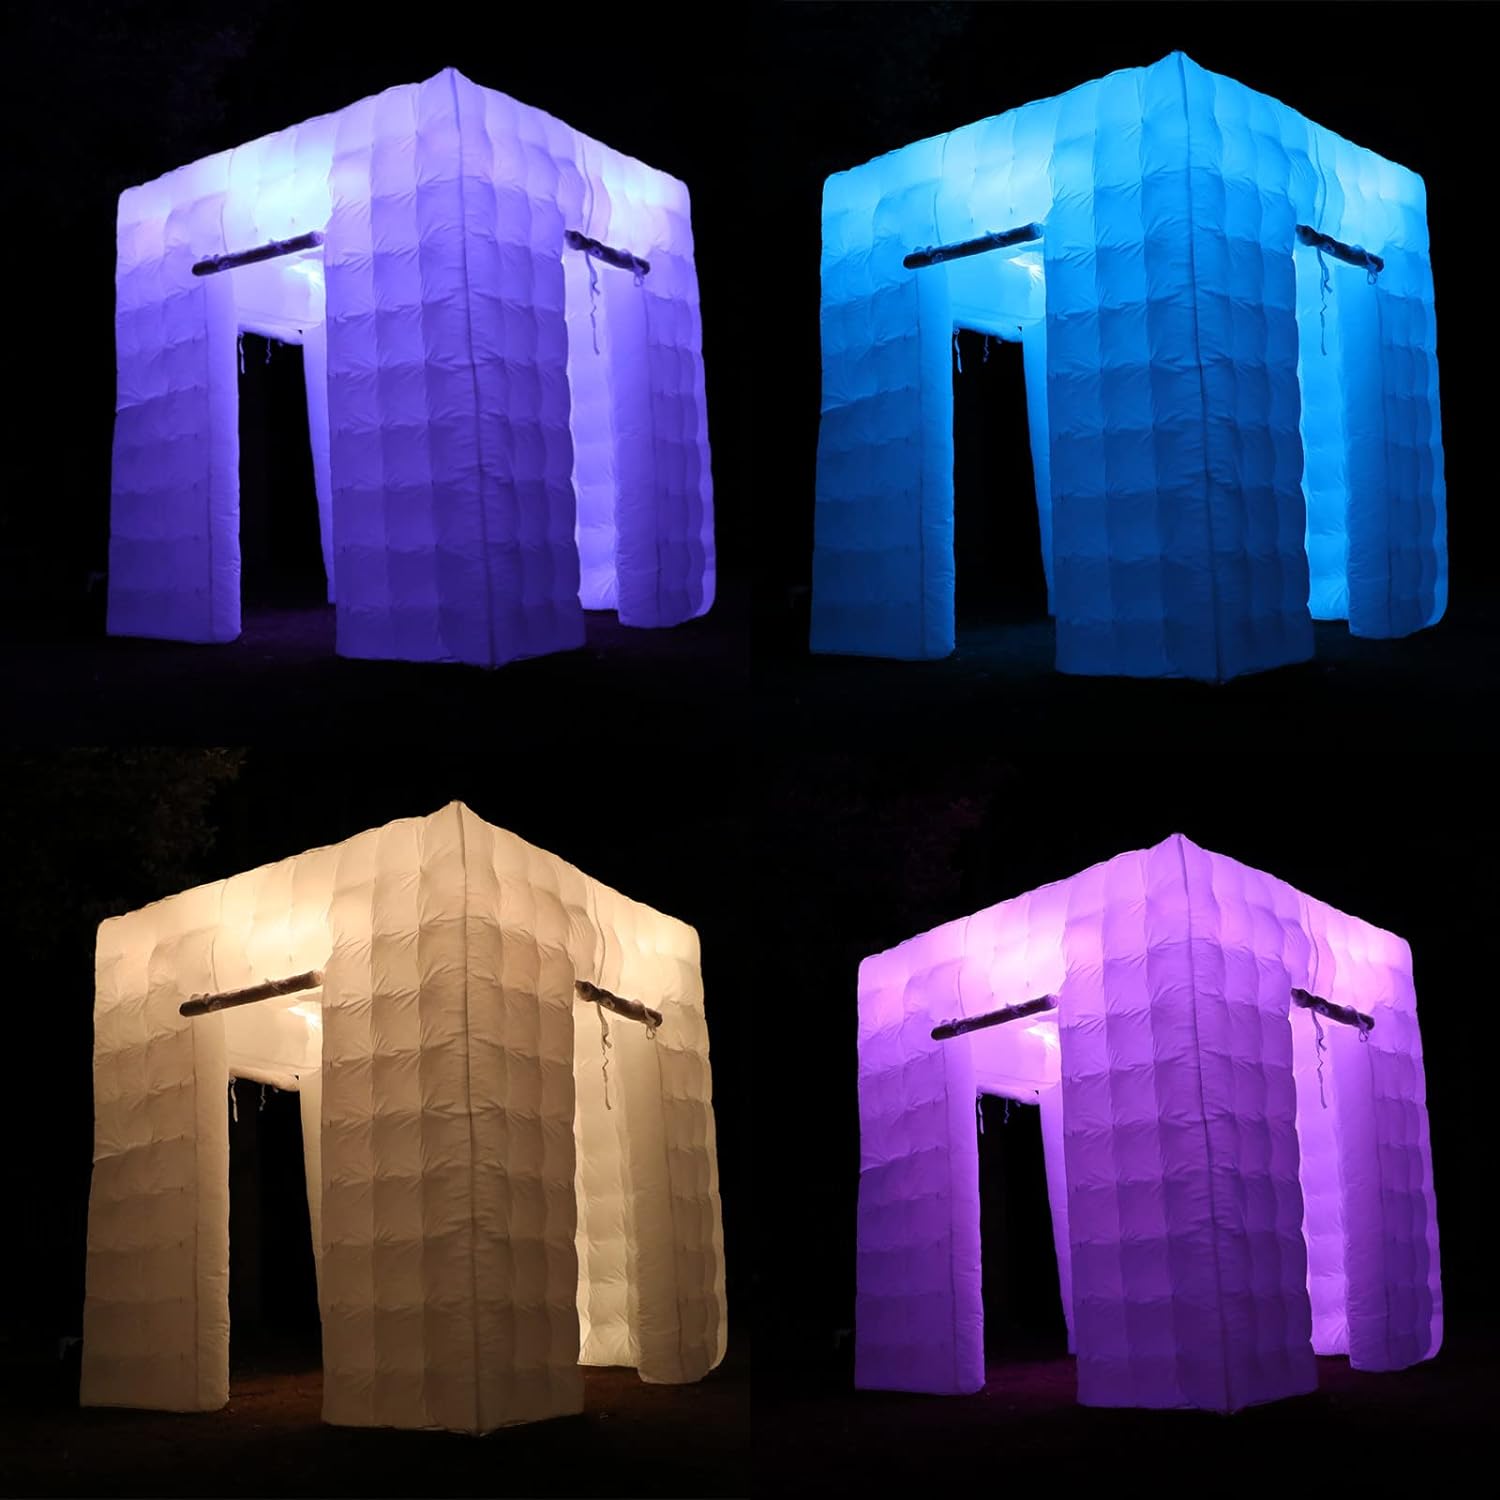
Experiment with Colored Gels:
Colored gels can be placed over the ring light to create unique and creative lighting effects. Gels can add a splash of color to the background or the subject, adding an artistic touch to your portraits.
Use a Ring Light as Fill Light:
While ring lights are often used as the primary light source, they can also work effectively as a fill light in combination with other lighting setups. For example, in a three-point lighting setup, a ring light can be used to fill in shadows on the subject’s face while a key light provides the main illumination.
Macro Photography with a Ring Light:
Ring lights are not just for portraits; they can also be useful in macro photography. When shooting close-up shots of small objects, a ring light can provide even lighting and reduce shadows, revealing intricate details.
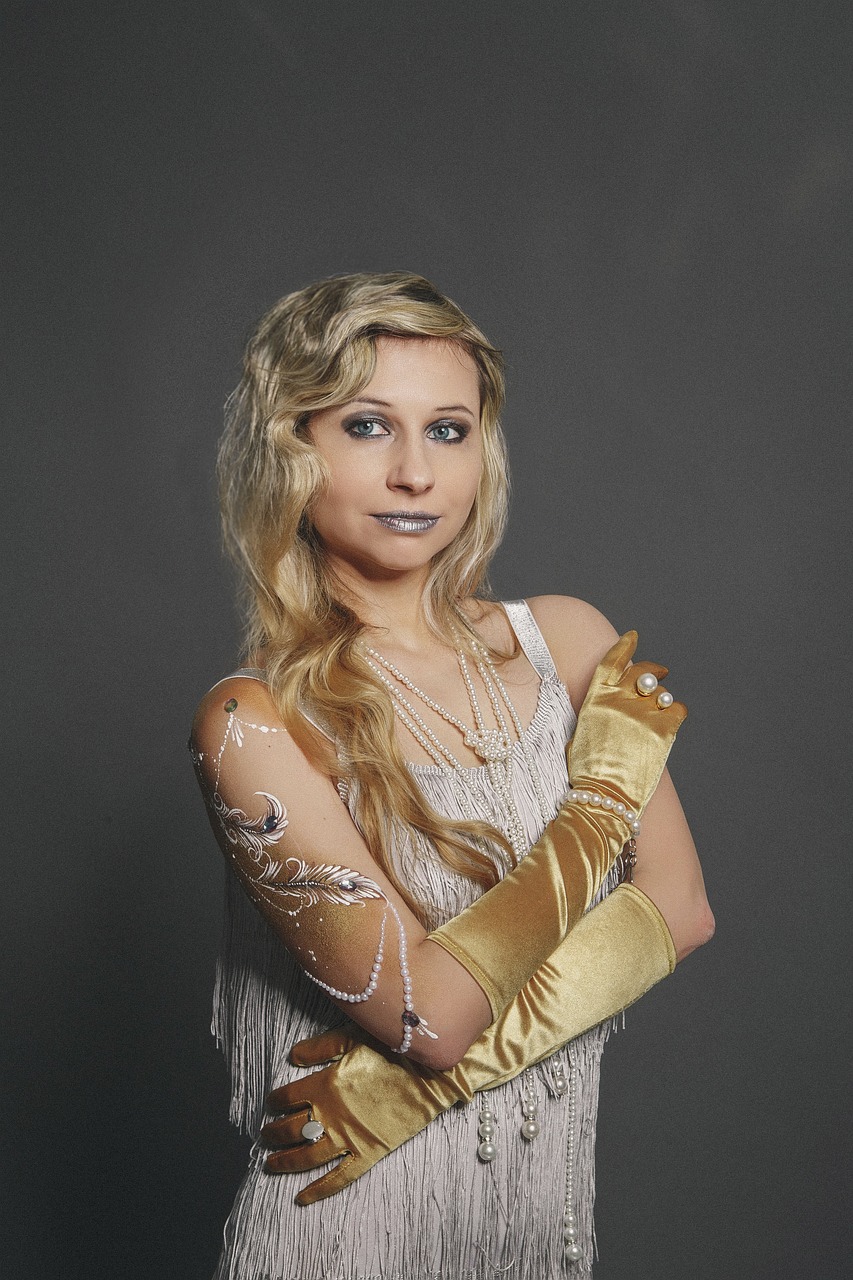
Experiment with Portrait Styles:
The versatility of a ring light allows you to experiment with various portrait styles. Whether you’re shooting beauty portraits, headshots, fashion portraits, or creative conceptual portraits, the ring light can adapt to your vision and enhance your results.
Combine Natural Light and Ring Light:
If you’re shooting indoors near a window, consider using a ring light in combination with natural light. The ring light can help fill in shadows and reduce contrast, resulting in a more balanced and flattering portrait.
Shoot with a Wide Aperture:
Using a wide aperture (small f-stop number) can create a pleasing bokeh effect in the background, which can make the subject stand out more prominently in the portrait.
Remember, the key to getting the most out of a ring light is experimentation and practice. Each shooting situation and subject may require adjustments to the setup and settings, so don’t be afraid to try new techniques and find your own style. Happy shooting!