DIY Lighting Hacks: Creating Low-Cost Photography Light Setups
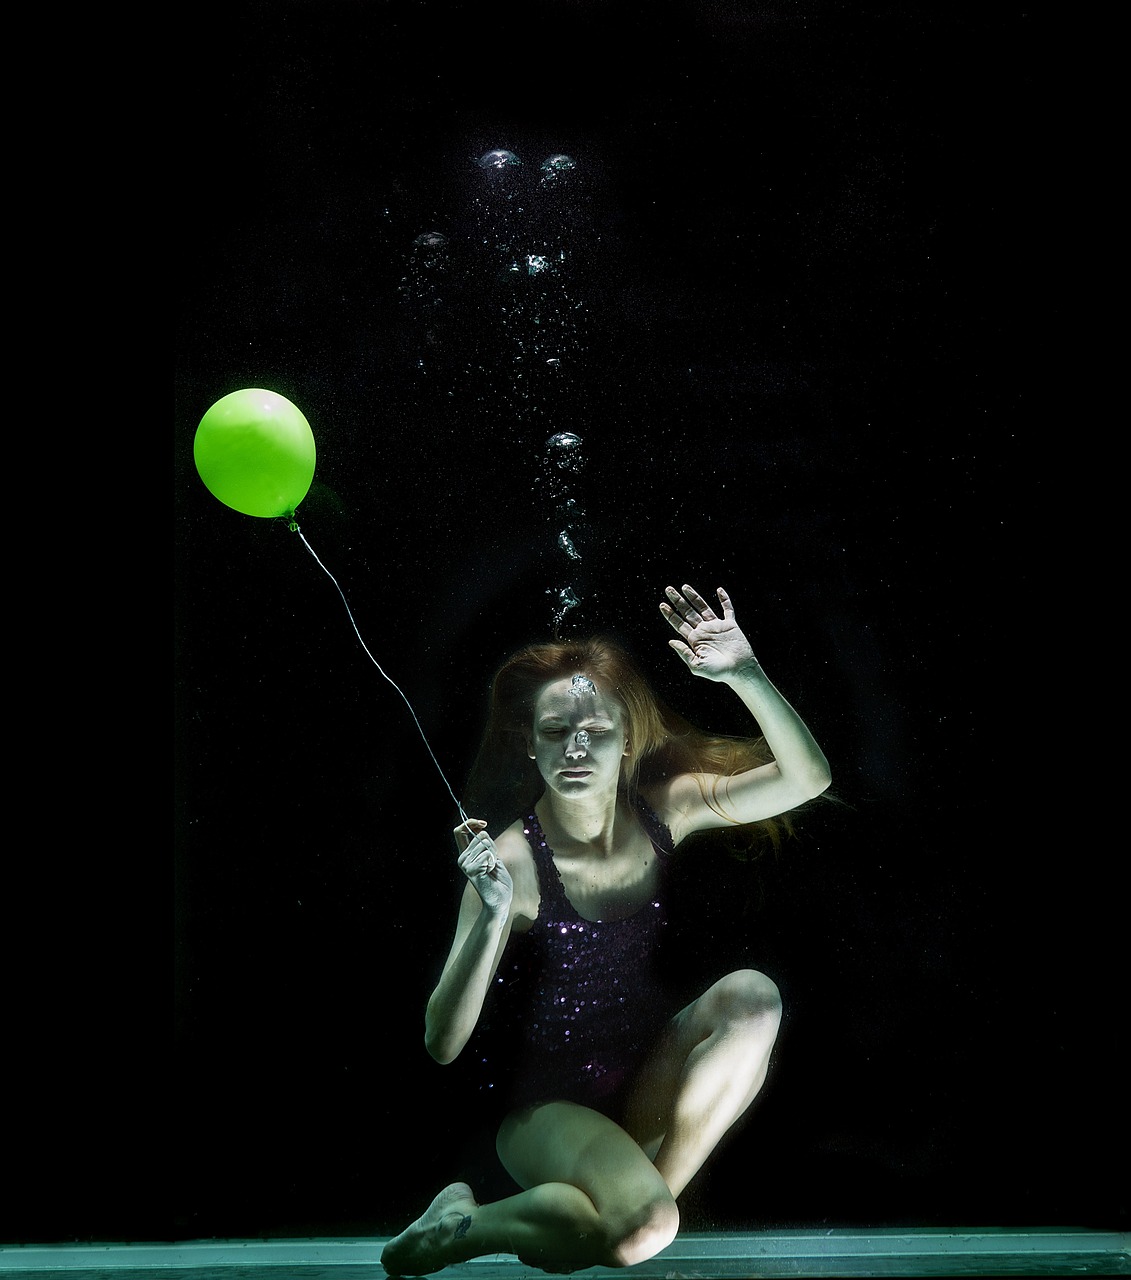
Creating low-cost photography light setups can be a fun and rewarding DIY project. Good lighting is essential for capturing high-quality photos, and with some creativity and resourcefulness, you can achieve professional-looking results without breaking the bank. Here are some DIY lighting hacks to help you get started:
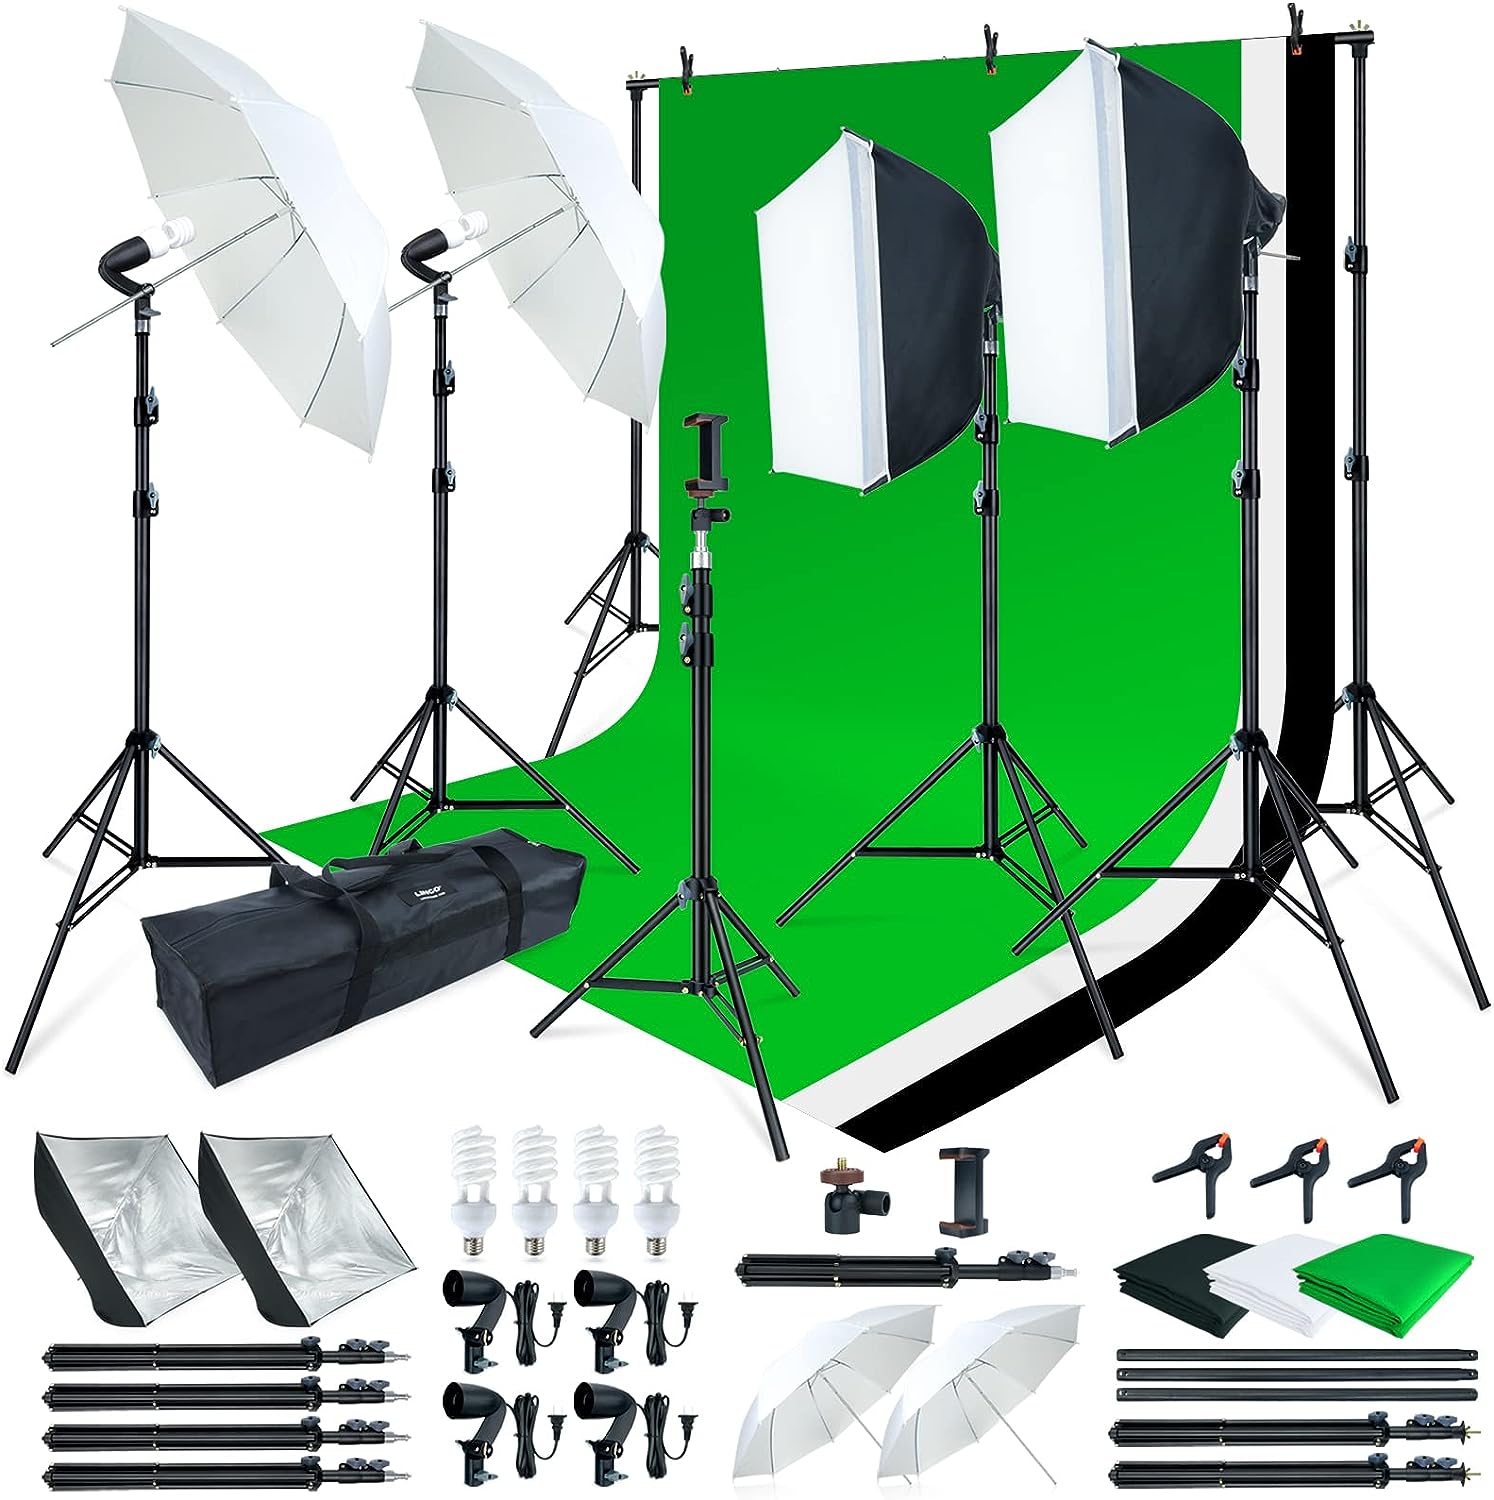
DIY Softbox:
Softboxes diffuse light, creating soft and even lighting on your subject. You can make a simple softbox using a cardboard box, white bedsheets, and aluminum foil. Cut out one side of the box and cover the opening with the white bedsheets. Place the aluminum foil inside the box opposite the sheets to reflect and distribute the light more effectively. Attach the box to your light source, such as a desk lamp or a powerful flashlight.
PVC Light Stands:
Traditional light stands can be costly, but you can create your own using PVC pipes. Purchase PVC pipes and connectors from a hardware store, and assemble them to create a T-shape. Add some weight to the bottom by filling the PVC legs with sand or small rocks. Mount your lights or softboxes on top of these DIY stands.
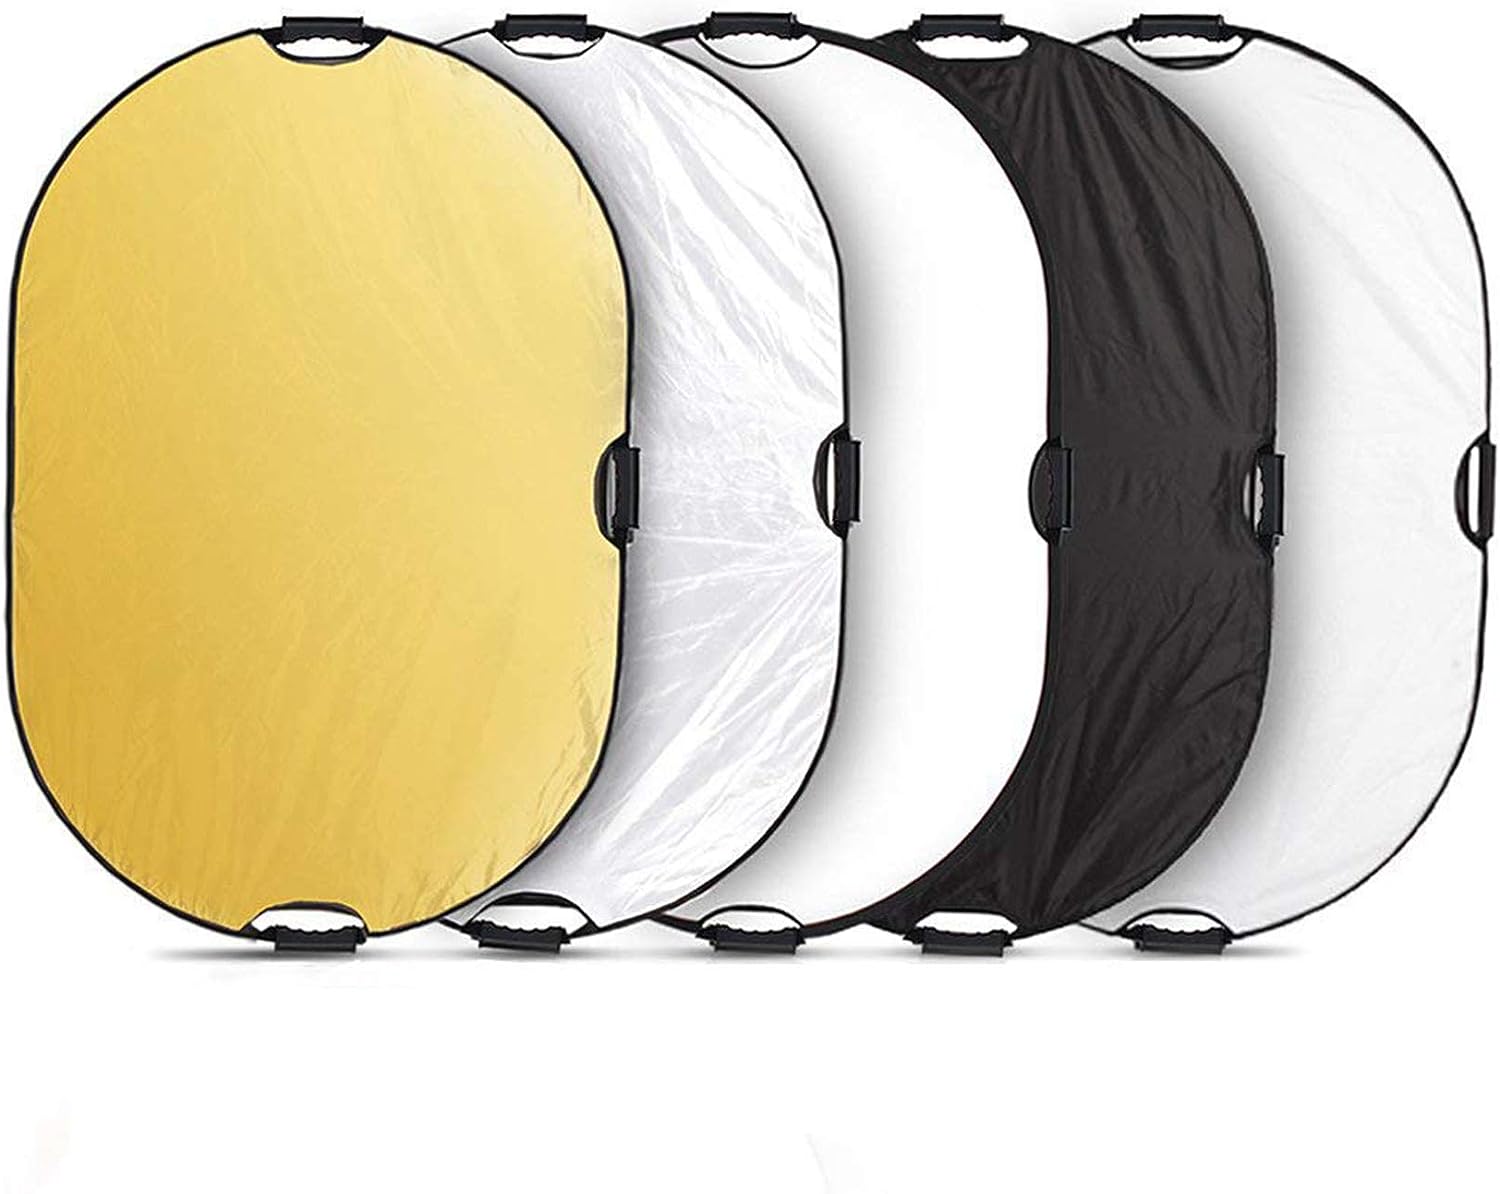
DIY Reflector:
Reflectors bounce light back onto your subject, reducing harsh shadows. You can make a reflector using foam boards or even aluminum foil wrapped around a piece of cardboard. Experiment with different colors like white, silver, or gold to achieve different effects.
Fairy Lights:
Fairy lights, also known as string lights, can add a magical touch to your photos. You can use them as a background or wrap them around objects to create a warm and cozy atmosphere. Fairy lights are affordable and can be found in many stores.
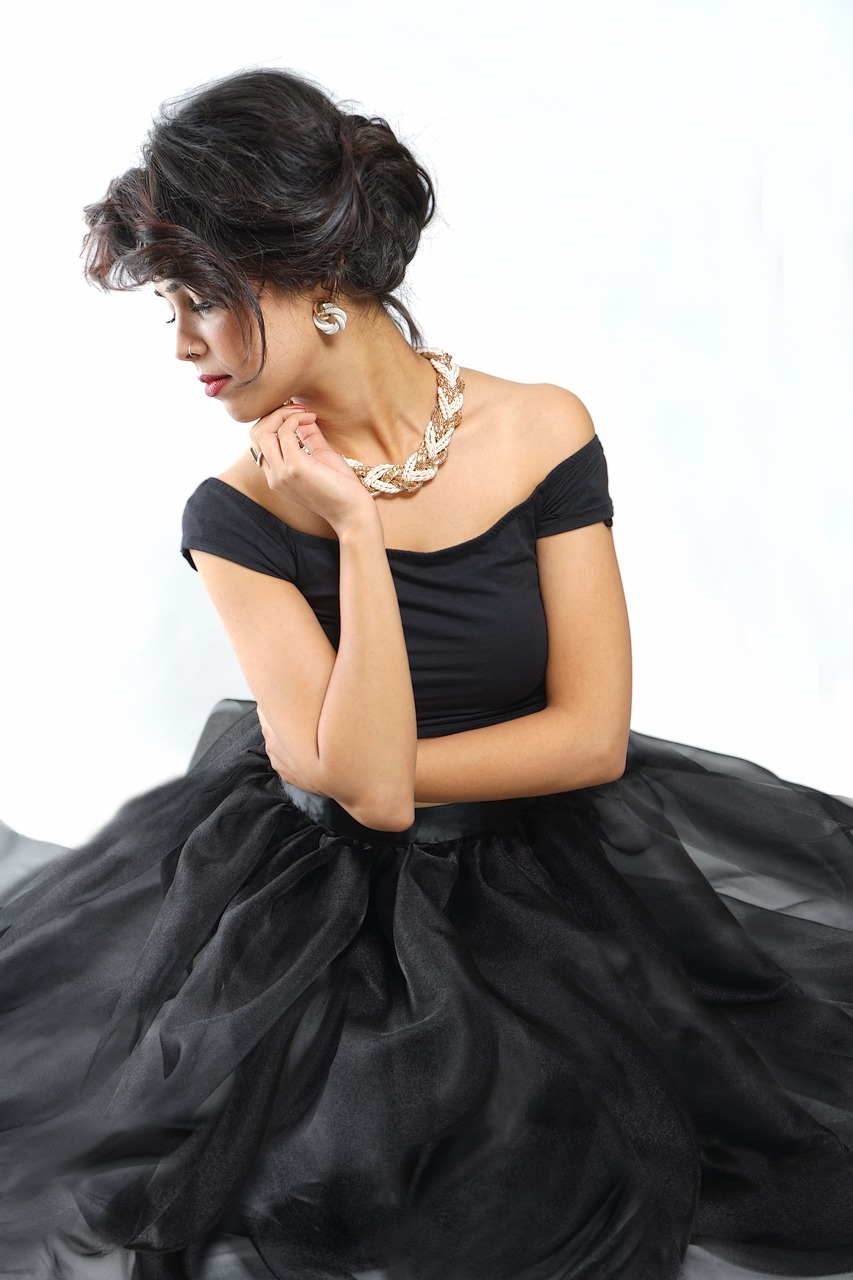
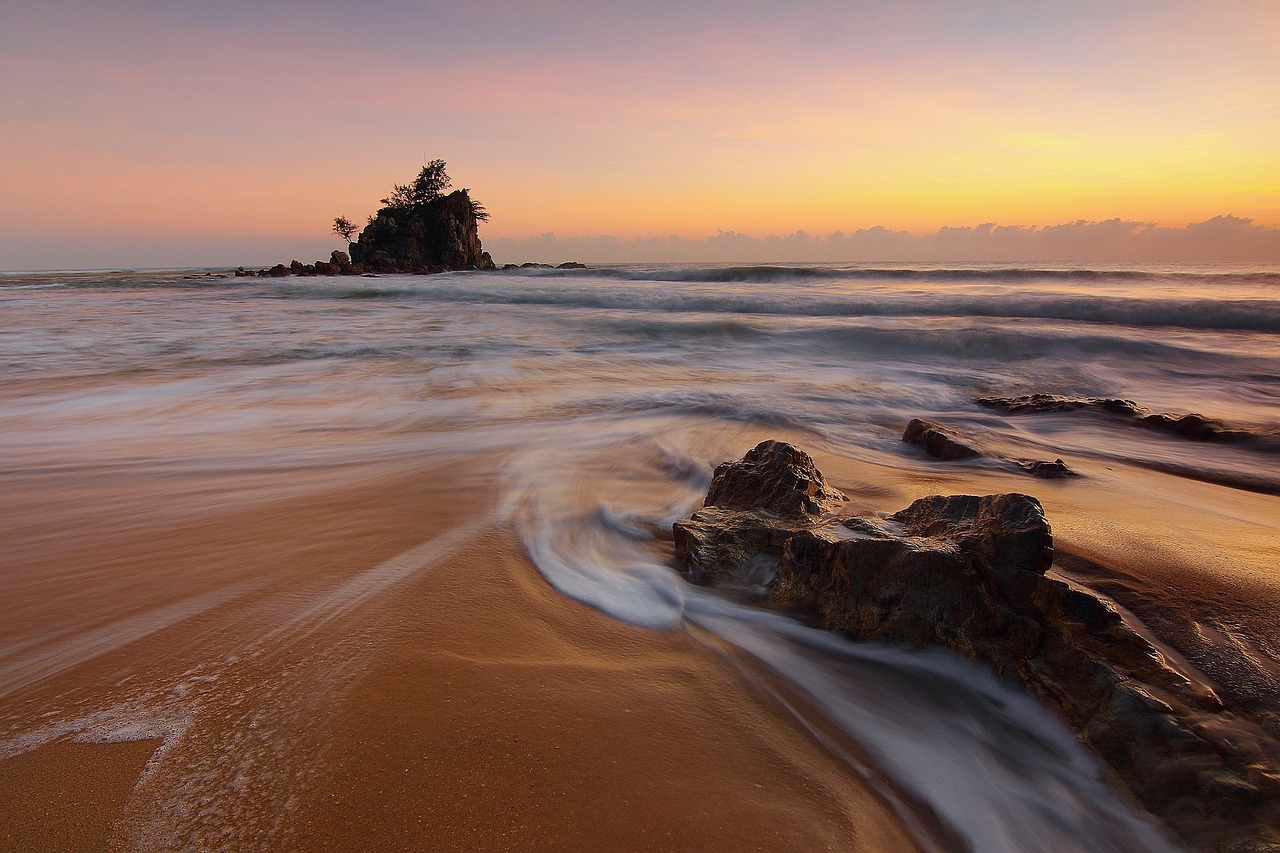
Window Lighting:
Natural light is a fantastic, free resource for photography. Position your subject near a large window to take advantage of soft, diffused light. You can even use a white bedsheet or sheer curtain to further diffuse the light and reduce harsh shadows.
DIY Snoots and Grids:
A snoot is a device that narrows the beam of light, and a grid helps to control light spillage. You can make a snoot using a cardboard tube, like a toilet paper roll, covered with black paper on the outside. For grids, you can create a honeycomb effect by cutting and stacking black straws or drinking straws.
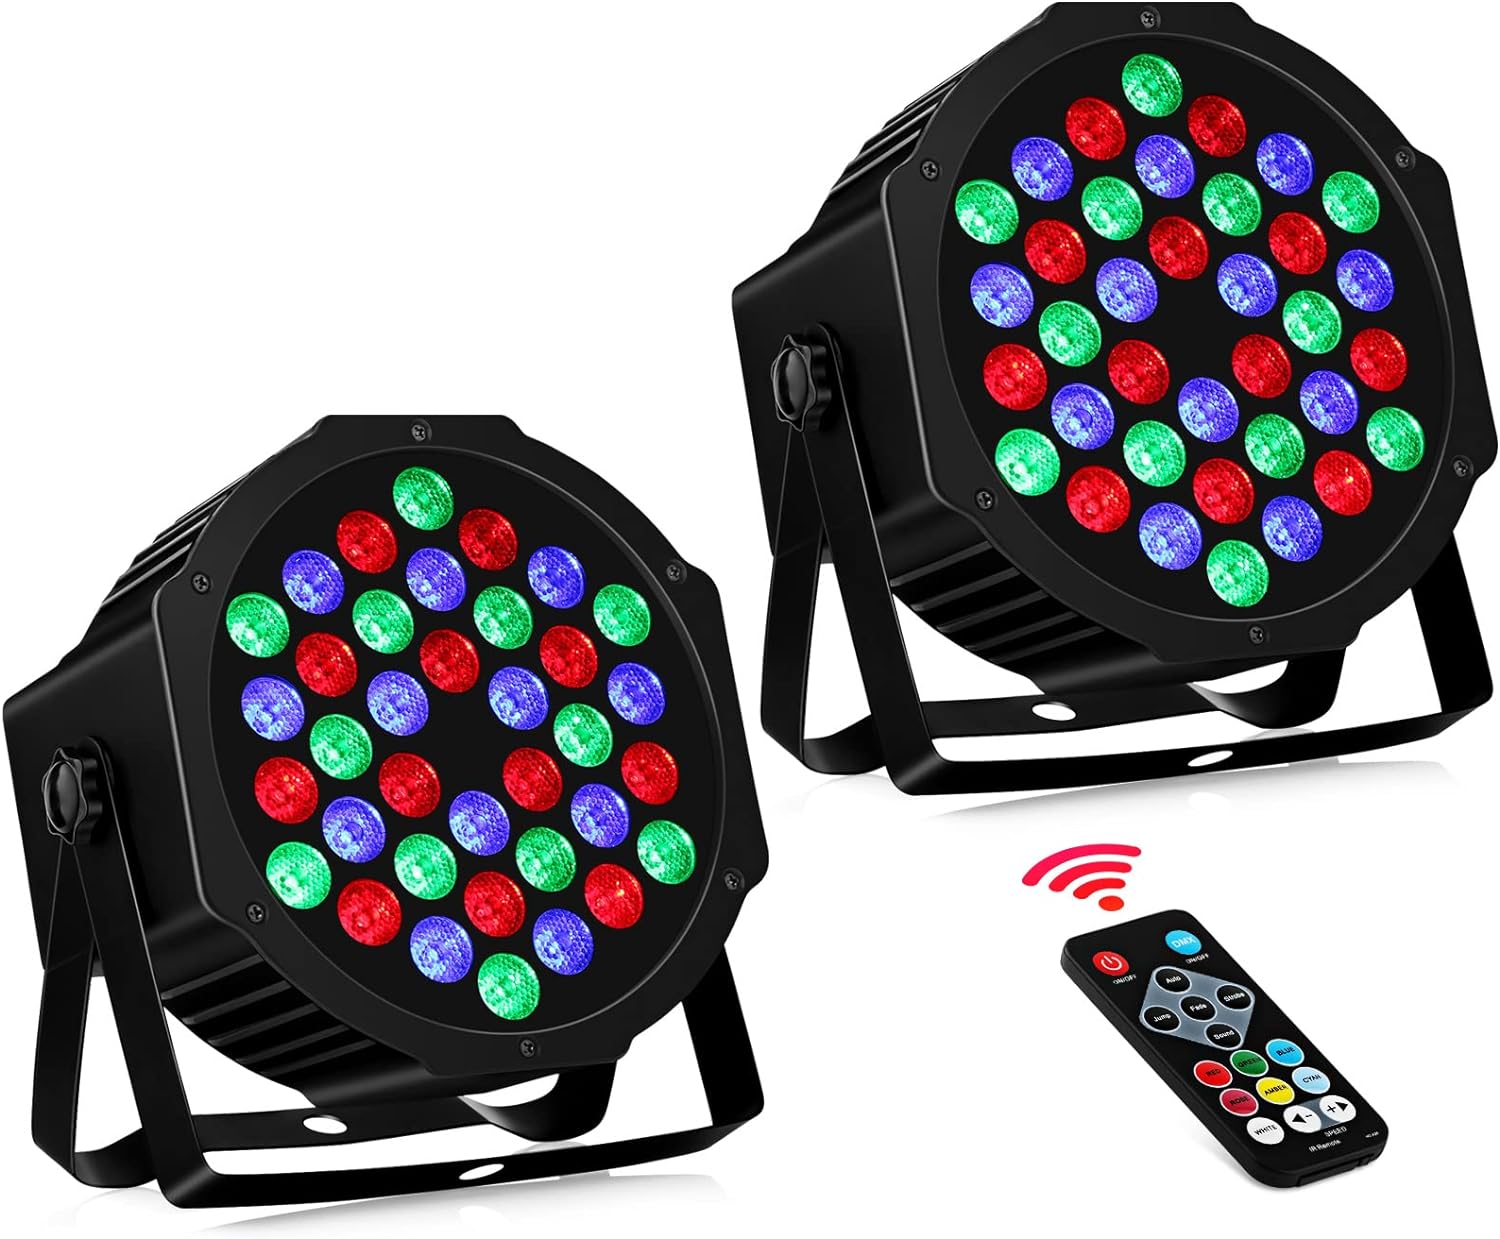
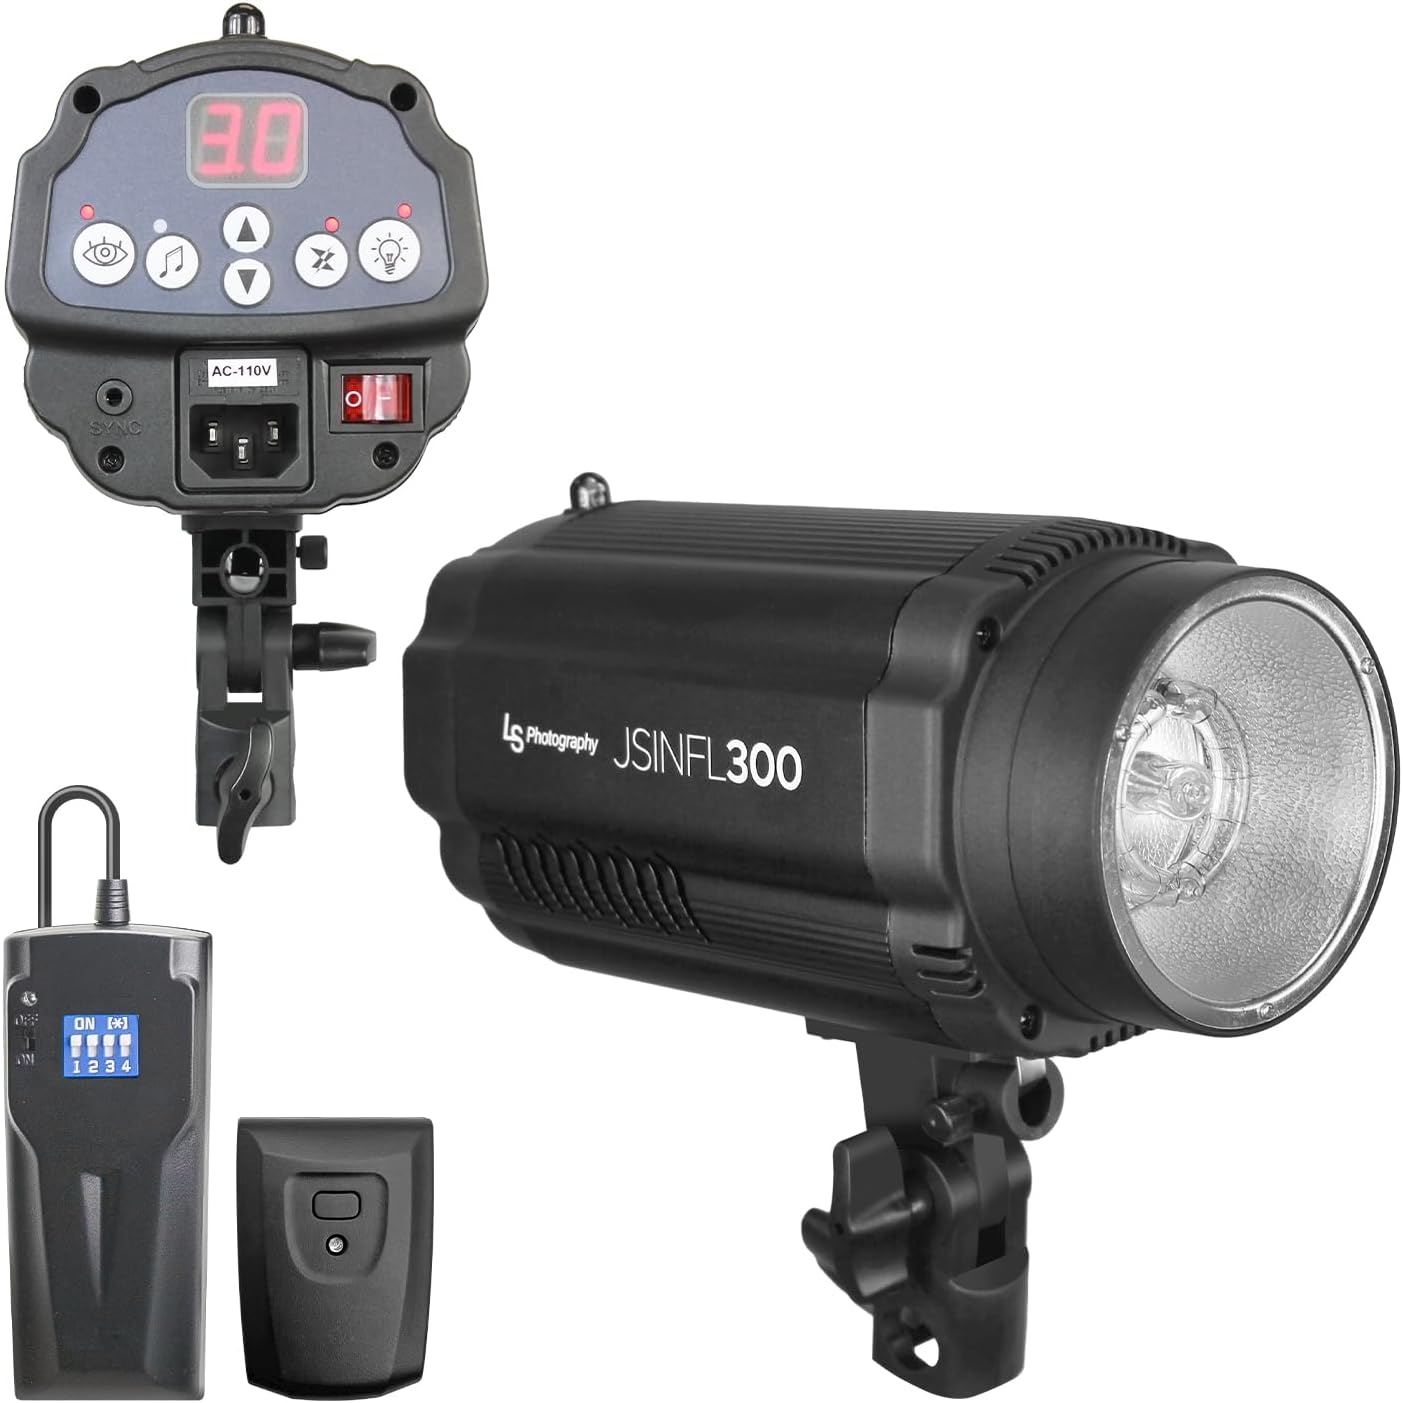
Work Lamps and Clamp Lights:
Hardware stores sell inexpensive work lamps and clamp lights that can be used as photography lighting. You can modify them by adding diffusion material or gels to achieve the desired effect.
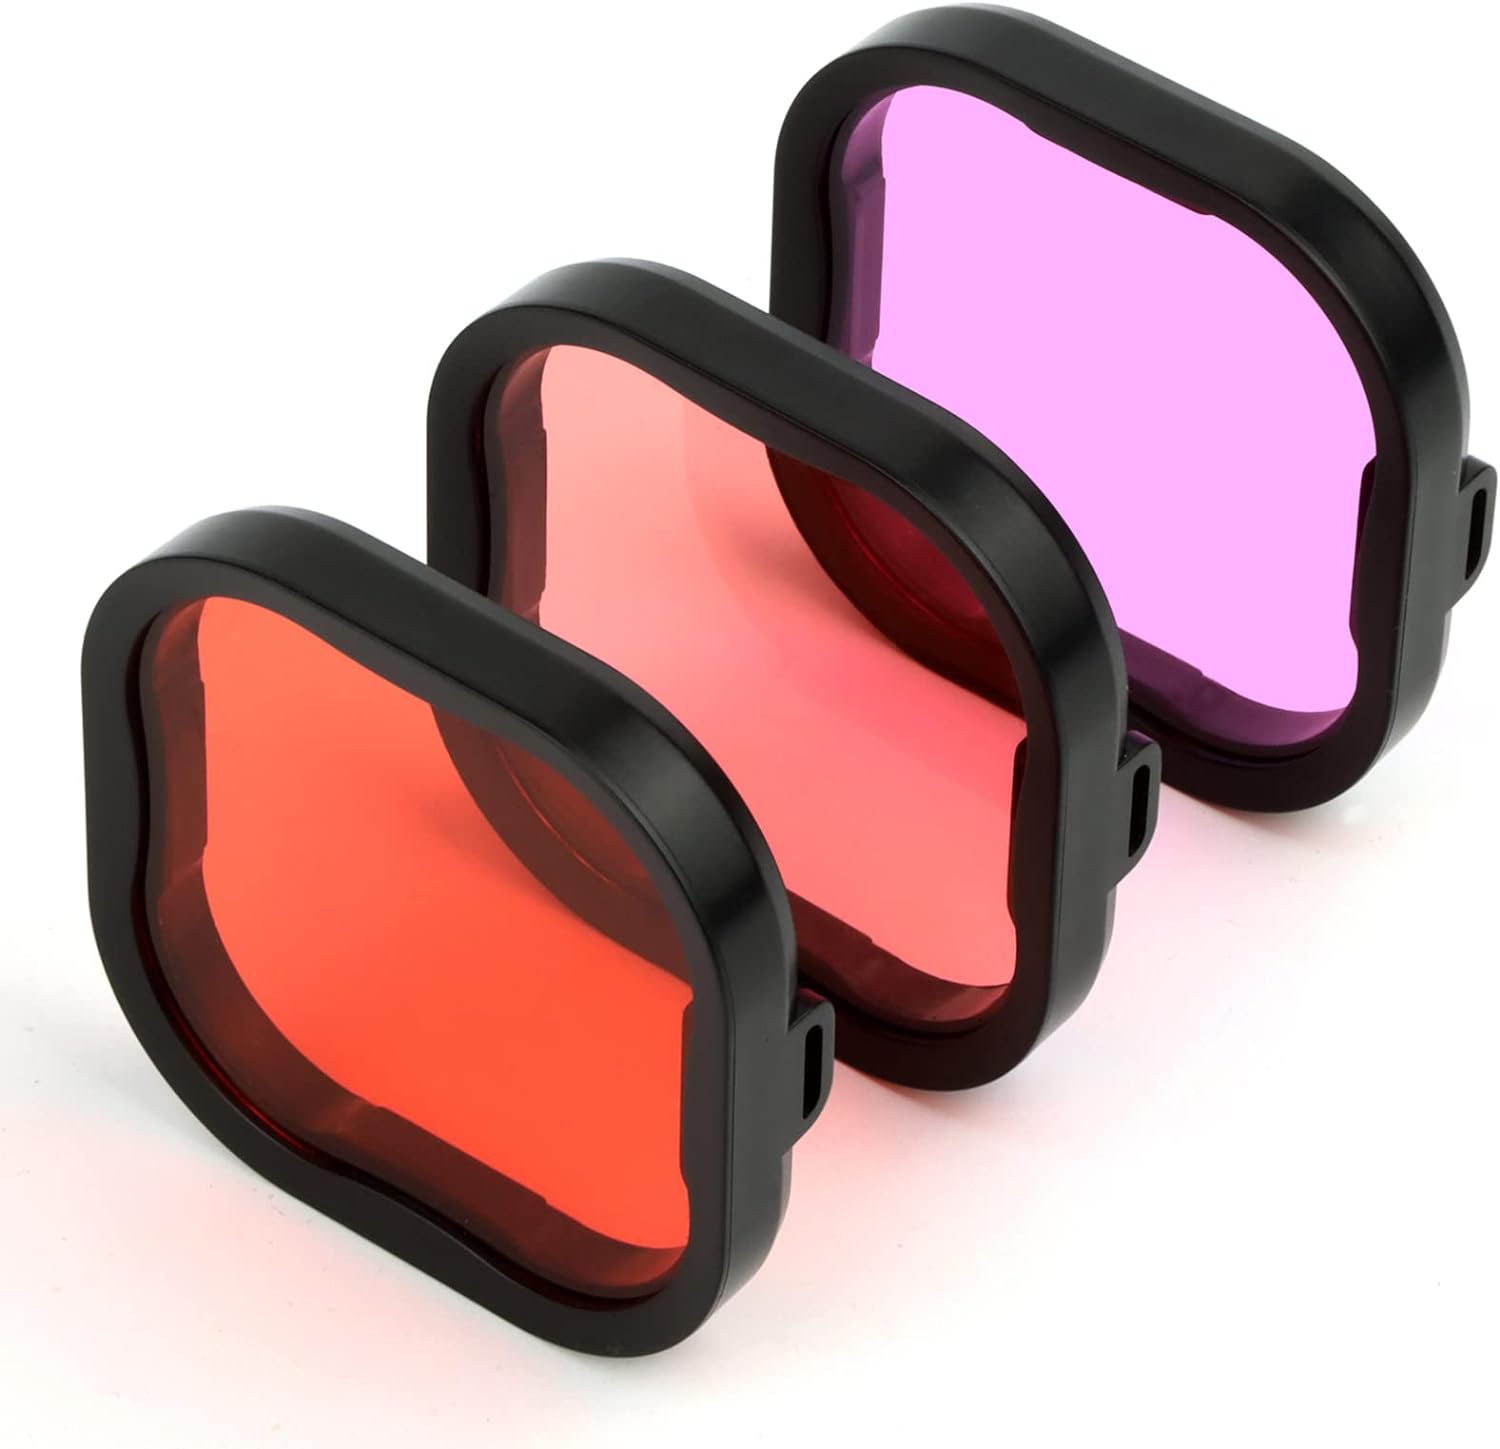
DIY Gels:
Color gels can add dramatic effects to your lighting. You can make DIY gels using transparent sheets or even colored cellophane. Simply cut them to the size of your light source and attach them using tape or rubber bands.
LED Light Panels:
LED light panels are versatile and energy-efficient lighting options. You can create your own LED light panel using LED strips or individual LED bulbs. Mount them on a sturdy surface such as a wooden board and power them using a rechargeable battery pack or an old laptop power adapter.
DIY Barn Doors:
Barn doors are useful for directing light precisely where you want it. You can make barn doors using black foam boards or cardboard. Cut them into strips and attach them to the front of your light source with tape or Velcro. This allows you to shape and control the light spillage.
DIY Beauty Dish:
A beauty dish is a popular lighting modifier that produces soft, flattering light. You can create a DIY beauty dish using a large metal mixing bowl, some reflective material like aluminum foil, and a white bedsheet or shower cap as a diffuser. Place your light source inside the bowl, cover it with the reflective material, and attach the diffuser over the opening.
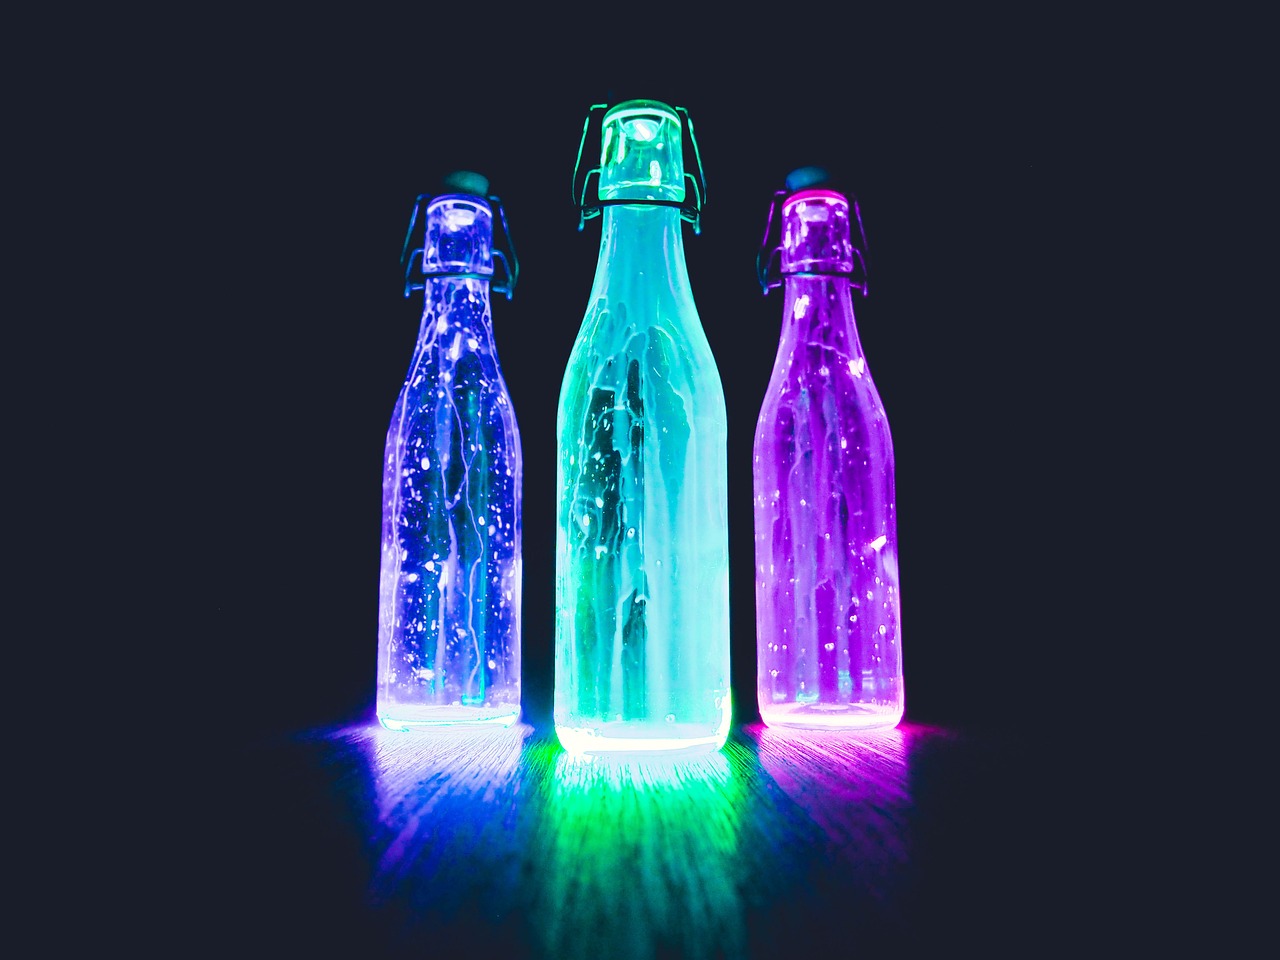
Glow Stick Light Painting:
For creative and unique effects, try light painting with glow sticks. Set up your camera on a tripod and use a long exposure. Move glow sticks in front of the camera during the exposure to create light trails and patterns. This technique works particularly well in low-light environments.
Water Bottle Prism:
For a creative and inexpensive light refraction effect, use a water bottle filled with water to create a prism. Place the bottle in front of your lens and experiment with the angle to get beautiful rainbow-like flares in your photos.
Candlelight Photography:
Candlelight can create a warm and intimate atmosphere in your photos. Arrange candles in different ways, use mirrors to bounce the light, or place them inside DIY lanterns made from old jars or tins.
DIY Smoke or Fog Machine:
Smoke or fog can add a dramatic and ethereal element to your photos. You can create a DIY smoke or fog machine by heating up a mixture of water and glycerin or by burning a small amount of mineral oil. Be sure to do this in a well-ventilated area and take necessary safety precautions.
DIY Ring Light:
A ring light is a popular lighting tool for portraits and close-up photography. Create your own ring light using LED strips or fairy lights arranged in a circular shape. Mount it around the lens or your camera to achieve a unique catchlight effect in the subject’s eyes.
DIY Light Tent:
A light tent is great for product photography and small object shots. Create your own light tent using a large cardboard box with the sides removed and replaced with white tissue paper or fabric. Add lights outside the box to illuminate your subject from all sides evenly.
Remember, safety is essential when dealing with DIY lighting setups, especially when using electrical components. Avoid using high-power lights that may overheat DIY materials and cause a fire hazard. Always take precautions, and never leave lights unattended. Have fun experimenting with these DIY lighting hacks to create stunning and captivating photographs!