


Creating Dramatic Portraits

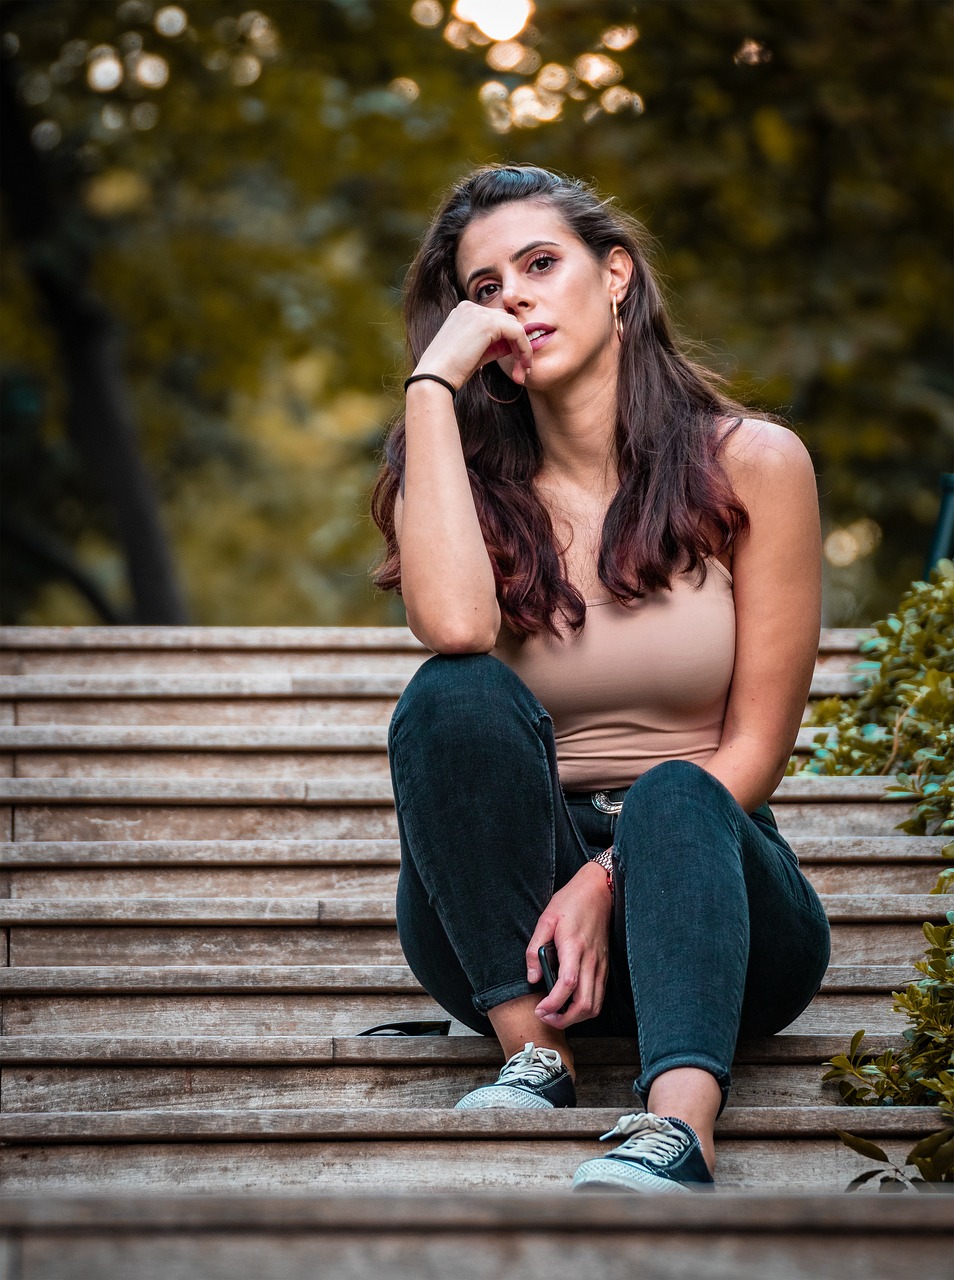
Portraiture is a captivating art form that allows photographers to capture the essence of their subjects in a single frame. While various techniques contribute to a successful portrait, one of the most powerful tools in a photographer’s arsenal is the play of shadows and highlights. The skilled use of these contrasting elements can elevate a portrait from ordinary to extraordinary, infusing it with drama, depth, and emotion.
The Power of Shadows
Shadows are more than just areas of darkness in a photograph. They are the sculptors of form, shaping and defining the subject’s features and contours. In dramatic portraiture, shadows can be harnessed to create a sense of mystery, intrigue, and depth. Here’s how you can use shadows effectively:
1. Experiment with Direction and Intensity
The angle at which light strikes your subject plays a pivotal role in shaping the resulting shadows. Side lighting, where the light source is positioned at an angle to the subject, can create strong, dramatic shadows that emphasize facial features. Experiment with the intensity of the light to achieve varying degrees of contrast. Soft, diffused lighting can produce subtle, gentle shadows, while harsh, direct lighting can create bold and striking contrasts.
2. Embrace Negative Space
Negative space is the unoccupied area around your subject. Allowing shadows to occupy parts of this space can add a sense of depth and intrigue to your portrait. It draws the viewer’s focus to the illuminated areas, highlighting the subject’s expression and emotions.
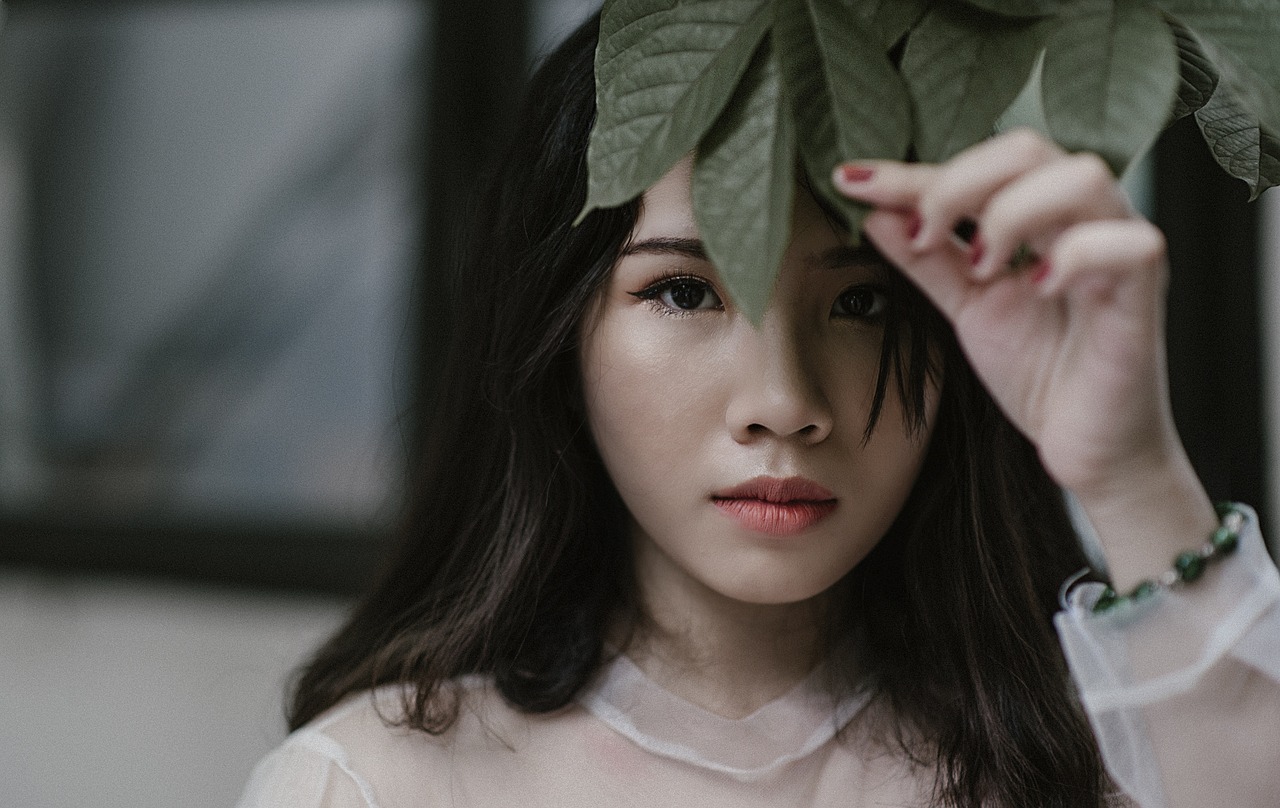
3. Play with Patterns
Incorporate elements that cast interesting patterns of shadows onto your subject. This could be anything from window blinds to tree branches. These patterns can introduce an extra layer of visual interest and complexity to your portrait, enhancing its dramatic effect.
The Magic of Highlights
While shadows define the form, highlights bring vitality and energy to a portrait. They draw attention to specific areas and create a sense of luminosity. Here’s how you can effectively utilize highlights to enhance your portraits:
Control Overexposure
Highlights are the brightest areas in a photograph, and they can be used to draw attention to the subject’s key features, such as the eyes or lips. However, be cautious not to overexpose these areas, as it can lead to loss of detail and an unnatural look. A well-exposed highlight should retain texture and detail, even in the brightest regions.
Balance with Shadows
The interplay between shadows and highlights creates contrast, which is essential for a dramatic portrait. Balancing the two is crucial for achieving a harmonious composition. The darker shadows emphasize the lighter highlights, and vice versa, leading to a visually compelling image.
Utilize Reflective Surfaces
Reflective surfaces like mirrors, water, or metallic objects can bounce light back onto your subject, creating unique highlights and adding depth to your composition. These highlights can introduce an element of surprise and intrigue, making the viewer explore the image further.
Techniques and Tools
To effectively use shadows and highlights, consider the following techniques and tools:
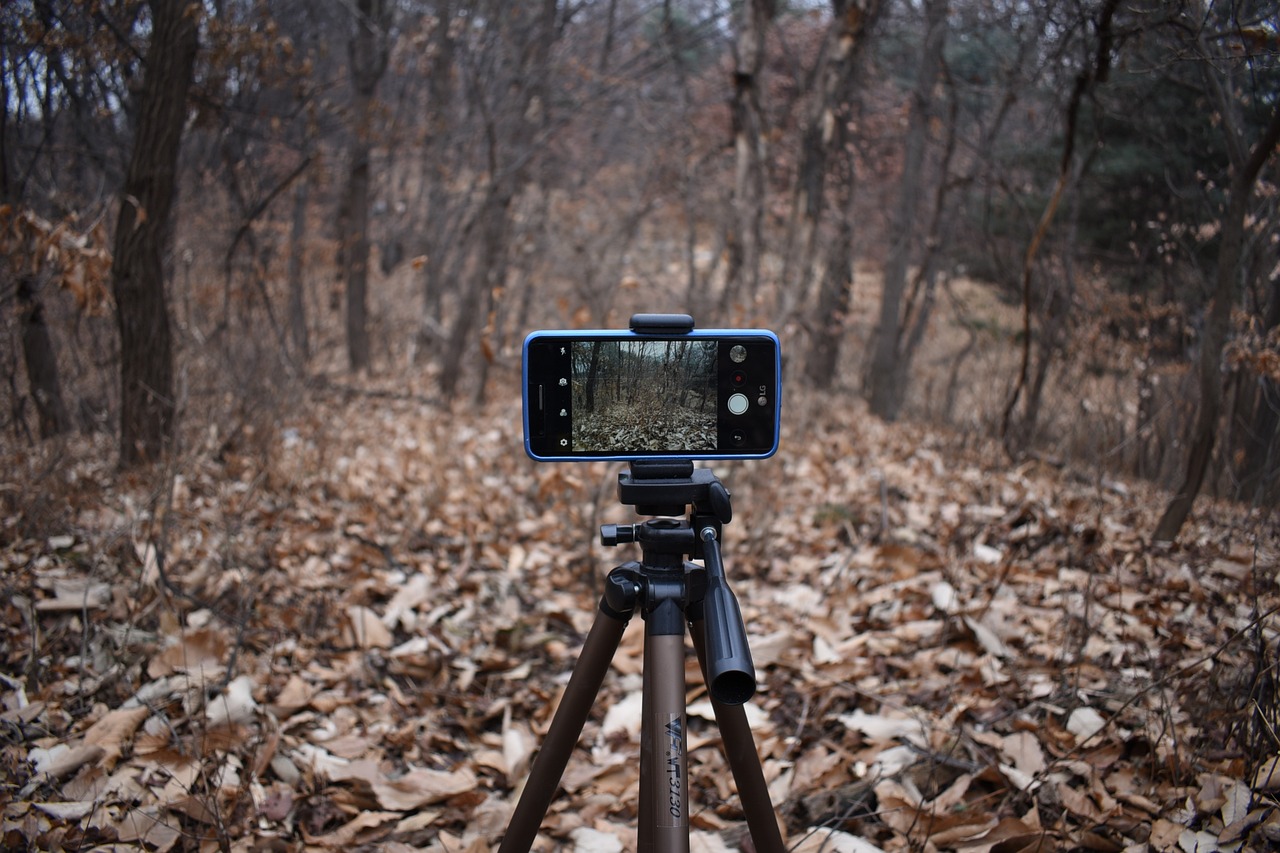
Use Natural Light
Natural light is a versatile tool for creating dramatic portraits. During the golden hours (early morning or late afternoon), the sunlight is softer and casts longer shadows, resulting in a more flattering and dramatic look.
Experiment with Artificial Lighting
Artificial lighting sources like strobes and continuous lights offer precise control over the direction and intensity of light. This allows you to sculpt shadows and highlights to your exact specifications.
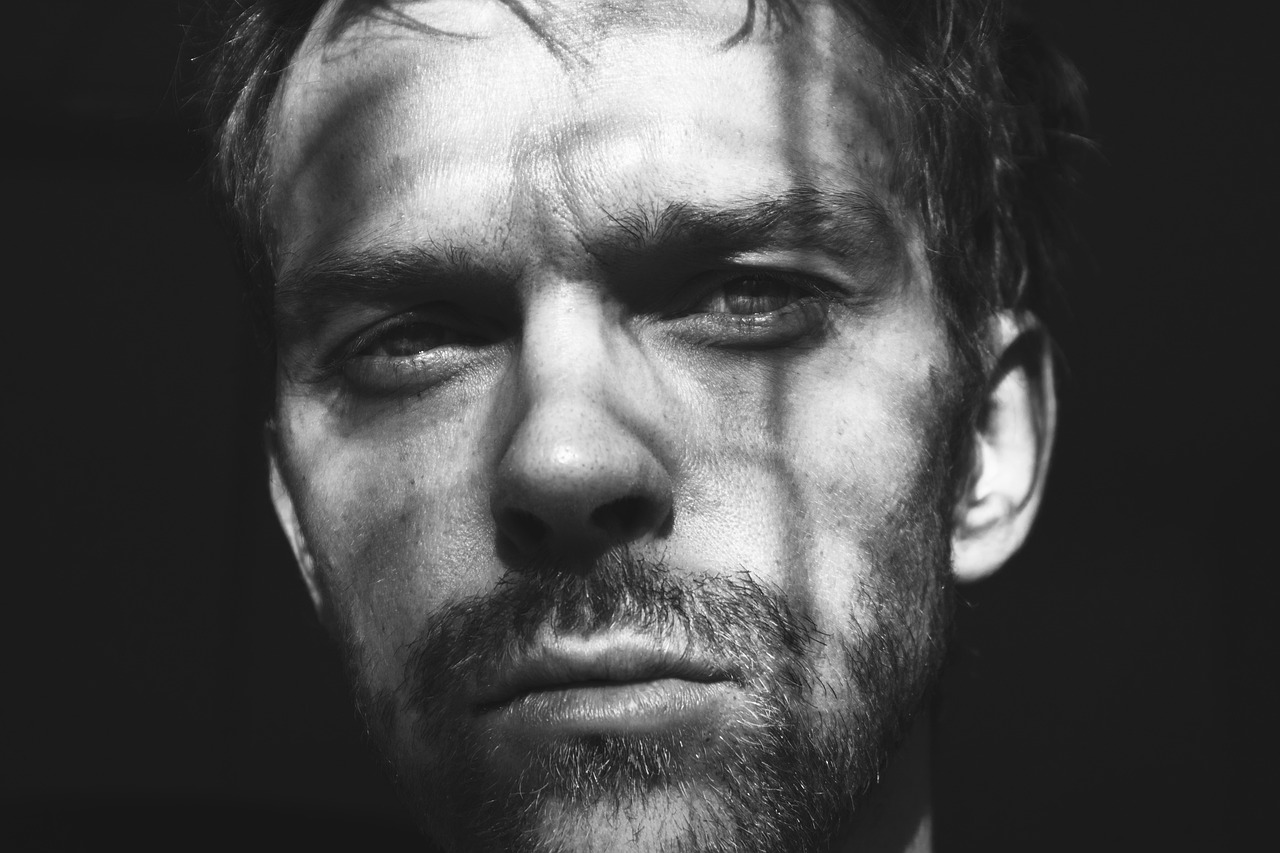
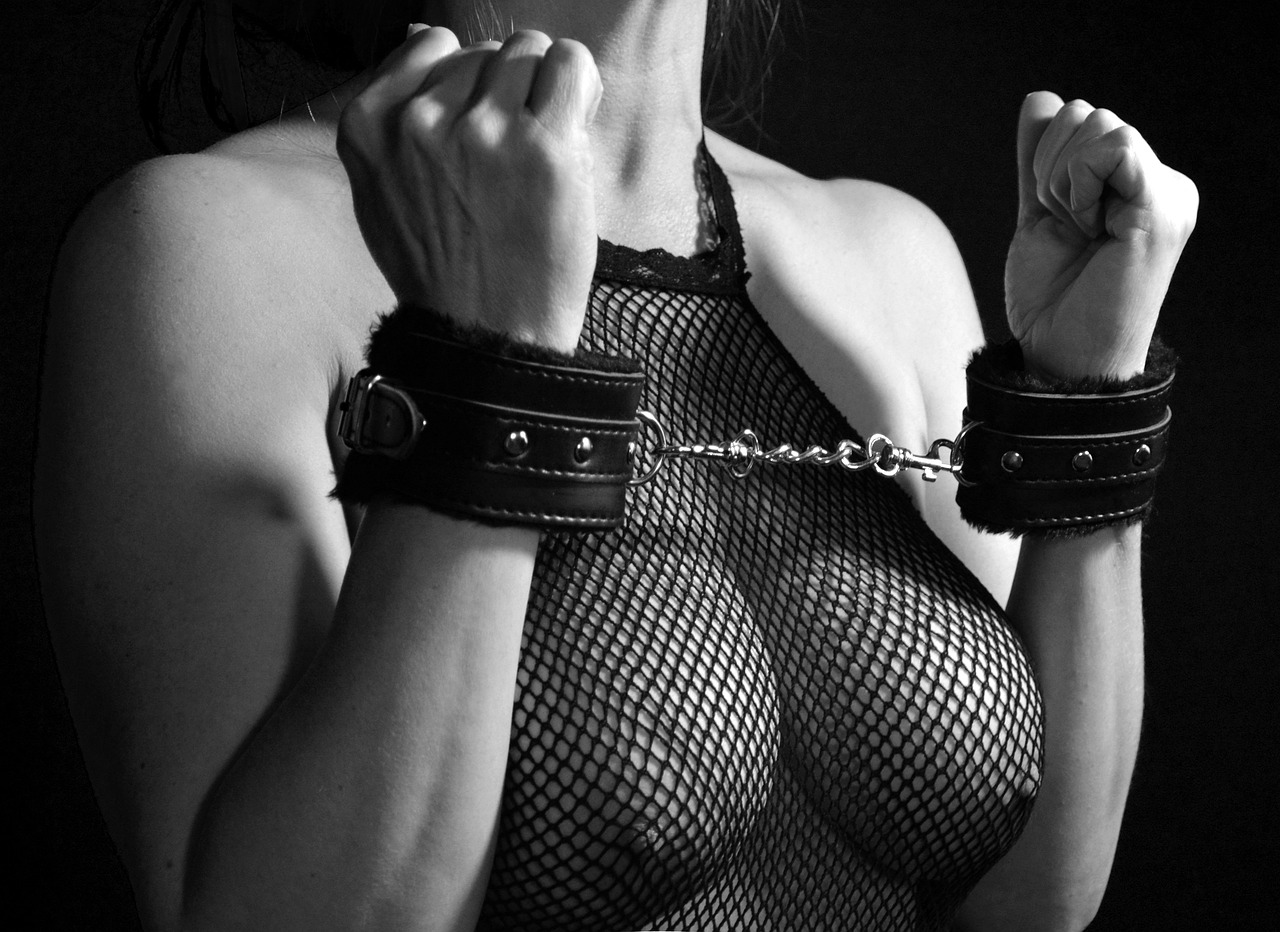
Chiaroscuro Technique:
Chiaroscuro, an Italian term meaning “light-dark,” is a technique that originates from Renaissance art and involves using strong contrasts between light and dark to achieve a three-dimensional effect. By positioning your light source at a side angle, you can create bold, defined shadows that add depth and sculptural quality to your subject’s face. This technique is particularly effective in black and white portraits, as it emphasizes the contrast even more prominently.
Rembrandt Lighting:
Named after the famous Dutch painter, Rembrandt lighting involves creating a distinct triangle-shaped highlight on the shadowed side of the subject’s face. This is achieved by placing the light source slightly above and to the side of the subject. The result is a moody and evocative portrait that often carries a sense of mystery.
Split Lighting:
In this technique, the subject’s face is split into two halves by light and shadow, creating a striking visual division. This technique works well for creating a sense of contrast and drama, often emphasizing one side of the subject’s personality or emotions.
Enhancing Highlights:
Catchlights:
Catchlights are the small, bright reflections of the light source in a subject’s eyes. They add a spark of life to the eyes, making them appear more vibrant and engaging. Adjusting the angle and intensity of your light source can help you control the size and position of catchlights for maximum impact.
Rim Lighting:
Also known as backlighting, rim lighting involves placing the light source behind the subject, creating a glow around their edges. This technique separates the subject from the background and accentuates their contours, producing a sense of depth and drama.
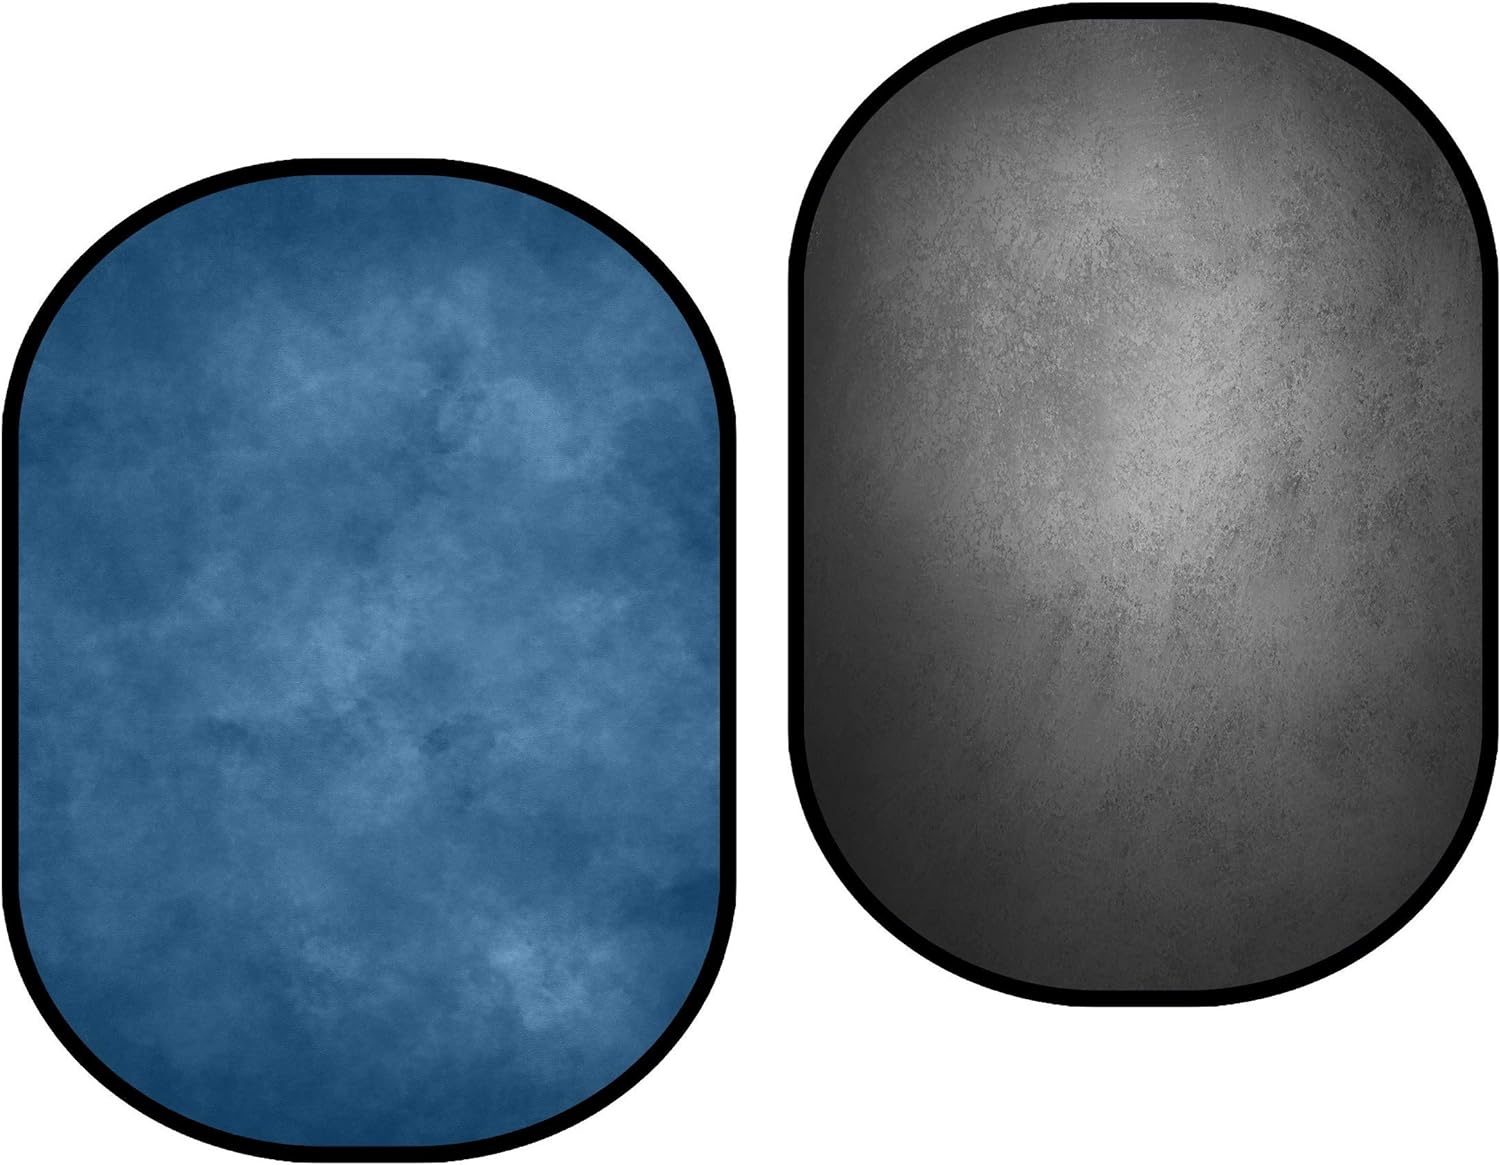
High-Key and Low-Key Lighting:
High-key lighting involves using predominantly bright tones to create an ethereal and cheerful mood, while low-key lighting utilizes darker tones for a more intense and mysterious atmosphere. The key is to maintain control over the balance between highlights and shadows while adhering to the chosen lighting style.
Creative Tools and Approaches:
Gobos and Snoots:
Gobos are objects that block or shape light, allowing you to create intricate patterns of shadows and highlights. Snoots are attachments placed on light sources to control and direct the light beam. These tools can be used to add texture and depth to your portraits.
Silhouettes:
Experimenting with silhouettes can lead to captivating results. By exposing for the background and allowing the subject to remain in shadow, you can create powerful and evocative portraits that emphasize shapes and outlines.
Double Exposure:
For a more artistic approach, consider creating a double exposure portrait where a subject’s profile is layered with another image, such as a natural scene or textured surface. This can result in an otherworldly and highly dramatic composition.
Post-Processing and Editing:
Post-processing plays a crucial role in enhancing the drama of portraits:
Dodge and Burn:
In post-processing software, you can selectively brighten (dodge) or darken (burn) areas of the image to further emphasize shadows and highlights. This technique allows for precise control over the level of contrast in different parts of the portrait.
Contrast Adjustment:
Tweaking the overall contrast of an image can significantly impact the interplay between shadows and highlights. Be cautious not to overdo it, as excessive contrast adjustments can lead to unnatural-looking results.
Color Grading:
Manipulating the color tones of shadows and highlights can enhance the mood of the portrait. Cooler tones in the shadows and warmer tones in the highlights, for instance, can add to the emotional impact of the image.